
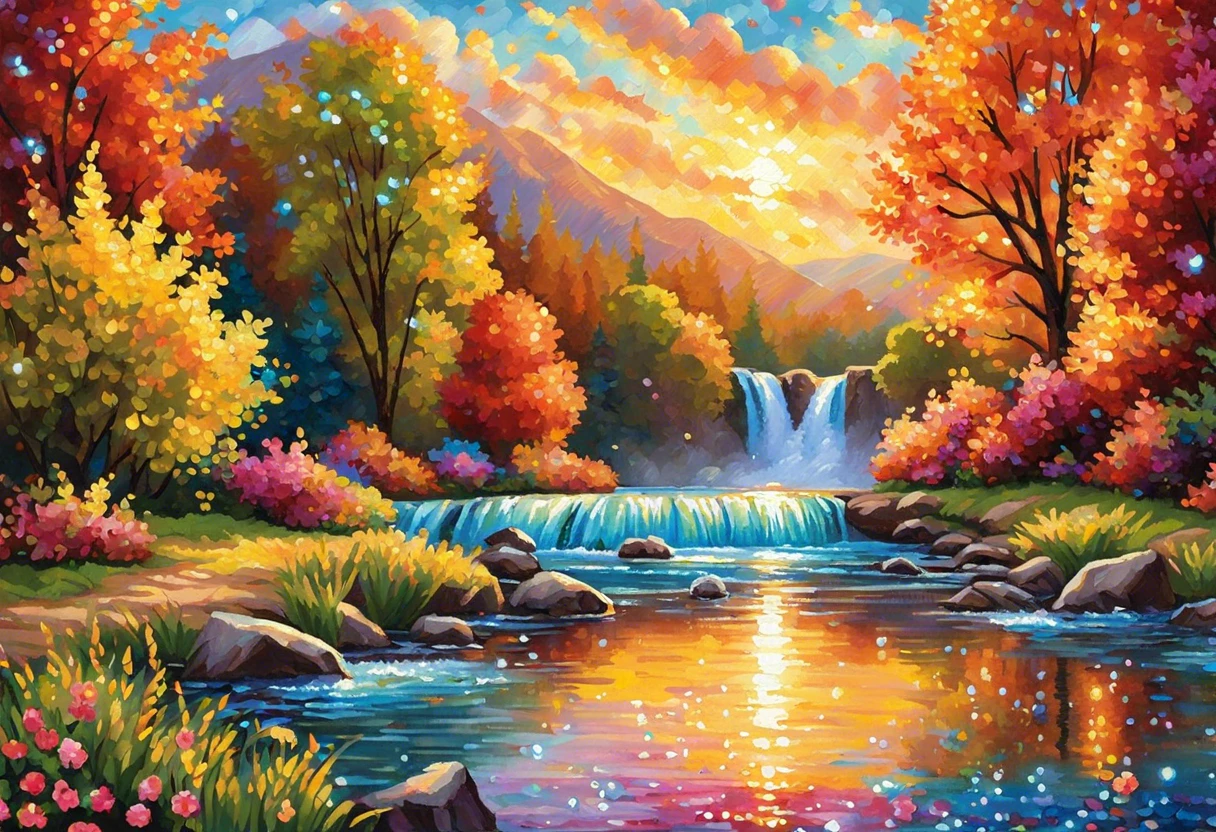
What Are Diamond Painting?
Published on: April 18, 2025 | Last Updated: January 7, 2025
Written By: Isabella Cruz
Diamond painting is like painting with tiny, shiny gems. You stick colorful rhinestones on a picture, making it sparkle!
So, what are diamond painting? It’s super important to understand this fun art because it brings creativity to life. I’ve spent hours creating beautiful designs, which really helped me relax and express myself.
In this guide, you’ll discover what is a diamond painting kit, a step-by-step process for your first project, essential tips for success, common issues with solutions, and creative DIY ideas. Get ready to explore this captivating art form!
What Are Diamond Painting?
Diamond painting is a hobby that combines paint-by-numbers and cross-stitch techniques. You use small resin diamonds to create a colorful image, applying them with a tool onto an adhesive canvas. You get vibrant results that pop with texture!
What is ‘Diamond Painting’?
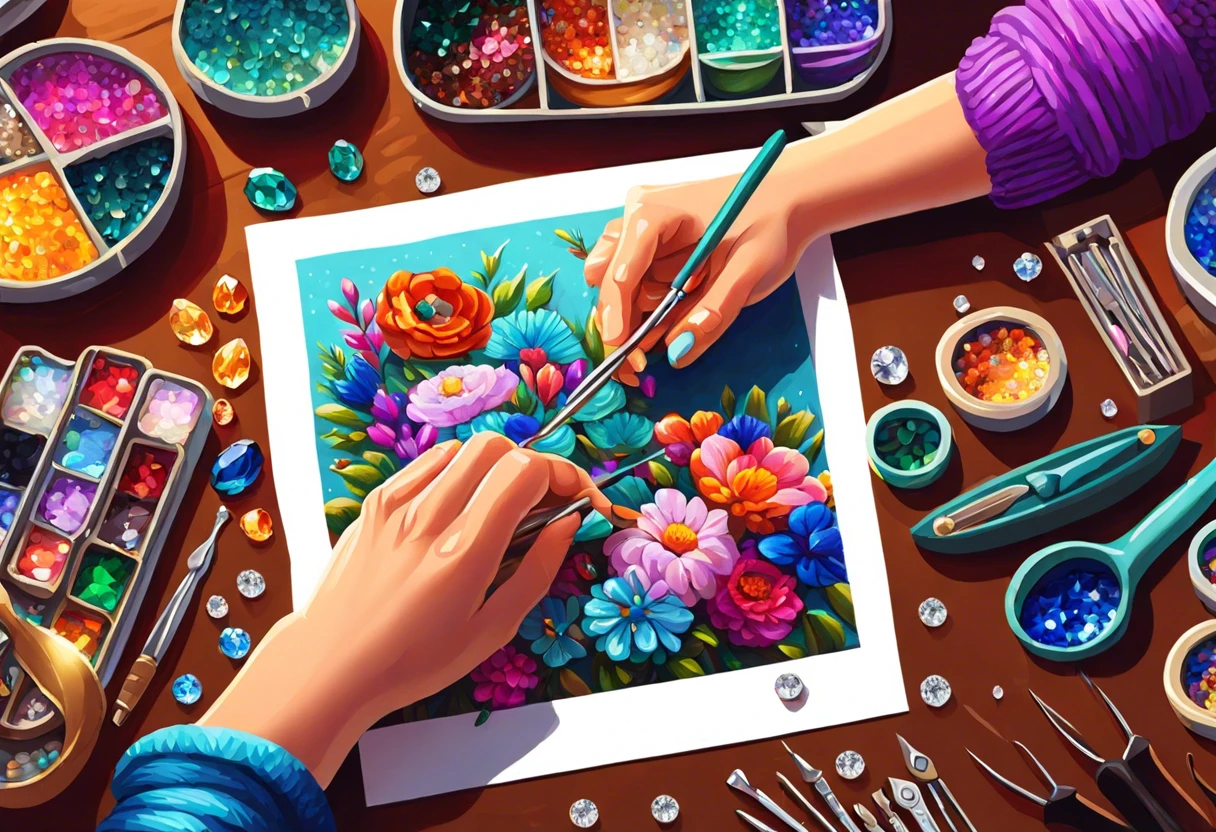
Diamond painting combines cross-stitch and paint-by-numbers for a unique craft. This art form uses tiny resin rhinestones (Typically 2.5 Mm) to create stunning images on an adhesive canvas, usually measuring about 40 cm x 50 cm (15.7 In X 19.7 In). If you’re looking to elevate your crafting technique, painting materials and techniques can enhance creativity.
Let’s discuss what diamond painting really is. Each kit typically includes a pre-printed canvas, colorful diamonds, and tools like a stylus and wax. It’s addictive! I tried it once, and placing those shiny gems one by one was pure joy. If you’re curious about the specific art supplies professionals recommend, check out painting techniques and materials.
I remember using it for a weekend project. The way the diamonds sparkled under the light was mesmerizing! While I could’ve used tips on using diamond painting tools more effectively, learning through the process felt special. I completed a vibrant landscape that transformed that corner of my wall into a dazzling display!
Essential Considerations Before You Start Diamond Painting
What do you need?
- Diamond Painting Kit: You’ll need a complete kit, such as the Diamond Art Club Starter Kit, which provides essential tools for your project.
- DMC Drill Chart: It’s crucial to have a specific chart, like the DMC Color Guide 447, to match diamond colors accurately in your design.
- Wax Applicator: Get a wax pad, such as the ELANAZO Wax, for better adherence of diamonds to pens. This simplifies placement.
- Storage Containers: Organize your drills in containers like the Taron’s Store Multicolor Storage Box. This makes finding colors easier.
We have now covered key factors to consider before starting diamond painting. Next, we’ll provide a step-by-step guide for beginners.
Also See: Can Acrylic Paint Be Used on Clothes? A Quick Guide
Step-by-step Guide to Creating Your First Diamond Painting
Follow these steps to create your stunning diamond painting masterpiece.
-
Prepare Your Workspace
Find a clean, flat surface with good lighting. At least 1 meter (3 Feet) of clear space helps you manage your supplies efficiently.
Organize everything. Use small containers or trays to separate colors, making it faster to pick diamonds and avoiding confusion.
-
Choose Your Design
Select a design that excites you! If you’re starting, choose simple designs; one with 20-30 colors is manageable.
A larger canvas, about 40 x 50 cm (15.75 X 19.7 Inches), offers more intricate details and satisfaction upon completion.
-
Begin Placing Diamonds
Start from the top left corner and work your way down. This avoids smudging or pressing your hand into the wet canvas.
In my first painting, I accidentally placed a diamond upside down! Use tweezers for tight spots to help with precise placement and avoid past mistakes.
-
Fill in Colors Methodically
Tackle one color at a time, focusing on a section to avoid chaos. For example, fill all ‘3781’ diamonds before moving to ‘153’ to enhance efficiency.
This method keeps your progress visible and rewarding. Plus, you’ll love watching sections bloom with color!
-
Seal Your Artwork
Once you finish, seal the painting to keep the gems in place. Choose a fabric-safe sealant, preferably spray or brush, and apply lightly to avoid dulling the sparkles.
Recommended SuppliesAs an Amazon Associate, I earn from qualifying purchases. Images are representative.I recommend waiting 24 hours after sealing before framing. This protects your art and prolongs its beauty.


We have now covered the process of starting your first diamond painting. Next, we will explore the advantages of this hobby.
Understanding the Benefits of Diamond Painting
Why should you try diamond painting? Let’s explore its many benefits!
-
Stress Relief
Diamond painting is like yoga for your hands! Placing those shiny gems creates focus and calm. Studies show activities like this reduce stress levels significantly.
-
Boosts Creativity
I’ve found that connecting colors sparks my imagination. No two projects are alike, which encourages personal expression. As you design, you’re painting your own story!
-
Enhances Fine Motor Skills
Picking up those tiny diamonds develops dexterity. Studies reveal that such activities can improve fine motor skills, especially in children or the elderly.
-
Social Experience
Grab friends or family for a diamond painting night! Sharing tips and ideas creates fun memories. It’s a great way to socialize and bond over creativity.
-
Achievable Goals
Every completed section boosts your confidence. Researchers suggest that achieving small goals can elevate mood and motivation. How satisfying is it to see progress?
That covers the advantages of diamond painting. Let’s now take a look at advanced techniques for enhancing your diamond painting skills.
Tips for Advanced Diamond Painting Techniques
Ready to take your diamond painting to the next level? Here are some advanced tips!
-
Color Blocking
This method involves placing multiple diamonds instead of jumping around. It speeds up the process and gives a polished look. I swear by it for large areas!
-
Using Light Boards
Invest in a light board to illuminate your canvas from below. This makes seeing symbols easier and speeds up the placement of 2.5 mm diamonds.
-
Customizing Designs
Feeling adventurous? Create unique patterns by combining colors. Mix light and dark diamonds to add depth or shading. Play around and find your style!
-
Joining Diamond Painting Communities
Online platforms are full of tips, inspiration, and support. Websites like Reddit or Facebook groups often share advanced techniques and tutorials that elevate your skills.
We have now covered advanced techniques for diamond painting. Next, we’ll discuss factors influencing your overall painting experience.
Factors Affecting Your Diamond Painting Experience
What factors impact your diamond art experience today?
-
Quality of the Kit: A high-quality kit offers clearer designs and more vibrant gems.
-
Light Conditions: Good lighting makes placing those dazzling diamonds easier and reduces eye strain.
-
Tool Efficiency: Using the right diamond painting tools can significantly speed up the process.
-
Personal Skill Level: Your skill level affects your satisfaction and the speed of completing a piece.
Common Issues and Solutions in Diamond Painting
When my friend tried diamond painting kits, she struggled with misplaced diamonds. A quick fix? Use tweezers for better precision to apply 3.0mm (0.12 Inch) gems.
If the canvas wrinkles, spritz it with water, then place a flat weight on it; that’ll flatten it out in no time!
Finishing Touches: How to Complete Your Diamond Painting
After learning diamond painting techniques, it’s crucial to seal your work properly. Apply a clear sealer, like Mod Podge or a spray acrylic sealant, for durability.

Inspect for gaps in the rhinestone coverage, focusing on areas with over 5% missing diamonds. Use a straight edge to remove any misplaced pieces and fix them promptly.
From one expert to another, use a light board when examining your final piece. This reveals discrepancies or beads that need realignment. Do this at a 2500 lux level.
Creative DIY Project Ideas Featuring Diamond Painting
Ever thought about turning diamond painting into stunning home decor? You could create custom canvas wall art or even chic coasters!
To get started on these projects, grab a diamond painting kit from your local craft store—usually around $20-$50. It’ll typically take you about 3-5 hours, depending on the size and detail of your chosen artwork.
If you want to jazz it up a bit, try using resin to create unique diamond painting coasters that sparkle like crazy! Or, simply grab some geometric shapes—why not paint them and then apply the diamonds to make them pop?
Frequently Asked Questions About Diamond Painting
What Materials Do I Need for Diamond Painting?
You need specific materials for diamond painting. Typically, you’ll require a canvas, diamond drills, an applicator tool, wax, and pan. For a standard kit, you can expect to spend between $20 to $80, depending on size and quality.
How Long Does It Take to Complete a Diamond Painting?
It takes varying time to complete a diamond painting. On average, a small project could take 10 to 20 hours, while large ones can take over 100 hours. Factors such as skill level and size impact the completion time significantly. If you’re curious about professional painting techniques, you might want to explore the painting materials used by experts.
Can I Use My Own Images for Diamond Painting?
Yes, you can use your own images for diamond painting. Many companies allow you to upload a photo, creating a unique kit that suits your needs. Sizes may range from 30 cm x 40 cm (12 in X 16 in) to larger canvases depending on your design. If you’re looking to explore alternative ways to customize your artwork, you might want to transform surfaces with creative painting.
What is the Best Way to Store My Unfinished Diamond Painting?
The best way to store an unfinished diamond painting is to roll the canvas and keep the drills in well-labeled bags. This helps prevent damage and keeps everything organized. Proper storage ensures your work remains pristine until you’re ready to continue. If you’re looking to refresh your crafting space, you might want to explore painting techniques for your workspace.
Is Diamond Painting Suitable for Children?
Yes, diamond painting can be suitable for children. However, it’s important to supervise them due to small beads that may pose choking hazards. Many kits are designed for ages 6 and up, making it a fun family activity. If you’re planning to travel with your diamond painting supplies, you might want to check airline regulations for craft materials.
What Tools Do I Need to Start Diamond Painting?
You need few tools to start diamond painting, including an applicator, wax, and tweezers. Most kits include these essentials, making it easy for beginners to jump right in without additional purchases. If you’re curious about the specific properties of materials used in painting, check out aluminium painting materials.
Can I Work on Multiple Diamond Paintings at Once?
Yes, you can work on multiple diamond paintings at once. It’ll depend on your space and ability to organize supplies. Many enthusiasts manage several projects, giving variety and flexibility to their crafting time. If you’re looking to elevate your design approach, you might want to explore creating strategic accent walls that complement your diamond painting displays.
Where Can I Buy Diamond Painting Kits?
You can buy diamond painting kits at craft stores, online retailers, or specialized diamond painting shops. Prices typically range from $10 to $100 depending on size and complexity, giving lots of options to match your budget.
Conclusion: Embrace the Art Of Diamond Painting for Relaxation and Creativity
We’ve reached the end of our journey, and I hope you found this information valuable. We explored what diamond painting is, the components of a diamond painting kit, essential tips for beginners, a detailed guide to starting your first piece, suggested color palettes, different design styles, factors influencing your experience, common challenges and their resolutions, finishing touches, and creative DIY project ideas.
In essence, diamond painting is a therapeutic and artistic hobby that blends painting and cross-stitching with vibrant resin rhinestones, offering a distinctive means of self-expression and tranquility.
For more insights, Paint Answers provides a wealth of information on techniques, tips, and best practices to enhance your diamond painting experience.
Additional Resources
- Loomis, A. (2011). Figure Drawing for All It’s Worth. New York, NY: Titan Books.
- 5D Diamond Painting Kits – Full Drill Diamond Art | Dreamer Designs™
- r/answers on Reddit: What is a diamond painting?
- What Is Diamond Painting? | Diamond Art Club®
Isabella is a Filipino-American art writer and critic specializing in contemporary painting, blending her Filipino heritage with global art trends. She holds a BFA from California State University, Long Beach, and a Minor in Art History from the University of the Philippines. Isa has experience as a Gallery Assistant, Art Appraisal Specialist, and Social Media Creative for Art & Design.
Aluminium, Material


