
Can Acrylic Paint Go in the Oven?
Published on: March 8, 2025 | Last Updated: January 7, 2025
Written By: Alisha Winters
What’s an oven? It’s a big box that gets super hot. You cook food in it to make it tasty!
Can acrylic paint go in the oven? It’s crucial to know this when you’re creating art. I remember my first project; I baked my painted clay and learned why things can go wrong.
In this guide, we’ll explore what an oven is, important tips before starting, a step-by-step method for using acrylic paint in the oven, suitable paint types, and common issues to watch for, including can you paint oven bake clay and what to do after baking.
Can Acrylic Paint Go in the Oven?
No, you shouldn’t put acrylic paint in the oven. It can emit harmful fumes and may not withstand high heat. If you’re curing paint on clay, use specialized oven-safe paints instead. Safety first, right? When working with different materials like 3D printed objects, you might want to explore painting techniques for specific surfaces.
What is an Oven?
An oven is a kitchen appliance for baking, roasting, and reheating food. It typically operates at temperatures from 93°C to 290°C (200°F to 550°F), allowing for precise cooking and temperature control.
You might wonder if acrylic paint can go in the oven. I once faced the dilemma of adding a protective layer of paint to a clay project after baking it.
I primarily used it at work for preparing baked goods. In one project, I explored using acrylic paint on oven-bake clay creations. While that worked well, the question of whether acrylic paint can go in the oven remains important for durability. Artists often experiment with different techniques to discover unique color mixing methods.
Important Considerations Before You Start
What do you need to ensure safe use of acrylic paint in the oven?
- Acrylic Paint: Use heat-resistant brands like Liquitex Professional or Golden Heavy Body. They resist cracking and melting at oven temperatures.
- Oven Thermometer: Get an accurate one, like the Taylor Classic 5986, for precise temperature readings. Overheating can ruin your project.
- Oven-safe Baking Tray: Choose heavy-duty aluminum or silicone mats like Silpat. They ensure even heat distribution and prevent sticking.
- Ventilation System: A fan or open window is essential. It helps dissipate fumes, keeping you safe while you work.
We covered key factors to consider before starting. We will now cover a step-by-step guide for using acrylic paint in the oven.
Also See: Can Latex Paint Go Over Oil Based Paint? Quick Guide

Step-by-step Guide to Using Acrylic Paint in the Oven
We’ll cover how to effectively use acrylic paint in your oven projects. Let’s dive in!
-
Preparing Your Surface
Clean the item thoroughly. Remove any dust, grease, or grime to ensure proper paint adhesion. Moisture can ruin your hard work, so make sure it’s completely dry.
For optimal results, use fine-grit sandpaper 🔥 Deal: Assorted Grit Sandpaper → (About 220 Grit) to slightly roughen the surface, promoting better paint bonding. Just don’t overdo it, or you might damage the item!
-
Applying the Acrylic Paint
Use smooth, even strokes while applying the paint. It’s best to use a quality brush or sponge that doesn’t leave excessive texture behind.
Depending on the color density, a second or third coat may be necessary. Allow the paint to dry completely between layers. I often wait at least 20 minutes for each coat to dry thoroughly.
-
Setting the Oven Temperature
Preheat the oven to 150°C (300°F). This is critical because higher temperatures can cause the paint to bubble or discolor.
It’s crucial to use a low temperature and gentle heat, especially for resin or polymer surfaces. Bake times typically range from 30 to 60 minutes, so keep an eye on it!
-
Baking the Painted Item
Once the oven is heated, carefully place your painted items inside. Space them loosely to allow air circulation.
After the time’s up, turn off the oven and let the item cool inside. This helps avoid sudden temperature changes, which can crack your paint finish.
We have now covered a step-by-step guide for using acrylic paint with an oven. Next, we will discuss suitable types of acrylic paint.
Types Of Acrylic Paint Suitable for Oven Use
Let’s explore different types of acrylic paints: Professional Artists’ Acrylics, Student Grade Acrylics, Soft Body Acrylics, and Heavy Body Acrylics.
-
Professional Artists’ Acrylics
These paints have a high pigment concentration, with up to 50% more than student grades. They withstand oven use, making your creations stunning and durable.
-
Student Grade Acrylics
More affordable, these acrylics contain fewer pigments and fillers. They’re less heat resistant, so be cautious if you plan to put your pieces in the oven.
-
Soft Body Acrylics
This type offers a fluid consistency suitable for blending. Use them for light oven-bake projects, but monitor their performance under heat—mixing is key!
-
Heavy Body Acrylics
These thick, textured paints create a rich look and have good archival properties. They rank among the best for oven use due to their durability and color retention.
Based on my experience, I prefer Professional Artists’ Acrylics. Their vibrant color and heat resistance ensure my oven-baked art stands the test of time and looks gorgeous!
That covers the various types of acrylic paint recommended for oven use. Let’s now take a look at factors influencing oven-baked paint results.
Factors Affecting the Outcome Of Oven-baked Acrylic Paint
What factors impact the safe use of acrylic paint in the oven?
-
Temperature: High temperatures over 150°C (302°F) can cause the paint to bubble or burn.
-
Type of Paint: Quality varies; artist-grade paints perform better than craft-grade under heat.
-
Duration: Shorter baking times help prevent damage; aim for a maximum of 30 minutes.
-
Surface Preparation: Proper priming improves adhesion and durability when heated.
That covers the elements influencing oven-baked acrylic paint results. Let’s now take a look at typical challenges faced when baking.

Common Issues Encountered When Baking Acrylic Paint
My friend once tried baking a mug with acrylic paint, thinking it would help seal the design. Instead, the heat made the paint bubble and crack—a real mess!
To avoid this, always use oven-safe acrylics and set the oven to 300°F (150°C). Limit baking time to 30 minutes for best results.
Finishing Touches for Your Oven-baked Creations
After baking, let pieces cool for at least 15 minutes at room temperature (20°C or 68°F). This prevents thermal shock, which could damage your artwork’s finish.
Inspect all edges closely. Use a brand like Sculpey® to check for cracks or bubbling. Pay special attention to base areas where moisture may collect, as this often leads to failure.
If you’ve developed your skills over a few years, consider glazing with a heat-resistant finish, like Krylon® Triple Thick. Apply two lightweight coats, about 30 µm thick, that can withstand temperatures up to 120°C (248°F). When you want to elevate your project’s aesthetic, you might want to explore adding glitter to paint.
Inspiring DIY Project Ideas With Acrylic Paint and Oven Use
Ever thought of using acrylic paint to create beautiful, personalized oven-bake clay jewelry? Or how about a vibrant, hand-painted dish that’s not just for show but actually functional?
For the jewelry, I’d grab some oven-bake clay and acrylic paint. You could spend around $15-20 on materials and it’ll only take a couple of hours to sculpt and bake them in the oven at 135°C (275°F)! If you’re curious about applying acrylic paint on different surfaces, I’ve got some tips to share.
Now, if you’re wondering, “Can acrylic paint go in the oven?” you can also explore air-dry clay options, which don’t need baking. Another fun twist? Use acrylic to paint rocks for your garden, making them an eye-catching statement without any oven involved! If you’re looking to add some creative flair to your space, you might want to experiment with multiple accent walls.
Common Alternatives to Using Acrylic Paint in the Oven
If you’re considering oven use, there are great alternatives to acrylic paint.
-
Oven-Bake Clay
This clay is designed for baking. It’s available in several colors and hardens at low temperatures, making it perfect for sculptural projects. Brands like Sculpey and Fimo are popular choices.
-
Enamel Paint
This type of paint works well on ceramics and glass. It can handle higher temperatures than acrylic, making it a great substitute for oven-baked projects.
-
Food-Safe Glazes
If you’re working on projects that will touch food, food-safe glazes are essential. They offer both protection and an attractive finish after baking.
Alternatives to Oven-Use for Acrylic Paint
If you’re wondering about options besides baking, here are some clever alternatives that work well with acrylic paint.
-
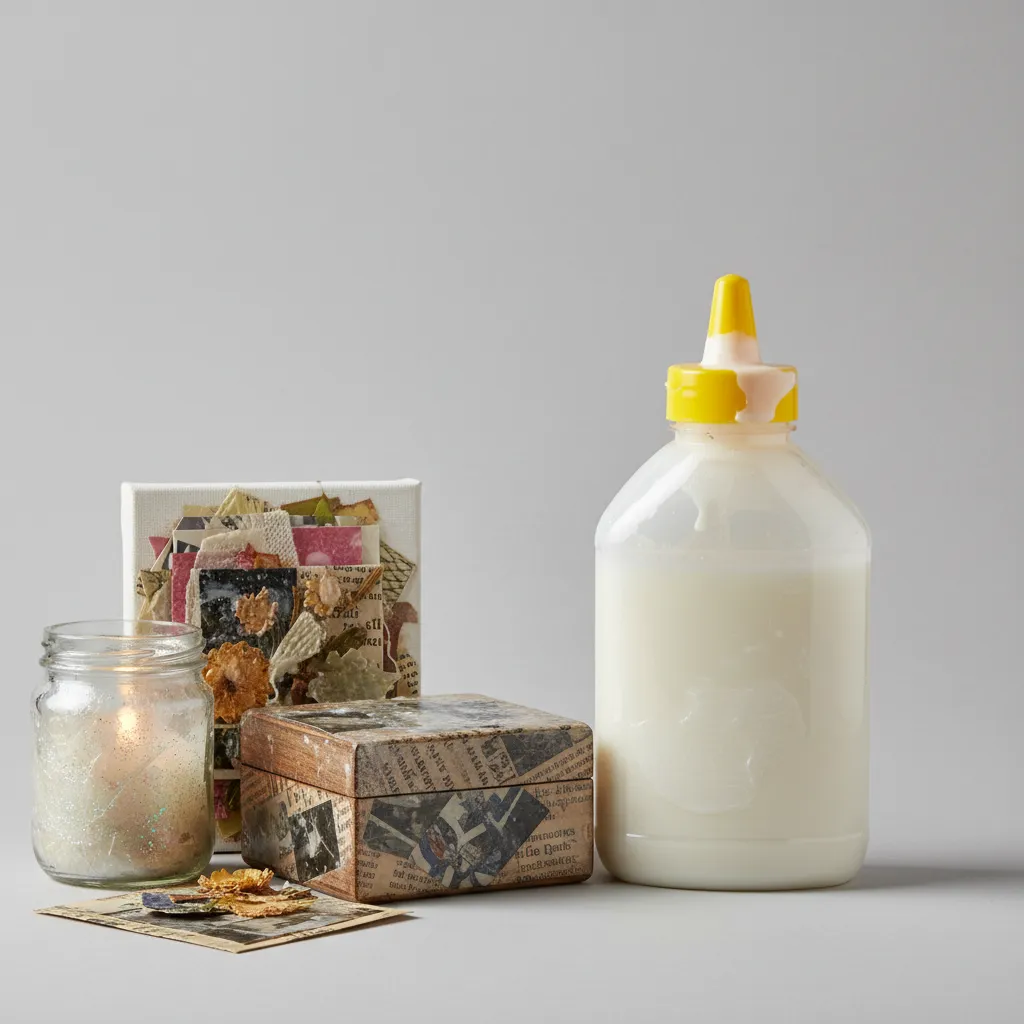
Air-Dry Sealers
Instead of baking your painted project, try using an air-dry sealer. Products like Mod Podge dry clear and protect your artwork without the heat.
Recommended SuppliesAs an Amazon Associate, I earn from qualifying purchases. Images are representative. -
UV Resin Coating
For a shiny finish, UV resin can be applied over acrylic paint. It cures under UV light and adds a durable layer that can enhance your colors.
-
Clear Acrylic Spray
A clear acrylic spray can protect your painted surfaces. Look for options labeled “non-yellowing” for lasting clarity.

Understanding Paints Designed for Heat Applications
Using products meant for high temperatures can save your artwork from damage. Let’s look at these specialized options!
| Paint Type | Temperature Resistance (°C) | Common Uses |
|---|---|---|
| Enamel Paint | Up to 220°C (428°F) | Metal, glass, and ceramics |
| Silicone Paint | Up to 315°C (599°F) | High-heat surfaces, like grills |
| High-Temperature Acrylic | Up to 180°C (356°F) | Specific art projects requiring heat |
Best Practices for Creative Projects Without Oven Use
Not every project needs the oven. Here are some great tips!
-
Air-Dry Clay
This clay hardens at room temperature, making it easy to use. I love making small trinkets with it, and you avoid baking altogether!
-
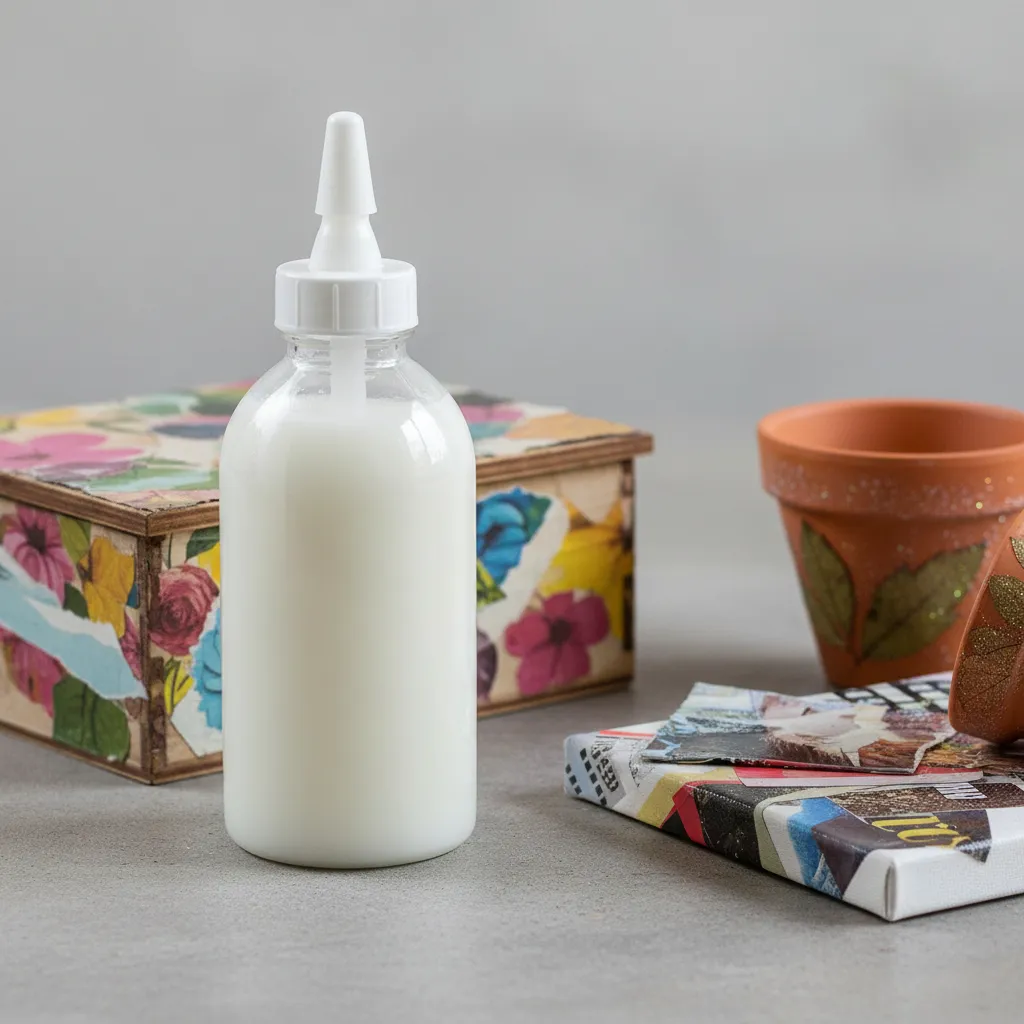
Decoupage Techniques
Try using acrylics in decoupage. Stick paper or fabric onto your items for a custom touch without heat.
Recommended SuppliesAs an Amazon Associate, I earn from qualifying purchases. Images are representative. -
Sealant Options
Use a clear acrylic sealer to protect your artwork. It works well without needing to bake your piece. Just spray on evenly and let dry!


Testing Acrylic Paint Heat Resistance
If you’re curious whether your acrylic paint can withstand the oven, a simple test can help.
| Paint Brand | Heat Tested (°C) | Result |
|---|---|---|
| Liquitex Professional | 150°C | No bubbles or color change |
| Golden Heavy Body | 160°C | Minor discoloration |
| Crayola Acrylic | 130°C | Bubbles and melting observed |
Also See: Can You Mix Acrylic Paint With Wall Paint? Find Out!
Frequently Asked Questions About Baking Acrylic Paint
Can I Use Any Type Of Acrylic Paint in the Oven?
Yes, you can use specific types of acrylic paint in the oven. Some paints are made specifically for baking and can withstand high temperatures without damaging your project.
What Happens if I Bake Acrylic Paint at Too High a Temperature?
If you bake acrylic paint at too high a temperature, it may bubble, burn, or lose its color. Most acrylic paints are best heated below 150°C (300°F) to prevent these issues.
How Long Should I Bake Acrylic Paint for Best Results?
You should bake acrylic paint for about 30 minutes for best results. This duration usually allows the paint to adhere properly without degrading.
Is Baked Acrylic Paint Safe for Food-safe Items?
No, baked acrylic paint is not safe for food-contact surfaces. Once heat cured, the paint may release chemicals unsuitable for food use, so avoid baking items that will serve food.
Can I Paint Over Baked Acrylic Paint?
Yes, you can paint over baked acrylic paint. Just ensure the surface is clean and lightly sanded for proper adhesion on the previous layer of paint.
How Should I Adjust Baking Time Based on Thickness?
You should adjust baking time based on thickness; thicker layers may require 10-15 more minutes. Thin layers bake faster and uniform thickness ensures a consistent finish.
Can I Use a Microwave to Bake Acrylic Paint?
No, you shouldn’t use a microwave to bake acrylic paint. Microwaves heat unevenly, which can result in bubbling and damage to your artwork.
Does Acrylic Paint Change Color When Baked?
Yes, acrylic paint can change color when baked. Some pigments may shift under heat, so always test on a small area first.
Conclusion
That brings us to the end of our discussion on whether acrylic paint can go in the oven.
We covered key elements like the function of an oven, important considerations, a step-by-step guide, recommended colors, suitable types of acrylic paint, factors affecting the outcome, common issues, finishing touches, and DIY project ideas. So, can acrylic paint go in the oven? The short answer is no—it can melt and warp, which could ruin your project.
For further insights and resources, visit Paint Answers.
Useful Resources
- Smith, R. (2003). The Artist’s Handbook of Materials and Techniques (5th ed.). New York, NY: Knopf.
- Can You Bake Acrylic Paint on Ceramic? What to Know – Drawlish
- Can You Bake Acrylic Paint in the Oven? | CraftersMag
- r/polymerclay on Reddit: Can I use acrylic paint in a shared oven?
Experienced interior designer with 15+ years in transforming spaces, blending artistry with expertise in color and design. Rhode Island School of Design graduate, specializing in restorations and modern makeovers.
Acrylic, Medium


