
Can Vinyl Shutters Be Painted?
Vinyl shutters are strong, colorful pieces that cover your windows. They help keep your room safe from the sun and look super pretty.
So, can vinyl shutters be painted? It’s important ’cause changing colors can really refresh your home. I’ve seen folks transform their shutters beautifully, but following the right steps is key to avoid a mess.
In this article, we’ll cover what vinyl shutters are, tips before you start painting, successful steps to paint them, color ideas, types of shutters and their paint compatibility, factors that affect the painting, common problems you might face, finishing touches, and fun DIY projects. You might even ask yourself, can you stain painted wood or how to paint finished wood?
Contents
- 1 Can Vinyl Shutters Be Painted?
- 2 What Are Vinyl Shutters?
- 3 What You Need to Know Before You Start Painting Vinyl Shutters
- 4 Steps to Successfully Paint Your Vinyl Shutters
- 5 Different Types Of Vinyl Shutters and Their Paint Compatibility
- 6 Factors Affecting the Painting Process Of Vinyl Shutters
- 7 Common Issues Encountered When Painting Vinyl Shutters
- 8 Understanding the Durability of Painted Vinyl Shutters
- 9 Best Practices for Maintaining Painted Vinyl Shutters
- 10 Cost-Effective Alternatives to Painting Vinyl Shutters
- 11 Finishing Touches to Enhance Your Painted Vinyl Shutters
- 12 Creative DIY Project Ideas Featuring Painted Vinyl Shutters
- 13 Frequently Asked Questions About Painting Vinyl Shutters
- 14 Conclusion
- 15 Useful Resources
Can Vinyl Shutters Be Painted?
Yes, you can paint vinyl shutters. Make sure to use a special vinyl-safe paint. Clean the shutters well and let them dry before painting. This helps the paint stick and look great!
What Are Vinyl Shutters?
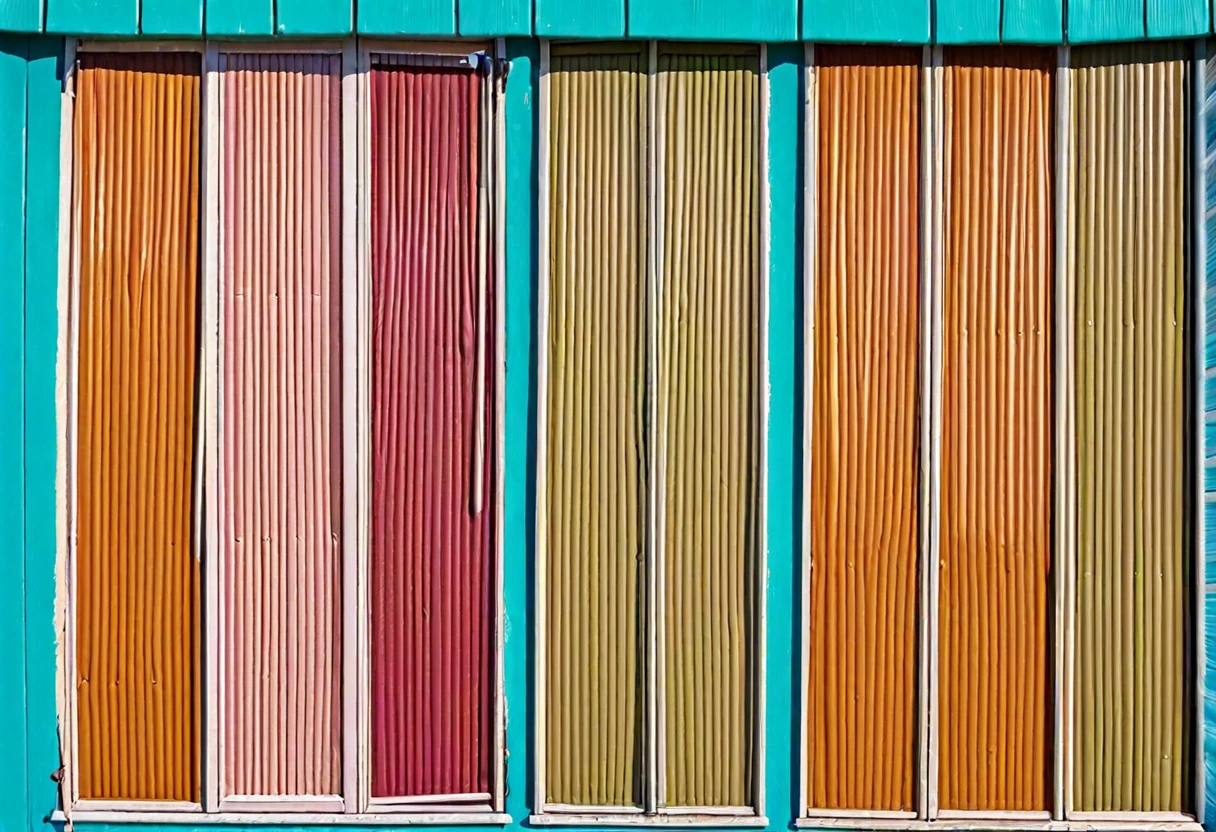
Vinyl shutters are window coverings made from polyvinyl chloride (PVC), known for durability and low maintenance. They typically come in a standard width of 12-15 cm (5-6 Inches), and many brands offer various colors that resist fading from UV rays. If you ever wondered about paint versatility, you can explore using ceiling paint on walls to achieve seamless design transitions.
Now, can vinyl shutters be painted? From my experience, painting vinyl shutters isn’t straightforward, and I’ve learned a few things along the way.
It helped my work when I needed to refresh my home’s exterior without replacing the shutters entirely. I realized thorough prep is crucial when painting any surface—like the time I learned to paint over varnished wood and achieved a smoother finish by using primer. You can also transform your living space by painting a brick fireplace, bringing new life to your home’s interior.
What You Need to Know Before You Start Painting Vinyl Shutters
What do you need to prepare for?
- Cleaning Solution: Use a product like Krud Kutter or TSP (Tri-sodium Phosphate) to remove dirt and grime, ensuring the paint adheres properly.
- Painter’s Tape: Select high-quality tape like FrogTape or 3M Blue Tape to protect areas from unintentional painting.
- Primer: Choose a UV-stable primer like Sherwin-Williams SuperPaint to help the paint stick and prevent peeling.
- Sprayer or Brush: Opt for a paint sprayer like Graco or a 2-inch angled brush. Sprayers provide a smooth finish, while brushes are good for touch-ups and control.
- Paint: Use outdoor-compatible acrylic paint like Behr or Benjamin Moore for long-lasting color and protection against various weather conditions.
You should now have a good understanding of essential tips for painting vinyl shutters. In the next part, we’ll discuss the steps to successfully paint them.
Also See: What is Body Paint? A Creative Expression Of Art
Steps to Successfully Paint Your Vinyl Shutters
Now, we will cover the steps to give your vinyl shutters a fresh look. Follow these steps closely, and you’ll transform those shutters!
-
Clean the Shutters Thoroughly
Wash the shutters with a mixture of water and mild soap to remove dirt and grease that may interfere with adhesion. Let the mixture sit for about 10 minutes before rinsing it off well.
Dry them completely before the next step; a towel works well. Over 97% of adhesion problems come from not cleaning the surface properly—trust me, I’ve learned that the hard way!
-
Sand the Shutter Surface
Lightly sand the surfaces of your vinyl shutters with fine-grit sandpaper ⭐ Top Rated: Assorted Grit Sandpaper → (Around 220-grit) for better paint adhesion. Be gentle; you don’t want to scratch too deep, just roughen the surface.
After sanding, wipe the dust off with a clean, dry cloth. Don’t skip this step; it lays a solid foundation for the next layer—sanding proved critical in my past projects.
-
Apply a High-quality Primer
Choose a primer specifically designed for vinyl and apply a thin, even coat with a paintbrush or roller. Allow it to dry according to the manufacturer’s instructions, usually around 1-2 hours.
Using the right primer was a game-changer for me. It makes the paint stick remarkably better and improves the overall look over time.
-
Paint the Vinyl Shutters
Select a durable exterior paint intended for plastic or vinyl—this is crucial! Using a spray gun or high-density foam roller provides a smooth finish.
Free ToolOpen Calculator →Exterior Paint Cost EstimatorPlanning a repaint? Don't let contractors overcharge you. Calculate your exact siding and trim paint needs instantly.Apply 2 coats of paint, allowing each layer to dry for about 2-4 hours before adding the next. You can transform your shutters this way; I did, and they looked as good as new after one sunny weekend! If you’re curious about the specific type of paint professionals like Bob Ross used, I recommend checking out the brand of paint Bob Ross used.
-
Allow to Cure
Even after your shutters look great, curing takes time. Let them cure for at least 48 hours before reinstalling, especially if outdoor elements will be involved.
Rushing this step can lead to scratches and peels later on! Give it time, and the results will be worth it.
We’ve wrapped up the steps for effectively painting your vinyl shutters here. Let us turn our attention to the various types of vinyl shutters and their paint compatibility.
Different Types Of Vinyl Shutters and Their Paint Compatibility
Let’s look at the different types of vinyl shutters: Traditional, Louvered, Plantation, and Board-and-Batten.
-
Traditional Shutters
Traditional shutters are flat and feature solid panels. You can paint them using dish soap and a suitable primer. Outdoor latex paint provides the best results.
-
Louvered Shutters
Louvered shutters have adjustable slats for ventilation. They can be painted, but make sure to apply a vinyl-safe primer first. This helps the paint adhere better, especially in humid areas.
-
Plantation Shutters
Plantation shutters are wider and offer excellent light control. You can paint them, but be sure to sand them lightly for better adhesion. A satin finish paint creates a sleek look.
-
Board-and-batten Shutters
Board-and-batten shutters consist of vertical boards with horizontal supports. You can paint them as well; just use quality vinyl paint for durability against weathering.
I personally love the look of painted louvered shutters. They provide excellent versatility and style, especially when matching your home’s exterior colors.
We covered various types of vinyl shutters and their paint compatibility here. We will now cover factors influencing the painting process.
Factors Affecting the Painting Process Of Vinyl Shutters
What factors influence giving vinyl shutters a fresh coat?
-
Material Composition: Vinyl’s surface texture directly affects paint adhesion.
-
Weathering: Over time, UV rays can degrade (Break Down) vinyl, making paint adhesion difficult.
-
Preparation Method: Proper cleaning and sanding are vital for a durable finish.
-
Type of Paint: Choosing the right paint, like acrylic, ensures the longest-lasting results on vinyl.
We’ve wrapped up the factors influencing the painting of vinyl shutters here. Let us turn our attention to common issues faced during the painting process.
Common Issues Encountered When Painting Vinyl Shutters
When my friend tried to paint his vinyl shutters, the paint quickly peeled off. He used a non-compatible paint, which caused serious adhesion problems.
To fix this, use a vinyl-safe primer (Like High-quality Acrylic) before the topcoat. You’ll need about 0.5–1.0 liter (16-32 Oz) of primer for even coverage.
Understanding the Durability of Painted Vinyl Shutters
Ever wonder how long your painted vinyl shutters can last? Let’s dive into the lifespan and factors that affect their durability.
Factors Influencing Durability
- Quality of Materials: High-quality acrylic paint can enhance lifespan by up to 5 years compared to lower-grade options.
- Environmental Conditions: Exposure to extreme weather can reduce lifespan; sunny areas may require repainting every 3-5 years.
- Maintenance: Regular cleaning and touching up can extend the life of the paint, adding an extra 2-3 years of vibrancy.
Comparative Lifespan Table
| Paint Quality | Expected Lifespan (years) | Maintenance Frequency |
|---|---|---|
| High-Quality Acrylic | 7-10 | Every 6 months |
| Mid-Grade Latex | 4-6 | Every year |
| Low-Grade Paint | 1-3 | Every 3 months |
Best Practices for Maintaining Painted Vinyl Shutters
Want to keep your painted vinyl shutters looking sharp? Here are a few best practices.
- Regular Cleaning: Clean your shutters with soapy water at least once a month. Keeping them clean can prevent dirt buildup and enhance appearance.
- Inspect for Damage: Check for chips or cracks at least once a season. Early fixes prevent bigger problems later.
- Reapply Sealant: Consider using a sealant every 1-2 years to safeguard against the elements and increase longevity.
Cost-Effective Alternatives to Painting Vinyl Shutters
If you’re hesitating about painting, consider these alternatives to update the look of your vinyl shutters without breaking the bank.
- Vinyl Wraps: Use adhesive vinyl films. They come in a variety of designs and colors. They adhere well and can last for 5-10 years if applied correctly.
- Decals: Add vinyl decals or stencils for a unique touch. This can be a fun DIY project and costs around $10-$30, depending on the size and design.
- Cleaning and Polishing: Sometimes, a thorough clean and polish with a specialized vinyl cleaner can do wonders. It brightens the original color for about $7-$15 per bottle.
Finishing Touches to Enhance Your Painted Vinyl Shutters
After refreshing your vinyl shutters, wait 24-48 hours before exposing them to rain. Use a thin coat of professional-grade sealant, like 3M Marine Adhesive Sealant 5200, for protection.
Inspect your shutters monthly. Check for small cracks of less than 1 mm (0.04 Inches) and reapply paint or sealant to prevent moisture damage. Use painter’s tape (Tartan Tape) for detail touch-ups. If you’re thinking about enhancing your shutter projects, you might be curious about painting cabinet hardware as well.
I recommend investing in a bi-annual power wash with soap at 120 psi (Pounds Per Square Inch) to maintain the shine on your shutters, ensuring longevity and vibrancy.
Creative DIY Project Ideas Featuring Painted Vinyl Shutters
How about turning old vinyl shutters into a vibrant outdoor garden fence or a whimsical vertical wall planter? You can spice up your outdoors while staying eco-friendly and stylish.
You’ll need some outdoor acrylic paint, brushes, and plant pots that fit your design. Expect to spend around $30-$50 and a weekend afternoon—the fun’s in the process!
Instead of just painting, why not wrap your vinyl shutters with colorful washi tape for a quick splash of design? I’ve done this before, and it’s such a playful alternative—simple, unique, and totally removable! If you are curious about using spray cans to paint a vehicle, you can explore painting materials and techniques.
Frequently Asked Questions About Painting Vinyl Shutters
Can I Use Any Paint on Vinyl Shutters?
To answer your question, no, you can’t use just any paint on vinyl shutters. Vinyl shutters need flexible paints that adhere well to prevent cracking or peeling in temperature fluctuations.
What Primer Should I Use for Vinyl Shutters?
It’s best to use a primer specifically designed for vinyl shutters. This kind of primer improves adhesion, ensuring your paint job lasts longer, especially against UV light exposure.
How Long Does the Paint Need to Dry on Vinyl Shutters?
The paint on vinyl shutters typically needs 24 hours to dry completely. Humidity and temperature can affect this, so always ensure it’s a good day for painting!
Will Painting Vinyl Shutters Void My Warranty?
Painting vinyl shutters might void your warranty, depending on the manufacturer. It’s smart to read your warranty details or contact the supplier.
How Can I Ensure a Smooth Finish When Painting Vinyl Shutters?
To get a smooth finish when painting vinyl shutters, sand the surface lightly before painting. This step creates a better texture for adhesion and helps eliminate any imperfections!
What’s the Best Way to Clean Vinyl Shutters Before Painting?
Cleaning vinyl shutters with a solution of warm soapy water is the way to go. This removes any dirt or grease, making sure your paint sticks right and looks great!
How Do I Prevent Paint From Chipping on Vinyl Shutters?
To prevent paint from chipping on vinyl shutters, always use high-quality paint and apply a proper primer. Good materials increase durability and keep your shutters looking sharp!
Conclusion
I hope this was worth your while. We covered what vinyl shutters are, what you need to know before painting, steps for a successful paint job, recommended color palettes, types of vinyl shutters and their compatibility with paint, factors that affect the painting process, common issues encountered, finishing touches, and creative DIY project ideas.
So, can vinyl shutters be painted? Yes, you can paint them effectively, especially if you follow the proper preparation and steps. If you need additional advice, I’m here to help with your painting journey.
For further insights and guidance, feel free to visit Paint Answers.
Useful Resources
- Betti, C., & Sale, T. (2012). Drawing: A Contemporary Approach (6th ed.). Belmont, CA: Cengage Learning.
- How To Paint Vinyl Shutters – Painting Vinyl Shutters – DIY Painting Tips
Isabella is a Filipino-American art writer and critic specializing in contemporary painting, blending her Filipino heritage with global art trends. She holds a BFA from California State University, Long Beach, and a Minor in Art History from the University of the Philippines. Isa has experience as a Gallery Assistant, Art Appraisal Specialist, and Social Media Creative for Art & Design.
Material, Vinyl


