


Can You Paint Ikea Cabinets?
Published on: May 17, 2025 | Last Updated: January 7, 2025
Written By: Sarah McClintock
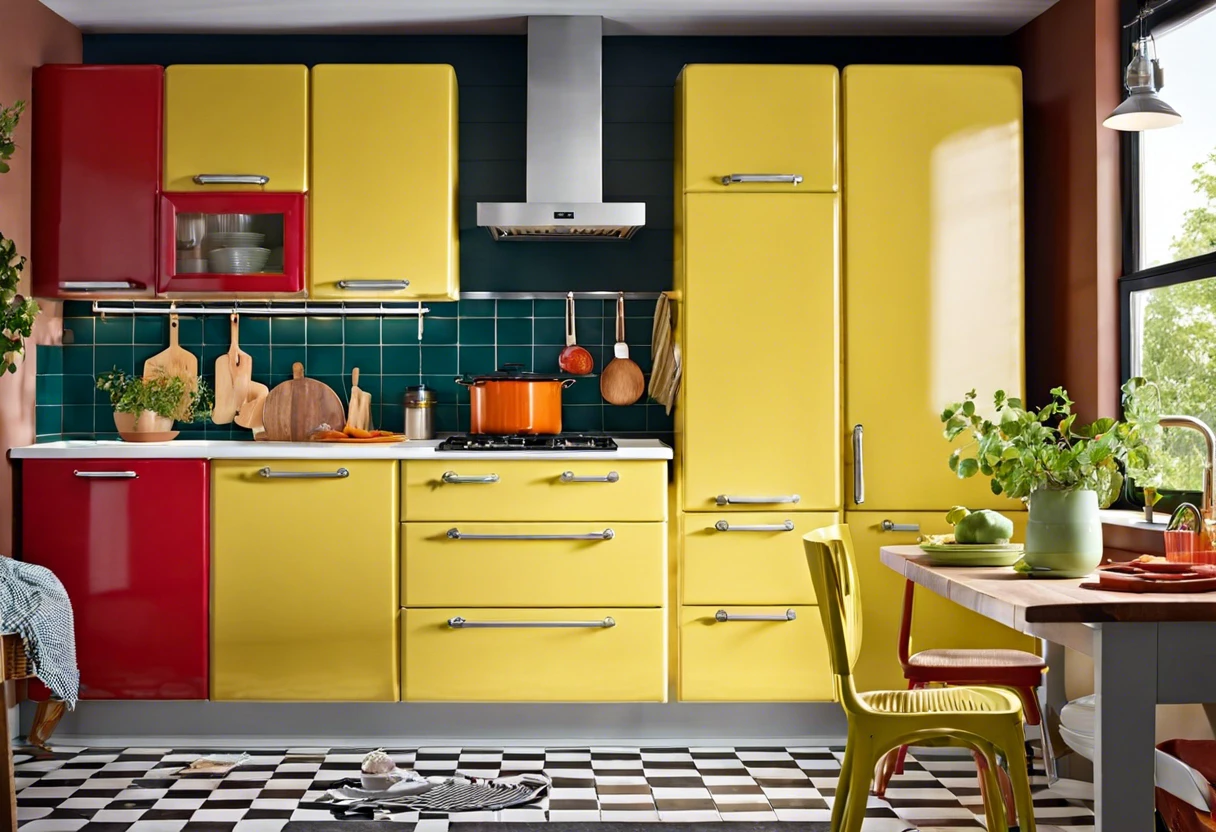
Ikea cabinets are those cool storage spaces you see in many homes. They come in all shapes and sizes, just like building blocks for your room.
Can you paint Ikea cabinets? It’s a biggie! If you want to give your kitchen a fresh look without breaking the bank, knowing how to paint your Ikea cabinets is key for a successful update.
In this guide, we’ll explore important factors to consider, detailed steps for painting Ikea cabinets, paint types to use, color palettes to inspire you, and common issues to watch out for, along with creative DIY project ideas. You’ll be armed with all the info on the best way to paint Ikea cabinets.
Contents
- 1 Can You Paint Ikea Cabinets?
- 2 What Are IKEA Cabinets?
- 3 Important Considerations Before You Start Painting
- 4 Step-by-step Guide to Painting Ikea Cabinets
- 5 Recommended Color Palette for Painting Ikea Cabinets
- 6 Types Of Paint for Ikea Cabinets
- 7 Factors Affecting the Success Of Painting Ikea Cabinets
- 8 Common Issues When Painting Ikea Cabinets
- 9 Finishing Touches to Enhance Your IKEA Cabinets
- 10 Cost Considerations for Painting Ikea Cabinets
- 11 Alternative Finishing Techniques for Ikea Cabinets
- 12 Creative DIY Project Ideas for Ikea Cabinets
- 13 Frequently Asked Questions About Painting Ikea Cabinets
- 14 Conclusion
- 15 Additional Resources
Can You Paint Ikea Cabinets?
Yes, you can paint Ikea cabinets! Just make sure to clean them first and choose the right paint. Use a primer for better adhesion. With the right prep, you’ll transform your cabinets beautifully! If you’re wondering about removing old paint during the process, check out how acetone can help strip paint.

The Finishing Touch
A freshly painted wall is a blank canvas. The best way to bring your room to life is with a single piece of statement art that ties everything together.
Browse Wall Art at Big Wall DecorWhat Are IKEA Cabinets?
IKEA cabinets are pre-manufactured storage solutions designed for efficiency and style. Made mainly of particleboard and fiberboard, these cabinets typically conform to standard metric dimensions, around 60 cm (23.6 In) in depth and heights of 80 cm (31.5 In) or more, offering functional versatility for any space.
You might be curious about your options here. Personally, I’ve considered painting IKEA cabinets to add a custom touch.
I’ve used them before for kitchen renovations. The ease of assembly and customizable selections were fantastic! Regarding whether you can paint IKEA cabinets, I learned how to prepare surfaces to ensure the paint sticks well. It’s crucial to sand them lightly; this tip saved me many headaches later on! If you’re considering painting other surfaces like painting aluminum doors effectively, similar preparation techniques apply.
Important Considerations Before You Start Painting
What do you need to do before you start?
- Primer: Use a quality primer like Zinsser B-I-N or KILZ Premium. It’s crucial for covering the laminate surface of Ikea cabinets to improve paint adhesion.
- Paint: Choose high-quality acrylic or chalk paint, such as Benjamin Moore Advance or Rust-Oleum Chalked. These ensure a durable, smooth finish that withstands wear.
- Paint Sprayer: A sprayer like the Wagner Flexio 590 speeds up application and provides even coverage over the intricate cabinet surfaces.
- Sandpaper: Use 220-grit sandpaper to scuff the surface before priming for maximum bond.
- Drop Cloths: Use canvas or plastic drop cloths to protect your floor—after all, a clean workspace is a happy workspace!
That covers key factors to evaluate before painting. Let’s now take a look at the detailed painting process for Ikea cabinets.
Also See: Where Are Painted Ladies in San Francisco? Find Them Here
The Finishing Touch
A freshly painted wall is a blank canvas. The best way to bring your room to life is with a single piece of statement art that ties everything together.
Browse Wall Art at Big Wall DecorStep-by-step Guide to Painting Ikea Cabinets
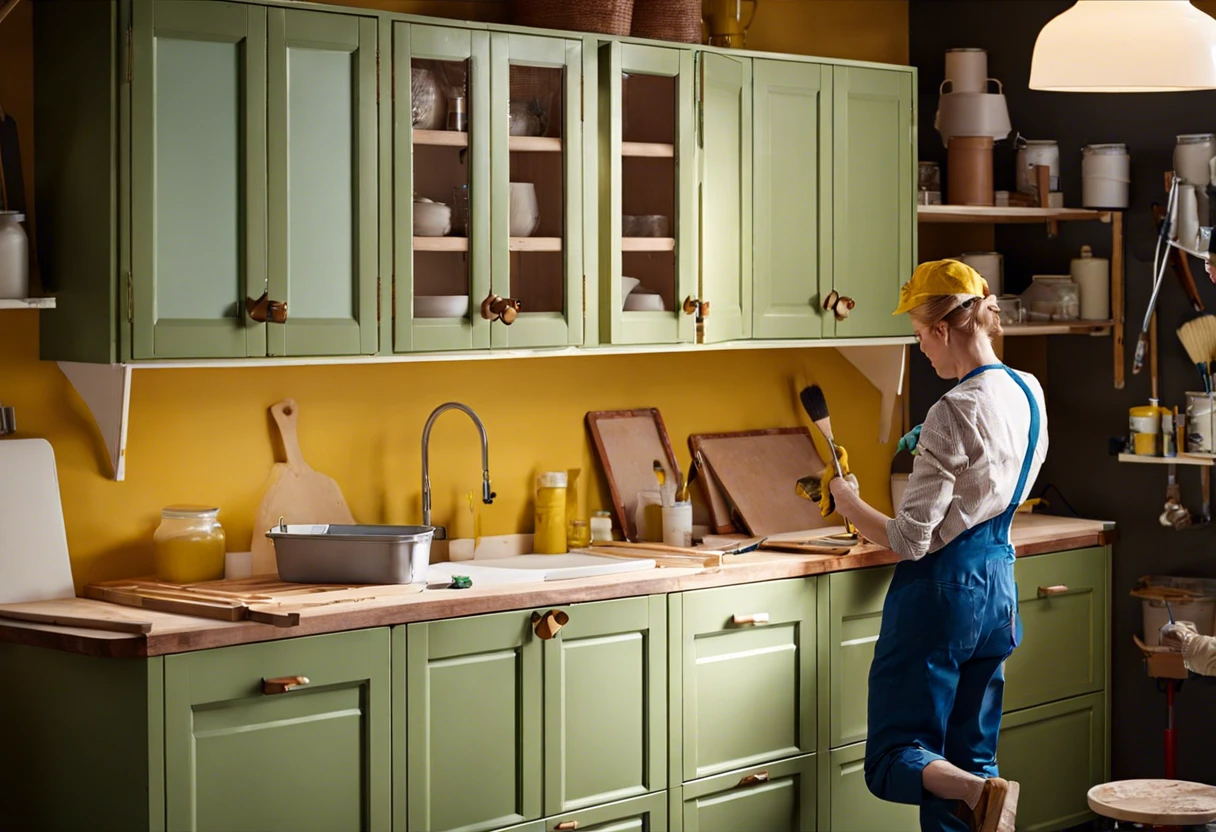
Here are the steps to effectively paint Ikea cabinets for a fresh look.
-
Clean the Surfaces
Start by thoroughly cleaning your Ikea cabinets. Use soapy water to remove grease and dirt; let them dry completely for the best results.
Dust and grime will ruin your paint job. A clean surface allows for better paint adhesion.
-
Sand the Cabinets
Lightly sand the surfaces using fine-grit sandpaper, like 220-grit (0.076 Mm). This creates a texture that helps the paint stick.
Avoid excessive sanding—just enough to scuff the surface. You don’t need to remove the finish completely.
-
Apply Primer
Choose a solvent-based or oil-based primer for a durable finish. Apply a coat using a foam roller for even distribution.
Allow the primer to dry for at least 24 hours before painting. This ensures excellent coverage.
-
Pick Your Paint
Opt for high-quality acrylic or satin finish paint made for cabinets. Semi-gloss is easy to clean and durable.
Stick to a single color for a polished Ikea style. If you’re feeling adventurous, consider fun colors or a distressed look for character.
-
Paint the Cabinets
Use a fine brush or foam roller to paint the doors and frames. Work in sections and follow the wood grain for a natural appearance.
Allow 4–6 hours for drying between coats. Two coats usually provide great coverage. Mine turned out awesome after two thin layers!
-
Seal the Finish
After the final coat, apply a topcoat for added durability. A water-based polyurethane or clear acrylic sealer will protect your work.
Let it cure for at least 7 days before using the cabinets full-time. Patience leads to long-lasting beauty!
You should now have a good understanding of painting techniques, tools needed, and preparation. In the next part, we’ll discuss color choices and suggestions.
Recommended Color Palette for Painting Ikea Cabinets
I recommend a calming Coastal Breeze palette for Ikea cabinets because it blends soft tones with a pop of vibrancy to create a refreshing look.
| Color Box | Hex Code | Color Name |
|---|---|---|
| #A4D6E1 | Light Aqua | |
| #FF6F61 | Coral Pink | |
| #FFFFFF | Pure White | |
| #F0EAD6 | Warm Beige |
We covered a suggested color palette for painting Ikea cabinets. We will now cover different types of paint for Ikea cabinets.
Types Of Paint for Ikea Cabinets
Let’s explore the types of paint you can use: latex, acrylic, chalk, and oil-based paints.
-
Latex Paint
Latex paint is water-based and easy to clean. It’s durable and flexible, with low odor—perfect for kitchen cabinets.
-
Acrylic Paint
Acrylic paint provides a tough finish that’s resistant to fading. It dries quickly, allowing for faster project completion.
-
Chalk Paint
Chalk paint gives a matte finish and a rustic look, ideal for a farmhouse style. It adheres well to surfaces, beautifully transforming Ikea cabinets.
-
Oil-based Paint
Although it takes longer to dry, oil-based paint delivers a sleek, professional finish. It’s incredibly durable, making it great for high-traffic kitchen areas.
From my experience, I prefer chalk paint. It creates a warm, textured look that adds charm, and its ease of use makes it ideal for DIY projects on my cabinets.
You should now have a good understanding of different paint types for Ikea cabinets. In the next part, we’ll discuss factors influencing painting success.
Factors Affecting the Success Of Painting Ikea Cabinets
What factors determine if you can successfully refresh your Ikea cabinets?
-
Material Type: The laminate or wood material affects how well paint adheres and looks.
-
Preparation: Cleaning and sanding surfaces helps the paint adhere and last longer.
-
Paint Choice: Choosing suitable paint types, like chalk or acrylic, ensures good coverage and a durable finish.
-
Environmental Conditions: Temperature and humidity levels affect drying time and paint application.
Common Issues When Painting Ikea Cabinets
When my friend tried painting her Ikea cabinets, she noticed poor paint adhesion. The paint just wouldn’t stick!
To fix this, she scuffed the surface with 220-grit sandpaper (0.1 Mm), then cleaned it. A quality primer is essential. Don’t skip this step; it’s crucial for lasting results.
Finishing Touches to Enhance Your IKEA Cabinets
After completing your project, let the paint cure for at least 24 hours. Gently wipe down the cabinets weekly with a damp microfiber cloth for maintenance.
Check each cabinet for paint wear by pressing a finger on the surface to test for tackiness, especially with latex paint. Use Velcro traction pads to prevent scruff marks.
I recommend a quality water-based topcoat like Minwax Polycrylic. It enhances durability while maintaining a sleek finish without adding unwanted texture to the wood grain.
The Finishing Touch
A freshly painted wall is a blank canvas. The best way to bring your room to life is with a single piece of statement art that ties everything together.
Browse Wall Art at Big Wall DecorApply a light coat of aerosol polyurethane every six months for optimal protection. Sanding with 150-300 grit sandpaper (0.38 Mm – 0.76 Mm) between coats ensures a flawless, professional finish on your IKEA cabinets.
Cost Considerations for Painting Ikea Cabinets
Budgeting is essential in any DIY project. Here’s a breakdown of what you might spend.
| Item | Estimated Cost (USD) |
|---|---|
| Primer | $15 – $30 |
| Acrylic Paint | $30 – $75 |
| Brushes/Rollers | $10 – $20 |
| Drop Cloths & Tape | $10 – $15 |
| Total Estimated Cost | $75 – $140 |
Keep in mind, these costs can vary widely based on your choices and local prices. Always check your budget before starting!
Alternative Finishing Techniques for Ikea Cabinets
Want to add flair beyond just paint? Here are some creative ideas!
- Decoupage: Use decorative paper or fabric to cover certain areas, giving a unique personality.
- Stenciling: Design patterns or images on the surface. It adds depth and style to your cabinets.
- Textured Finishes: Try applying a textured paint for a different look that’s both stylish and practical.
Creative DIY Project Ideas for Ikea Cabinets
Let’s spice things up with Ikea cabinets! How about turning those bland pieces into modern art by splashing on some bold colors or using fun stencils for patterns?
For painting, grab some chalk paint, a brush, and stencils from your local craft store—expect to spend around $50 to $80 (About €45 to €70) for a fresher look. It should take you a weekend to complete, depending on drying times! When working with paint, be mindful of potential surface damage and learn how to protect your painted surfaces effectively.
Not loving the paint idea? You could try decoupage! I’ve had a blast using fabric or wallpaper to cover the cabinetry walls, giving a fresh vibe without painting — talk about a unique touch!
Frequently Asked Questions About Painting Ikea Cabinets
Is It Safe to Paint Ikea Cabinets?
Yes, it’s safe to paint Ikea cabinets. Most Ikea cabinets feature a melamine or laminate finish that’s paintable with the right prep. This ensures good adhesion, plus reduces the odds of harmful chemicals in your living space.
What Type Of Paint Works Best for Ikea Cabinets?
Acrylic latex paint works best for Ikea cabinets. It’s durable, water-based, and easy to apply. Look for a paint with at least 25% more acrylic for better results, ensuring a strong finish against daily wear and tear. If you’re considering customizing your project further, you might want to explore advanced painting techniques that can enhance your surface preparation and finish.
Can You Use Spray Paint on Ikea Cabinets?
Yes, you can use spray paint on Ikea cabinets. Ensure they are well-prepped; this helps the paint stick better. Opt for high-quality spray paint designed for furniture to achieve a smoother finish. If you’re looking to refresh other surfaces in your home, you might want to explore painting techniques for bathtubs.
How Long Does the Paint Last on Ikea Cabinets?
Paint on Ikea cabinets can last between 5 to 10 years. Proper application and good quality paint typically ensure long-lasting results in high-traffic areas like kitchens.
What Preparations Are Needed Before Painting Ikea Cabinets?
Before painting Ikea cabinets, clean, sand, and prime the surfaces. Clean removes dirt; sanding improves adhesion; and primer prepares the surface for paint. This prep takes 24 hours but makes all the difference! If you’re looking to enhance your painting process with digital tools, you might want to explore digital animation techniques for painting.
How Do You Achieve a Professional Look When Painting Ikea Cabinets?
To achieve a professional look when painting Ikea cabinets, you’ll need quality tools like a foam roller and brushes. Use multiple thin coats instead of one thick coat, allowing each layer to dry completely for a smooth finish. Professional painters often recommend selecting the right alkyd paint for superior durability and adhesion.
What Color Should I Choose for Painting Ikea Cabinets?
Choosing a lighter color can brighten the space, while darker tones add sophistication. Consider your kitchen lighting and the overall decor; test small patches first to see what fits best with your interior design approach. If you’re feeling adventurous and want to explore creative color applications, painting techniques offer unique possibilities.
How Long Should I Wait Before Using My Ikea Cabinets After Painting?
You should wait at least 48 hours before using your Ikea cabinets after painting. This drying time helps to ensure that the paint cures properly and minimizes scuffing or damage to the finish.
Conclusion
Phew, we covered a lot about painting Ikea cabinets, including what they are, important considerations, a step-by-step guide, color palettes, paint types, factors affecting success, common issues, finishing touches, and creative DIY ideas.
In summary, painting Ikea cabinets is achievable with the right paint selection and proper techniques. Preparation and attention to detail are key. Should you have any additional inquiries on painting Ikea cabinets, don’t hesitate to ask!
For further insights, Paint Answers is a great resource to explore.
Additional Resources
- Gurney, J. (2009). Color and Light: A Guide for the Realist Painter. Kansas City, MO: Andrews McMeel Publishing.
- How To Paint Ikea Kitchen Cabinets | Young House Love
- Kitchen Cabinets – Affordable Kitchen Cabinetry – IKEA