Can You Wet Sand and Buff Single Stage Paint?
Single stage paint is a kind of paint that goes on your car all in one step. You put it on and it shines bright, like a fresh apple!
So, can you wet sand and buff single stage paint? It’s super important to know because wet sanding and buffing can make your car look new. My car had some rough spots, and after I wet sanded it, wow, it looked like it just came from the showroom!
In this article, we’ll dive into essential tips for wet sanding and buffing single stage paint, explore must-know factors, and share a step-by-step guide. We’ll also talk about common problems you might face and how long after painting a car can you wet sand for the best results. Stick around to learn more!
Contents
- 1 Can You Wet Sand and Buff Single Stage Paint?
- 2 What is Single Stage Paint?
- 3 Essential Considerations Before You Start Wet Sanding and Buffing
- 4 Step-by-step Guide to Wet Sanding and Buffing Single Stage Paint
- 5 Types Of Single-stage Paint Explained
- 6 Factors Affecting the Success Of Wet Sanding and Buffing Single-stage Paint
- 7 Common Issues Encountered When Wet Sanding and Buffing Single-stage Paint
- 8 Finishing Touches After Wet Sanding and Buffing
- 9 Benefits of Wet Sanding and Buffing Single Stage Paint
- 10 Wet Sanding vs. Dry Sanding for Single Stage Paint
- 11 Finishing Techniques for the Perfect Gloss
- 12 Inspection Items for Single-stage Paint
- 13 Pro-level Tip for Experts
- 14 Frequently Asked Questions About Wet Sanding and Buffing Single Stage Paint
- 15 Conclusion
- 16 Additional Resources
Can You Wet Sand and Buff Single Stage Paint?
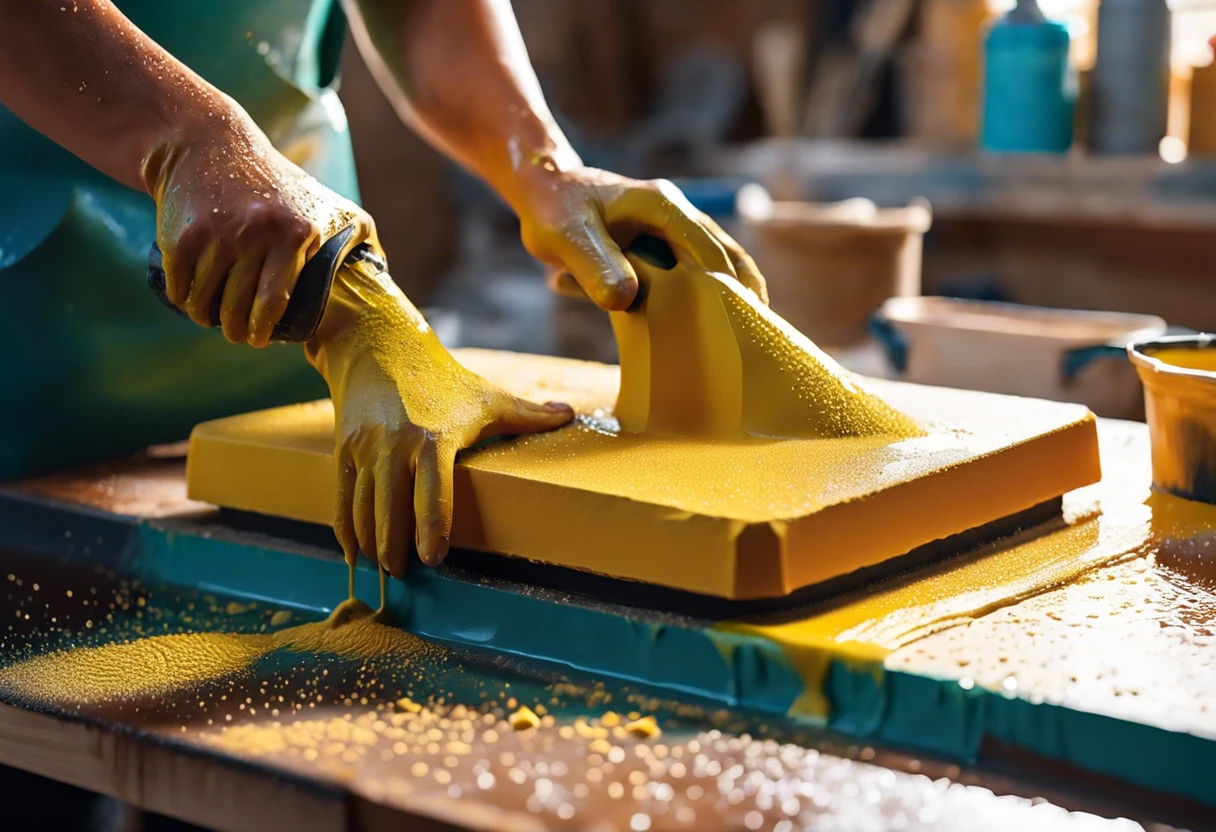
Yes, you can wet sand and buff single stage paint. Just wait at least 24 hours after painting for it to cure. This process smooths imperfections and enhances shine. Remember, use fine sandpaper 💰 Save on Assorted Grit Sandpaper → and keep the surface wet!
What is Single Stage Paint?
Single stage paint is a type of auto paint that combines color and clear coat in one application. After it’s sprayed on, it doesn’t need a separate top coat, allowing for a glossy, durable finish right away.
You might wonder, can you wet sand and buff single stage paint? In my experience, wet sanding this type of paint can enhance its shine, but it’s a delicate process.
I used it myself when I painted a classic car; the single stage paint gave it a fresh showroom look. To prep for wet sanding, ensure the painted surface is properly cured, which usually takes at least 24 hours. Taking this time can prevent damage to that brilliant finish. When working with specialized surfaces like aluminum boats, choosing the right paint becomes crucial for protecting marine vessel exteriors.
Essential Considerations Before You Start Wet Sanding and Buffing
What do you need to prepare for?
- High-Quality Sandpaper: Use sandpaper grits between 2000-3000, like 3M Wetordry. It’s essential for smoothing the paint without damaging your single-stage paint.
- Buffing Compound: Get a compound such as Meguiar’s Polishing Compound. It helps restore gloss after sanding, making your single-stage paint shine.
- Dual Action Polisher: Consider the PORTER-CABLE 7424XP. This tool helps buff large areas evenly and quickly, which is crucial for single-stage paint.
- Protective Gear: Invest in safety goggles 💰 Save on Anti-Fog Safety Goggles → and masks, like the 3M Disposable Respirator. Protecting yourself from dust particles is essential while sanding.
We’ve wrapped up key factors to consider before wet sanding and buffing. Let us turn our attention to the detailed guide on these processes.
Also See: Can Acetone Damage Car Paint? Find Out Before Using!
Step-by-step Guide to Wet Sanding and Buffing Single Stage Paint
This guide covers the steps for wet sanding and buffing single-stage paint. Follow them all for the best results!
-
Wash and Dry the Surface
Wash the paint surface with clear soap or car shampoo. Ensure it’s completely dry to avoid swelling during wet sanding.
You need a clean surface, free from debris or oils that can ruin your finish. Use a microfiber cloth ⭐ Top Rated: Microfiber Cleaning Cloth → to dry; it prevents scratches.
-
Select the Right Grit Sandpaper
Choose the right grit for your project; typically, 1200 to 1500 grit is best for wet sanding single-stage paint. Use up to 2000 grit for a super-smooth shine.
A coarse grit removes imperfections faster, but be cautious not to damage the paint. Trust me, 1500 grit was the sweet spot for me!
-
Wet Sanding Technique
Soak your sandpaper in water; this minimizes dust and helps with smooth sanding. Keep the surface wet during the process—add more water as needed!
Use a gentle, circular motion while sanding, applying minimal pressure. Work in sections of about 2×2 ft (0.61 M²) until the surface feels smooth.
-
Buffing the Surface
Once you’re satisfied, switch to a buffing compound and an orbital buffer for polishing. Apply the compound evenly in small sections—start at a low speed.
This will make the single-stage paint gleam! I often use a foam pad for extra shine—keep the buffer moving to prevent burns.
You should now have a good understanding of wet sanding and buffing techniques for single-stage paint. In the next part, we’ll discuss types of single-stage paint.
Types Of Single-stage Paint Explained
Let’s look at different types of single-stage paint: Acrylic Enamel, Urethane, Lacquer, and Metallic Finishes.
-
Acrylic Enamel
Acrylic enamel is a versatile option. It cures quickly, usually within 24 hours, allowing wet sanding and buffing shortly after application.
-
Urethane
Urethane is known for its durability and chemical resistance. You can typically wet sand it after at least 24 hours to achieve a smooth finish.
-
Lacquer
Lacquer dries rapidly, making it easy to handle. However, it usually requires about 3 to 5 days before it’s safe to wet sand without causing damage.
-
Metallic Finish
Metallic finishes need extra care due to their reflective nature. You should wait at least 48 hours before wet sanding to maintain their sparkle.
After many attempts, I found that Urethane suits my preferences best. Its fast curing time and resilience make it ideal for those wanting a quick polish and glossy finish.
That covers the different types of single-stage paint. Let’s now take a look at the factors influencing wet sanding and buffing success.
Factors Affecting the Success Of Wet Sanding and Buffing Single-stage Paint
What factors determine if you’ll succeed with wet sanding and buffing?
-
Paint Cure Time Quick drying times—at least 24 to 48 hours—are essential before sanding.
-
Temperature and Humidity Ideal conditions (68-75°F or 20-24°C) significantly impact the wet sanding process.
-
Sanding Grit Choose a fine grit (1500-2000) to avoid damaging the paint while removing imperfections.
-
Buffing Technique Use consistent pressure and moderate speed for an even finish and to prevent swirl marks.
We have now covered the factors influencing the success of wet sanding and buffing single-stage paint. Next, we will discuss common issues faced during this process.

Common Issues Encountered When Wet Sanding and Buffing Single-stage Paint
When my buddy tried wet sanding his single-stage paint, he scratched the clear coat. Yikes! It’s crucial to use 2000-grit sandpaper for finer results and to avoid dust buildup, which can cause more scratches.
To fix it, mist the surface with water and gently sand. Follow with a polishing compound. Aim for a buffing speed of 1500 RPM to restore the sheen without damaging the paint.
Finishing Touches After Wet Sanding and Buffing
After you’ve polished it, wait 24 hours before sealing your single-stage paint. Use a quality sealant like Meguiar’s 3-in-1 wax for lasting protection and shine.
Benefits of Wet Sanding and Buffing Single Stage Paint
Wet sanding and buffing offers numerous benefits that elevate your single stage paint finish.
- Enhances Gloss: Buffing improves the shine, giving your paint a showroom finish.
- Removes Imperfections: This process effectively eliminates scratches and dust particles, creating a smoother surface.
- Increases Durability: A polished surface can withstand environmental elements better, adding longevity.
- Deepens Color: Proper sanding and buffing can intensify the richness of the paint color.
Wet Sanding vs. Dry Sanding for Single Stage Paint
You might wonder which sanding method is better. Let’s clarify.
- Wet Sanding: Reduces dust, keeps the paint cool, and minimizes scratches.
- Dry Sanding: Quick process but can generate heat and dust, risking damage to the paint.
In my experience, wet sanding wins hands down for single stage paint!
Finishing Techniques for the Perfect Gloss
Once you’ve wet sanded and buffed, there are additional techniques to elevate your finish to a pro-level shine.
Polishing After Buffing
After buffing, consider using a finishing polish. This adds clarity and depth to single stage paint.
- Griot’s Garage Fast Correcting Cream: A great choice that removes minor scratches and swirl marks effectively.
- Meguiar’s Ultimate Polish: This helps enhance the gloss and gives a long-lasting finish.
Sealing for Durability
Sealing your paintwork helps protect against the elements.
- Optimum Gloss-Coat: A ceramic coating that provides high durability and slickness.
- Ceramic Sealants: Protect your finish from UV rays, dirt, and bird droppings effectively.
Inspect for Depth and Clarity
Next, inspect your paint for depth and clarity. Check for:
- Reflections: A well-finished surface should reflect light clearly and sharply.
- Clear View: Make sure you can see details of the environment around your vehicle.
Final Touch: Detailing Spray
To finish, use a detailing spray for that “just-waxed” look.
- Detailing Sprays: Brands like Chemical Guys and Adam’s are fantastic for a final touch up.
Inspection Items for Single-stage Paint
Inspect for any irregularities around edges and corners; these areas often show orange peel. Use a magnifying tool to catch imperfections—aim for under 5 micrometers (Μm)!
Pro-level Tip for Experts
Wrap a fresh piece of 2000-grit (Fine) wet sandpaper on a foam block and apply consistent, gentle pressure while sanding down imperfections less than 1 mm (0.04 Inches). Repeat until they disappear! If you’re looking to add some extra flair to your surface, you might want to explore creative paint customization techniques.
Frequently Asked Questions About Wet Sanding and Buffing Single Stage Paint
What Are the Best Products for Wet Sanding Single Stage Paint?
When wet sanding single stage paint, the best products include 2000-grit sandpaper and a dedicated sanding contraption. These sandpapers minimize scratches and ensure even sanding. Quality products can make a huge difference in achieving a smooth finish without damaging your paint.
Can You Damage Single Stage Paint by Wet Sanding?
Yes, you can damage single stage paint by wet sanding if not done correctly. Incorrect pressure or using too low grit paper can lead to clear coat or paint job failures. A practice like wet sanding should be approached cautiously; aim for a light touch to preserve your finish. If you’re working with specific materials like Azek, you might want to explore painting techniques for synthetic surfaces.
Is Wet Sanding Necessary for Single Stage Paint?
No, wet sanding is not always necessary for single stage paint. However, it helps in removing imperfections and scratches. If you’re looking for that near-perfect shine, wet sanding plays a valuable role in the preparation for buffing and polishing.
How Long Should I Wait to Buff After Wet Sanding?
You should wait approximately 24 hours to buff after wet sanding. This time allows the surface to completely dry and minimizes the chance of gouging the paint. It’s always better to be safe so the paint sets well before reworking it. If you’re unsure about paint removal techniques, check out how alcohol affects paint surfaces.
What Safety Measures Should I Take While Buffing Paint?
While buffing paint, you should wear a mask and safety goggles. These measures protect against paint dust and volatile organic compounds (Vocs). Always work in a well-ventilated area to ensure you stay safe from harmful fumes while maintaining fine paint protection techniques.
How Long After Painting a Car Can You Wet Sand?
You can wet sand a car approximately 2 to 3 weeks after painting. This duration allows the paint to cure properly, ensuring a better finish post-sanding. Don’t rush it; giving your car paint maintenance the proper time contributes to the longevity of your finish.
What Grit Sandpaper Should I Use for the Best Results?
Use 1000-grit to 2000-grit sandpaper for the best results when wet sanding. The finer grit helps prevent unnecessary scratches while achieving a smooth surface. It’s essential to match the grit type with the desired outcome for optimal finish results! If you’re looking to add some extra sparkle to your paint project, you might want to explore glitter paint techniques.
How Long Does Painting a Car Take?
Painting a car typically takes about 2 to 3 days, allowing for drying and curing time. Depending on the method and number of coats, the process may extend, especially if detailing or special finishes are involved. If you’re considering painting specific components like painting your alloy wheel rims, the technique requires additional precision and preparation.
Also See: What Does Maaco Charge to Paint a Car? Find Out Here!
Conclusion
In this article, we’ve explored various facets of single stage paint, including its definition, important considerations, a detailed guide for wet sanding and buffing, suggested color palettes, and more. We’ve also discussed common challenges and pro tips to help you achieve the best results.
So, can you wet sand and buff single stage paint? Absolutely! With the right timing, tools, and techniques, you can achieve a beautiful finish. Just remember to wait at least 30 days after applying the paint for optimal results. If you need further assistance with your project, feel free to reach out.
For comprehensive insights and articles, be sure to visit our homepage: Paint Answers, where you can find all the information you need!
Additional Resources
- Gurney, J. (2009). Color and Light: A Guide for the Realist Painter. Kansas City, MO: Andrews McMeel Publishing.
- Single-stage paint,not good to wetsand/buff? | The H.A.M.B.
- r/Autobody on Reddit: Wet sanding single stage urethane paint
- is single stage paint wet sandable/color sandable? – Honda-Tech – Honda Forum Discussion