How Do You Seal Painted Furniture?
Published on: March 14, 2026 | Last Updated: January 29, 2026
Written By: Alisha Winters
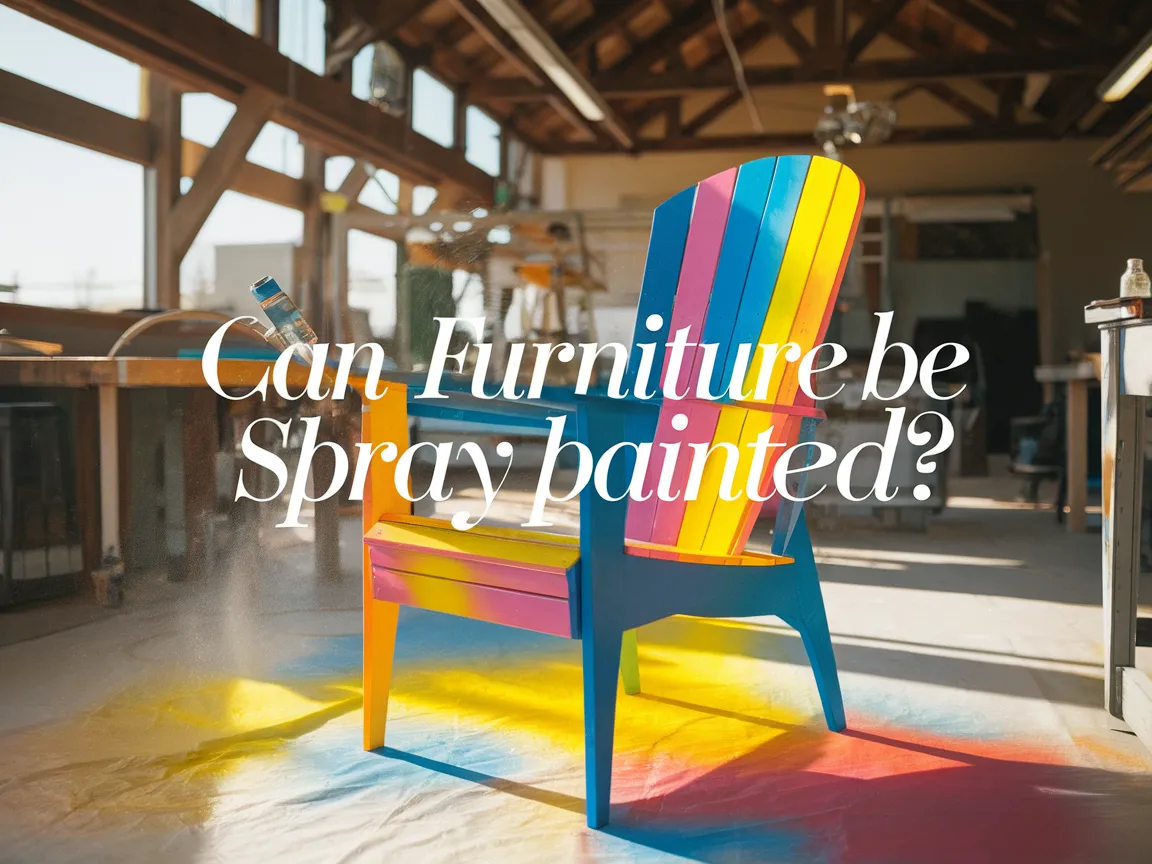
Painted furniture is furniture that’s had colorful paint added to it, making it look bright and fun. Imagine a boring old chair transformed into a rainbow of colors!
So, how do you seal painted furniture? It’s super important to seal it so the paint stays pretty and doesn’t chip. From my own experience, I’ve seen how sealing protects the furniture from scratches and keeps it looking new for longer.
In this guide, you’ll discover essential preparations before sealing, a step-by-step guide to sealing painted furniture, recommended sealers, and tips on common issues to watch for. Plus, you’ll get ideas for creative DIY projects using sealed painted furniture and answers to frequently asked questions. Let’s dive into how do you seal painted furniture and make it shine!
Contents
- 1 How Do You Seal Painted Furniture?
- 2 What is Painted Furniture?
- 3 Essential Preparations Before You Start Sealing
- 4 Step-by-step Guide to Sealing Painted Furniture
- 5 Types Of Sealers Ideal for Painted Furniture
- 6 Understanding Sealant Compatibility with Various Paint Types
- 7 The Importance of Curing Time for Different Sealants
- 8 Factors Affecting the Sealing Process Of Painted Furniture
- 9 Common Issues to Watch for When Sealing Painted Furniture
- 10 Finishing Touches: Making Your Painted Furniture Shine
- 11 Maintaining Sealed Painted Furniture
- 12 Repairing Sealed Painted Furniture
- 13 Frequently Asked Questions About Sealing Painted Furniture
- 14 Conclusion
- 15 Additional Resources
How Do You Seal Painted Furniture?
To seal painted furniture, you can use polycrylic or polyurethane. These protect the surface from scratches and moisture. Apply with a brush in thin, even coats. Let it dry for 2-4 hours between coats for best results. If you’re exploring digital art techniques, you might want to enhance your animation with audio.
What is Painted Furniture?
Painted furniture refers to pieces coated with paint, usually for aesthetic or protective reasons. This technique dates back centuries, with examples from the 12th century; today, over 50% of new furniture has a painted furniture finish. If you’re looking to transform your own pieces, you might want to explore professional painting techniques.
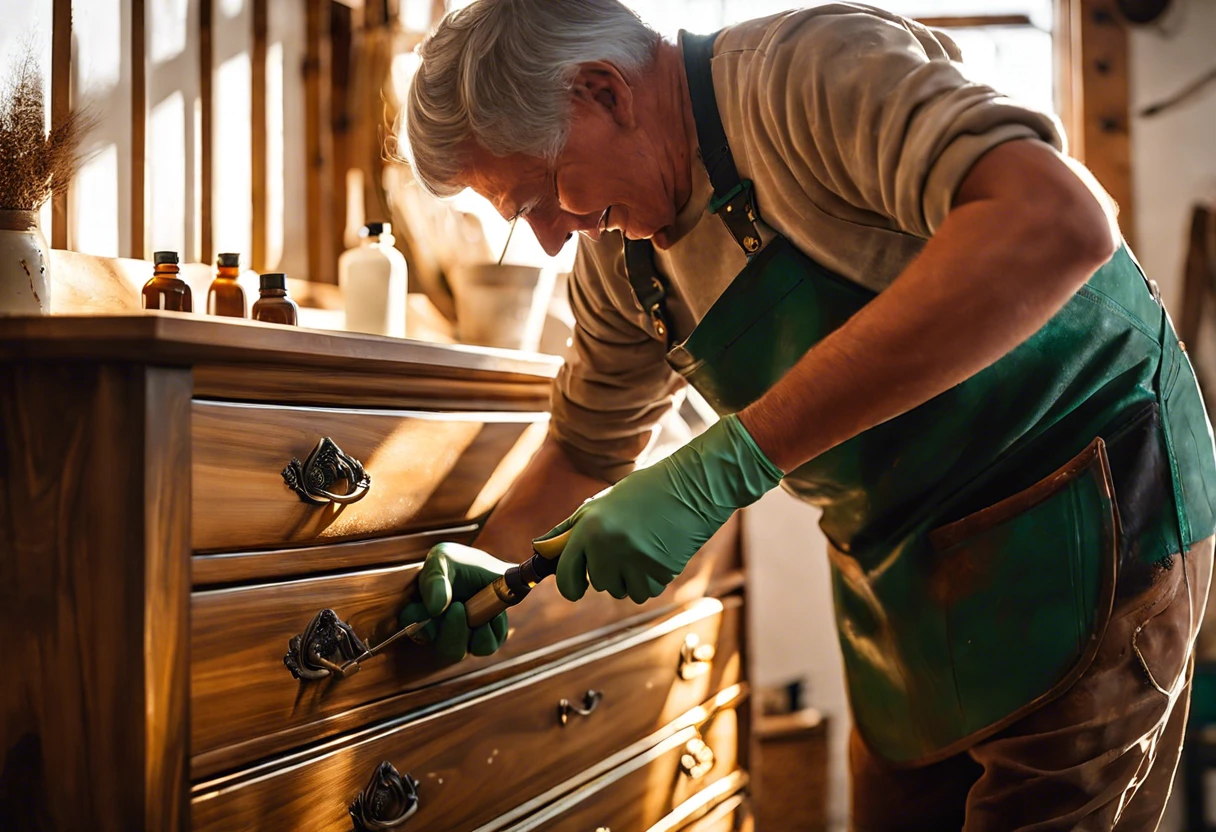
Properly sealing painted furniture is crucial. In my experience, applying a sealer after painting a beautiful dresser made a significant difference in its durability.
While learning how to seal painted furniture, I realized the importance of creating a protective barrier. It revitalized my vintage finds and made them more appealing, especially when using techniques like antiquing furniture with chalk paint. When working with different surfaces, I discovered some specific considerations for painting metal surfaces effectively.
Essential Preparations Before You Start Sealing
What do you need to prepare for sealing your painted furniture?
- Chalk Paint Sealant: You’ll need a sealant like Annie Sloan Soft Wax or Minwax Polycrylic. These protect your finish and enhance durability.
- Sanding Sponge: A medium grit (120-220) sponge ensures smooth surfaces and creates the ideal foundation for your sealant.
- Paint Brush: Use a high-quality brush, such as a Victoria Fine Paint Brush. It helps you apply the sealant evenly and without streaks.
- Lint-Free Cloth: Grab a pack of lint-free rags, like ScottShop towels. They prevent debris while applying the finish.
So far we covered important steps to prepare for sealing. Let’s look at the detailed process for sealing painted furniture next.
Also See: Can You Paint a Popcorn Ceiling? Tips You Should Know
Step-by-step Guide to Sealing Painted Furniture
Let’s dive into the steps for sealing painted furniture. Follow each one closely for the best results!
-
Choosing the Right Sealer
Select a clear sealer that suits your furniture type. Polyurethane, polycrylic, or natural wax finishes work well, but avoid oil-based products if the paint is water-based.
Water-based polycrylic dries clear and won’t yellow over time. For frequently used pieces, choose a durable sealer to extend wear, as results may vary based on paint type and application method. If you’re considering mixing different paint types, you might want to explore paint compatibility techniques.
-
Preparing the Surface for Sealing
Gently wash the painted surface with mild soap and water. Ensure it’s completely dry before applying the sealer; moisture can cause adhesion problems.
A light sanding with 220-grit sandpaper 💰 Save on Assorted Grit Sandpaper → improves sealer adhesion by removing dust and smoothing the surface for a flawless finish.
-
Applying the Sealer
Use a high-quality brush or foam applicator for even application. Start at one corner and work in long, smooth strokes to avoid bubbles and streaks.
Apply the sealer in thin coats. Thick layers can peel or create an uneven finish. Allow each coat to fully dry before reapplying!
-
Drying Time and Curing
After applying, let the sealer dry according to package instructions, usually 1–3 hours. Proper curing can take several days—don’t rush it!
Temperature and humidity can affect drying times. Warmer temps and lower humidity lead to faster drying, so aim for conditions around 20°C (68°F) for optimal results. Note any variations based on the product used.
-
Adding Additional Coats
Apply a minimum of two coats for better protection. If surfaces experience heavy use, consider three or more coats for maximum durability.
After your last coat, let the furniture rest without use. Wait a full week before placing heavy items to ensure that your sealing job lasts long-term.
We have now covered a step-by-step guide for sealing painted furniture. Next, we will discuss the best types of sealers.
Types Of Sealers Ideal for Painted Furniture
Let’s explore the different types of sealers: polyurethane, wax, shellac, and varnish.
-
Polyurethane
Polyurethane is a strong, durable sealant available in water-based and oil-based options. It dries to a hard finish, making it perfect for high-traffic furniture.
-
Wax
Applying wax creates a soft sheen and enhances the paint’s color. It’s easy to reapply and ideal for achieving a vintage look.
-
Shellac
Shellac is a natural resin that provides a beautiful, warm finish. It dries quickly and allows for easy repairs, but it may yellow over time.
-
Varnish
Varnish offers excellent moisture resistance and UV protection. It’s a popular choice for outdoor furniture or pieces exposed to sunlight.
Based on my experience, polyurethane is the best option for durability. Its tough finish ensures painted furniture withstands daily wear and tear.
So far we covered different sealers suitable for painted furniture. Let’s look at sealant compatibility with various paint types next.
Understanding Sealant Compatibility with Various Paint Types
Knowing how different paint types interact with sealants is key for long-lasting results.
| Paint Type | Best Sealant | Notes |
|---|---|---|
| Acrylic Paint | Water-based Polycrylic | Dries clear without yellowing over time. |
| Chalk Paint | Wax or Oil-based Polyurethane | Wax creates a softer finish; polyurethane adds durability. |
| Latex Paint | Water-based Sealers | Less odor and easy to clean; great for indoor use. |
| Oil-based Paint | Oil-based Polyurethane | Excellent for outdoor use, but can yellow over time. |
So far we covered how sealants work with different paint types. Let’s look at the significance of curing time for sealants next.
The Importance of Curing Time for Different Sealants
Understanding how long to wait is crucial for sealing success.
- Water-based Sealant: Typically cures in 1-2 weeks; full protection achieved after about 30 days.
- Oil-based Sealant: Needs longer—about 2-3 weeks for full hardness and protection.
- Wax Finish: Reaches optimum hardness after 2-3 days; reapply as needed.
In my experience, patience pays off: waiting the recommended time leads to a more durable finish.
Factors Affecting the Sealing Process Of Painted Furniture
What factors can influence the sealing method for your painted furniture?
-
Type of Paint: Acrylic and chalk paints seal differently, affecting your finish.
-
Environmental Conditions: Humidity and temperature can hinder drying, impacting the seal.
-
Surface Preparation: Proper sanding and cleaning ensure better adhesion of the sealant to the paint.
-
Sealant Choice: Different sealants provide varying degrees of durability and sheen, directly affecting aesthetics.
Common Issues to Watch for When Sealing Painted Furniture
Once, my friend applied sealer too quickly on newly painted furniture, creating streaks and dull spots. Frustrating, right? You’ll want to apply an even coat of water-based polyurethane at 210-290 g/m² (1.78-2.42 Oz/ft²) for the best results. If you’re considering mixing different paint types, you might want to learn about interior paint techniques.
Remember to sand gently between layers. This ensures a smooth surface and enhances adhesion. Don’t rush! Patience pays off when sealing painted furniture.
Finishing Touches: Making Your Painted Furniture Shine
After applying a sealant, clean your painted furniture weekly with a mild detergent solution. Use a soft cloth to gently wipe surfaces and prevent grime buildup.
Inspect for scratches, which can appear as fine lines. Use a frame finisher (Touch-up Marker) like Minwax StainMark for touch-ups; it’s easy to apply with a small brush.
Here’s a pro tip from my past projects: To boost durability, consider adding a layer of furniture wax after drying for at least two weeks. It’ll protect and enhance shine.
Maintaining Sealed Painted Furniture
After you seal painted furniture, it’s vital to keep it looking fresh and new.
- Regular Cleaning: Use a soft, damp cloth for weekly dusting. This prevents grime buildup.
- Avoiding Heat and Moisture: Don’t place hot items directly on surfaces. Use coasters for drinks.
- Reapplying Sealant: Every few years, or as needed, apply a fresh coat. This ensures lasting protection.
Repairing Sealed Painted Furniture
Sometimes, things happen! Here’s how to handle repairs on your sealed painted pieces.
- Minor Scratches: Lightly sand the area and touch up with matching paint. Finish with a sealant.
- Deep Scratches: For deeper damage, consider refinishing the affected area using similar steps as sealing.
- Buffering Dull Areas: Use a furniture restorer or polish on dull spots to bring back shine.
Frequently Asked Questions About Sealing Painted Furniture
How Long Does Sealer Last on Painted Furniture?
Sealers can last up to 5 years on painted furniture, depending on usage and conditions. Exposure to sunlight and moisture can reduce this lifespan, so keep your pieces in optimal environments for resiliency.
Can I Use a Water-based Sealer Over Oil-based Paint?
Yes, you can use a water-based sealer over oil-based paint, but it’s essential to ensure the paint is fully cured. Oil-based paint can take up to 30 days to cure fully, which provides a good bond for the sealer. If you’re looking to refresh your bathroom surfaces, you might want to explore painting techniques for bathroom sinks.
What Tools Do I Need to Seal Painted Furniture?
To seal painted furniture, you’ll need brushes, foam rollers, or spray guns. Using the right tool improves coverage, and a well-finished piece makes all the difference; expect to invest around $15-$50 for tools. If you’re feeling creative, you might even want to experiment with custom paint techniques.
Is It Necessary to Sand Between Coats Of Sealer?
Yes, it’s necessary to sand between coats of sealer for a smooth finish. Sanding helps the next layer adhere better, leading to a stronger, more durable surface.
Can Sealing Furniture Change Its Color?
Yes, sealing furniture can change its color, particularly with darkening effects from oil-based products. Always test a small area first to ensure you’re happy with the result before committing to the entire surface. If you want to achieve a smooth, professional finish without unsightly marks, preventing brush strokes becomes crucial.
How Many Coats Of Sealer Should I Apply?
You should apply at least 2-3 coats of sealer for the best protection on painted furniture. This ensures durability and longevity, providing a nice sheen while guarding against scratches.
Are There Eco-friendly Options for Sealing Painted Furniture?
Yes, numerous eco-friendly sealers are available, often made from natural ingredients. These options reduce harmful emissions and are safer for indoor use, so it’s worth checking labels for products with water-based solutions.
Conclusion
We are almost done. We covered what painted furniture is, the essential preparations you need before sealing, a step-by-step guide to sealing, the recommended color palette, types of sealers ideal for painted furniture, factors that affect the sealing process, common issues to look out for, finishing touches to make your pieces shine, and some creative DIY project ideas.
To seal painted furniture, simply choose an appropriate sealer, prep your surface well, and follow our clear steps. If you have any questions or need further guidance on sealing painted furniture, feel free to reach out for assistance.
For additional insights and resources, visit our homepage: Paint Answers.
Additional Resources
- Gurney, J. (2009). Color and Light: A Guide for the Realist Painter. Kansas City, MO: Andrews McMeel Publishing.
- How to Seal Painted Furniture for Long-Term Protection • That Sweet Tea Life
- The Best Clear Coat for Painted Wood, 2024 (Tested & Reviewed)
- Top coat / sealer for painted wooden furniture
Experienced interior designer with 15+ years in transforming spaces, blending artistry with expertise in color and design. Rhode Island School of Design graduate, specializing in restorations and modern makeovers.
Furniture, Interior