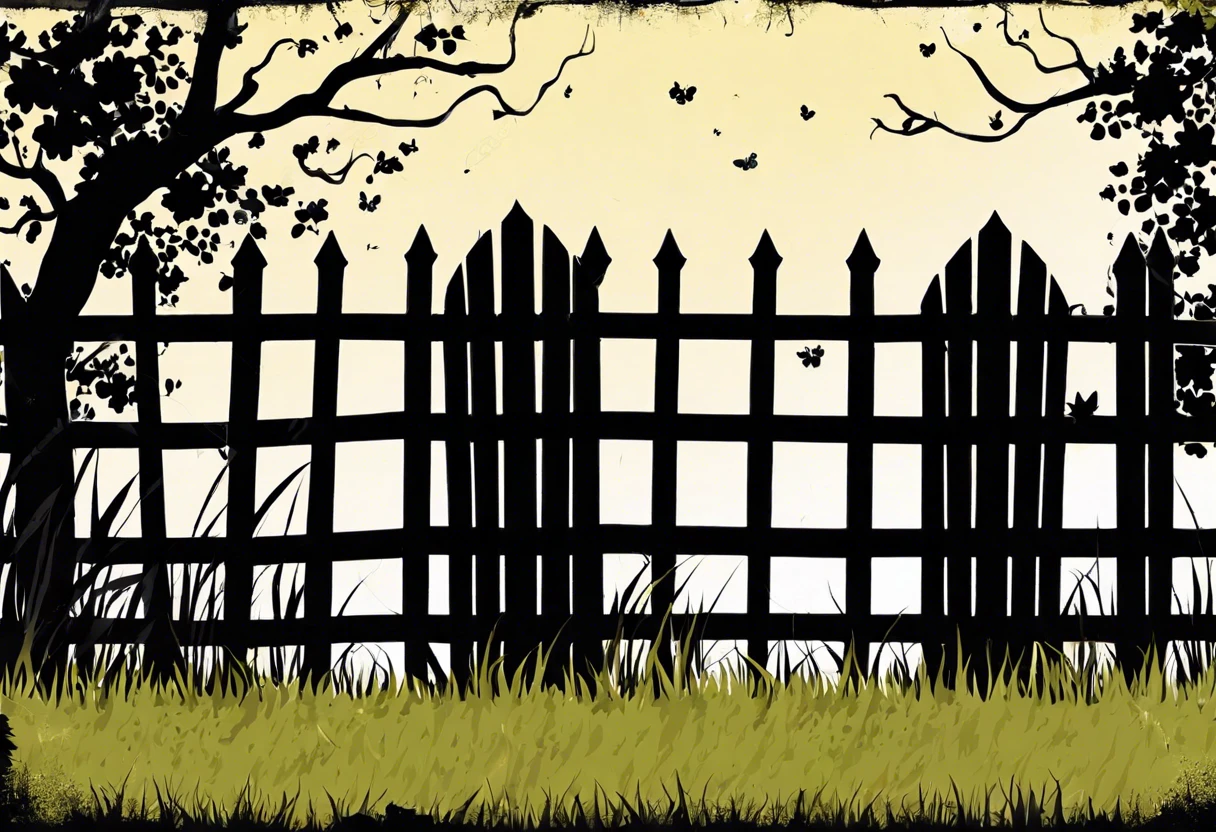
Can You Paint A Vinyl Fence?
A vinyl fence is like a colorful wall made of plastic. It keeps your yard private and looks pretty in many shades.
You might ask, can you paint a vinyl fence? It’s crucial to know the answer because painting it the right way can make your fence last longer and look fresh. I’ve tried it before, and when I didn’t follow the steps, the paint peeled right off, leaving me frustrated.
In this guide, we’ll explore what a vinyl fence is, essential tips before you start, steps for a successful paint job, color choices, paint compatibility for various types of fences, factors affecting success, common issues, finishing details, and fun DIY ideas. And remember, just because you can paint a vinyl fence doesn’t mean all types of vinyl surfaces will respond the same way; for instance, can you paint over vinyl siding?
Contents
- 1 Can You Paint a Vinyl Fence?
- 2 What is a Vinyl Fence?
- 3 Essential Considerations Before You Start
- 4 Steps to Successfully Paint a Vinyl Fence
- 5 Types Of Vinyl Fences and Their Paint Compatibility
- 6 Best Practices for Painting a Vinyl Fence
- 7 Factors Affecting the Success Of Painting a Vinyl Fence
- 8 Common Issues When Painting a Vinyl Fence
- 9 Finishing Touches for a Beautiful Paint Job
- 10 DIY Project Ideas for Painted Vinyl Fences
- 11 Care and Maintenance After Painting a Vinyl Fence
- 12 Cost Considerations for Painting a Vinyl Fence
- 13 Frequently Asked Questions About Painting Vinyl Fences
- 14 Conclusion
- 15 Useful Resources
Can You Paint a Vinyl Fence?
Yes, you can paint a vinyl fence! Use a vinyl-safe paint to ensure adhesion. Clean the surface thoroughly before painting. Remember, a good primer can also improve the final result.
What is a Vinyl Fence?
A vinyl fence is a stylish and durable option for property boundaries. Made from polyvinyl chloride (PVC), it can withstand harsh weather and lasts up to 30 years.
Can you paint a vinyl fence? I’ve often wondered this myself. Last summer, I considered freshening up my old fence.
A friend used it in her yard, and I saw how challenging it could be. She regretted not choosing the right color from the start and later asked if you can paint a vinyl fence. The truth is, maintaining that perfect look without paint can save you a lot of headaches down the road! To ensure our efforts contribute to a sustainable environment, it’s crucial to consider recycling unused materials like paint cans. Find out more about recycling paint cans.
Essential Considerations Before You Start
What do you need to paint a vinyl fence?
- Paint Sprayer: You’ll need a sprayer like the Graco Magnum X5. It provides an even coat and is faster than a brush, saving you time.
- Exterior Vinyl Paint: Use products like Behr Premium Plus Ultra. It’s designed for vinyl surfaces, prevents peeling, and ensures long-lasting results.
- Paint Primer: Get Zinsser B-I-N Shellac-Based Primer. This option helps adhesion (Sticking) and enhances the paint’s durability on vinyl.
- Drop Cloths: Use cloths like 3M’s Giant Drop Cloth 💰 Save on Heavy-Duty Canvas Drop → . They protect your ground from overspray and keep your workspace clean.
We have now covered important factors to consider before starting. The next section will detail the steps for successfully painting a vinyl fence.
Also See: Can You Paint Kilz Over Mold? Tips for a Clean Finish
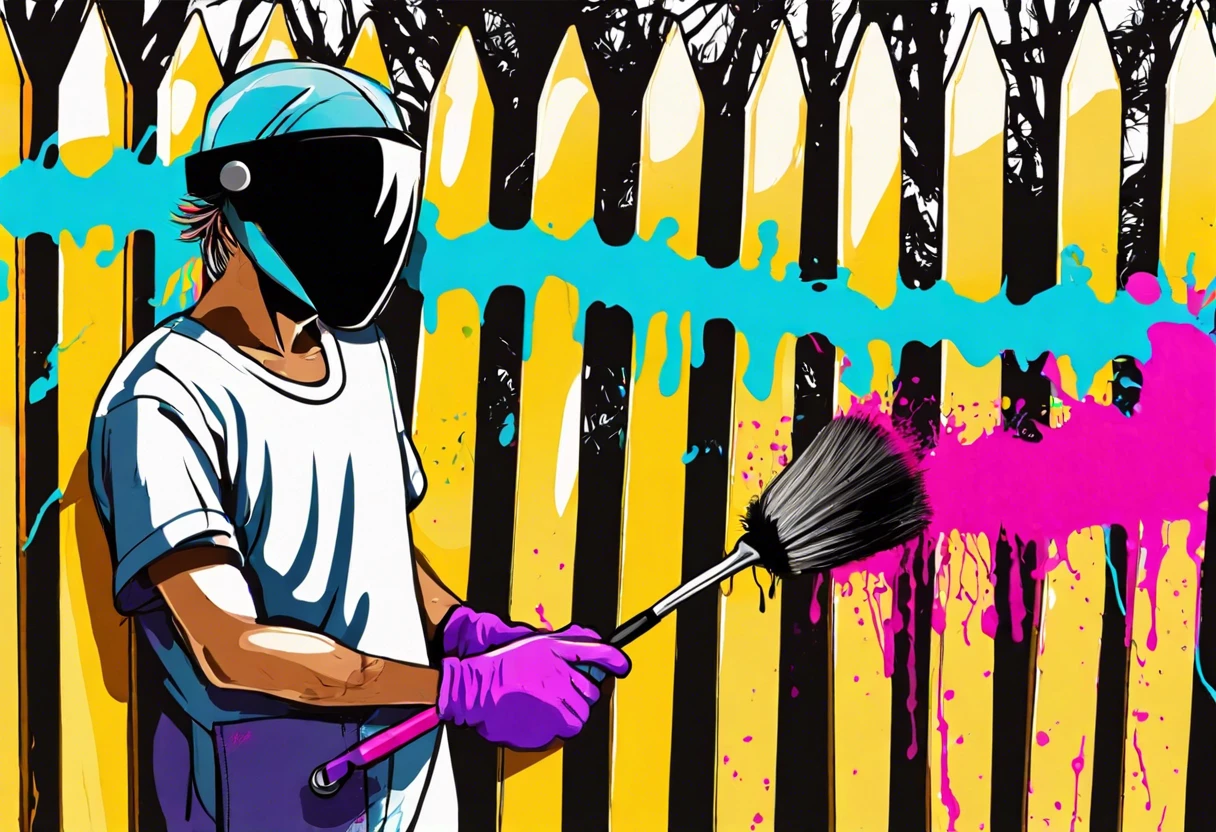
Steps to Successfully Paint a Vinyl Fence
Here are the steps to effectively paint a vinyl fence using the right techniques and materials.
-
Prepare the Vinyl Surface
Clean the vinyl fence thoroughly with a mixture of soap and water to remove dirt and mildew. Ensure it dries completely. A pressure washer can help, cleaning at up to 3,400 psi (Pounds Per Square Inch).
A clean surface helps the paint adhere better, preventing peeling and fading. This step accounts for about 15% of your painting success!
-
Select the Right Paint
Choose paint designed for plastic or vinyl surfaces. I recommend acrylic or polymer-based paint, as these last longer against UV radiation and temperature changes.
Pick paint with a high Solar Reflectance Index (SRI) to keep colors vibrant up to four times longer than regular paints.
-
Apply the Primer (if Necessary)
If your paint requires it, apply a high-quality bonding primer specifically for vinyl surfaces to improve adherence.
Wait about 1-2 hours for adequate drying time before painting. This step can significantly improve your final finish!
-
Paint the Vinyl Fence
Use a brush or spray gun to apply the paint. Use even strokes and work in sections for consistent coverage.
Apply at least two coats for a deeper, richer color. Wait about 4 hours for each coat to dry before applying the next.
-
Allow the Paint to Cure
After painting, let the fence cure fully for about 24-48 hours, depending on temperature and humidity. Avoid touching the surface or putting stress on it during this time.
Patience pays off! Proper curing helps the paint bond and provides protective layers, ensuring longevity of up to 7 years!
We’ve wrapped up the steps for successfully painting a vinyl fence. Let us turn our attention to the types of vinyl fences and their paint compatibility.
Types Of Vinyl Fences and Their Paint Compatibility
Let’s look at the different types of vinyl fences: Privacy Fences, Picket Fences, Ranch Rail Fences, and Pool Fences.
-
Privacy Fences
Privacy fences typically stand 6 to 8 feet (1.8 To 2.4 Meters) tall. They’re solid with no gaps, making them tough to paint due to limited ventilation.
-
Picket Fences
Picket fences usually reach 3 to 4 feet (0.9 To 1.2 Meters) high. Their spindly designs allow better air circulation, but proper prep is essential for any paint you consider.
-
Ranch Rail Fences
Common in rural areas, these fences feature horizontal rails and are typically 4 to 6 feet (1.2 To 1.8 Meters) tall. They paint well, allowing for artistic expression beyond standard colors.
-
Pool Fences
Pool fences often stand over 4 feet (1.2 Meters) high to ensure safety. Due to regular exposure to pool chemicals and water, they need special paints for longevity and durability.
Over time, I’ve found privacy fences challenging to paint. Their solid structure and height complicate customization, but they can look stunning with the right approach!
So far we covered the various types of vinyl fences and their paint compatibility. Let’s look at best painting practices next.
Best Practices for Painting a Vinyl Fence
Wondering how to get the best results? Here are some top tips:
- Test Before You Apply: Paint a small area first to see how the color looks. This can prevent surprises later!
- Keep It Cool: Paint during cooler parts of the day, like morning or evening, to avoid quick drying that can lead to streaks.
- Layer It Up: Apply multiple thin coats instead of one thick coat. It helps with even coverage and reduces peeling.
- Follow Up on Repairs: After about a year, inspect and repair any paint damage during regular fence maintenance!
That covers effective techniques for painting a vinyl fence. Let’s now take a look at key elements influencing painting success.
Factors Affecting the Success Of Painting a Vinyl Fence
What factors impact the successful painting of a vinyl fence?
-
Type of Paint: Use specialized vinyl-safe paint for better adhesion and durability.
-
Surface Preparation: Clean the vinyl thoroughly to remove dirt and ensure optimal paint adhesion.
-
Weather Conditions: Ideal temperatures (10°C to 29°C or 50°F to 85°F) promote effective paint curing.
-
Vinyl Quality: The age and condition of the vinyl affect the paint’s longevity.
Common Issues When Painting a Vinyl Fence
My friend tried painting his vinyl fence but created a mess. The paint didn’t stick and chipped off within days. Can you believe that?
Use a primer specifically made for vinyl first. Wait at least 24 hours before applying paint with at least 25% PVC (Polyvinyl Chloride) content. This provides strong adhesion—trust me, it makes a difference!
Finishing Touches for a Beautiful Paint Job
After completing your project, protect the vinyl fence. Use a UV-resistant sealer and reapply it every 2-3 years for optimal durability, especially in sunny areas.
Inspect the paint job thoroughly every six months. Look for bubbles or peeling, especially at joints, which can let moisture in and damage the vinyl.
From one expert to another, use a pressure washer at 2000 psi (Pounds Per Square Inch) annually to remove dirt and ensure paint adhesion during maintenance, particularly on heavy stains.
DIY Project Ideas for Painted Vinyl Fences
Feeling creative? You can create a fun mural or use stencils to add a splash of color to your vinyl fence! Think about painting geometric patterns or a favorite scene to unleash your artistic vibe. If you are considering painting metal surfaces, explore how you can use acrylic paint on metal effectively.
To dive into these projects, grab some vinyl-safe paint, a few brushes, and stencils. At about $50-$100 (USD), you can turn your fence into a masterpiece within a weekend!
Looking for alternatives? You can also consider washing your fence in bright colors using tie-dye methods. Oh, and don’t forget about using an outdoor vinyl wrap; they offer vibrant styles that add a modern twist to just painting! If you’re wondering about disposal options, check how to paint fence techniques responsibly disposing of paint cans.
Care and Maintenance After Painting a Vinyl Fence
Once you’ve painted your vinyl fence, it’s vital to maintain its appearance and durability. Here’s what you need to do:
-
Regular Cleaning
Wash your fence every 6-12 months using a soft brush and mild soap. This prevents the buildup of dirt and grime, ensuring colors stay vibrant.
-
Inspect for Damage
Check for chips or scratches once a year. Touching up small areas prevents larger issues down the line.
-
Reapply UV Protectants
Consider using a UV-resistant sealer every 2-3 years. It adds an extra layer of protection against fading and weather damage.
Cost Considerations for Painting a Vinyl Fence
Wondering what it’ll cost to paint your vinyl fence? Here’s a quick breakdown:
| Item | Estimated Cost (USD) |
|---|---|
| Vinyl-safe Paint (1 Gallon) | $30 – $50 |
| Paint Primer (1 Gallon) | $20 – $40 |
| Cleaning Supplies | $10 – $30 |
| Miscellaneous Tools (Brush/Sprayer) | $20 – $100 |
Overall, for an average-sized fence, expect to spend between $100 and $300 (USD) on paint, supplies, and tools. It’s an investment that can breathe new life into your outdoor space!
Frequently Asked Questions About Painting Vinyl Fences
Is It Necessary to Use a Primer on a Vinyl Fence?
Yes, it is necessary to use a primer on a vinyl fence. A good primer enhances paint adhesion and offers protection from UV rays, which can lead to fading. Without it, paint can peel off in as little as two years.
Can I Use Regular Exterior Paint on My Vinyl Fence?
No, you can’t use regular exterior paint on your vinyl fence. Vinyl requires special paint designed for vinyl, ensuring flexibility and preventing cracking. Look for paint labeled “vinyl-safe” to get the right product. If you’re tackling painting projects on surfaces like cement, make sure to choose appropriate products by learning more about exterior painting techniques.
How Long Will the Paint Last on a Vinyl Fence?
Paint can last on a vinyl fence for around 5 to 10 years. However, this varies based on factors like climate and maintenance. High-quality paint attracts better longevity, reducing frequent touch-ups. If you’re considering switching between different paint brands, it’s important to know if Behr can match Sherwin-Williams.
What Preparation is Required Before Painting a Vinyl Fence?
Preparation before painting a vinyl fence includes cleaning the surface and repairing any damages. A clean, dry fence allows paint to adhere properly, ensuring a smooth finish and professional look.
Enhance your painting skills with our guide on how to paint a bunny rabbit.
Can I Paint a Vinyl Fence in Cold Weather?
No, you shouldn’t paint a vinyl fence in cold weather. Paint typically requires temperatures above 10°C (50°F) for proper adhesion. Cool temperatures can affect drying time and final results.
How Do I Clean a Vinyl Fence Before Painting?
You should clean a vinyl fence with a mix of soap and water before painting. A pressure washer can help remove dirt, mold, and mildew effectively, prepping the surface for a fresh coat of paint. If you’re considering using an unconventional surface for your art projects, you might wonder about using acrylic paint on skin.
What Type Of Vinyl-safe Paint Should I Use?
You should use acrylic latex paint that’s specifically labeled as “vinyl-safe.” This type of paint expands and contracts with the vinyl, preventing cracking, and it usually costs around 35% more than standard exterior paint. When considering painting projects in your home, especially basement walls, you might wonder about suitable options. If you’re curious about the best way to paint cement basement walls, it’s essential to choose the right materials that ensure longevity and durability.
Conclusion
I hope this was worth your while. We covered what a vinyl fence is, essential considerations to keep in mind, steps for a successful paint job, recommended color palettes, types of vinyl fences and their compatibility with paint, factors that can affect your results, common issues you might face, finishing touches for a professional look, and some DIY project ideas.
Happy painting! So, can you paint a vinyl fence? Yes, you can, but success relies on choosing the right preparation, paint, and techniques. Just remember to consider its type, compatibility, and finishing details for the best result.
For more helpful insights, explore what Paint Answers has to offer.
Useful Resources
- Gurney, J. (2009). Color and Light: A Guide for the Realist Painter. Kansas City, MO: Andrews McMeel Publishing.
- Can You Paint Vinyl Fence? – Best Vinyl
- r/DIY on Reddit: Can I paint my ugly white vinyl fence?
Isabella is a Filipino-American art writer and critic specializing in contemporary painting, blending her Filipino heritage with global art trends. She holds a BFA from California State University, Long Beach, and a Minor in Art History from the University of the Philippines. Isa has experience as a Gallery Assistant, Art Appraisal Specialist, and Social Media Creative for Art & Design.
Exterior, Fence