Can You Paint A Dresser?
Published on: November 16, 2025 | Last Updated: October 1, 2025
Written By: paint_answered
A dresser is a special piece of furniture where you store your clothes and other treasures. It’s like a magical box that holds your favorite outfits and keeps everything neat and tidy!
When talking about can you paint a dresser, it’s essential to get it right. I’ve painted dressers before, and trust me, following the right steps makes all the difference!
In this guide, you’ll learn essential preparations, a step-by-step process to paint a dresser, recommended colors, types of dressers to paint, factors for success, common issues, finishing touches, and creative DIY ideas. Whether you’re pondering what color should you paint your dresser or what paint to use on a dresser, you’ll find all the answers here.

- ✓
- ✓
- ✓


Contents
- 1 Can You Paint a Dresser?
- 2 A dresser is a piece of furniture with several drawers for storing clothes. Typically, it measures about 45 inches (114 Cm) wide and 30 inches (76 Cm) tall, with 4 to 12 drawers. Are you thinking about giving your dresser a fresh look? I remember when I painted my old dresser; it transformed the entire room. I used it for years to store my t-shirts. With so many options, it’s a fun project—like picking a color to paint your dresser and liven up your space. Essential Preparations Before You Start
- 3 Step-by-step Guide to Painting a Dresser
- 4 Recommended Color Palette for Painting a Dresser
- 5 Types Of Dressers That Can Be Painted
- 6 Factors Affecting the Success Of Your Dresser Painting Project
- 7 Common Issues When Painting a Dresser
- 8 Finishing Touches for Your Painted Dresser
- 9 Creative DIY Project Ideas for Painted Dressers
- 10 Popular Finishes for a Painted Dresser
- 11 Adding Personal Touches to Your Dresser
- 12 Maintenance Tips for Your Painted Dresser
- 13 Frequently Asked Questions About Painting a Dresser
- 14 Conclusion
- 15 Additional Resources
Can You Paint a Dresser?
Absolutely, you can paint a dresser! Just make sure to clean it first. Then, use a good primer followed by your chosen paint type, like chalk or acrylic. If you want to expand your painting skills to other surfaces, you might be interested in painting techniques for different objects. It’s an easy and fun way to refresh your furniture!

A dresser is a piece of furniture with several drawers for storing clothes. Typically, it measures about 45 inches (114 Cm) wide and 30 inches (76 Cm) tall, with 4 to 12 drawers.
Are you thinking about giving your dresser a fresh look? I remember when I painted my old dresser; it transformed the entire room.
I used it for years to store my t-shirts. With so many options, it’s a fun project—like picking a color to paint your dresser and liven up your space.
Essential Preparations Before You Start
What do you need to prepare for painting a dresser?
- High-Quality Paint: Choose a paint like Benjamin Moore’s Advance (380 Ml [1 Pint]) or Sherwin-Williams’ ProClassic. It’s durable and smooth, perfect for furniture.
- Sandpaper ⚡ Best Pick: Assorted Grit Sandpaper → : Get 120 and 220 grit paper. This prepares surfaces for better adhesion and smoothness.
- Primer: Use Zinsser B-I-N or KILZ for a solid base. Primer prevents bleed-through and ensures the paint lasts.
- Brushes and Rollers: A 1-2 inch (2.54-5.08 Cm) angled brush and a foam roller are ideal for even application.
- Protective Gear: Don’t forget gloves and a mask to protect yourself from fumes and dust.
We’ve wrapped up necessary preparations before you start. Let us turn our attention to a step-by-step guide for painting a dresser.

Also See: How Much Does 5 Gallon Of Paint Cost? Find Out Now!
Step-by-step Guide to Painting a Dresser
Now, we will cover the steps to transform your old dresser with paint.
-
Prepare the Dresser Surface
Start by cleaning the dresser with a mix of 1 cup (240 Ml) of vinegar and 1 cup (240 Ml) of water. Scrub thoroughly to remove grease, dirt, and residue for better paint adhesion.
Next, remove handles and hardware. If possible, unscrew the drawers to reach tricky spots. Every angle needs to be paint-ready!
-
Select the Right Paint
You have options! For dressers, acrylic latex paint works wonders. It’s durable, water-based, and easy to clean up—perfect for furniture.
Check if the paint suits the dresser material. If it’s varnished wood, using a primer can improve adhesion. It makes a difference!
-
Apply the First Coat Of Paint
Stir the paint well, then apply it using a brush for edges and a roller for larger areas. Hold the brush at a 45-degree angle for even coverage, and apply generously but not too thick!
Let it dry completely according to the manufacturer’s instructions—usually about 2-4 hours. A good first coat sets the stage for durability and gets you closer to that refreshed look!
-
Sand Between Coats
This step may seem tedious, but it’s essential. Lightly sand with 220-grit sandpaper for a smooth finish, removing any bumps. Wipe off the dust with a damp cloth to avoid imperfections in the next coat.
Take your time—sanding can greatly enhance your final results. I almost skipped this once, and it was a lesson learned!
-
Final Coats and Finishing
Apply a second coat of paint for full coverage, spending around 1-2 hours on this step. Follow the same application techniques for consistent results.
Finally, consider a protective topcoat for durability and shine. An acrylic polyurethane sealant provides a long-lasting finish while keeping the colors vibrant. Your dresser deserves a professional touch!
You should now have a good understanding of the step-by-step process for painting a dresser. In the next part, we’ll discuss recommended color choices for your project.

Recommended Color Palette for Painting a Dresser
If you’re looking for a fresh vibe, I suggest the “Ocean Breeze” theme; it combines calming blues and soft whites to create a serene and inviting space.
Color Box
Hex Code
Color Name
#A7D3E0
Sky Blue
#F0F8FF
Alice Blue
#2C5282
Dark Slate Blue
You should now have a good understanding of selecting a color scheme for a dresser. In the next part, we’ll discuss different dresser styles suitable for painting.
Types Of Dressers That Can Be Painted
Let’s move on to the types of dressers: Wooden, Laminate, Metal, and Vintage.
-
Wooden Dressers
Wooden dressers are classic and versatile. You can paint them with most types of paint; just sand the surface for a smooth finish before applying color.
-
Laminate Dressers
Laminate dressers have a synthetic finish that can be tricky. Use a special primer followed by light, durable paint for the best results.
-
Metal Dressers
Metal dressers are strong and durable. Always use a metal-friendly paint that resists chipping for long-lasting appeal.
-
Vintage Dressers
Vintage dressers often feature unique designs. When painting these, chalk paint can enhance their charm while providing a matte finish.
Over time, I’ve noticed that vintage dressers catch my eye the most. Their character shines through even with a fresh coat of paint, plus you can add a modern twist to a classic piece!
That covers various dresser types suitable for painting. Let’s now take a look at the key factors influencing your painting project’s success.
Factors Affecting the Success Of Your Dresser Painting Project
What factors influence your dresser painting project?
-
Type of Paint: The right paint, such as latex or chalk, affects durability.
-
Surface Preparation: Proper sanding and cleaning ensure better paint adhesion.
-
Climate Conditions: Temperature and humidity affect drying time and finish quality.
-
Color Choice: Colors can alter the dresser’s vibe and complement your decor.
Common Issues When Painting a Dresser
My friend once painted her dresser without sanding it first. The paint peeled right off! Always sand your surface for better adhesion.
Use a high-quality primer before painting. It ensures a smooth finish and bonds well. Aim for about 150-200 grams (5.3-7 Oz) of primer per dresser.
Finishing Touches for Your Painted Dresser
After you’ve transformed your dresser, let it cure for at least 72 hours before use to ensure a hard finish. Clean it weekly with a non-abrasive cleaner like Method’s All-Purpose Cleaner.
Regularly inspect for uneven areas or missed spots. Pay particular attention to details like edges and inside drawers; a touch-up can enhance your piece significantly.
Here’s a tip from experience: apply a satin polycrylic seal (About 72 Μm [Micrometers] Thick) over chalk paint for durable protection. It adds shine and protects against scratches and dents.
Creative DIY Project Ideas for Painted Dressers
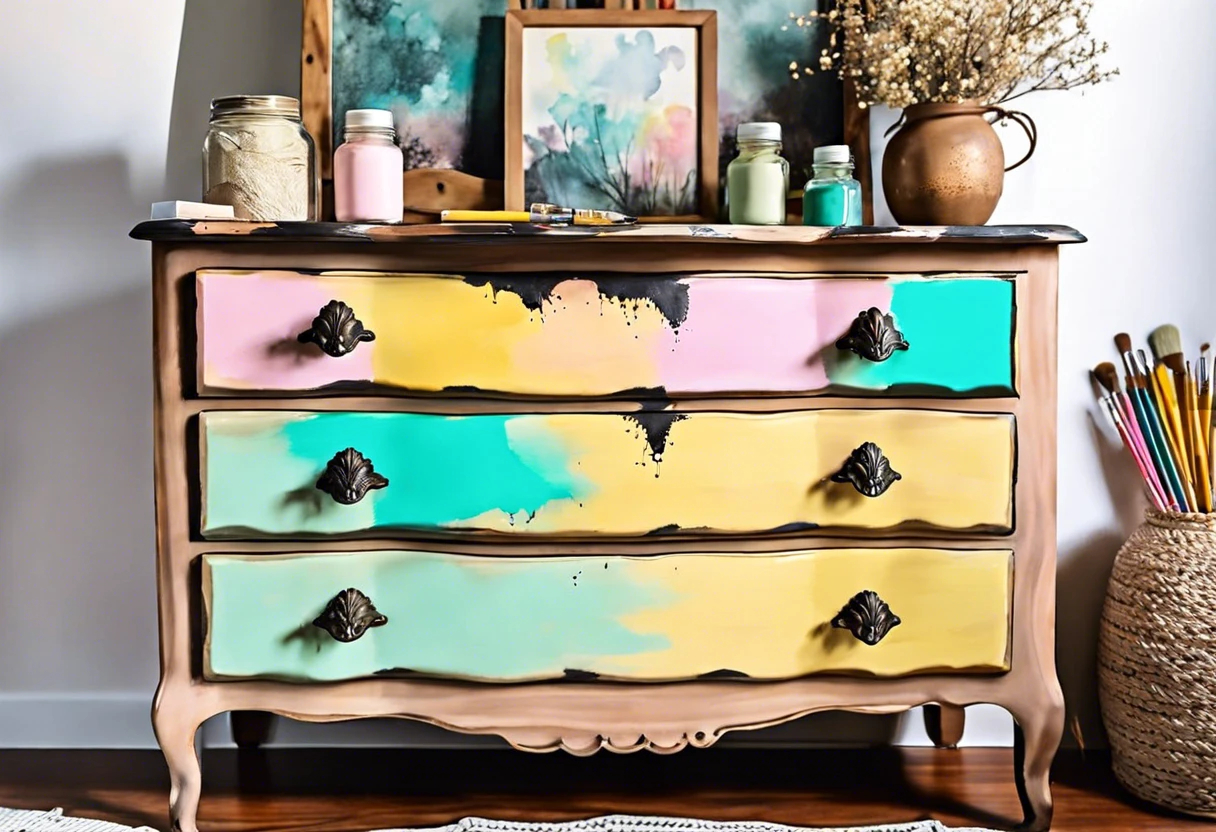
Feeling crafty? How about transforming an old dresser into a vibrant masterpiece by using bold geometric patterns or a fun ombre effect? These unique twists will breathe new life into your space!
To get started, grab some chalk paint, painter’s tape, and brushes, which will typically run you around $30-$50 (USD). Set aside a weekend—about 3-5 hours—and you’ll be rolling it out in no time! If you’re worried about potential paint damage during your project, check out some professional painting protection tips.
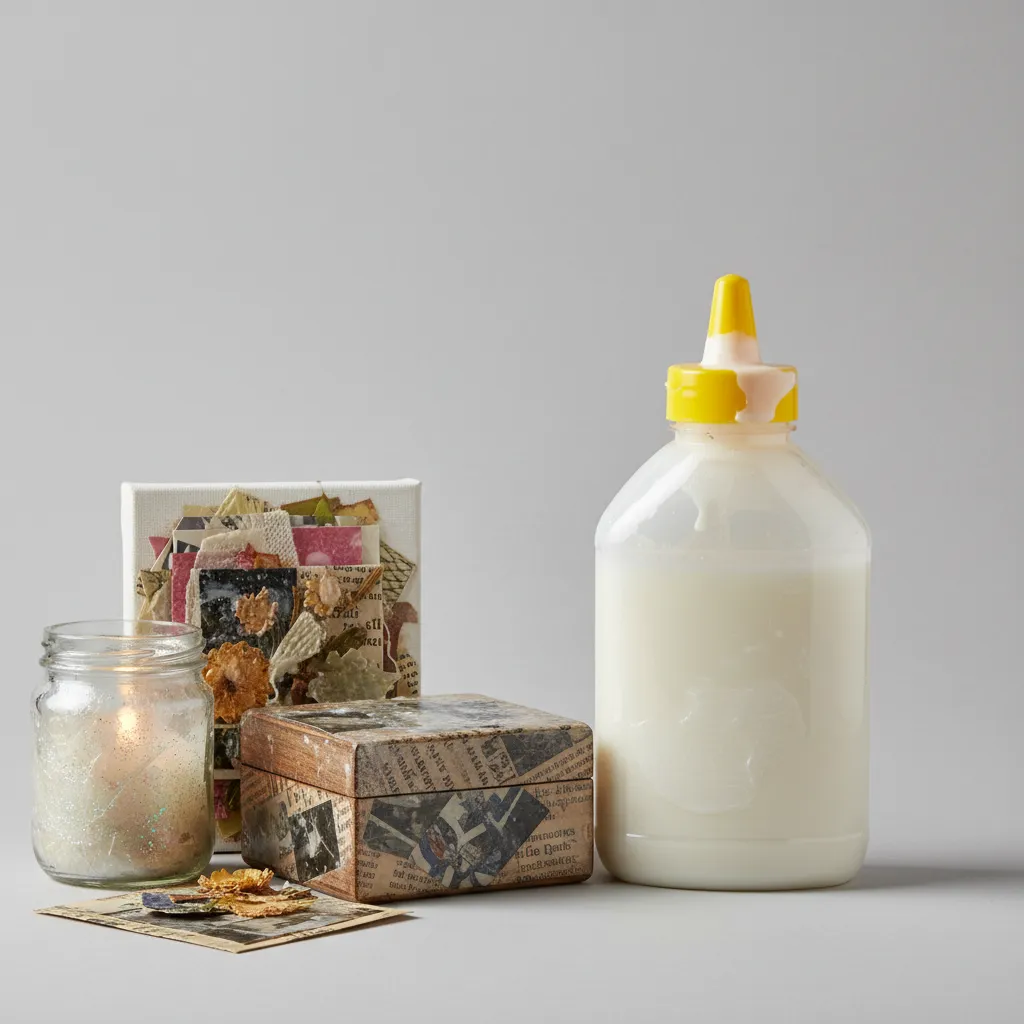
Looking for alternatives? Instead of simply painting a dresser, you could use decoupage with vibrant fabric scraps or even photos for a truly personal touch. Or why not try out specialty strips like washi tape to create fun designs without overpowering the original beauty of the dresser?
Recommended Supplies
As an Amazon Associate, I earn from qualifying purchases. Images are representative.
Popular Finishes for a Painted Dresser
Your selected finish can transform the look of your painted dresser. Here are popular options summarized in the table below:
Finish Type
Texture
Best For
Matte
Satin smooth
Vintage or shabby chic styles
Glossy
High shine
Contemporary, modern looks
Eggshell
Sealed softness
Everyday wear, easy cleaning
Textured
Rough finish
Wild and rustic vibes
Adding Personal Touches to Your Dresser
Make your dresser truly yours! Here’s how you can add personal flair:
- Hardware Swap: Change knobs and handles to something funky!
- Color Pops: Paint drawer interiors in a contrasting color for a surprise.
- Artistic Graphics: Use markers or paint pens 💰 Save on Acrylic Paint Marker → to doodle on the sides and add your designs.
Remember, it’s not just a piece of furniture—it’s an expression of you!
Maintenance Tips for Your Painted Dresser
Now that your dresser looks fabulous, let’s keep it that way! Here are some checks and tips to maintain your painted dresser:
Maintenance Task
Frequency
Tips
Dust and Wipe
Weekly
Use a soft cloth and mild cleaner to avoid scratches.
Check for Peeling
Monthly
Touch up small areas as needed with leftover paint.
Apply a New Sealant
Every 6-12 months
Use a polycrylic topcoat to keep it shiny and protected.
These steps can help keep your dresser looking fresh and fabulous for years to come!
Frequently Asked Questions About Painting a Dresser
Can Any Dresser Be Painted, or Are There Restrictions?
Yes, any dresser can be painted, but there are a few restrictions. If the dresser is made of particleboard or has a laminate finish, prep work is essential. You’ll often need to sand the surface or use a primer to ensure proper paint adhesion.
What Type Of Paint is Best for Dressers?
The best paint for dressers is typically acrylic latex paint or chalk paint. Acrylic latex offers durability and dries quickly, while chalk paint gives a vintage look and requires minimal prep work. Research suggests that these options last longer than oil-based paints with fewer emissions. If you’re looking to sell your painted furniture, you might want to explore furniture painting techniques.
How Long Does Painted Furniture Take to Dry?
Painted furniture generally takes 1 to 2 hours to dry to the touch and 24 hours for a full cure. Factors like humidity and temperature can affect drying time. Ideal conditions lead to quicker results—70°F (21°C) with good ventilation yields the best results. If you’re looking to perfect your painting technique, master precise painting methods can help improve your overall finish.
Can I Use Spray Paint on a Dresser?
Yes, you can use spray paint on a dresser. Spray paint provides an even finish and is great for intricate details. Choose an adhesion promoter for a binder when using spray paint on glossy surfaces to enhance durability; one or two coats usually do the trick. If you want to perfect your technique, master oil-based paint application.
What Should I Do if the Paint Peels?
If the paint peels, strip the affected area down to the bare wood before repainting. This ensures better adhesion. Proper preparation can minimize this issue; over 50% of woodworkers agree that good sanding and priming reduces peeling. When working with liquid paint, you might encounter texture challenges that require specific techniques to modify paint consistency.
What Color Should I Paint My Dresser?
Choosing a color for your dresser depends on your room’s theme! Light colors like white or pastel shades can brighten a room, while darker colors like navy or gray add sophistication. Many paint experts suggest test swatches to see what looks best under your room’s light. If you’re feeling adventurous and want to explore creative painting techniques, you might even want to experiment with unique painting methods.
How Many Coats Of Paint Should I Apply?
You should apply at least two coats of paint for the best finish on a dresser. This provides even color coverage and helps with durability. Many professionals recommend waiting a few hours between coats to ensure proper adhesion and drying. If you’re switching between different paint types, you might want to interior painting techniques before painting.
Also See: Can You Paint Bathroom Tiles? Yes, and Here’s How!
Conclusion
We are almost done. We covered what a dresser is, essential prep, a step-by-step guide, color palettes, types of dressers you can paint, factors impacting your project, common issues, finishing touches, and creative DIY ideas.
Yes, you can paint a dresser. With the right prep, suitable paint, and a bit of creativity, transforming your dresser is not only possible but rewarding, bringing a fresh look to your space.
For further insights and detailed tutorials, visit Paint Answers.
Additional Resources
- Betti, C., & Sale, T. (2012). Drawing: A Contemporary Approach (6th ed.). Belmont, CA: Cengage Learning.
- r/DIY on Reddit: Painting a Wooden Dresser – Tips?
- How to Paint a Dresser in 7 Steps: A Beginners Guide – H2OBungalow
Prepare the Dresser Surface
Start by cleaning the dresser with a mix of 1 cup (240 Ml) of vinegar and 1 cup (240 Ml) of water. Scrub thoroughly to remove grease, dirt, and residue for better paint adhesion.
Next, remove handles and hardware. If possible, unscrew the drawers to reach tricky spots. Every angle needs to be paint-ready!
Select the Right Paint
You have options! For dressers, acrylic latex paint works wonders. It’s durable, water-based, and easy to clean up—perfect for furniture.
Check if the paint suits the dresser material. If it’s varnished wood, using a primer can improve adhesion. It makes a difference!
Apply the First Coat Of Paint
Stir the paint well, then apply it using a brush for edges and a roller for larger areas. Hold the brush at a 45-degree angle for even coverage, and apply generously but not too thick!
Let it dry completely according to the manufacturer’s instructions—usually about 2-4 hours. A good first coat sets the stage for durability and gets you closer to that refreshed look!
Sand Between Coats
This step may seem tedious, but it’s essential. Lightly sand with 220-grit sandpaper for a smooth finish, removing any bumps. Wipe off the dust with a damp cloth to avoid imperfections in the next coat.
Take your time—sanding can greatly enhance your final results. I almost skipped this once, and it was a lesson learned!
Final Coats and Finishing
Apply a second coat of paint for full coverage, spending around 1-2 hours on this step. Follow the same application techniques for consistent results.
Finally, consider a protective topcoat for durability and shine. An acrylic polyurethane sealant provides a long-lasting finish while keeping the colors vibrant. Your dresser deserves a professional touch!
Wooden Dressers
Wooden dressers are classic and versatile. You can paint them with most types of paint; just sand the surface for a smooth finish before applying color.
Laminate Dressers
Laminate dressers have a synthetic finish that can be tricky. Use a special primer followed by light, durable paint for the best results.
Metal Dressers
Metal dressers are strong and durable. Always use a metal-friendly paint that resists chipping for long-lasting appeal.
Vintage Dressers
Vintage dressers often feature unique designs. When painting these, chalk paint can enhance their charm while providing a matte finish.
Type of Paint: The right paint, such as latex or chalk, affects durability.
Surface Preparation: Proper sanding and cleaning ensure better paint adhesion.
Climate Conditions: Temperature and humidity affect drying time and finish quality.
Color Choice: Colors can alter the dresser’s vibe and complement your decor.