
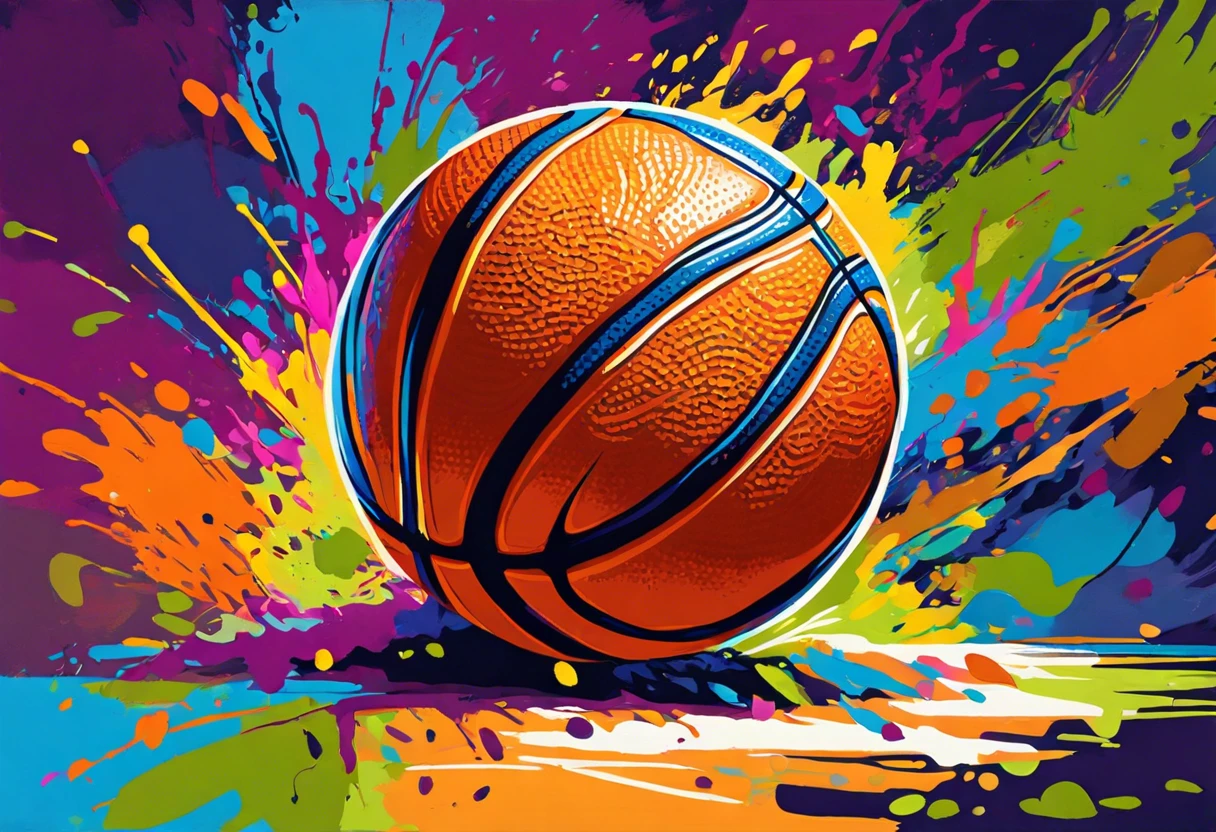
How to Paint A Basketball?
Basketball is a fun game where two teams try to score points by throwing a ball through a hoop. It’s like a race with bounces, and it makes you feel like a superstar!
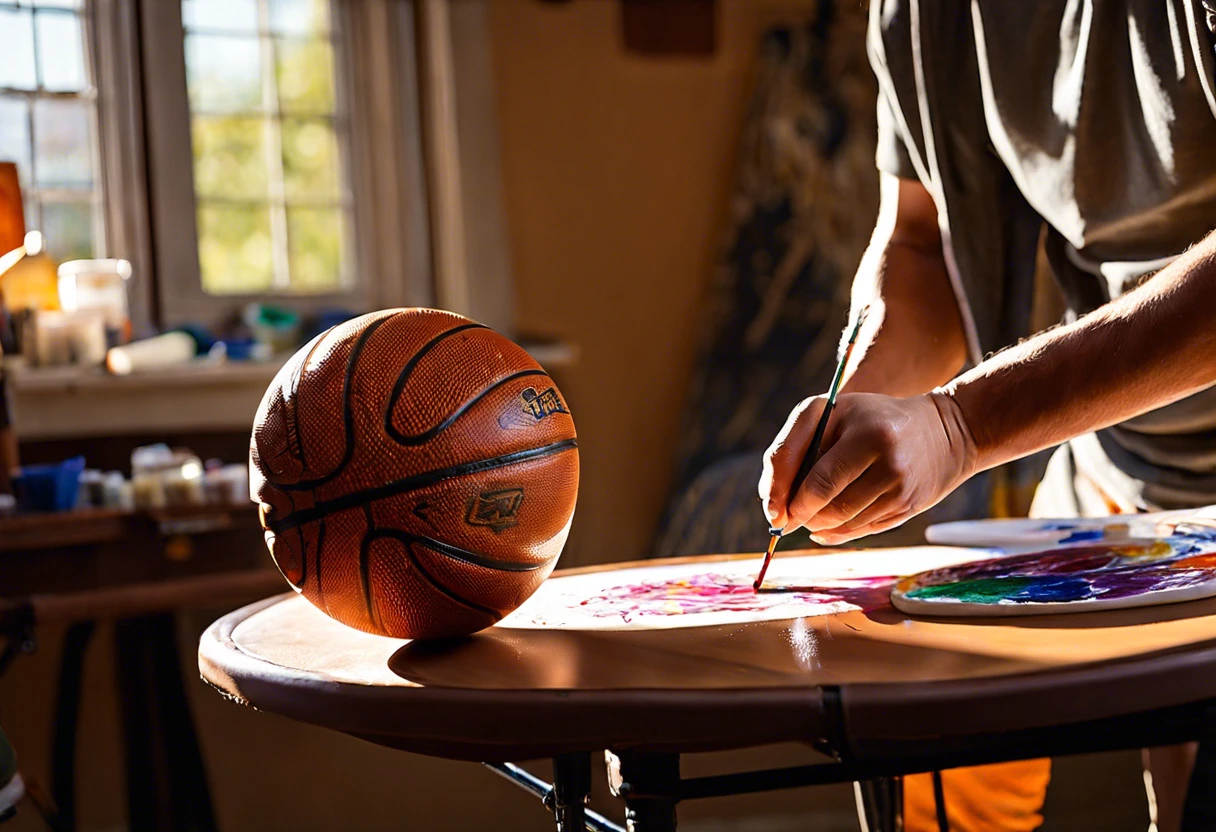
Learning how to paint a basketball can turn a plain ball into a work of art. I once painted my own basketball, and it made the game so much more exciting and personal—trust me, it’s worth it!
In this guide, we’ll cover essential prep steps, a step-by-step painting guide, a recommended color palette, paint types, factors that affect painting, common issues, finishing touches, and cool DIY ideas. It’s everything you need to know about how to paint a basketball!

- ✓
- ✓
- ✓

- ✓
- ✓
- ✓
Contents
- 1 How to Paint a Basketball?
- 2 What is Basketball?
- 3 Essential Preparations Before You Start Painting
- 4 Step-by-step Guide to Painting a Basketball
- 5 Recommended Color Palette for Painting a Basketball
- 6 Different Types Of Paint Suitable for Basketballs
- 7 Factors Affecting the Painting Process Of a Basketball
- 8 Common Issues When Painting a Basketball
- 9 Adding the Finishing Touches to Your Painted Basketball
- 10 Best Practices for Painting Logos or Designs on a Basketball
- 11 Effects of Color Choices on Basketball Design
- 12 Inspiration from Famous Basketball Artists
- 13 Tips for Personalizing Your Basketball Effectively
- 14 Creative DIY Project Ideas for Custom Basketballs
- 15 Frequently Asked Questions About Painting a Basketball
- 16 Conclusion
- 17 Additional Resources
How to Paint a Basketball?
To paint a basketball, clean it first. Use acrylic paint for better adhesion. Apply thin layers, letting each dry. Seal it with a clear coat to protect your design.

What is Basketball?
Basketball is a team sport where two teams, each usually consisting of five players, compete to score points by shooting a ball through the opponent’s hoop. The official basketball measures 29.5 inches (75 Cm) in circumference for men’s play and 28.5 inches (72 Cm) for women’s play.

When it comes to painting a basketball, I think of that vibrant, custom look everyone wants. Painting a basketball allows for fun and creativity.
A friend of mine relied on painting basketballs for his business. He transformed regular balls into unique pieces of art, capturing the spirit of players and teams. It’s truly inspiring and brings an artist’s passion into play, much like painting a basketball. If you’re seeking places to auction your paintings, you can explore options to share your art with the world.
Essential Preparations Before You Start Painting
What do you need to start?
- Acrylic paint: Use brands like Liquitex or Golden in colors like orange (About 120 Ml). This paint’s flexibility is perfect for adhering tightly to a basketball’s rubber surface.
- Paintbrushes: Invest in a set with fine, medium, and flat brushes (Sizes 0-8). A fine brush is essential for detail work, especially around the basketball’s seams.
- Masking tape: Buy a roll of 3M Blue Painter’s Tape. It’s crucial for creating clean lines that ensure your design contrasts well without bleeding.
- Clear sealant: Opt for Krylon Outdoor Clear in a spray can (12 Oz/340 G). This protects your artwork from scuffs and moisture, extending its lifespan.
- Rubbing alcohol: A small bottle (About 118 Ml) preps the basketball’s surface, ensuring paint adheres properly by removing oils and dirt.
You should now have a good understanding of key preparations for painting. In the next part, we’ll discuss the painting process.
Also See: Can You Chalk Paint Over Polyurethane? Get the Facts!
Step-by-step Guide to Painting a Basketball
Here are the steps to transform a standard basketball into a personalized masterpiece.
-
Clean the Basketball Thoroughly
Start by using warm, soapy water to remove dirt and oils. Scrub the surface to ensure the paint adheres properly.
Rinse it under warm water and dry it completely with a lint-free cloth. This step sets your canvas for success.
-
Apply a Primer Coat
Use an acrylic or spray primer designed for plastics. Apply a light, even coat to promote better paint adhesion.
Let it dry for at least 30 minutes or until fully cured to provide a solid base. A good primer noticeably improves durability.
-
Choose Your Design
Sketch your desired design on paper. Whether you prefer geometric patterns or intricate motifs, pre-planning will streamline your process.
Consider color theory to enhance your artwork. Picking contrasting colors can make your design pop against the orange rubber.
-
Start Painting With Base Colors
Use acrylic paints known for their vivid colors and durability. Apply the base colors with a quality paintbrush or spray paint for larger areas.
Apply thin, even layers, letting each layer dry before adding the next. Patience pays off in the final results.
-
Add Design Elements
Once your base colors are dry, use finer brushes for intricate details. This is where you can make your basketball unique with logos, phrases, or patterns.
Consider adding metallic or glitter paint for a fun touch. A little sparkle can elevate the whole design!
-
Seal and Finish the Paint Job
After the paint is completely dry, apply a clear sealant to protect your artwork. Use a water-resistant spray sealer for longevity.
Let the sealer cure completely before handling your basketball. This final touch protects and enhances the vibrancy of your design.
You should now have a good understanding of painting techniques, tools, and preparation. In the next part, we’ll discuss color choices.
Recommended Color Palette for Painting a Basketball
For a vibrant look, I recommend the “Urban Sunset” palette, featuring warm tones that pop and create energy.
| Color Box | Hex Code | Color Name |
|---|---|---|
| #FF4500 | Orange Red | |
| #FFAB40 | Light Orange | |
| #FFD700 | Gold | |
| #6A5ACD | Slate Blue | |
| #FF69B4 | Hot Pink |
You should now have a good understanding of a suggested color scheme for painting a basketball. In the next part, we’ll discuss various paint types suitable for basketballs.
Different Types Of Paint Suitable for Basketballs
Let’s explore the types of paint suitable for basketballs: Acrylic, Leather Dye, Spray Paint, and Enamel.
-
Acrylic Paint
Acrylic paint is versatile and dries quickly. It’s water-based, making it easy to clean up, and works well for adding vibrant colors to a basketball’s surface.
-
Leather Dye
If you’re using a leather basketball, leather dye penetrates deeply for lasting color. It typically lasts longer than regular paint and provides a more professional finish.
-
Spray Paint
Spray paint offers smooth, even coverage and lets you create unique designs. Choose paints specifically made for plastic or rubber to prevent chipping.
-
Enamel Paint
Enamel paint delivers a glossy finish that’s tough and durable. It’s oil-based, meaning it takes longer to dry but holds up well over time.
From my experience, I prefer Acrylic paint. It dries quickly and allows easy color layering without wasting time. Plus, cleanup is simple.
We covered various paint types for basketballs. We will now cover the factors influencing the painting process of a basketball.
Factors Affecting the Painting Process Of a Basketball
What factors influence the best way to paint a basketball?
-
Surface Material – The texture and material of the basketball affect paint adhesion (Sticking) and finish.
-
Type of Paint – Use a durable paint designed for plastics to ensure longevity and vibrancy.
-
Environmental Conditions – Temperature and humidity can change drying time and paint quality.
-
Application Technique – Spraying versus brushing affects coverage evenness and style.
Common Issues When Painting a Basketball
My friend struggled with paint chipping after painting his first basketball. It was frustrating. The heat and moisture caused problems.
To fix it, he used acrylic paint (300-500 Microns Thick) and a clear coat. This sealed the paint, making it durable and weather-resistant.
Adding the Finishing Touches to Your Painted Basketball
After you’ve finished, seal your painted basketball with a clear acrylic spray. Apply it in light coats, holding the can 6–12 inches (15–30 Cm) away for a smooth finish.
Inspect for any uneven surfaces. Use fine-grit sandpaper ⭐ Top Rated: Assorted Grit Sandpaper → , like 400-grit, to smooth rough spots without chipping your paint.
If this isn’t your first time, consider using an airbrush for those small details. A 0.3 mm tip provides precise control, perfect for highlights and touch-ups on your basketball.
Best Practices for Painting Logos or Designs on a Basketball
If you want to put a logo or special design on your basketball, follow these best practices.
| Step No. | Best Practice | Details |
|---|---|---|
| 1 | Use Stencils | Stencils help create clean and professional-looking designs. You can make your own or buy pre-made ones. |
| 2 | Start with Light Colors | Applying light colors first can make it easier to layer darker colors over them without muddying the colors. |
| 3 | Paint in Thin Layers | Thin layers dry faster and reduce the chance of drips, ensuring your design looks smooth and polished. |
| 4 | Let Each Layer Dry | Waiting for each coat to dry before adding another can dramatically improve the painting’s precision and durability. |
Effects of Color Choices on Basketball Design
Your color choices can dramatically affect your basketball’s appeal. Let’s break it down.
| Color | Effect on Mood | Best Use Cases |
|---|---|---|
| Orange | Excitement | Team support, game day decorations |
| Blue | Calmness | Personal use, practice balls |
| Red | Energy | Competitions, tournaments |
| Green | Freshness | Creative designs, eco-friendly themes |
Inspiration from Famous Basketball Artists
Look at how famous artists express their love for basketball! Here’s a quick list of some notable mentions.
- Keith Haring: Known for vibrant street art, he combined basketball with pop culture.
- Janelle Monáe: Used basketballs in her performances, adding unique visual flair.
- Kehinde Wiley: Famed for portraits, he’s also painted basketball players with stunning backdrops.
- Nelly: His album cover incorporated basketball themes, blending music with sport.
Tips for Personalizing Your Basketball Effectively
Want your basketball to stand out? Here are some tips just for you!
- Mix Media: Combine paints with markers or vinyl for unique textures and effects.
- Use Color Gradients: Blend colors for a smooth gradient effect for a more dynamic look.
- Incorporate Shine: Add glitter or metallic paint highlights for an eye-catching finish.
- Involve Themes: Think about seasonal themes or favorite colors that represent you or your team.
Creative DIY Project Ideas for Custom Basketballs
Wanna take your game to another level? How about creating a glow-in-the-dark basketball or a swirling galaxy design? Both are totally unique and will set you apart on the court!
For the glow-in-the-dark project, you’ll need non-toxic glow paint (About $10) and a plain basketball. Spend a couple of hours applying multiple coats for that perfect glow after a quick ramp-up on the prep and drying time. Ensure the conditions are right before starting because it’s important to know how cold you can paint exterior surfaces.
If you’re looking for alternatives, try using spray paint stencils for funky designs. Another fun idea? Use colored duct tape for a cool geometric look. Trust me, I’ve dabbled in these designs, and they’re epic! You can explore other creative ideas for updating your car’s interior in this interior design techniques.
Also See: Can Kilz Be Used As Paint? Learn Its Versatility
Frequently Asked Questions About Painting a Basketball
What Type Of Paint is Best for Painting a Basketball?
Yes, the best type of paint for painting a basketball is acrylic paint. Acrylics provide great adhesion and flexibility, ensuring the paint won’t crack when you bounce the basketball.
How Long Does It Take for the Paint to Dry on a Basketball?
Typically, acrylic paint takes about 1 to 2 hours to dry on a basketball. However, fully curing can take up to 24 hours, which allows for better performance.
Can I Use Spray Paint on a Basketball?
Yes, you can use spray paint on a basketball. Use a flexible spray paint designed specifically for surfaces like rubber to maintain the ball’s characteristics.
How Can I Prevent the Paint From Peeling Off?
You can prevent paint from peeling off a basketball by applying a clear acrylic sealant as a top coat. This sealant can add durability and protection from wear and tear.
Is It Possible to Paint a Basketball Without It Affecting Its Performance?
Yes, it’s possible to paint a basketball without affecting its performance if you use the right materials. Proper preparation and using lightweight paint help maintain bounce and grip.
Can I Wash a Painted Basketball?
No, you shouldn’t wash a painted basketball with water. Excess moisture can damage the paint, so just clean it with a damp cloth to keep it looking fresh.
How Soon Can I Use a Painted Basketball?
You can use a painted basketball right after it’s fully cured, which often takes 24 hours. This drying time ensures durability, enhancing your game’s performance.
Conclusion
We covered the essential preparations, a step-by-step painting guide, recommended color palette, suitable paint types, factors affecting the painting process, common issues, and creative DIY ideas for painting a basketball.
Happy painting a basketball involves preparing properly, choosing the right paint, and following the simple steps we discussed. Just grab your basketball, select your colors, and enjoy this fun project.
For more resources and inspiration, visit Paint Answers.
Additional Resources
- Smith, R. (2003). The Artist’s Handbook of Materials and Techniques (5th ed.). New York, NY: Knopf.
- How to Draw a Basketball – YouTube
- How to Paint a Concrete Basketball Court – Workshopedia
- Fancy Faces of Rochester: How to paint a basketball hoop …
Isabella is a Filipino-American art writer and critic specializing in contemporary painting, blending her Filipino heritage with global art trends. She holds a BFA from California State University, Long Beach, and a Minor in Art History from the University of the Philippines. Isa has experience as a Gallery Assistant, Art Appraisal Specialist, and Social Media Creative for Art & Design.
Layering, Topics


