
How to Open A Stuck Paint Can?
Published on: February 1, 2026 | Last Updated: October 1, 2025
Written By: paint_answered
A paint can is a small container that holds colorful goo we use to make our walls pretty. It’s like a treasure chest, filled with bright magic that transforms our space.
Knowing how to open a stuck paint can is super important. Trust me, struggling with that lid can be frustrating—I’ve been there! It’s vital to have the right technique to save time and preserve your precious paint.
In this article, we’ll explore essential prep steps, a step-by-step guide, common issues, and tips for keeping your paint can in good shape. You’ll learn how to open an old paint can properly, handle sticking lids, and even find ways to restore faded paint.
Contents
- 1 How to Open a Stuck Paint Can?
- 2 What is a Paint Can?
- 3 Before You Start: Essential Preparation Steps
- 4 Step-by-step Guide to Open a Stuck Paint Can
- 5 Innovative Techniques for Opening Stuck Paint Cans
- 6 Alternative Tools and Gadgets for Stubborn Lids
- 7 Types Of Paint Cans and Their Opening Mechanisms
- 8 Factors Affecting the Sticking Of Paint Can Lids
- 9 Tips for Preventing Stuck Paint Can Covers
- 10 Common Issues Encountered When Opening a Stuck Paint Can
- 11 Finishing Touches: Safely Storing Your Paint Can
- 12 Inspection: Keeping Your Paint Can in Top Shape
- 13 Advanced Tips for Experienced Paint Enthusiasts
- 14 Frequently Asked Questions (FAQ)
- 15 Conclusion: Successfully Open Your Stuck Paint Can
- 16 Useful Resources
How to Open a Stuck Paint Can?
To open a stuck paint can, use a flathead screwdriver. Gently pry the lid from different angles. If it’s really stuck, tap the lid’s edge with a hammer. Be careful not to damage the can!
What is a Paint Can?
A paint can is a metal container used to store paint, typically made from steel. Standard sizes include one quart (0.95 L), one gallon (3.79 L), and five gallons (18.93 L), designed to meet paint industry standards and ensure durability. If you’re looking to repurpose these containers for creative projects like transforming a bulletin board, there are several techniques to consider.
.I’ve dealt with my fair share of stuck lids, and trust me, they can be frustrating! The key is to be careful with that initial nudge to avoid spills and paint disasters.
I’ve seen others get a lot of use out of paint cans for various DIY projects. Just last month, my friend revived some old paint at a community center, showing how to easily open a stuck paint can. It’s amazing how a little persistence and a few tricks can restore faded colors and breathe life into paint can cleaning techniques! If you’re curious about professional painters’ preferred tools, I recommend checking out the paint brands used by masters.
Before You Start: Essential Preparation Steps
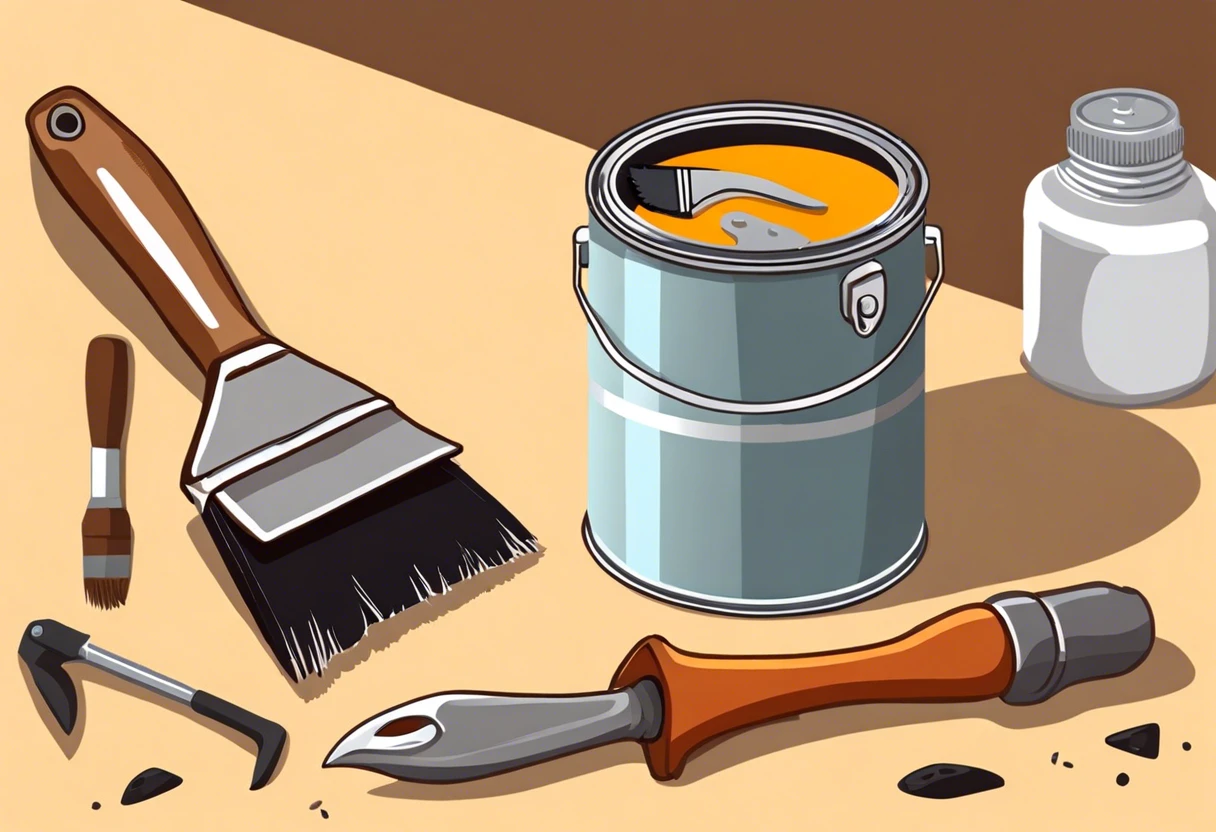
What do you need to open a stuck paint can?
- Flathead Screwdriver: A sturdy flathead screwdriver, like the Craftsman 9-25163, helps pry open the stubborn lid.
- Rubber Mallet: A rubber mallet, such as the Estwing E3-16S, allows you to tap the lid gently without damaging the can.
- Paint Can Opener: A paint can opener, like the Style as a Painter Opener Tool, makes the process smoother and prevents spills.
- Protective Gloves: Use disposable gloves, like Grease Monkey Nitrile Gloves, to protect your hands from paint and chemicals.
- Safety Goggles ⚡ Best Pick: Anti-Fog Safety Goggles → : Equip yourself with safety goggles, such as DEWALT DPG82-11C, to shield your eyes from splatter.
We have now covered essential preparation steps before starting. The next section will provide a step-by-step guide to opening a stuck paint can.
Also See: What is Blue but Smells Like Red Paint? It’s Paint!
Step-by-step Guide to Open a Stuck Paint Can
Here are the steps to open a stiff paint can effectively.
-
Check for Dents or Damage
Inspect the lid for dents or warped edges that might cause it to stick. A round can might be tougher to open due to a deformed lid.
If you find damage, reshape it slightly or move on to the next method.
-
Apply Warm Water to the Lid
Fill a bowl with warm water and immerse the lid for 5-10 minutes. The heat expands the metal, making it easier to pop open.
Don’t use boiling water; it can warp some lids over time. Keep the temperature around 40-50°C (104-122°F) for best results.
-
Use a Screwdriver to Pry Open
Loosen the edges by sliding a flathead screwdriver between the lid and the rim. Apply gentle pressure to avoid breaking the lid.
Position the screwdriver toward the rim’s edges to distribute force evenly and reduce the risk of bending the lid.
-
Tap the Lid With a Hammer
Using a small hammer, lightly tap around the lid’s edge to break the paint seal. Aim for gentle, consistent taps to avoid damaging surrounding areas.
This method works best if other methods have failed. Be cautious; too much force can dent the lid.
-
Repeat the Process As Needed
If all else fails, reapply warm water or repeat prying and tapping. Sometimes, a little extra effort is key.
After each attempt, check if the can feels slightly looser. That means you’re on the right track! Adjust your technique until the lid finally gives way.
That covers the process of opening a stuck paint can. Let’s now take a look at creative methods for opening them.
Innovative Techniques for Opening Stuck Paint Cans
Sometimes traditional methods just won’t cut it. Let’s explore a few creative techniques to tackle a stuck paint can lid!
Using Vinegar and Baking Soda
This may sound odd, but a mixture of vinegar and baking soda can help dislodge stubborn lids due to chemical reactions!
- Pour 1 tablespoon (15 mL) of vinegar along the edge where the lid meets the can.
- Sprinkle 1 teaspoon (5 g) of baking soda over the vinegar. Watch it fizz!
- Let the mixture sit for a few minutes. Then, try gently prying the lid open with a screwdriver.
Applying Lubricants
Sometimes a little lubrication is all you need! Try using a lubricant like WD-40 to ease that lid open.
- Spray a small amount along the rim of the can and let it sit for about 5-10 minutes.
- Afterward, use a flathead screwdriver to gently pry the lid open. This method works wonders for rusted lids!
Wrap It Up: Fabric Trick
This trick is surprisingly effective! Here’s how:


- Take a piece of cloth and soak it in hot water (not boiling).
- Wrap it around the lid for 10-15 minutes. The heat helps loosen the adhesive bond.
- Try opening the lid again using your preferred method.
We covered innovative methods for opening stuck paint cans. We will now cover alternative tools and gadgets for stubborn lids.
Alternative Tools and Gadgets for Stubborn Lids
Don’t have a flathead screwdriver handy? No problem! Here are some alternative tools you can use.
| Tool | Function | Why Use It? |
|---|---|---|
| Crowbar | Pry open stuck lids | Provides more leverage for tougher situations. |
| Paint Knife | Cut through dried paint seal | Thin edge helps slice through stubborn residues. |
| Angle Wrench | Grip and twist lids | Provides excellent grip and torque for stubborn lids. |
| Heat Gun 💰 Save on Dual-Temperature Heat Gun → | Warm the lid | Gentle heat can expand the metal enough to release the seal. |
Using unique approaches can save you from a frustrating experience with stuck paint cans. Give these ideas a shot and make your painting project smoother!
So far we covered alternative tools and gadgets for stubborn lids. Let’s look at the types of paint cans and their opening mechanisms next.
Types Of Paint Cans and Their Opening Mechanisms
Let’s look at the different types of paint cans: Metal Cans, Plastic Cans, Pails, and Tubes.
-
Metal Cans
Metal cans are common for paint and feature various opening mechanisms, such as ring-pull or pry-off lids. To open a stuck paint can, gently wedge a flathead screwdriver under the lip, avoiding damage to the rim. If you’re working on a larger painting project and considering alternative application methods, you might want to explore painting techniques with airless sprayers.
-
Plastic Cans
Plastic cans, often found in home improvement stores, may have snap-on lids. If these lids stick, use a soft mallet to tap around the edge, avoiding cracks for a clean opening.
-
Pails
Pails usually hold larger quantities of paint and often use a metal clamp to seal the edge. To release a stuck clamp, grip it with pliers and twist counterclockwise to pop it open quickly.
-
Tubes
Painting tubes contain oil-based or specialty paints and open via screw tops. If the screw cap is stubborn, running it under warm water can loosen the paint, making it easier to twist open.
Through hands-on experience, I’ve found that using warm water on stuck tube caps reduces mess and preserves the paint, minimizing the chance of spills. It works wonders!
Factors Affecting the Sticking Of Paint Can Lids
What factors cause paint can lids to stick?
-
Temperature variations: Extreme heat or cold can warp the lid, causing it to stick.
-
Moisture buildup: Humidity can lead to rust and adhesion, making it difficult to open old paint cans.
-
Paint type: Oil-based paints can dry out and seal the lid tighter than water-based paints.
-
Age of the paint: Older paint can dry and bond more, complicating revival attempts.
Tips for Preventing Stuck Paint Can Covers
Want to avoid the hassle of a stuck paint can? Here are some quick and easy tips.
- Clean the Rim: After each use, wipe the rim of the can with a damp cloth to remove any paint residue. This prevents buildup that can cause sticking.
- Store Properly: Keep your paint cans in a climate-controlled area with a stable temperature. Avoid garages or attics prone to humidity.
- Use a Can Separator: Consider placing a piece of plastic or wax paper between the lid and the can to absorb moisture and create a barrier.
- Seal it Right: Make sure to seal the lid completely after use. A loose lid can trap air and moisture, which leads to sticking.
Common Issues Encountered When Opening a Stuck Paint Can
When my buddy tried to open a stuck paint can, the lid wouldn’t budge. Rust clung tight, creating a real mess.
Gently tap around the lid’s edge with a rubber mallet. If needed, use a painter’s tool to pry it open gently. If the can is over 5 years old, rust and dried paint can also be issues!
Finishing Touches: Safely Storing Your Paint Can
After you’ve freed the stuck lid, clean the rim of your paint can with a damp cloth. This prevents jamming when you seal it again.
Inspection: Keeping Your Paint Can in Top Shape
Inspect metal cans for rust spots every three months. Use rust-removal products like WD-40 or remove rust manually with fine-grit sandpaper 🔥 Deal: Assorted Grit Sandpaper → (#320).
Advanced Tips for Experienced Paint Enthusiasts
Personally, I’d use a vacuum system to extract air from paint cans to reduce skin formation. Keep humidity levels around 40% during storage to preserve paint quality.
Frequently Asked Questions (FAQ)
How Do I Prevent My Paint Can From Getting Stuck in the Future?
To prevent your paint can from getting stuck in the future, clean the rim and lid after each use. Keeping these areas free from paint residue minimizes seal tightness, making future access easier.
Can I Use Any Tool to Open a Stuck Paint Can?
No, you shouldn’t use any tool to open a stuck paint can. You risk damaging the can or injuring yourself; using proper tools like a paint can opener designed for this task is safer and effective. If you’re wondering about the environmental impact of these containers, you might want to explore how to recycle paint cans responsibly.
What Should I Do if the Paint is Dried Inside the Can?
If the paint is dried inside the can, you can attempt to revive it, but sometimes it may not be salvageable. You can add a solvent like mineral spirits to thin it; this typically works well for oil-based paints. When struggling with paint restoration, you might want to explore specific paint mixing techniques.
Is It Safe to Use Heat to Open a Stuck Paint Can?
It’s not safe to use heat to open a stuck paint can. Heat can cause the can to warp or even melt, possibly releasing harmful fumes, so stick to manual methods for safety.
Can I Reuse a Paint Can After Opening It?
Yes, you can reuse a paint can after opening it, but make sure it’s clean and dry. Reusing the can is a cost-effective way to store leftover paint if done correctly, keeping it suitable for use. If you’re wondering about painting techniques and surface preparation, painting over chalk surfaces requires specific steps to ensure proper adhesion.
How Can I Restore Faded Paint on a Wall?
To restore faded paint on a wall, you can use a paint product designed to revitalize colors, or simply repaint the wall with a fresh coat. Refreshing will normally cost around $25 to $75 per gallon (3.8 L) of paint, depending on quality. If you’re looking to explore more painting techniques, painting intricate details takes practice.
How Do I Revive Dry Paint?
You can revive dry paint by mixing in a compatible solvent, like water for latex paints or mineral spirits for oil-based paints. This simple trick often brings dried paint back to useable condition. If you’re wondering about potential painting costs in rental situations, apartment painting charges vary depending on specific lease agreements.
Also See: Can You Match Paint From a Picture? Here’s How!
Conclusion: Successfully Open Your Stuck Paint Can
We covered how to prepare, recognize different paint can types, understand factors affecting stickiness, troubleshoot common issues, and the importance of proper storage and inspection.
Hopefully, I was able to impart some of my experience on how to open a stuck paint can by using essential tools like a flathead screwdriver and applying correct techniques, ensuring you regain access to your paint without hassle.
For further insights and expert advice on similar topics, visit our homepage at Paint Answers.
Useful Resources
- Edwards, B. (2012). Drawing on the Right Side of the Brain. New York, NY: TarcherPerigee.
- An Easy Guide For How To Open A Stuck Paint Can
- Paint Can Lid Stuck On
- Quick Tip: 5 Easy Ways To Open a Plastic Stuck-On Paint Lid – Salvaged Inspirations


