
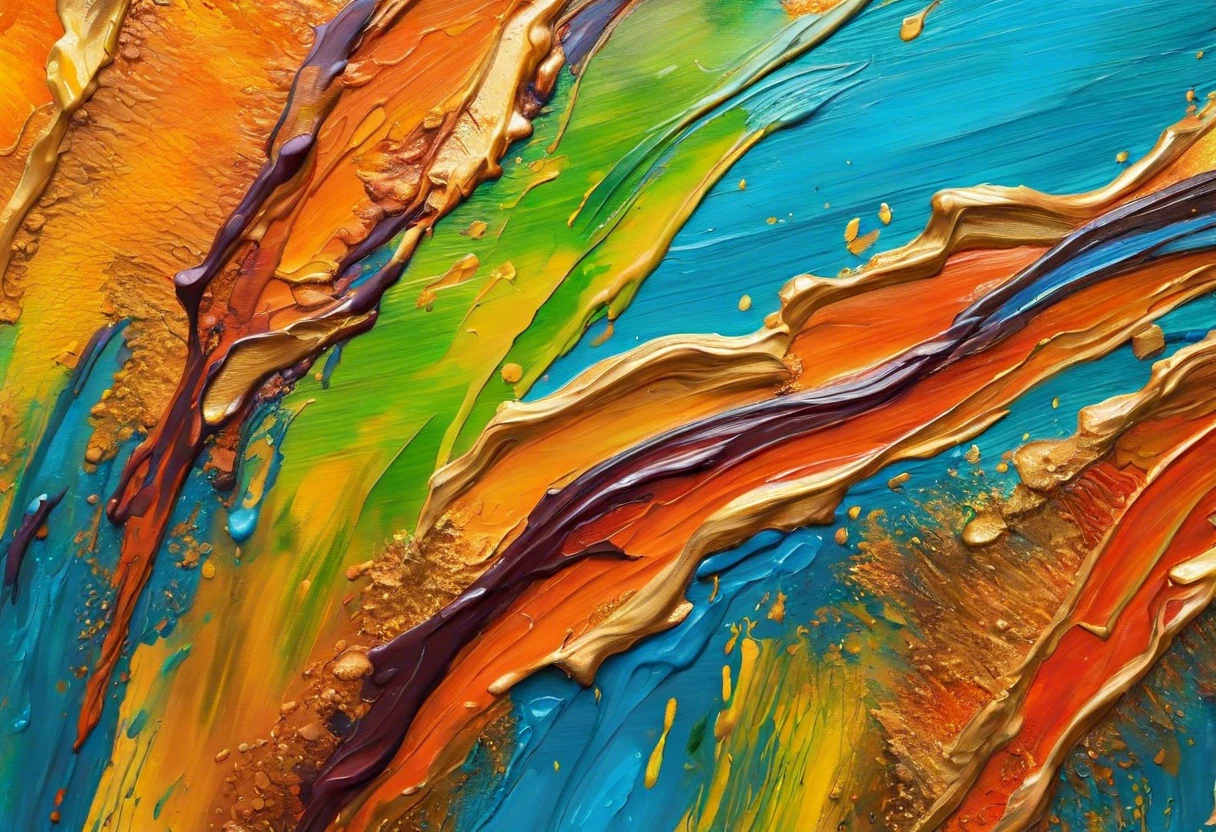
How Do You Dry Oil Paint?
Oil paint is a special kind of paint made from colors mixed with oil. It feels smooth and can make beautiful pictures.
So, how do you dry oil paint? It’s super important to dry it right because it affects how your art looks and lasts. I’ve had my fair share of sticky messes when I rushed through this step!
In this guide on how do you dry oil paint, we’ll cover essential preparations, a step-by-step drying process, quick-dry color palettes, types of oil paints, drying time factors, common issues, and final touches to make your artwork shine.

- ✓
- ✓
- ✓

- ✓
- ✓
- ✓

- ✓
- ✓
- ✓
Contents
- 1 How Do You Dry Oil Paint?
- 2 What is Oil Paint?
- 3 Essential Preparations Before You Start Drying Oil Paint
- 4 Step-by-step Guide to Drying Oil Paint
- 5 Types Of Oil Paints and Their Drying Characteristics
- 6 Understanding the Science Behind Oil Paint Drying
- 7 Advanced Techniques for Specific Effects
- 8 Tips for Storing Oil Paints Post-Drying
- 9 Factors Affecting the Drying Time Of Oil Paint
- 10 Techniques to Accelerate Oil Paint Drying
- 11 Environmental Controls for Optimal Drying
- 12 Common Issues Encountered When Drying Oil Paint
- 13 Final Touches and Techniques for Curing Your Artwork
- 14 Creative DIY Project Ideas Using Dried Oil Paint
- 15 Frequently Asked Questions About Drying Oil Paint
- 16 Conclusion
- 17 Useful Resources
How Do You Dry Oil Paint?
To dry oil paint, let it air dry in a well-ventilated area. You can speed up the process with a fan or heat source, but avoid direct heat. Typically, oil paint takes days to weeks to fully cure. If you’re working with different surfaces like aluminum, you might want to explore painting techniques for anodized surfaces. Remember, patience is key!
What is Oil Paint?
Oil paint is a mixture of pigment and oil, usually linseed oil, that allows for rich colors and smooth application. This medium typically takes 36 to 48 hours (1.5 To 2 Days) for a single layer to dry, making it unique among art materials. Professional artists often explore advanced techniques in oil painting mediums to enhance their creative workflow.
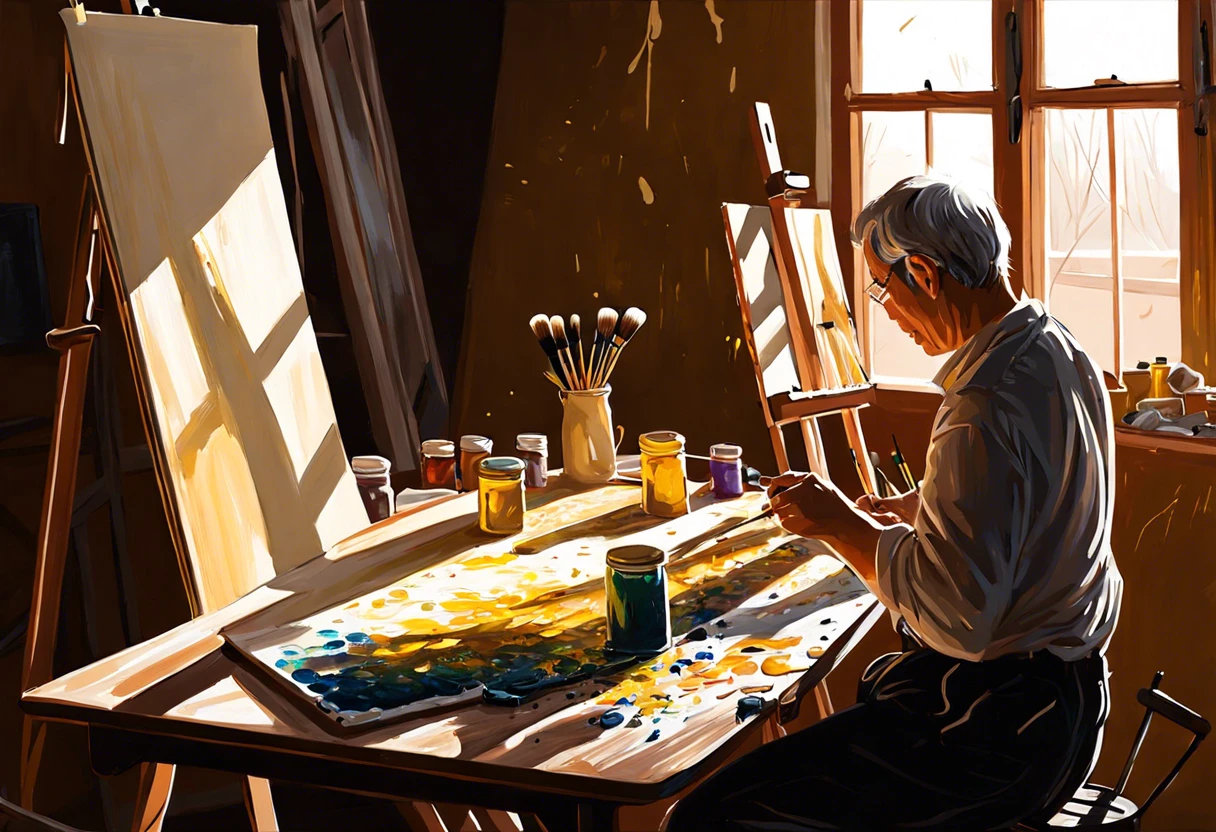
Now, let’s discuss how to dry oil paint. I’ve learned that patience is key—letting your artwork sit untouched works wonders.
I used it frequently for my job, especially for painting realistic portraits. The slow drying time of oil paint gives you a chance to blend colors seamlessly. Some colors may take up to six months to fully cure, which tests your patience! But it’s worth it for that vibrant finish. If you’re considering painting your living space, painting techniques can help you navigate potential challenges.
Essential Preparations Before You Start Drying Oil Paint
What do you need to get started?
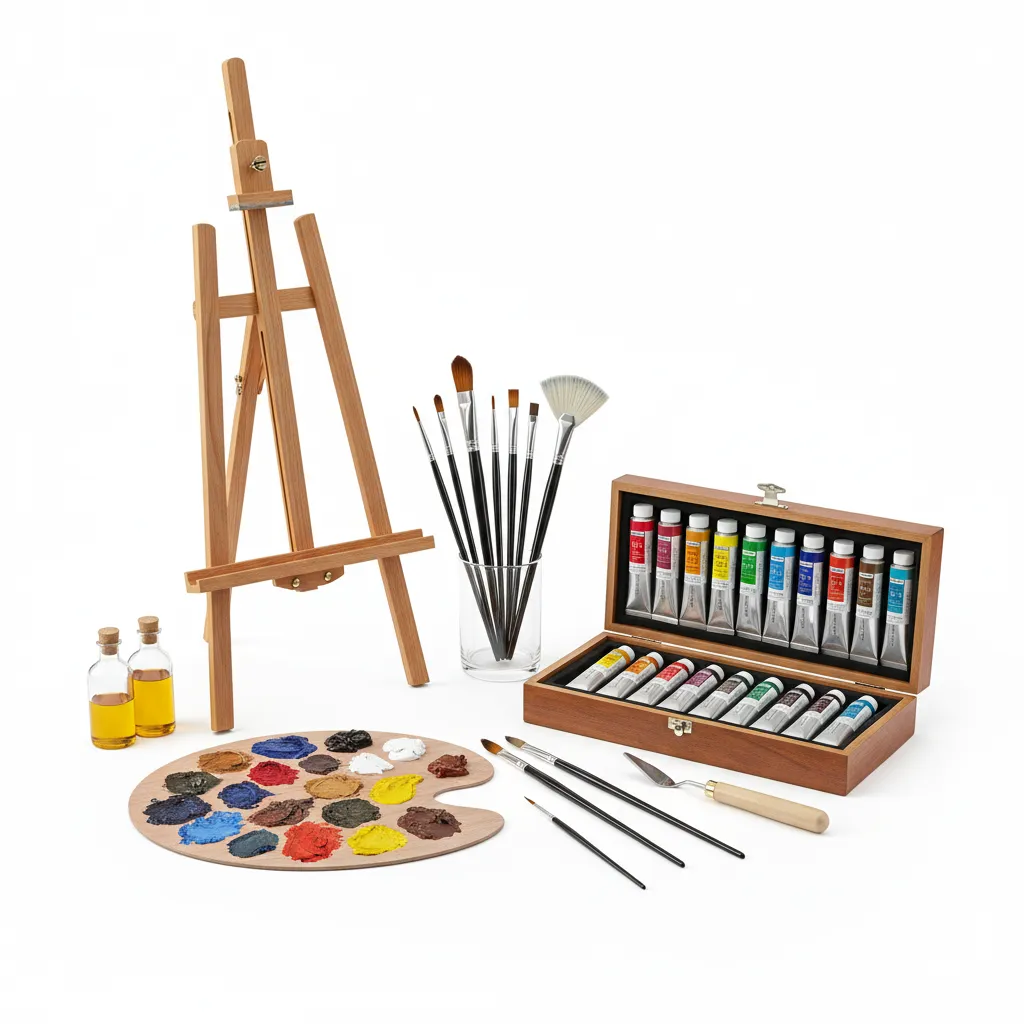
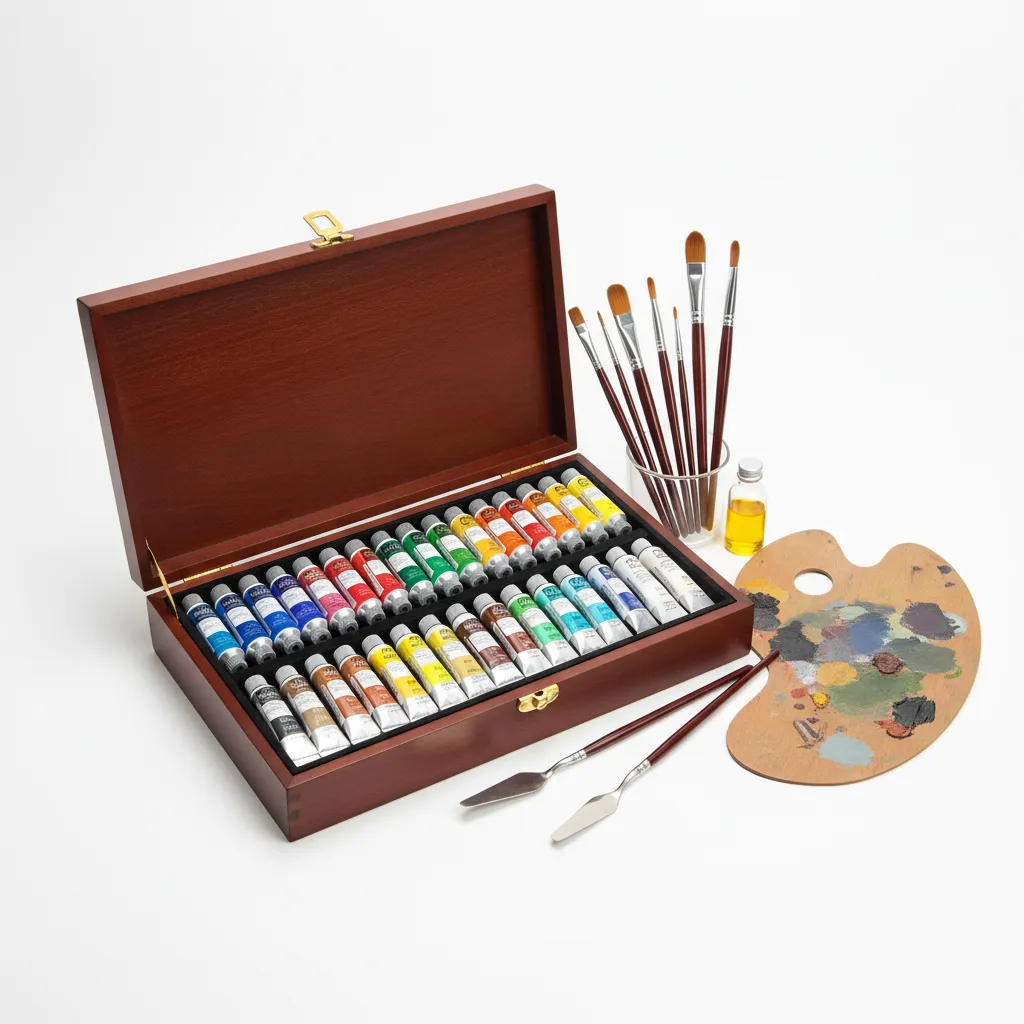
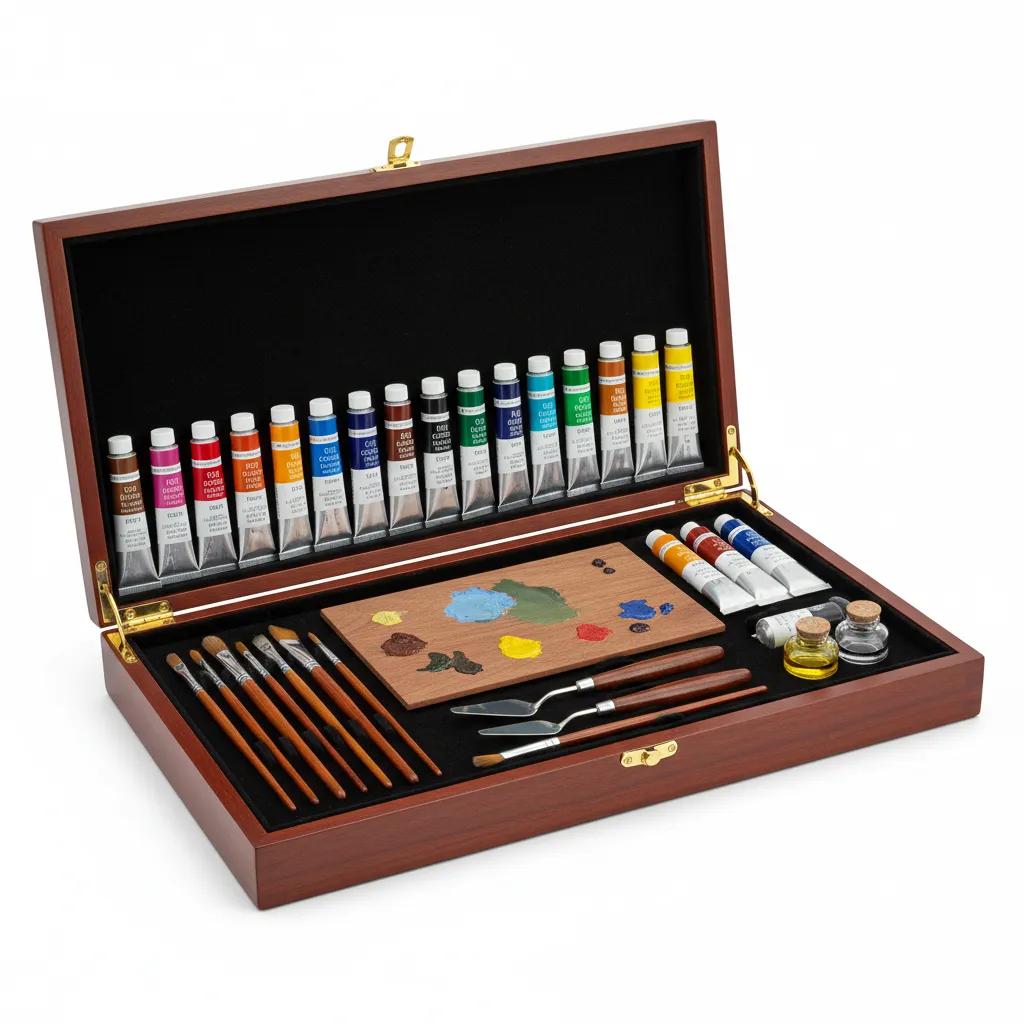
- High-Quality Oil Paint: Choose brands like Winsor & Newton or Gamblin. They offer rich pigments that influence drying times.
- Medium for Drying Speed: Use products like Liquin Original or Galkyd. They significantly reduce drying time for oil paints.
- Absorbent Rags: Use cotton rags or paper towels like Shop Towels. You need these to remove excess paint and clean surfaces.
- Proper Workspace: Ensure you have a well-ventilated area. Good airflow speeds up drying and maintains your health.
- Drying Rack: Invest in a dedicated rack or use a simple shelf. It keeps paintings elevated and minimizes scratches during drying.
That covers essential preparations before you start drying oil paint. Let’s now take a look at the step-by-step guide.
Also See: How to Seal Body Paint? Quick Tips for Longevity
Step-by-step Guide to Drying Oil Paint
Understanding the Oil Paint Drying Process
Choosing the Right Environment
Applying the Right Medium for Faster Drying
Understanding Layering Techniques
Follow these steps to dry oil paint effectively for the best results.
-
Control Humidity Levels
Keep humidity around 40-60% in your workspace. High humidity can significantly slow drying, potentially doubling the time needed.
If you live in a humid area, use a dehumidifier. This can speed up drying and save valuable setup time.
-
Increase Airflow
Use a fan to improve airflow in your drying area. A light breeze can cut drying time by up to 30%, helping you finish projects faster.
Be cautious, though! Too much airflow can stir up dust and particles that may land on your wet paint. Aim for gentle ventilation.
-
Apply Drying Mediums
Use drying mediums like linseed oil mixed with dryers. Products such as Liquin can shorten drying time from days to hours, especially for glazes!
Avoid large globs of medium. A thin mix yields better results, allowing the paint to breathe as it dries.
-
Utilize a Heat Source
Consider using a heat lamp or placing your painting in a warm (Not Hot) location. Temperatures around 70°F-80°F (21°C-27°C) can enhance drying effectiveness.
Monitor carefully; excessive heat can cause cracking or yellowing in your oil paints over time.
-
Segment Painting Method
Use a segmented approach by applying thin layers. Each layer should dry before adding the next. If you paint the next layer too soon, drying will take much longer.
Experiment to find your ideal balance between detail and drying time. This method helps avoid excessive sheen or wax on your final piece!
So far we covered a detailed guide on drying oil paint. Let’s look at the different types of oil paints and their drying traits next.
Types Of Oil Paints and Their Drying Characteristics
Let’s explore types of oil paints: linseed, safflower, poppy, and walnut oil paints.
-
Linseed Oil Paint
Linseed oil paint dries quickly, often within 3 to 5 days. It’s the most popular choice due to its flexibility, which helps the paint maintain integrity.
-
Safflower Oil Paint
This type takes about 7 to 10 days to dry due to its slower drying speed. It offers a milder hue, making it perfect for lighter colors.
-
Poppy Oil Paint
Poppy oil paints usually dry in 10 to 14 days. They provide a unique resinous finish and are often favored for their transparency.
-
Walnut Oil Paint
Walnut oil paint dries in about 8 to 12 days. It’s known for its warm colors and low yellowness, making it suitable for fine art and delicate work.
From my perspective, linseed oil paint suits my style best. It dries quickly, allowing me to layer faster and maintain my creative flow.
So far we covered the different varieties of oil paints and their drying traits. Let’s look at the science of drying oil paint next.
Understanding the Science Behind Oil Paint Drying
Ever wondered how oil paint actually dries? Let’s break down the science in a simple way.
- Oxidation Process: When you paint, the oil reacts with oxygen in the air. This process, called oxidation, causes the paint to harden over time. It can take weeks for complete oxidation to occur.
- Evaporation: Initially, some solvents in oil paint evaporate, helping it feel dry to the touch. But don’t be fooled! It may still be wet inside.
- Layering Changes: Different layers dry at varying rates, especially if you mix mediums. The top layer might set quicker while the underneath takes its time.
You should now have a good understanding of oil paint drying processes and their science. In the next part, we’ll discuss advanced techniques for specific effects.
Advanced Techniques for Specific Effects
You can play around with techniques to achieve unique effects in your oil paintings.
| Technique | Effect | Recommended Medium |
|---|---|---|
| Wet-on-Wet | Smooth blending of colors; great for landscapes. | Linseed Oil |
| Glazing | Transparent layers that shift color; adds depth. | Liquin Original |
| Impasto | Thick textures; creates bold strokes and patterns. | Stand Oil |
Tips for Storing Oil Paints Post-Drying
Once your oil paint dries, how do you handle the leftover materials?
- Seal Containers Tightly: Use airtight containers for leftover paints. Air exposure can lead to drying out in just a few days.
- Cool Environment: Store paints in a cool, dark place at temperatures around 10°C to 20°C (50°F to 68°F) for longevity.
- Use a Palette Saver: Consider using palette savers or sheets to cover your wet palette, keeping moisture in while you work.
Factors Affecting the Drying Time Of Oil Paint
What factors influence the drying rate of oil paintings?
-
Temperature – Warm conditions speed up drying, while cold conditions slow it down.
-
Humidity – Higher humidity extends drying time because moisture interferes with evaporation.
-
Thickness of Application – Thicker layers take longer to dry than thinner ones.
-
Type of Medium Additives – Some mediums, like linseed oil, can speed up or slow down drying, depending on their use.
Techniques to Accelerate Oil Paint Drying
Want to speed things up a bit? Here are some techniques that professionals like me swear by!
-
Utilize Drying Agents
Add a drying agent, like Cobalt Drier or Japan Drier, to your oil paint. Just a few drops can reduce drying time from days to a matter of hours!
-
Layer Smartly
Thin layers dry faster! Instead of slathering on thick paint, apply multiple thin layers. Each one dries quicker, allowing you to build up your painting faster.
-
Choose Fast-Dry Paints
Opt for fast-drying oil paints or those mixed with quick-dry mediums. Certain brands tailor products specifically for artists craving speed!
Environmental Controls for Optimal Drying
Control your drying space like a pro! Here’s how different factors play a role in drying your oil paints.
| Factor | Optimal Setting | Impact on Drying |
|---|---|---|
| Temperature | 21°C to 27°C (70°F to 80°F) | Warmer conditions speed up drying time significantly. |
| Humidity | 40% to 60% | Low humidity helps your paint dry quicker; high humidity slows it down. |
| Airflow | Gentle Ventilation | Proper airflow reduces drying time but steady is key—avoid dust! |
Common Issues Encountered When Drying Oil Paint
My friend once painted a beautiful sunset and couldn’t believe the thick paint took so long to dry! It felt sticky for days, ruining the piece.
To fix that, use a fan or invest in a drying medium like Stand Oil. It can speed up drying from weeks to just a few days, depending on humidity.
Final Touches and Techniques for Curing Your Artwork
After the drying process, let your artwork cure for 6-12 months at room temperature (20-25°C or 68-77°F). Monitor humidity levels around 40-50% for the best results.
Inspect edges for gloss and thickness. Check consistency under bright light; evenness should reflect naturally. Use specific brands like Gamblin Galkyd to seal for added protection.
If this is your first time, apply careful varnishing for UV protection. Consider a triple-formula dry approach; this includes applying cobalt driers at about 0.5% by weight for artwork that lasts for decades. When planning your painting project, it’s crucial to budget accurately for professional exterior painting services exterior painting cost estimates.
Creative DIY Project Ideas Using Dried Oil Paint
If you’ve got some dried oil paint lying around, how about turning it into unique wall art or custom coasters? Just mix dried paint bits with resin for colorful, one-of-a-kind home décor!
I’d simply gather my dried oil paint scraps (You Might Spend Around $10 for Resin and Supplies). Set aside a couple of hours to mix and pour—it’s messy but super fun!
Feeling adventurous? Instead of using conventional methods, try heating your palette in the sun or using a blow dryer on low to soften and reshape the dried paint. I once melted mine with a candle — works like a charm and adds a cool texture! If you’re working with plastic surfaces, you might want to explore specific painting techniques for plastics.
Also See: Can You Use Acrylic Paint on Shrinky Dinks? Find Out!
Frequently Asked Questions About Drying Oil Paint
What is the Fastest Way to Dry Oil Paint?
The fastest way to dry oil paint is to use a rapid-drying medium. These mediums can speed up drying time by 30% to 50%, allowing your artwork to set quicker, so you can layer or varnish sooner.
Can You Use a Hairdryer to Dry Oil Paint Faster?
Using a hairdryer can help dry oil paint faster, but it’s not ideal. High heat can create a glossy finish and may affect the texture. A low setting works best to avoid damage to your art.
How Long Does Oil Paint Usually Take to Dry?
Oil paint typically takes 24 hours to a week to dry, depending on thickness and environmental conditions. Thicker applications take longer, while thin layers can cure faster, so keep that in mind. If you’re unsure about the best approach for applying primer over existing paint, professional techniques can help ensure optimal drying and coverage.
What Environmental Factors Influence Oil Paint Drying?
Environmental factors like humidity, temperature, and airflow significantly influence oil paint drying. Ideal conditions include temperatures around 21°C (70°F) and low humidity for optimal results. Artists often seek innovative techniques to manage paint drying processes and explore unique painting environments that challenge traditional artistic boundaries.
What Are Common Mistakes When Drying Oil Paint?
Common mistakes include drying paintings in direct sunlight or near heat sources. These can lead to uneven drying and cracking. Patience and proper conditions are key to preserving your piece.
How Long Do Oil Paints Last After Opening?
Once opened, oil paints can last up to 5 years if stored properly. Keeping paints in a cool, dark place extends their shelf life, preventing the pigments from degrading and losing vibrancy.
Conclusion
You made it to the end of the article. We covered oil paint, essential preparations before drying, a step-by-step drying guide, recommended colors for quicker drying, different types of oil paints, factors affecting drying time, common issues, final touches, and creative DIY ideas using dried oil paint.
So, how do you dry oil paint? Simply follow the explained steps, utilize the right color palette, and consider drying factors to achieve full curing in about 6 to 12 days (144 to 288 hours), ensuring a successful and lasting finish for your artwork.
For additional insights and articles on similar topics, visit our homepage at Paint Answers.
Useful Resources
- Betti, C., & Sale, T. (2012). Drawing: A Contemporary Approach (6th ed.). Belmont, CA: Cengage Learning.
- How To Make Oil Paints Dry Faster – Sara Paxton Artworks
- How Long Does an Oil Painting Take to Dry? Drying Times for Oil Paint – Chuck Black Art
- How long for artist oils to dry? – FineScale Modeler – Essential magazine for scale model builders, model kit reviews, how-to scale modeling, and scale modeling products


