
Can Acrylic Paint Be Baked?
Published on: February 25, 2025 | Last Updated: January 7, 2025
Written By: Alisha Winters
Acrylic paint is a colorful liquid that dries fast and sticks to many surfaces. It’s like magic paint that lets you create beautiful pictures and crafts!
You might be wondering, can acrylic paint be baked? It’s super important to know if you want your art to last longer, especially if you’re working on clay or ceramic pieces. I’ve baked acrylic paint on my homemade mugs, and trust me, following the right steps makes all the difference.
In this article, we’ll explore the ins and outs of can acrylic paint be baked, important tips before baking, steps for safe baking, recommended colors, types of acrylic paint to use, factors that affect baking quality, common issues, finishing touches for your projects, and fun DIY ideas. You’ll learn everything you need to know to make your baked acrylic paint projects shine!
Contents
- 1 Can Acrylic Paint Be Baked?
- 2 What is Acrylic Paint?
- 3 Important Considerations Before You Start Baking Acrylic Paint
- 4 Steps to Safely Bake Acrylic Paint
- 5 Alternative Methods to Set Acrylic Paint
- 6 Compatibility of Acrylic Paint with Different Materials
- 7 Types Of Acrylic Paint Suitable for Baking
- 8 Factors Affecting the Baking Quality Of Acrylic Paint
- 9 Common Issues Encountered When Baking Acrylic Paint
- 10 Finishing Touches for Your Baked Acrylic Projects
- 11 Tips for Achieving Optimal Results When Baking Acrylic Paint
- 12 Creative DIY Project Ideas Using Baked Acrylic Paint
- 13 Frequently Asked Questions About Baking Acrylic Paint
- 14 Conclusion
- 15 Useful Resources
Can Acrylic Paint Be Baked?
No, you shouldn’t bake acrylic paint. It can warp or damage surfaces, like polymer clay or ceramics. Instead, let it air dry or use a heat gun 💰 Save on Dual-Temperature Heat Gun → to set it at lower temperatures. Remember, high heat isn’t its friend! If you’re curious about compatible file formats for digital painting tools, check out 3D file format compatibility.
What is Acrylic Paint?
Acrylic paint is a fast-drying, water-soluble medium made from pigment suspended in an acrylic polymer emulsion. It contains about 50% to 70% water, allowing easy dilution and manipulation while maintaining vibrant colors. Artists have long been fascinated by the historical evolution of painting techniques and acrylic mediums, with some researchers tracing the origins of artistic expression back to ancient cave painting discoveries.
Now, let me ask: can acrylic paint be baked? I remember wondering this when I started using it on ceramics—it really made me curious!
It came in handy when I needed to add flair to my dull coffee mugs. Using acrylic on glazed ceramics was tricky, but I discovered effective techniques—not everything blends well with heat! It taught me patience and careful application, ensuring the final results stood out. If you’re curious about exploring different painting surfaces, painting techniques expand your creative horizons.
Important Considerations Before You Start Baking Acrylic Paint
What do you need for baking?
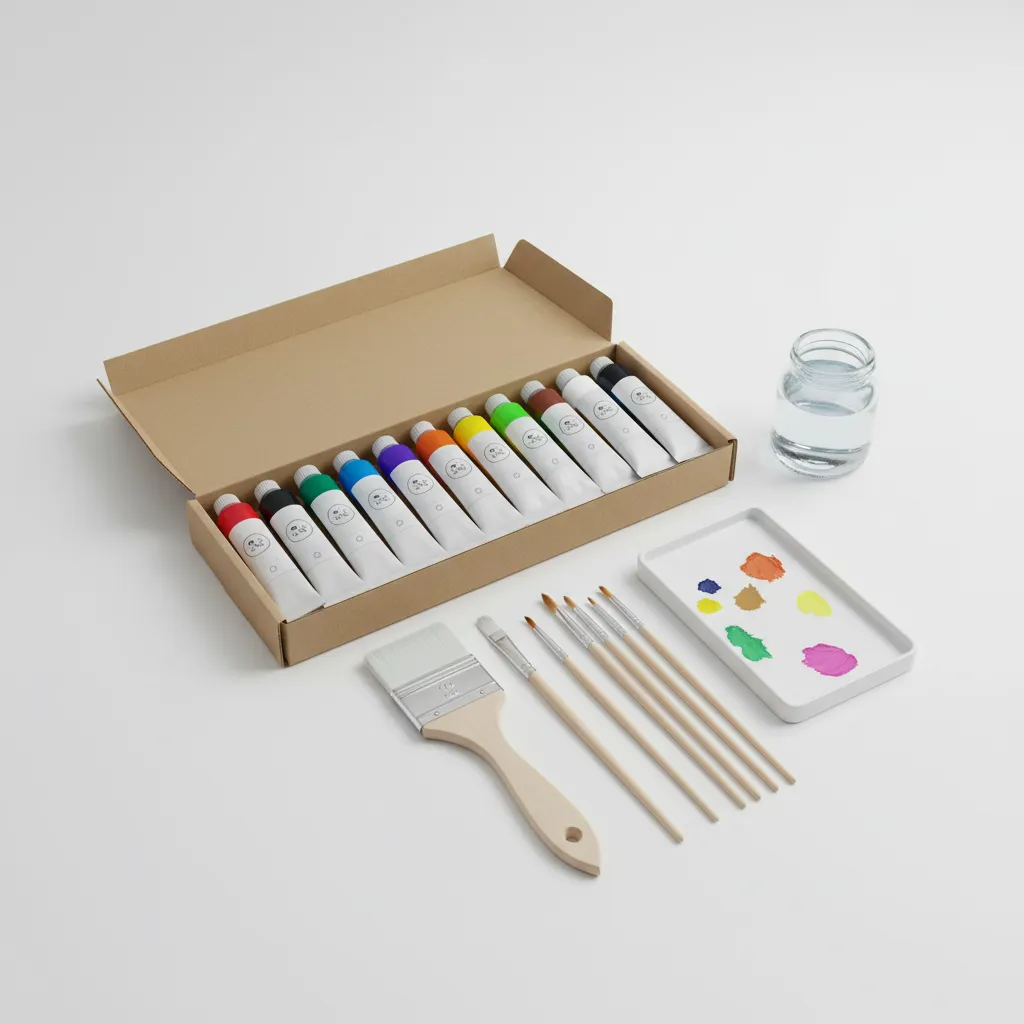
- Acrylic Paint: Use high-quality acrylics, like Liquitex or Golden, for a durable, heat-resistant finish.
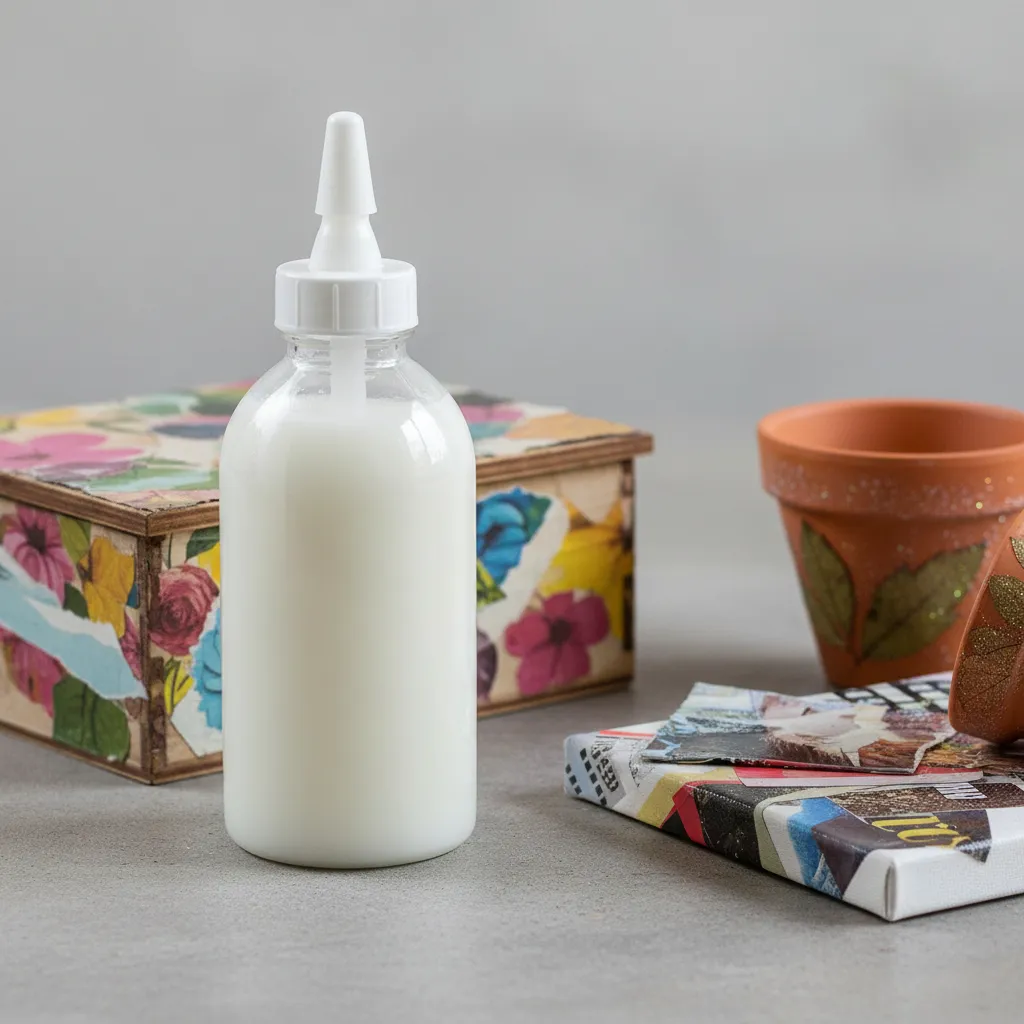
- Sealer: You’ll need a clear acrylic sealer, such as Krylon or Mod Podge, to protect your work after baking.
- Thermometer: A reliable oven thermometer, like Taylor 594, ensures accurate temperature control at 104°C (220°F).
- Baking Dish: A ceramic baking dish, such as Anchor Hocking, is essential for evenly placing your painted item in the oven.
- Timer: A reliable kitchen timer helps track your baking time. Aim for at least 30 minutes for curing.
We’ve wrapped up key factors to consider before baking acrylic paint here. Let us turn our attention to the steps for safe baking.

Also See: Can You Paint Your Glasses Frames With Acrylic Paint?
Steps to Safely Bake Acrylic Paint
This section covers how to bake acrylic paint safely and effectively on various surfaces.
-
Prepare Your Surface
Clean the surface thoroughly before applying any acrylic paint. Whether it’s ceramic or polymer clay, removing dust and oils ensures good adhesion.
Use warm, soapy water, then rinse and dry completely. A well-prepped surface helps the paint stick during baking.
-
Apply Acrylic Paint Evenly
Spread the paint in even layers to avoid drips and uneven drying. Apply thin coats to prevent blisters during the baking process.
Let each layer dry between applications to build a strong bond and prevent cracking.
-
Choose the Right Temperature Setting
Select an oven temperature between 149 °C (300 °F) and 177 °C (350 °F) for best results. Baking at these temperatures solidifies the acrylic paint without melting it.
Be cautious—excessive heat can cause bubbling or peeling. Always preheat your oven to ensure consistent results.
-
Monitor the Baking Process
Keep an eye on your project while it’s in the oven. Bake the acrylic paint for 30 minutes to ensure proper curing without overheating.
Check the item regularly and turn off the oven if you notice any changes in color or texture. This can help save your artistic efforts from disaster!
We have now covered safe baking techniques for acrylic paint. Next, we will explore alternative methods for setting acrylic paint.
Alternative Methods to Set Acrylic Paint
If you’re hesitant to bake acrylic paint, there are other ways to set it effectively.
-
Heat Gun Technique
Using a heat gun offers precise control over temperature. Keep it about 6 inches (15 cm) away from your painted surface, applying heat for short bursts to avoid melting.
-
Air Drying
Let acrylic paint air dry naturally. Depending on humidity, this can take from 24 hours to several days. Ensure good ventilation to speed up the process.
-
Use of Clear Acrylic Sealers
Apply a clear acrylic sealer like Mod Podge. This protects your artwork and enhances durability after air drying. Choose a spray for an even finish.
Recommended SuppliesAs an Amazon Associate, I earn from qualifying purchases. Images are representative.
So far we covered alternative ways to set acrylic paint. Let’s look at how acrylic paint works with various materials next.
Compatibility of Acrylic Paint with Different Materials
Not all surfaces interact the same way with baked acrylic paint. Here’s a quick guide.
| Material Type | Recommended Treatment | Best For Baking? |
|---|---|---|
| Ceramics | Use sealer after painting | Yes |
| Wood | Sand lightly before painting | No |
| Metal | Use primer for better adhesion | Yes |
| Glass | Preheat and avoid drastic temperature changes | Yes |
That covers the compatibility of acrylic paint with various materials. Let’s now take a look at types of acrylic paint suitable for baking.
Types Of Acrylic Paint Suitable for Baking
Let’s explore the different types of acrylic paint: student-grade, artist-grade, specialty, and outdoor acrylic paints.
-
Student-grade Acrylic Paint
This type is affordable but varies in quality. It can be used on surfaces like Sculpey clay, but it’s less durable when baked compared to higher grades.
-
Artist-grade Acrylic Paint
Artist-grade paints have higher pigment concentrations, so they maintain their vibrancy when baked. They’re perfect for glazing ceramic mugs since they can withstand high heat during baking.
-
Specialty Acrylic Paint
These paints are designed for specific applications, including those suitable for ceramic and polymer clay. They can generally be used when baking, as long as you follow the manufacturer’s guidelines. If you need to adjust the paint’s consistency, you might want to thin out the paint carefully.
Free ToolOpen Calculator →Car Paint Cost EstimatorBody shops charge thousands. See exactly what it costs to DIY vs Pro. Don't get ripped off on your quote. -
Outdoor Acrylic Paint
These paints are durable and weather-resistant, making them great for outdoor projects. You can use them on ceramics, but be cautious about their adhesion after baking.
Here’s a tip I’ve learned: I personally prefer artist-grade acrylic paint. They adhere best to ceramic and have excellent color longevity after baking!
Factors Affecting the Baking Quality Of Acrylic Paint
What factors influence whether your acrylic paint bakes properly?
-
Temperature: Baking at too high a temperature can cause the paint to bubble or melt.
-
Baking Time: Insufficient baking time may not cure (Harden) the paint properly, affecting adhesion.
-
Surface Type: Non-porous surfaces, like glazed ceramic, require special treatment for paint to adhere.
-
Layer Thickness: Thicker layers of paint take longer to cure, increasing the risk of improper baking.
Common Issues Encountered When Baking Acrylic Paint
My friend once baked acrylic paint on a ceramic mug. It bubbled and cracked because the oven temperature exceeded 176°C (350°F). Yikes!
To prevent this, always bake at 150°C (302°F) for 30 minutes. Use a thermometer to ensure accuracy. Let it cool slowly to avoid shock. Simple, right?
Finishing Touches for Your Baked Acrylic Projects
After you bake your acrylic project, let it cool for at least 30 minutes. Then, apply a clear acrylic sealant, preferably a spray, for the best results.
Inspect your baked item for cracks or bubbles. If you find bubbles larger than 1 mm (0.04 Inch), sand them down or repaint.
If you’ve worked with acrylics before, consider mixing your paints for a unique finish. Experiment with ratios; a 2:1 mix of matte to gloss can really pop!
Tips for Achieving Optimal Results When Baking Acrylic Paint
Want to make your baked projects shine? Here are some expert tips to get the best results!
- Choose the Right Bakeware: Use ceramic or glass bakeware. Avoid metal, as it can conduct too much heat and alter the paint.
- Use a Baking Cable: A silicone baking mat or parchment paper can create a buffer between heat and your painted surface while baking.
- Test a Small Area First: Experiment with a small, inconspicuous area. It’ll help you gauge how the paint reacts under heat.
- Monitor Humidity: High humidity can affect paint adhesion. Aim for a dry environment when painting and baking.
Creative DIY Project Ideas Using Baked Acrylic Paint
Wanna create something fun and unique? How about making colorful plant pots or custom wall art using baked acrylic paint?
For the pots, grab some terracotta pots, acrylic paint, and a baking sheet. You’ll spend around $15-$20 and it usually takes about an hour of painting, plus 30 minutes to bake at 200°F (93°C). If you’re curious about creative painting techniques beyond pottery, you might be surprised to learn that some animals have their own artistic unique approaches to creating art.
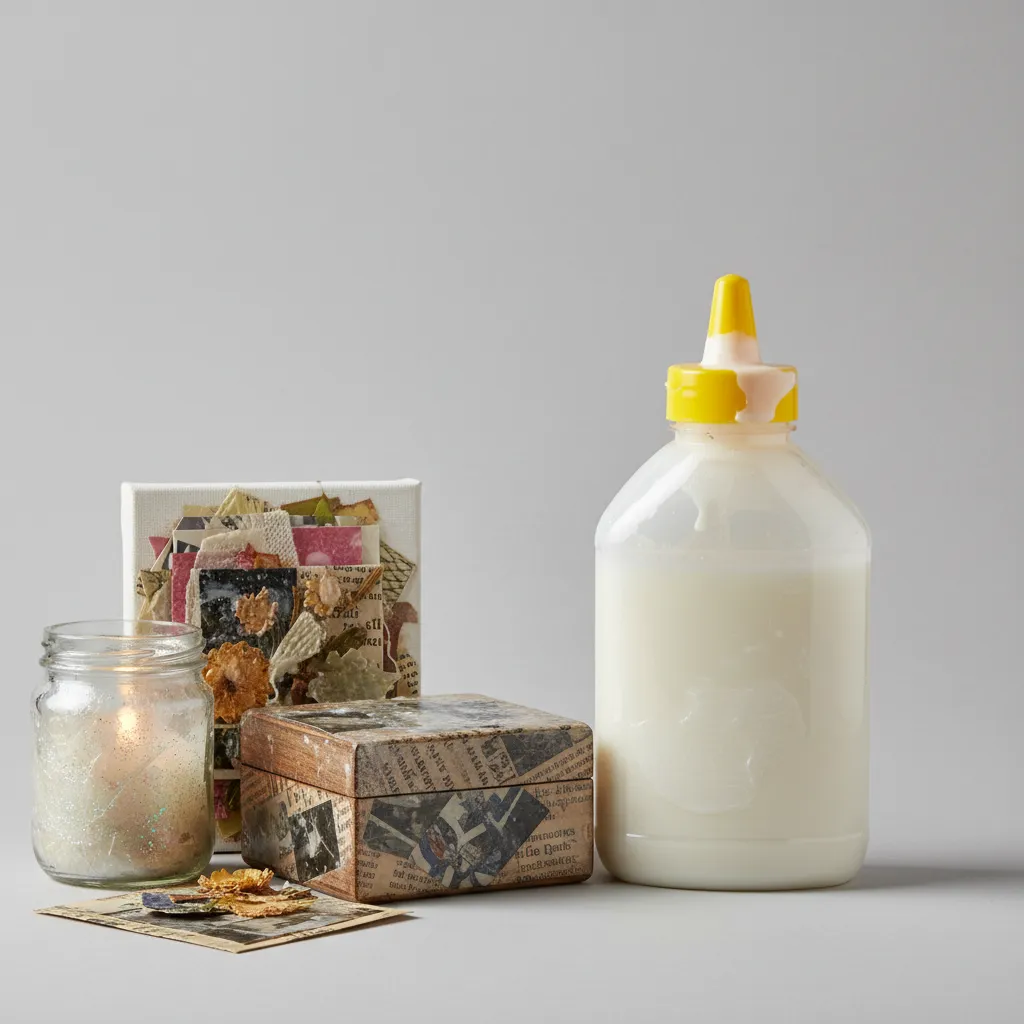
Alternatives to baking acrylic paint? You can try sealing your painted pieces with a clear acrylic spray or a glossy topcoat instead! I’ve found that it works just as well and makes everything shine beautifully. If you want to elevate your painting technique, you might even experiment with adding glitter to paint.
Frequently Asked Questions About Baking Acrylic Paint
Can I Bake Acrylic Paint on Glass Surfaces?
Yes, you can bake acrylic paint on glass surfaces. Baking helps the paint adhere better, making it more durable. Glass needs to be preheated at about 150°C (300°F) to prevent thermal shock.
Will Baking Acrylic Paint Change Its Color?
Yes, baking acrylic paint can change its color. Some pigments can shift in hue when heated. For example, certain reds and yellows might darken or become muted.
Is It Safe to Bake Acrylic Paint in a Regular Oven?
Yes, it’s safe to bake acrylic paint in a regular oven as long as you follow guidelines. Make sure the paints are labeled as non-toxic. Acrylics generally won’t release harmful fumes at temperatures under 200°C (392°F). If you’re working with different materials like plastic, you might want to explore specific painting techniques for plastics.
How Long Should I Bake Acrylic Paint?
You should bake acrylic paint for 30 minutes to ensure a proper cure. This duration typically allows for enough time for the paint to bond well to surfaces.
Can I Use a Microwave to Bake Acrylic Paint?
No, you shouldn’t use a microwave to bake acrylic paint. Microwaves heat unevenly, which can lead to bubbling or warping. Use a conventional oven instead for more consistent results.
Can You Paint Sculpey Clay With Acrylic Paint?
Yes, you can paint Sculpey clay with acrylic paint. Just make sure the clay is fully baked and cool before applying paint. This helps prevent smudging and ensures a smooth finish.
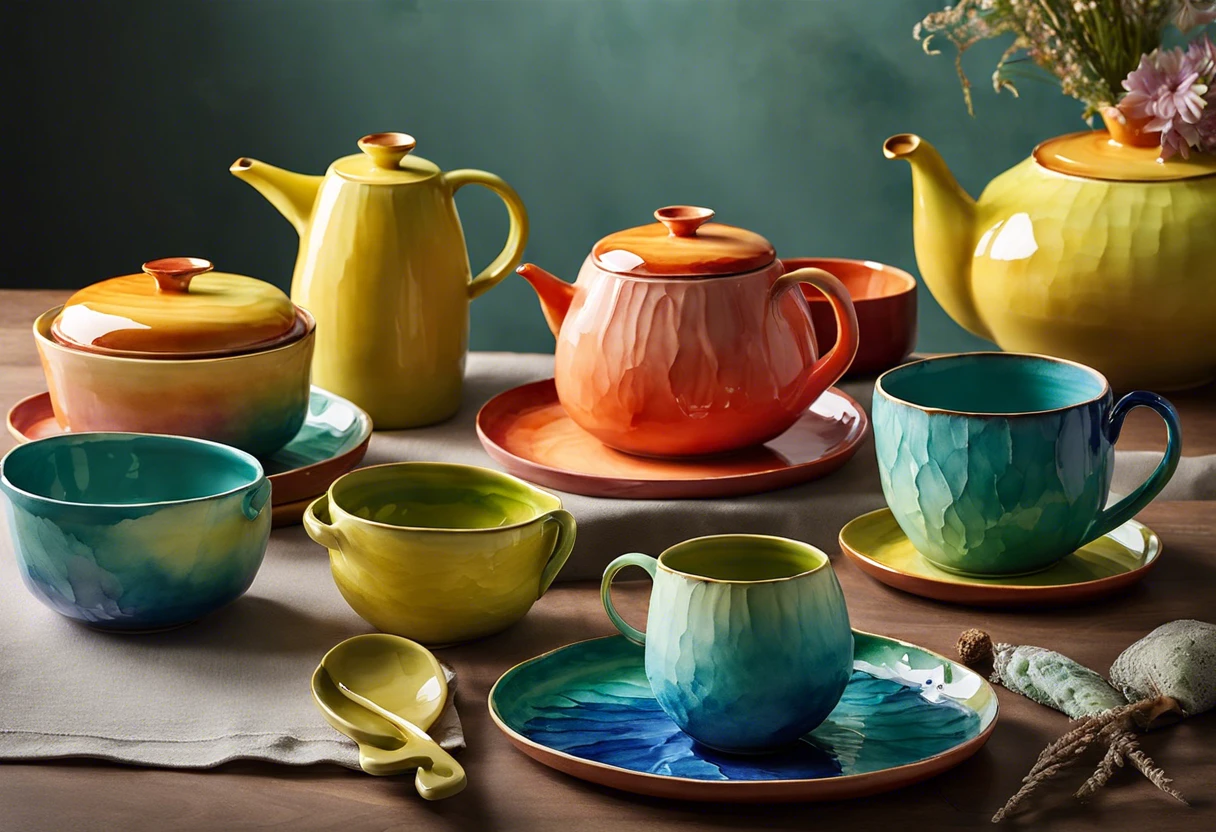
Can I Use Acrylic Paint on Ceramic Mugs?
Yes, you can use acrylic paint on ceramic mugs. It’s best to seal it afterwards to maintain the design during washing. Sealing helps it resist wear and tear from regular use.
How Long to Bake Acrylic Paint on Ceramic?
You should bake acrylic paint on ceramic for around 30 minutes at 150°C (300°F). This ensures a good adherence and durability of the paint, making it suitable for functional items like mugs.
Conclusion
We covered the definition of acrylic paint, its suitability for baking, key considerations, safe baking steps, recommended palettes, types that work well, factors affecting baking quality, common issues, and creative project ideas.
So, can acrylic paint be baked? Yes, you can safely bake it on ceramic items at 300°F (149°C) for about 30 minutes to cure the paint effectively, ensuring your projects are durable and vibrant.
For more insights and technical expertise, visit us at Paint Answers.
Useful Resources
- Edwards, B. (2012). Drawing on the Right Side of the Brain. New York, NY: TarcherPerigee.
- Can You Bake Acrylic Paint? – PAINTONA
- Can You Bake Acrylic Paint in the Oven? – Acrylic Art World
- Can You Bake Acrylic Paint? 4 Best Bakeable Paints On Ceramics & Glass | Acrylic Painting School
Experienced interior designer with 15+ years in transforming spaces, blending artistry with expertise in color and design. Rhode Island School of Design graduate, specializing in restorations and modern makeovers.
Acrylic, Medium


