Can You Paint a Door on the Hinges?
Published on: October 29, 2025 | Last Updated: October 1, 2025
Written By: paint_answered
A door is like a big, flat friend that helps you get in and out of rooms. It can be painted in lots of colors, just like how you color in a rainbow!
When you ask can you paint a door on the hinges, it’s super important to know how to do it right, especially when working on a garage door painting project. I’ve tried painting doors before, and trust me, following the steps makes all the difference in how it looks!
In this article, you’ll learn essential steps to paint a door while it’s on the hinges, preparation tips before you start painting, recommended color ideas, and common issues you might face. We’re covering everything from what type of paint for interior doors to how much to paint interior doors, so you’ll be ready to dive into your DIY project!
Contents
- 1 Can You Paint a Door on the Hinges?
- 2 A door is a movable barrier, usually made of wood, metal, or composite materials, that controls entry to a space. Standard door dimensions in the U.S. are typically 80 inches (203 Cm) tall and 36 inches (91 Cm) wide, but sizes can vary widely, especially in commercial settings. You might wonder, can you paint a door while it’s still hinged? Personally, I’ve found that painting a door on the hinges can be tricky but not impossible. It can create a mess and sometimes result in uneven coats. If you’re looking to refresh your cabinets with a new paint job, painting techniques can make a significant difference. I relied on it to transform my home’s entrance. Painting my interior doors gave a fresh vibe. Using a durable satin or semi-gloss finish is key—matching the door handle to the same color really tied it together. Consider how much paint it takes to cover those doors; you’ll need about 1 quart (0.95 Liters) per door, depending on the finish you choose! When surface imperfections arise, you might want to repair door surfaces before painting. Essential Preparation Steps Before You Start Painting
- 3 Steps to Paint a Door While It Remains on the Hinges
- 4 Types Of Hinges and Their Impact on Painting a Door
- 5 Factors Affecting the Success Of Painting a Door on the Hinges
- 6 Common Issues Encountered When Painting a Door on the Hinges
- 7 Final Touches: Ensuring a Professional Finish
- 8 Essential Tips for Maintaining Your Hinged Door After Painting
- 9 Best Practices for Painting Doors with Different Styles
- 10 Innovative Materials for Painting Doors on Hinges
- 11 Creative Techniques for Painting Doors on Hinges
- 12 Time-Saving Tips When Painting a Door on the Hinges
- 13 Frequently Asked Questions About Painting a Door on the Hinges
- 14 Conclusion: Successfully Painting Your Door While It’s on the Hinges
- 15 Useful Resources
Can You Paint a Door on the Hinges?
You can indeed paint a door while it’s still on the hinges. Just be careful not to get paint on the hardware. Use a small brush for control. Be sure to let it dry thoroughly before swinging the door.
A door is a movable barrier, usually made of wood, metal, or composite materials, that controls entry to a space. Standard door dimensions in the U.S. are typically 80 inches (203 Cm) tall and 36 inches (91 Cm) wide, but sizes can vary widely, especially in commercial settings.
You might wonder, can you paint a door while it’s still hinged? Personally, I’ve found that painting a door on the hinges can be tricky but not impossible. It can create a mess and sometimes result in uneven coats. If you’re looking to refresh your cabinets with a new paint job, painting techniques can make a significant difference.
I relied on it to transform my home’s entrance. Painting my interior doors gave a fresh vibe. Using a durable satin or semi-gloss finish is key—matching the door handle to the same color really tied it together. Consider how much paint it takes to cover those doors; you’ll need about 1 quart (0.95 Liters) per door, depending on the finish you choose! When surface imperfections arise, you might want to repair door surfaces before painting.
Essential Preparation Steps Before You Start Painting
What do you need to prepare for painting a door while it’s still on the hinges?
- Painter’s Tape: Use high-quality painter’s tape like FrogTape or ScotchBlue. It’s essential for protecting areas you don’t want to paint and for ensuring clean lines.
- Door Cleaner: Use a degreasing cleaner, such as a TSP (Trisodium Phosphate) solution. Cleaning the door prevents dirt and grease from ruining your paint job.
- Paintbrush and Roller: Get a 2-3 inch (5-7.5 Cm) angled brush and a mini roller like Purdy. These tools help you reach all areas without removing the door.
- Paint: Choose a durable acrylic paint like Benjamin Moore Aura. It resists chipping and can withstand daily wear from door use.
We’ve wrapped up essential preparation steps before you start painting here. Let us turn our attention to painting a door while it’s still on the hinges.
Also See: Can You Paint Your Gas Meter? A Quick Guide
Steps to Paint a Door While It Remains on the Hinges
Here are the steps to effectively paint a door while it stays on its hinges. Follow these closely for a smooth finish!
-
Clean the Door Thoroughly
Start by dusting the door with a soft cloth to remove loose dirt. Then, mix warm water with a few drops of dish soap and wipe the door down. This ensures a clean surface for painting.
Pay extra attention to grooves and edges. A clean surface improves paint adhesion, making this step essential for a durable finish.
-
Repair Any Damage
Inspect the door for scratches or dents. Use wood filler for larger imperfections and apply it with a putty knife, making sure it’s smooth and flush with the surface.
Don’t forget to let the filler dry completely according to the manufacturer’s recommendations, usually 1-2 hours. I once skipped this, and the finish turned out uneven.
-
Prime the Door (if Necessary)
If you’re painting a bare wood door, apply a primer. Choose a high-quality, water-based primer to improve adhesion and prevent peeling.
Brush the primer on in thin, even coats and let it dry for at least 1 hour. You might need a second coat if the grain still shows through. A well-primed door prepares it for the final color layer.
-
Apply the Paint
Select a paint suitable for interior doors, like satin or semi-gloss finish. Using a good brush or foam roller, apply the paint with strokes that follow the grain of the door for smooth coverage. If you accidentally spill paint during the process, you can learn how to remove paint from carpet effectively.
Let the first coat dry for about 2-4 hours before applying a second coat. I’ve found that two coats always improve durability and appearance when painting on hinges.
-
Inspect and Touch Up
After the paint dries completely, check for missed spots or thin areas. Use a small brush to touch up any imperfections to ensure a flawless look.
If previous colors still bleed through, consider doing a quick spot refinish on two or three areas. It’ll look brand new and won’t draw attention to your touch-ups!
So far we covered the process of painting a door while it’s still attached. Let’s look at the effect of hinge types on door painting.
Types Of Hinges and Their Impact on Painting a Door
Let’s move on to types. We’ll cover Butt, Piano, Concealed, and Continuous hinges.
-
Butt Hinges
Butt hinges are the most common type found on doors. They usually come in pairs and allow the door to swing open or shut smoothly. It’s best to remove them before painting, ensuring no paint gets on the hinge’s moving parts. If you’re working on a project that involves painting metal surfaces like door hardware, you might also want to learn proper painting techniques for metal.
-
Piano Hinges
Piano hinges span the entire length of the door, providing added stability. They can be trickier to paint because they don’t fully detach. You can paint a door with piano hinges attached, but be cautious to avoid stiff movement. If you’re considering decorative alternatives, painting artificial decorative elements might offer creative solutions for your project.
-
Concealed Hinges
Concealed hinges, or Euro hinges, hide inside the door. They offer a clean finish since they aren’t visible when the door is closed. Choose a paint that won’t interfere with their operation, as any obstruction could prevent proper door function.
-
Continuous Hinges
Continuous hinges, also known as piano hinges, run the full length of the door. They support heavier doors well. To paint them effectively, you might need to support their weight during the job, which can be challenging. Some artists and DIY enthusiasts have discovered creative techniques for painting unique surfaces with precision.
Through years of practice, I’ve found that painting around Butt hinges is the easiest. Removing them allows for a sleek and thorough paint job, resulting in fewer touch-ups later!
We have now covered various hinge types and their effects on painting a door. Next, we’ll explore factors influencing painting success.
Factors Affecting the Success Of Painting a Door on the Hinges
What factors determine the effectiveness of painting a door while it’s still hinged?
-
Type of Paint Choosing the right paint is crucial. Latex paints often don’t adhere well to metal hinges.
-
Surface Prep Not properly cleaning the door can lead to peeling. Make sure it’s dust-free!
-
Humidity and Temperature Your environment matters. High humidity can affect drying time and adhesion.
-
Number of Coats Applying too few coats might leave patches. Aim for at least two for full coverage.
You should now have a good understanding of the elements influencing door painting success. In the next part, we’ll discuss typical challenges faced while painting a door on its hinges.
Common Issues Encountered When Painting a Door on the Hinges
When my friend tried it, the paint dripped onto the floor, creating a mess! He learned to use painter’s tape on nearby surfaces for clean edges.
To fix this, he used high-quality acrylic latex paint (1.89 L [1 Quart]) for smooth coverage and a 2-inch (5 Cm) angled brush for precision. Attention to detail makes a big difference!
Final Touches: Ensuring a Professional Finish
After you’ve painted the door while it’s still on the hinges, let it cure for 48 hours. Ensure the space is ventilated and avoid heavy contact until it’s fully dry for the best results.
Inspect for drips at the hinges and edges, particularly at the bottom corners where moisture collects. Check areas where the paint may not have adhered well; use fine grit sandpaper 💰 Save on Assorted Grit Sandpaper → (Like 220 Grit) to touch those up.
I recommend applying a second coat with an oil-based primer before the final gloss coat for a smoother finish. Rotate the door’s handles after drying for optimal texture.
Essential Tips for Maintaining Your Hinged Door After Painting
After painting your door on the hinges, it’s important to know how to keep it looking fresh.
-
Regular Cleaning
Wipe down your door regularly with a damp cloth. This helps keep dust and grime from settling in.
-
Inspect Hinges and Hardware
Check your hinges for paint build-up. Remove any excess paint carefully to avoid sticking or squeaking.
Free Tool
Car Paint Cost Estimator
Body shops charge thousands. See exactly what it costs to DIY vs Pro. Don't get ripped off on your quote.
Open Calculator →
-
Reapply Touch-Ups
If you see chips or scratches within the first few months, do quick touch-ups. This keeps your door looking new.
Best Practices for Painting Doors with Different Styles
Let’s talk about how your door’s style can affect how you paint it.
Door Style
Painting Tips
Estimated Time (Hours)
Panel Door
Use an angled brush for edges, then a roller for flat areas.
4-5
Flush Door
Apply paint in long, even strokes to prevent streaks.
3-4
French Door
Consider removing glass panels or taping them well to avoid smudges.
4-6
Innovative Materials for Painting Doors on Hinges
Thinking outside the box? Let’s explore some unique materials that you can use.
-
Chalk Paint
This paint offers a beautiful matte finish and is easy to distress. It’s perfect for a rustic look.
-
Metal Paint
If your door has a metal finish, using specialized metal paint provides durability and great adhesion.
-
Specialty Finishes
Try using textures like suede or satin for a unique feel. These can add depth and interest to the door.
Creative Techniques for Painting Doors on Hinges
Want something unique? Try these creative techniques to make your painted door stand out!
-
Ombre Effect
Blend two or three related colors to create a soft ombre effect. Start with the darkest color at the bottom and gradually lighten it as you move up. Use a foam roller for smooth transitions!
-
Texture Painting
Use a sea sponge or rag to dab paint on the door after base coats dry. This adds a soft texture and depth, making your door eye-catching.
-
Stenciling
Stencils can transform a simple door into an artwork! Use a stencil for designs or patterns, applying paint with a stencil brush for precision. It’s fun and easy!
Time-Saving Tips When Painting a Door on the Hinges
Painting can take time, but these tips will help you breeze through the process!
Tip
Benefit
Use a Spray Paint
Provides an even coat quickly without brush marks, reducing painting time significantly. Just mask the hinges!
Apply Paint in Sections
Focus on one section at a time to avoid feeling overwhelmed. This also ensures thorough coverage.
Plan for Touch-Ups
A small touch-up kit, including paint and brush, lets you easily fix any spots afterward without additional fuss.
Frequently Asked Questions About Painting a Door on the Hinges
Is It Safe to Paint a Door While It’s Still on the Hinges?
Yes, it’s safe to paint a door while it’s still on the hinges. Many people do this to avoid the hassle of removing the door, which can cause misalignment or damage.
What Kind Of Paint Should Be Used for a Door on Hinges?
For a door on hinges, you should use durable paint, typically acrylic latex or oil-based paint. Acrylic paint offers easy application and cleanup while oil-based paint provides a strong, lasting finish. If you want to explore the nuanced properties of different paint types, check out alkyd paint characteristics.
How Long Does It Take for Paint to Dry on a Door?
Paint on a door typically dries within 1 to 2 hours for touch-dry and 24 hours for a full cure. This can vary with humidity and temperature, so it’s wise to check the label for specific drying times. When painting near fixtures like radiators, you’ll want to ensure precise application and proper technique for painting behind tricky surfaces.
What Should I Do if My Hinges Get Painted?
If your hinges get painted, gently scrape the paint off with a utility knife ⚡ Best Pick: Retractable Utility Knife → or putty knife. Keep the moving parts clean to avoid sticking and ensure smooth operation.
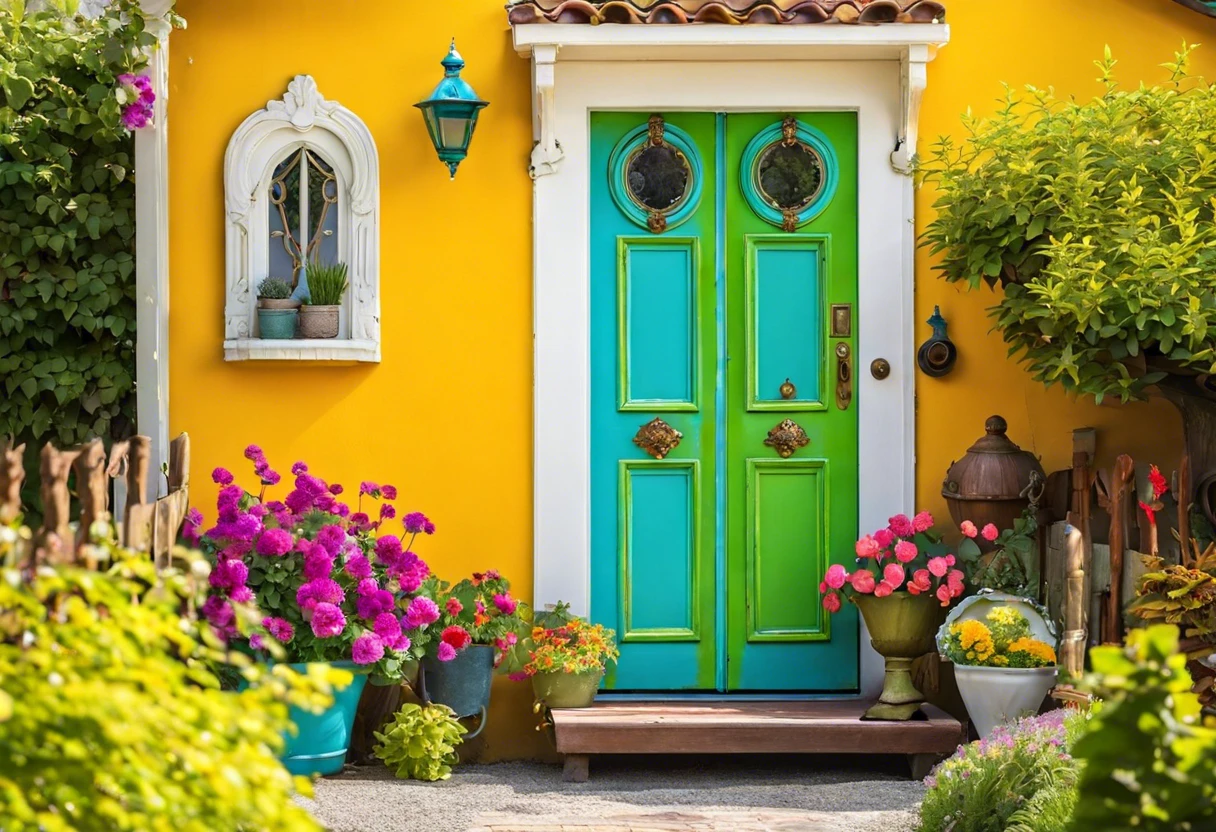
What Color Should You Paint Your Interior Doors?
Choosing a color for your interior doors is personal. Many opt for colors that contrast or complement the walls, like soft whites or deep blues. This creates a stylish look that fits your home’s theme.
What is the Best Technique for Painting a Door With Panels?
For painting a door with panels, use a high-quality brush for edges and a roller for flat surfaces. Start with edges before moving to flat areas, ensuring even coverage and avoiding drips.
Also See: Can You Stain a Deck Over Paint? Learn the Facts!
Conclusion: Successfully Painting Your Door While It’s on the Hinges
That’s everything I wanted to share with you. We covered what a door is, essential preparation steps, how to paint while hinges are intact, recommended colors, types of hinges, factors that can affect your success, and common issues you might face.
So, can you paint a door on the hinges? Yes, you can, but remember the outcome depends on proper prep, choosing the right paint type, and managing common pitfalls. If you need additional advice, I’m here to help with all your questions about painting a door on the hinges.
For more insights and helpful articles, visit our homepage at Paint Answers for expert guidance and resources.
Useful Resources
- Smith, R. (2003). The Artist’s Handbook of Materials and Techniques (5th ed.). New York, NY: Knopf.
Clean the Door Thoroughly
Start by dusting the door with a soft cloth to remove loose dirt. Then, mix warm water with a few drops of dish soap and wipe the door down. This ensures a clean surface for painting.
Pay extra attention to grooves and edges. A clean surface improves paint adhesion, making this step essential for a durable finish.
Repair Any Damage
Inspect the door for scratches or dents. Use wood filler for larger imperfections and apply it with a putty knife, making sure it’s smooth and flush with the surface.
Don’t forget to let the filler dry completely according to the manufacturer’s recommendations, usually 1-2 hours. I once skipped this, and the finish turned out uneven.
Prime the Door (if Necessary)
If you’re painting a bare wood door, apply a primer. Choose a high-quality, water-based primer to improve adhesion and prevent peeling.
Brush the primer on in thin, even coats and let it dry for at least 1 hour. You might need a second coat if the grain still shows through. A well-primed door prepares it for the final color layer.
Apply the Paint
Select a paint suitable for interior doors, like satin or semi-gloss finish. Using a good brush or foam roller, apply the paint with strokes that follow the grain of the door for smooth coverage. If you accidentally spill paint during the process, you can learn how to remove paint from carpet effectively.
Let the first coat dry for about 2-4 hours before applying a second coat. I’ve found that two coats always improve durability and appearance when painting on hinges.
Inspect and Touch Up
After the paint dries completely, check for missed spots or thin areas. Use a small brush to touch up any imperfections to ensure a flawless look.
If previous colors still bleed through, consider doing a quick spot refinish on two or three areas. It’ll look brand new and won’t draw attention to your touch-ups!
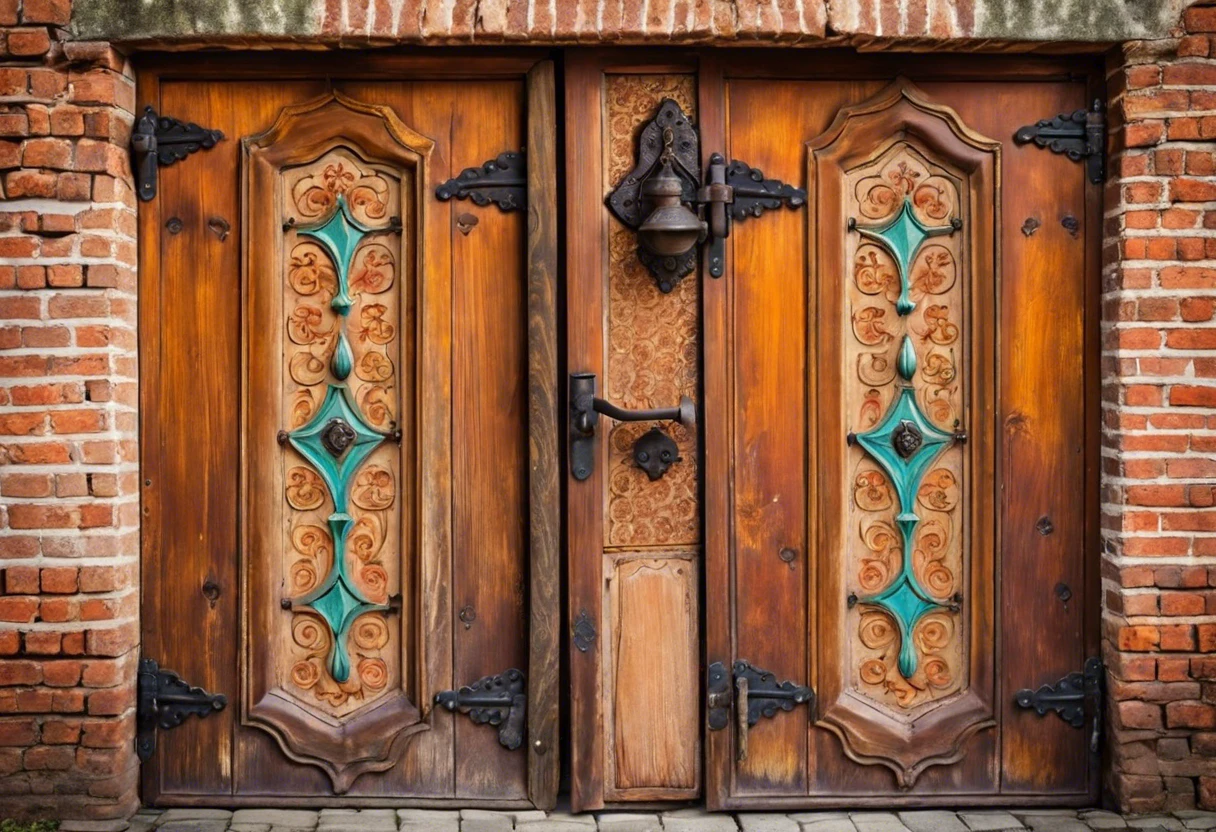
Butt Hinges
Butt hinges are the most common type found on doors. They usually come in pairs and allow the door to swing open or shut smoothly. It’s best to remove them before painting, ensuring no paint gets on the hinge’s moving parts. If you’re working on a project that involves painting metal surfaces like door hardware, you might also want to learn proper painting techniques for metal.
Piano Hinges
Piano hinges span the entire length of the door, providing added stability. They can be trickier to paint because they don’t fully detach. You can paint a door with piano hinges attached, but be cautious to avoid stiff movement. If you’re considering decorative alternatives, painting artificial decorative elements might offer creative solutions for your project.
Concealed Hinges
Concealed hinges, or Euro hinges, hide inside the door. They offer a clean finish since they aren’t visible when the door is closed. Choose a paint that won’t interfere with their operation, as any obstruction could prevent proper door function.
Continuous Hinges
Continuous hinges, also known as piano hinges, run the full length of the door. They support heavier doors well. To paint them effectively, you might need to support their weight during the job, which can be challenging. Some artists and DIY enthusiasts have discovered creative techniques for painting unique surfaces with precision.
Type of Paint Choosing the right paint is crucial. Latex paints often don’t adhere well to metal hinges.
Surface Prep Not properly cleaning the door can lead to peeling. Make sure it’s dust-free!
Humidity and Temperature Your environment matters. High humidity can affect drying time and adhesion.
Number of Coats Applying too few coats might leave patches. Aim for at least two for full coverage.
Regular Cleaning
Wipe down your door regularly with a damp cloth. This helps keep dust and grime from settling in.
Inspect Hinges and Hardware
Check your hinges for paint build-up. Remove any excess paint carefully to avoid sticking or squeaking.
Reapply Touch-Ups
If you see chips or scratches within the first few months, do quick touch-ups. This keeps your door looking new.
Chalk Paint
This paint offers a beautiful matte finish and is easy to distress. It’s perfect for a rustic look.
Metal Paint
If your door has a metal finish, using specialized metal paint provides durability and great adhesion.
Specialty Finishes
Try using textures like suede or satin for a unique feel. These can add depth and interest to the door.
Ombre Effect
Blend two or three related colors to create a soft ombre effect. Start with the darkest color at the bottom and gradually lighten it as you move up. Use a foam roller for smooth transitions!
Texture Painting
Use a sea sponge or rag to dab paint on the door after base coats dry. This adds a soft texture and depth, making your door eye-catching.
Stenciling
Stencils can transform a simple door into an artwork! Use a stencil for designs or patterns, applying paint with a stencil brush for precision. It’s fun and easy!