
Can You Paint Clay Pots?
Published on: February 21, 2025 | Last Updated: January 7, 2025
Written By: Alisha Winters
Clay pots are simple containers made from natural clay. They’re usually used for plants, but you can do so much more with them!
Can you paint clay pots? Yes, and it’s super fun! When I painted my first pot, it felt like I was giving it a whole new life with colors and designs.
In this article, we’ll cover what clay pots are, how to prepare them for painting, a step-by-step guide, recommended color palettes, types of paint to use, issues you might face, finishing touches, and creative DIY project ideas. You’ll learn how to paint clay pots and much more!
Contents
- 1 Can You Paint Clay Pots?
- 2 What Are Clay Pots?
- 3 Preparation Steps Before You Start Painting Clay Pots
- 4 Step-by-step Guide to Painting Clay Pots
- 5 Recommended Color Palette for Painting Clay Pots
- 6 Types Of Paint Suitable for Clay Pots
- 7 Factors to Consider When Painting Clay Pots
- 8 Common Issues You Might Encounter While Painting Clay Pots
- 9 Best Techniques for Painting Clay Pots
- 10 Essential Tips for Long-lasting Designs
- 11 Finishing Touches to Enhance Your Painted Clay Pots
- 12 Creative DIY Project Ideas for Clay Pots
- 13 Design Inspirations for Painted Clay Pots
- 14 Frequently Asked Questions About Painting Clay Pots
- 15 Conclusion: Embracing Your Creativity With Painted Clay Pots
- 16 Additional Resources
Can You Paint Clay Pots?
Yes, you can paint clay pots! Use acrylic paint for the best results. Make sure to clean and dry them first. A sealant will help protect the paint from moisture.
What Are Clay Pots?
Clay pots are containers made from natural clay soil, fired at high temperatures for strength and durability. They typically have a porosity rate of about 10-15%, allowing them to breathe, making them ideal for gardening. Clay pot sizes range from small (15 Cm or 6 Inches) to large (61 Cm or 24 Inches) in diameter, catering to various plant needs. If you accidentally spray paint your clay pot and need removal techniques, acetone can help restore surfaces.
Can you paint clay pots? I’ve painted them and found it enjoyable to give each pot a unique touch!
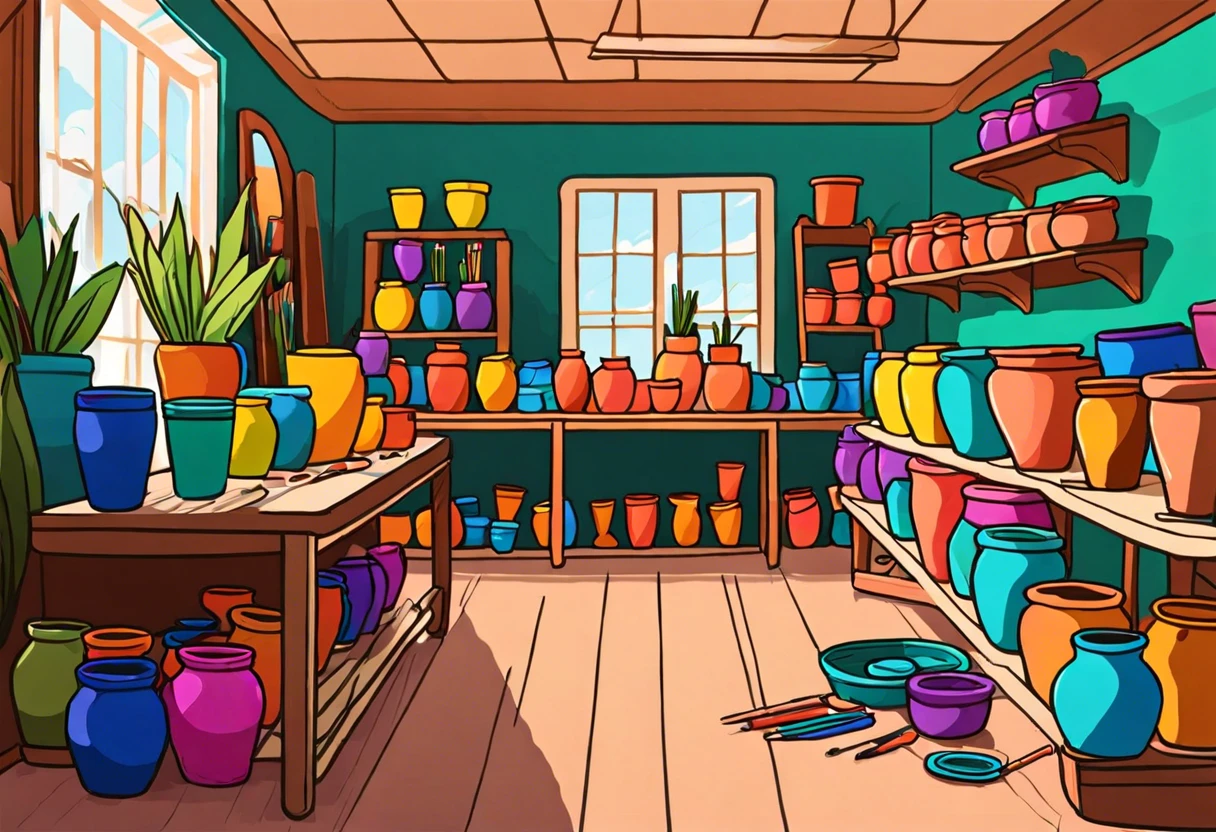
While working on a garden project, I used clay pots to display my flowers and herbs. They transformed my small balcony and added vibrancy. It sparked my interest in techniques to make colors pop. Painting clay pots is not just practical; it’s a creative outlet too! If you’re curious about exploring artistic possibilities, collecting original art pieces might inspire your creative journey.
Preparation Steps Before You Start Painting Clay Pots
What do you need to start?
- Quality Acrylic Paint: Use a brand like FolkArt or Apple Barrel. This paint is flexible, durable, and waterproof when dry.
- Primer: Choose a primer like Rust-Oleum or Zinsser. It helps the paint adhere (Stick) better to the pot’s surface.
- Paintbrushes: Invest in high-quality brushes, such as those from Winsor & Newton. They’ll help you achieve neat details.
- Sealer: Get a spray sealer like Krylon Outdoor from Amazon. It protects your design from all weather conditions.
We’ve wrapped up the preparation steps for painting clay pots here. Let us turn our attention to the step-by-step guide.
Also See: What Removes Paint From Metal? Quick Solutions!
Step-by-step Guide to Painting Clay Pots
Now, let’s cover the steps to paint your clay pots like a pro!
-
Clean and Prepare the Pots
Wash your clay pots with warm, soapy water. Remove any dust, dirt, or residue that might affect paint adhesion.
Avoid harsh chemicals; they can leave residues. Rinse thoroughly and allow to dry completely, preferably in the sun for faster drying.
-
Choose the Right Paint
Select high-quality acrylic paint for the best results. Look for outdoor-friendly labels, especially if you plan to display your pots outside.
You’ll find various colors and finishes; for instance, matte and glossy finishes create different looks for your pots.
-
Start Painting
Apply the first coat evenly using a sponge brush or paintbrush. Brush upward and downward in consistent strokes for smooth coverage.
Let the first coat dry for at least one hour before adding a second coat, if needed. Typically, two coats provide vibrant color and durability, so don’t skimp!
-
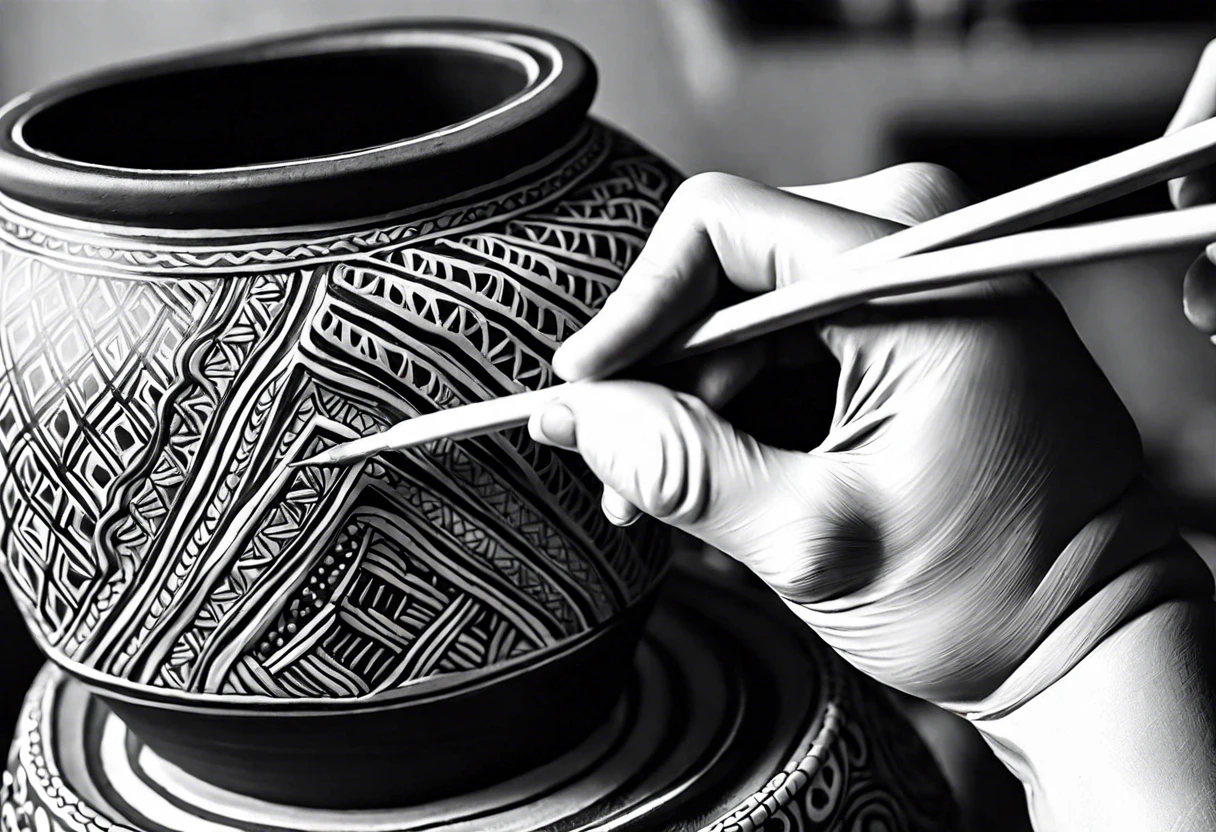
Add Designs and Patterns
Have fun with this! Use painter’s tape to create sharp lines and geometric patterns or stencils for more intricate designs.
For detail, use a fine-tipped paintbrush for precision. Personalize your pots with words or symbols that resonate with you or your garden’s vibe!
-
Seal Your Work
Once your paint job is completely dry—let it sit for at least 24 hours—seal it with a clear acrylic spray or waterproof sealer. This step protects your design from fading or chipping!
Choose a sealer suitable for outdoor use if placing your pots outside. Don’t skip this; it significantly improves the lifespan of your painted pots!
We covered the process of painting clay pots here. We will now cover suggested color combinations for your pots.
Recommended Color Palette for Painting Clay Pots
For a vibrant garden vibe, I recommend the “Tropical Sunset” palette because it brings warmth and energy to your clay pots.
| Color Box | Hex Code | Color Name |
|---|---|---|
| #FF6347 | Tomato Red | |
| #FFD700 | Golden Yellow | |
| #3CB371 | Medium Sea Green | |
| #FF69B4 | Hot Pink |
You should now have a good understanding of suitable colors for painting clay pots. In the next part, we’ll discuss paint types.
Types Of Paint Suitable for Clay Pots
Let’s explore the types of paints you can use on clay pots: acrylic, enamel, chalk paint, and spray paint.
-
Acrylic Paint
Acrylic paint is water-based and easy to work with and clean. It’s versatile and dries quickly, typically within 30 minutes, allowing you to apply multiple layers in a short time.
-
Enamel Paint
Enamel paint has a hard, glossy finish that’s durable and ideal for outdoor use. It takes about 2 to 3 hours to dry but holds up well against changing weather conditions.
-
Chalk Paint
Chalk paint provides a matte finish with a soft, velvety look, perfect for creating rustic pots. You only need a clear wax finish for durability, making it a favorite among DIY enthusiasts.
-
Spray Paint
Spray paint offers an even coat and makes painting quick and easy. It’s best for outdoor use due to its odor and volatile organic compounds (Vocs), so spray in a well-ventilated area.
I often think that chalk paint is my favorite for painting clay pots. Its unique matte texture complements the organic feel of terracotta perfectly.
We’ve wrapped up the various types of paint suitable for clay pots here. Let us turn our attention to factors to consider when painting them.
Factors to Consider When Painting Clay Pots
What factors affect your ability to spruce up those clay pots with paint?
-
Type of Paint: Not all paints bond well with clay; use latex or acrylic for better adhesion.
-
Surface Preparation: Clean and prime the pot to ensure paint adheres and lasts longer.
-
Curing Time: Allow enough time for paint to dry; rushing may cause chips and peeling.
-
Weather Conditions: Humidity and temperature matter; paint in dry, moderate conditions for the best results.
Common Issues You Might Encounter While Painting Clay Pots
Once, my friend couldn’t get acrylic paint to stick to her clay pots. The paint peeled off, leaving a mess!
To fix this, she used 120-grit sandpaper 🔥 Deal: Assorted Grit Sandpaper → (About 0.3 Mm) to roughen the surface. Next, a layer of primer made everything stick like magic!
Best Techniques for Painting Clay Pots
Let’s explore some techniques to elevate your clay pot painting game.
Sponging Technique
Sponging can add texture to your pots. Here’s how:
- Use a sea sponge to apply paint, dabbing gently.
- Blend two or more colors for a watercolor effect.
- Try it on the top layer—like a sunset up high!
Brush Strokes for Depth
Use different brush strokes to create depth. Follow these steps:
- Vary the brush size; a larger brush gives bold coverage.
- A smaller brush can add fine details like leaves or vines.
- Try zigzag or circular motions for an artsy vibe!
Essential Tips for Long-lasting Designs
Want your painted pots to last? Here are some essential tips!
| Tip | Description |
|---|---|
| Choose High-Quality Paint | Invest in quality acrylic or enamel paint; it lasts longer and resists fading. |
| Seal for Protection | Use a clear sealer to protect your art from moisture and UV rays. |
| Store Properly | Avoid stacking painted pots; it prevents scratching and chipping. |
| Avoid Direct Sunlight | Place them in partial shade; it keeps colors vibrant and prevents fading. |
Finishing Touches to Enhance Your Painted Clay Pots
After painting clay pots, let them cure at about 21°C (70°F) for 24 hours. This sets the paint properly and helps prevent chips.
Inspect seams for flaking and cracks. Use a flexible sealant like Make-It-Safe for elasticity. I recommend Rust-Oleum products to keep them in excellent condition.
If you’re experienced, apply polyurethane sealant in three thin coats after curing to protect the paint. Aim for a drying time of 30 minutes between coats to ensure a hard finish.
Creative DIY Project Ideas for Clay Pots
How about turning those old clay pots into whimsical garden owls or colorful mini terrariums? Yep, it’s super fun and can add flair to your outdoor space!
To make garden owls, you’ll just need a few pots, paint, and some googly eyes. Typically, you could spend around $20 to $30 and finish this project in a couple of hours. For a vibrant terrarium, use rocks, soil, and small plants—adding up to about the same cost and time! When selecting paint for your garden crafts, I recommend choosing eggshell paint for durability.
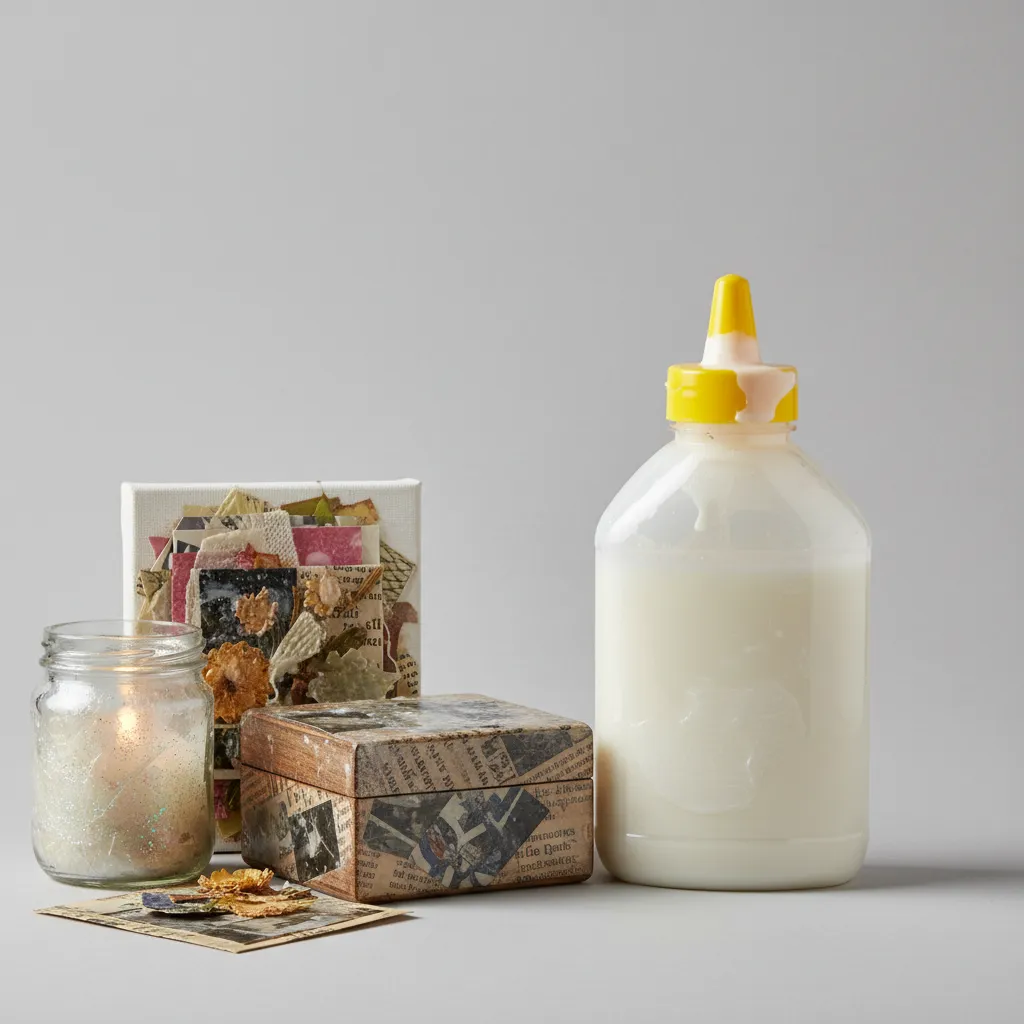
Now, when it comes to painting clay pots, how about trying decoupage instead? I’ve done it with bits of fabric and it looks divine. Or, for a twist, use colored sand to create cool textures; it’s cheap and offers a unique look! If you’re feeling artistic and want to explore more creative painting techniques for different materials.


Design Inspirations for Painted Clay Pots
Looking for some inspiration? Let’s dive into various design themes you can use for your painted clay pots.
-
Nature Themes
Think leaves, trees, and flowers. Use greens, browns, and soft pastels for a calming effect. You can paint vines wrapping around the pot for a natural look!
-
Geometric Patterns
Get bold! Use tape to create triangles, circles, and stripes. Bright colors like yellow and blue pop beautifully. It adds a modern twist to your garden.
-
Whimsical Characters
Draw cute animals or cartoon faces. Kids will love this! Make it family-friendly; paint a frog, a ladybug, or even your favorite superhero!
-
Seasonal Decor
Switch it up! Paint pumpkins for fall or snowflakes for winter. It’s easy and fun to celebrate each season with your pots!
Frequently Asked Questions About Painting Clay Pots
Can You Use Any Paint on Clay Pots?
Yes, you can use any paint on clay pots. However, acrylic paint for clay surfaces is the most effective option because it adheres well and resists fading, allowing your pot to last for years. With over 30 colors available, it suits various styles and personal preferences.
How Do I Prepare Clay Pots for Painting?
To prepare clay pots for painting, clean them thoroughly. Any dirt or oils can affect the adhesion of the paint. Ensure you’re using soap and water; drying takes only about 30 minutes, but a 24-hour wait is best to achieve optimal results. If you need alternative thinning solutions for your paint, acetone offers unique paint thinning properties.
Will Painted Clay Pots Chip Easily?
Yes, painted clay pots can chip if not properly sealed. A quality sealant can add durability, helping prevent up to 80% of chipping and fading. Using a sealant improves longevity, especially for outdoor pots. If you’re looking to protect metal surfaces like gutters, you might want to explore painting aluminum gutters professionally.
How Long Does Paint Take to Dry on Clay Pots?
Paint typically takes 1 to 2 hours to dry on clay pots. Drying times depend on paint type, humidity, and temperature. In 24 hours, your pots are often safe to handle; however, wait a full week for optimal curing time if you plan to plant in them. If you accidentally spill paint or need to remove it, you might want to explore alternative paint removal techniques.
Can I Use Outdoor Paint on Clay Pots?
Yes, you can use outdoor paint on clay pots. Outdoor paint is formulated to resist fading and moisture, increasing the pot’s lifespan. Plus, it can withstand moisture levels, up to 90% humidity, which is crucial for outdoor conditions. If you’re exploring alternative painting techniques, chalk paint offers versatile metal coverage.
Also See: What to Stuff Spiderman Suit With When Puff Painting?
Conclusion: Embracing Your Creativity With Painted Clay Pots
I hope this gave you what you needed about painting clay pots. We covered what clay pots are, preparation steps, a step-by-step painting guide, color palette recommendations, suitable paint types, factors to consider, common issues encountered, finishing touches, and some creative DIY project ideas.
So, can you paint clay pots? Yes, you definitely can. With a bit of prep and the right materials, you can transform a simple terracotta pot into a colorful masterpiece. Contact me if you’d like more guidance on your painted clay pots journey.
To explore further and enhance your skills, visit Paint Answers.
Additional Resources
- Smith, R. (2003). The Artist’s Handbook of Materials and Techniques (5th ed.). New York, NY: Knopf.
- Painting Terracotta Pots Like the Pros: Easy Tutorial (2024)
- Painting Terracotta Pots… Aged Weathered Look – Do Dodson Designs
Experienced interior designer with 15+ years in transforming spaces, blending artistry with expertise in color and design. Rhode Island School of Design graduate, specializing in restorations and modern makeovers.
Clay, Material


