
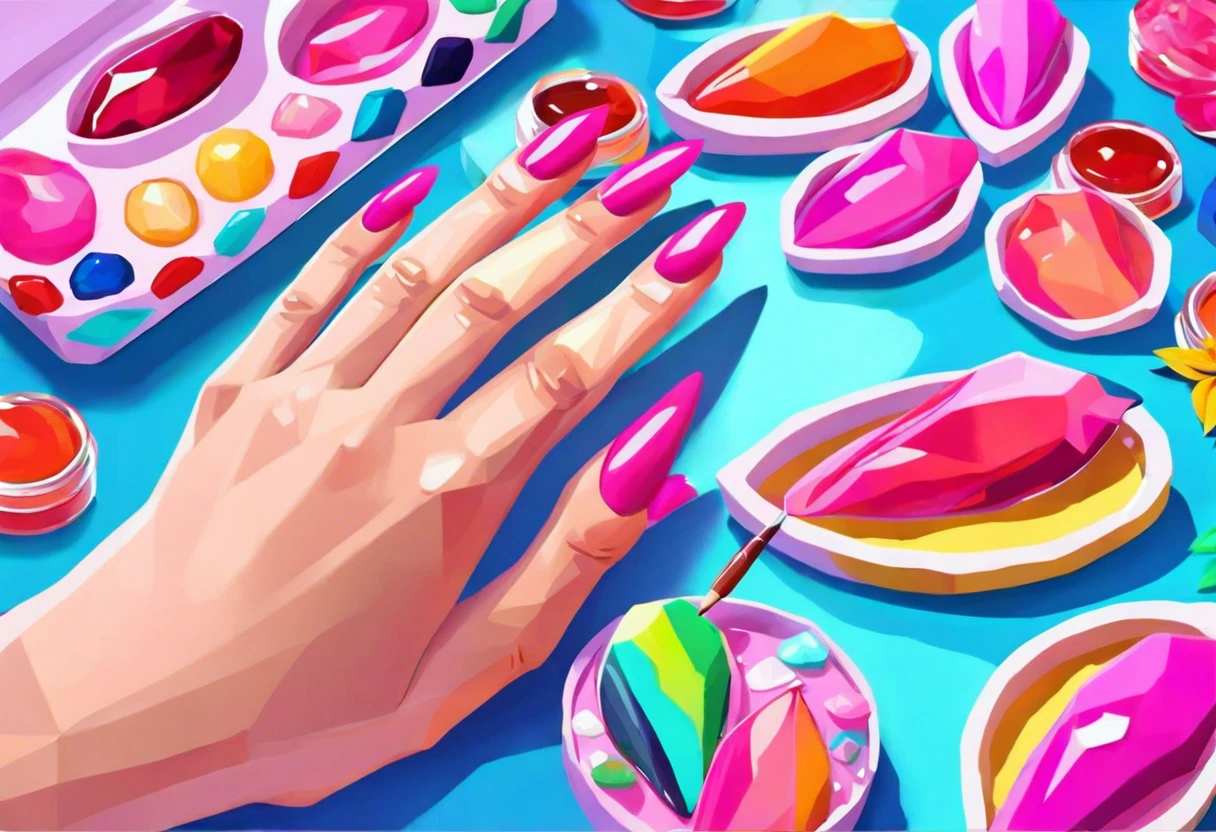
Can You Paint on Top Of Gel Nails?
Published on: January 20, 2025 | Last Updated: January 7, 2025
Written By: Isabella Cruz
Gel nails are like fancy stickers for your nails. They’re shiny and last a long time, making your hands look super pretty!
You’re probably wondering about can you paint on top of gel nails. It’s super important to know this, so you don’t mess up your beautiful nails. I once painted over mine without checking, and it bubbled up—such a bummer!
In this guide, we’ll cover what gel nails are, essential preparations before starting, a step-by-step guide on painting them, recommended colors, and common issues encountered when painting on gel nails. You’ll get tips on how to seal painted rocks too, and much more!
Contents
- 1 Can You Paint on Top Of Gel Nails?
- 2 What Are Gel Nails and Their Benefits?
- 3 Essential Preparations Before You Start Painting on Gel Nails
- 4 Step-by-step Guide to Painting on Gel Nails
- 5 Types Of Gel Polishes Suitable for Painting
- 6 Importance of Choosing the Right Top Coat
- 7 Effects of Nail Art Techniques on Gel Manicure
- 8 Factors Affecting the Success Of Painting Over Gel Nails
- 9 Common Issues Encountered When Painting on Gel Nails
- 10 Finishing Touches and Aftercare for Gel Nails
- 11 Best Practices for Maintaining Painted Gel Nails
- 12 Signs Your Painted Gel Nails Need a Touch-Up
- 13 Creative DIY Project Ideas for Gel Nail Art
- 14 Frequently Asked Questions About Painting on Gel Nails
- 15 Conclusion
- 16 Useful Resources
Can You Paint on Top Of Gel Nails?
Absolutely! You can paint on top of gel nails as long as they’re clean and dry. Use regular nail polish for a pop of color or nail art. Just keep in mind that it might not last as long as gel polish. When working with nail products, it’s crucial to be aware of potential chemical absorption through your skin.
What Are Gel Nails and Their Benefits?
Gel nails are a popular artificial nail enhancement known for their durability. Made from polymer resin, these nails require UV or LED light to cure, typically taking 30 seconds to 2 minutes under the lamp for full hardening. Professional nail technicians often recommend specific techniques for applying protective coating techniques.
Can you paint on top of gel nails? I’ve layered regular nail polish over my gel nails, enjoying the vibrant colors and designs. The result was stunning, but I learned there’s a bit more technique involved. If you want to explore professional techniques for enhancing your nail painting skills, understanding the right application methods can make a significant difference.
Friends shared their experiences as well. They found that using a gel topcoat after painting helped seal the design and prevented bubbling. It’s essential to know how to care for your gel finish to keep those colors crisp and lively! When selecting the right paint for your project, you might want to explore vinyl painting techniques.
Essential Preparations Before You Start Painting on Gel Nails
What do you need to paint on gel nails?
- Gel Base Coat: You need a gel base coat, such as ORLY Bonder or Kiara Sky’s Base Coat. It ensures a smooth surface and better adhesion with the polish.
- Gel Top Coat: Grab a top coat like DND’s Top Coat for a shiny finish. This protects your design and keeps it chip-free.
- Nail Prep Solution: You’ll need a prep solution, like 70% isopropyl alcohol (IPA) or any nail dehydrator. It removes impurities and oils for lasting results.
- Nail File: A 180/240 grit file is crucial for smoothing edges before you start. It defines the shape for a cleaner look.
We’ve wrapped up essential preparations for gel nails here. Let us turn our attention to a step-by-step guide for painting gel nails.
Also See: How to Paint a Plant Pot? Simple Steps to Decorate!
Step-by-step Guide to Painting on Gel Nails
We’ll cover the steps to successfully paint over gel nails. Follow these guidelines for great results!
-
Clean Your Gel Nails
Start by washing your gel nails with soap and water. Use an alcohol wipe or nail cleaner to remove oils and dirt.
This preps the surface for proper adhesion. You want a smooth canvas, so don’t skip this step!
-
Apply a Base Coat
Choose a gel base coat and apply a thin layer. Cure it under a UV or LED lamp for about 30 seconds to set it fully.
This base helps the color stick while protecting the gel underneath. A good base can greatly improve durability.
-
Choose the Right Color and Application
Select a high-quality gel polish. A good polish can make your nails pop without bubbles or peeling.
Apply in thin layers, curing each with a nail lamp. Thin coats cure better and result in a smoother finish.
-
Seal With a Top Coat
Finish with a gel top coat to seal your design. Apply a thin, even layer and cure it under the lamp for around 30 seconds.
This enhances shine and adds durability. A well-applied top coat means less chipping and longer-lasting wear!
We have now covered the step-by-step method for painting on gel nails. Next, we will discuss suitable types of gel polishes.
Types Of Gel Polishes Suitable for Painting
Let’s explore the types of gel polishes: Hard Gel, Soft Gel, Builder Gel, and Soak-Off Gel.
-
Hard Gel
Hard gel is thick and extremely durable. It resists chips and scratches, making it an excellent base for your artwork.
-
Soft Gel
Soft gel has a flexible consistency for easy sculpting. It bonds well with natural nails, but you can’t soak it off easily!
-
Builder Gel
Builder gel adds structure and allows you to paint on top without any issues; it’s popular for creating stylish designs!
-
Soak-off Gel
Soak-off gel is very convenient for nail color changes. It removes easily in acetone, but always check if it’s suitable for painting over!
Reflecting on my experiences, one thing stands out—Builder Gel. It’s my go-to because it sets beautifully and provides a fantastic base for my designs!
We have now covered various types of gel polishes suitable for painting. Next, we will discuss the importance of selecting the right top coat.
Importance of Choosing the Right Top Coat
Picking the right top coat can make or break your painted gel nails. Let’s dive into how this affects your manicure!
-
Gel Top Coat
A gel top coat seals your design, enhances shine, and provides durability. It’s essential for locking in colors. Without it, your manicure may chip faster.
-
Regular Top Coat
Using a regular top coat over gel can be risky. It might lead to peeling or bubbling because they aren’t designed to work together!
-
Hybrid Top Coat
Hybrid top coats, which combine gel and regular polish formulas, offer flexibility. These can be great if you want a glossy finish with easy removal.
That covers the significance of selecting an appropriate top coat. Let’s now take a look at how nail art techniques impact gel manicures.
Effects of Nail Art Techniques on Gel Manicure
Have you ever wondered how different nail art techniques impact your gel manicure?
| Nail Art Technique | Impact on Gel Finish | Recommended Best Practices |
|---|---|---|
| Stamping | Can add intricate designs but may require more drying time. | Use a quick-dry top coat for sealing. |
| Water Marbling | Can weaken the base if not done carefully. | Apply a thin layer and seal quickly. |
| Freehand Art | Allows creativity and can enhance the overall look. | Avoid thick layers; they take longer to cure! |
| 3D Effects (like gems) | Add an eye-catching dimension but must be sealed well. | Use a strong top coat to secure embellishments. |
Factors Affecting the Success Of Painting Over Gel Nails
What factors influence the successful application of paint over gel nails?
-
Nail Surface Preparation: A smooth, clean surface ensures better paint adhesion and prevents bubbling.
-
Type of Paint: Using non-toxic or gel-specific paints improves compatibility and reduces chipping.
-
Curing Time: Insufficient curing (Hardening) of the underlying gel can weaken the paint layer and cause it to lift.
-
Temperature and Humidity: High humidity or a cold environment can affect drying times and the quality of paint application.
Common Issues Encountered When Painting on Gel Nails
When my friend tried painting her gel nails, she noticed pesky bubbles forming. Frustrating, right? This happens when the gel base isn’t fully cured or applied too thickly.
To fix this, ensure each layer of gel is cured for at least 30 seconds. Thin layers work better, allowing the paint to adhere without air pockets forming.
Finishing Touches and Aftercare for Gel Nails
After you’ve polished your gel nails, wait 10–15 minutes before touching them. This allows the polish to cure completely, minimizing smudging or bubbling.
Inspect your nails weekly with a magnifying glass at 10x magnification to spot any lifting edges or air bubbles. Use a non-acetone remover like Zoya Remove for hassle-free nail care.
If you’ve practiced nail art for years, consider curing with a 30W LED lamp for 30 seconds to enhance the polish’s adherence. Always use a gel base coat for an even finish.
Best Practices for Maintaining Painted Gel Nails
Once you’ve painted your gel nails, it’s crucial to keep them looking fresh. Let’s explore some best practices!
-
Gentle Cleaning
Avoid harsh cleaners. Use gentle soaps to wash your hands and nails. Harsh chemicals can weaken the gel and polish.
-
Moisturize
Regularly apply cuticle oil to nourish your nails. This keeps them hydrated and prevents breakage.
-
Avoid Profound Soaking
Limit prolonged exposure to water. Too much soaking can loosen the gel underneath. Try to wear gloves when doing dishes!
Signs Your Painted Gel Nails Need a Touch-Up
Is it time for a refresh? Here are some signs to watch for.
-
Chipping
Small chips appear on the edges? It’s time to touch up. Regular maintenance can keep your nails looking flawless.
-
Fading Colors
Notice your colors aren’t as vibrant? Frequent sun exposure can fade your polish. Consider a color refresh!
-
Visible Growth
If your nail growth is noticeable from the base, it’s time for a fill-in. This keeps the overall look clean and polished.
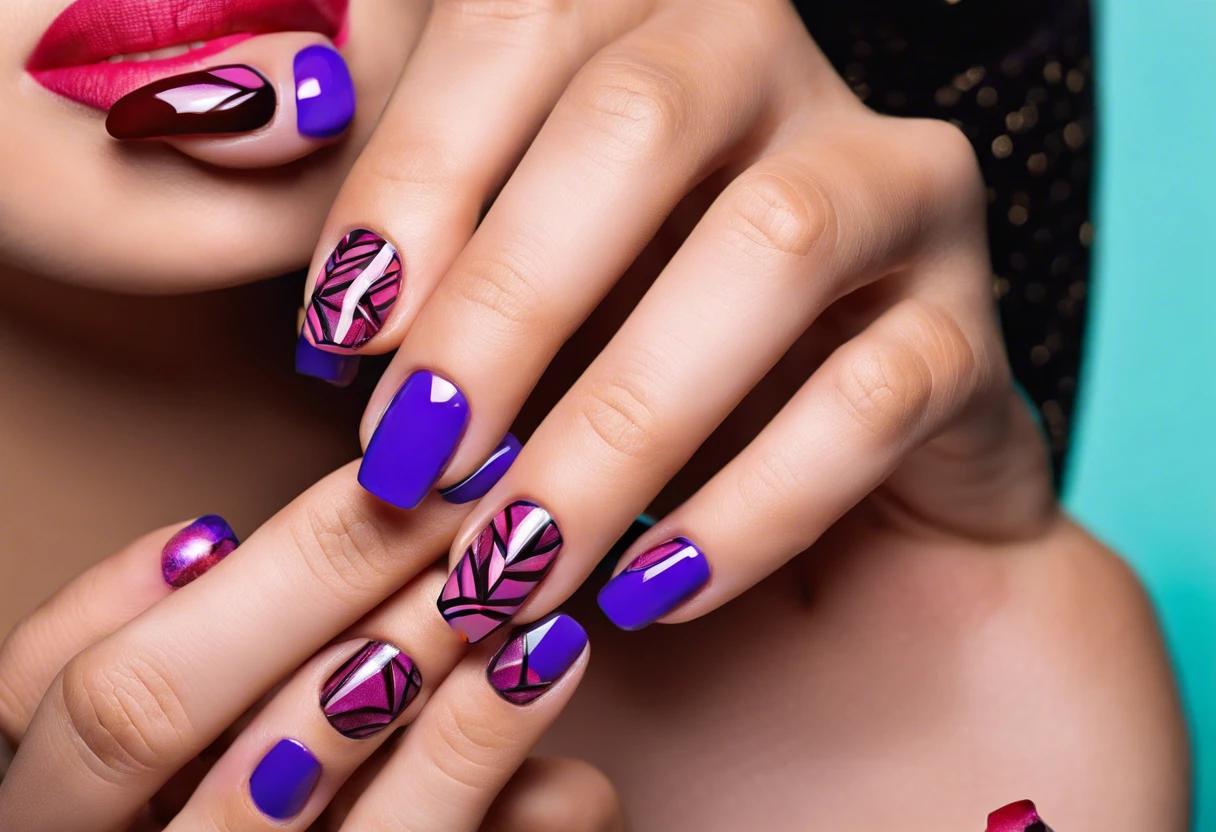
Creative DIY Project Ideas for Gel Nail Art
Are you ready to transform your nails into vibrant artwork? Try creating a geometric nail design using painter’s tape for a contemporary twist, or opt for a marbled effect using a water marbling technique—both are super fun! Professional nail artists often recommend precise techniques for achieving flawless finishes, which is why paint correction techniques can inspire your nail art precision.
I’d grab some gel polish, painter’s tape, and a shallow dish of water. It’d cost around $20 maybe, and you could whip these up in about an hour, including drying time.
Can’t get a satisfying result? Try using gel polish pens to doodle fun designs on your cured nails instead. Or, go the extra mile and attach tiny gems or stickers that can really make your manicure pop! If you’re looking to expand your nail art techniques, painting alternative surfaces might inspire your next creative design.
Frequently Asked Questions About Painting on Gel Nails
Can You Use Regular Nail Polish on Gel Nails?
Yes, you can use regular nail polish on gel nails. However, it may not adhere well without a proper prep process or base coat, which can lead to peeling or chipping sooner than expected.
How Long Does a Gel Nail Manicure Last After Painting?
A gel nail manicure can last up to 3 weeks (About 21 Days) without chipping when done properly. Painting over gel nails can slightly shorten this lifespan due to the added stress on the gel coating. If you’re curious about color matching techniques for your gel nails, professional color matching strategies can help you achieve the perfect shade.
What Do You Do if the Paint Chips?
If the paint chips on painted gel nails, you should touch it up right away. Use the same polish to cover the chip, and finish with a top coat to protect the touch-up.
Is It Safe to Practice Nail Art on Gel Nails?
Yes, it is safe to practice nail art on gel nails. In fact, gel nails provide a smooth surface that will make your designs pop, and the durability of gel enhances your artwork.
How to Remove Painted Gel Nails Safely?
To remove painted gel nails safely, soak a cotton ball with acetone and place it on your nail, wrapping with foil for about 10-15 minutes. This softens the gel for easy lifting without damaging your natural nail. If you’re curious about color mixing techniques for nail polish, creating unique nail polish shades can add an exciting twist to your manicure.
Can You Combine Different Gel Brands?
Yes, you can combine different gel brands. However, it’s a good idea to use products from the same brand for topcoats and bottomcoats for best adhesion and finish.
Will Painting Over Gel Affect Curing Time?
Yes, painting over gel can affect curing time. The additional layers may require longer UV or LED exposure to cure properly, adding about 30 seconds depending on the thickness of the paint.
Do You Need a Base Coat for Painting on Gel?
Yes, using a base coat on gel before painting is recommended. This ensures better adhesion and prolongs the life of your design; base coats can improve longevity by up to 50%.
Also See: Can You Paint on Top Of Plastidip? Yes, It is Possible!
Conclusion
I’m glad we could cover this together. We explored gel nails, their benefits, essential preparations, a step-by-step painting guide, color palettes, suitable gel polishes, success factors, common issues, aftercare, and creative DIY project ideas.
In summary, you can successfully paint over gel nails using the right techniques and products. With compatible polishes and proper prep, you’ll achieve excellent results without bubbling—just focus on your painting technique!
If you’re interested in more resources, feel free to discover what else Paint Answers has to offer.
Useful Resources
- Gurney, J. (2009). Color and Light: A Guide for the Realist Painter. Kansas City, MO: Andrews McMeel Publishing.
- Can you paint gel nail polish on top of regular nail polish, and vice versa? – Quora
- What happens if you use nail polish over gel nails? – Quora
- Can You Paint Regular Polish Over Gel Nails?
Isabella is a Filipino-American art writer and critic specializing in contemporary painting, blending her Filipino heritage with global art trends. She holds a BFA from California State University, Long Beach, and a Minor in Art History from the University of the Philippines. Isa has experience as a Gallery Assistant, Art Appraisal Specialist, and Social Media Creative for Art & Design.
Material, Vinyl


