
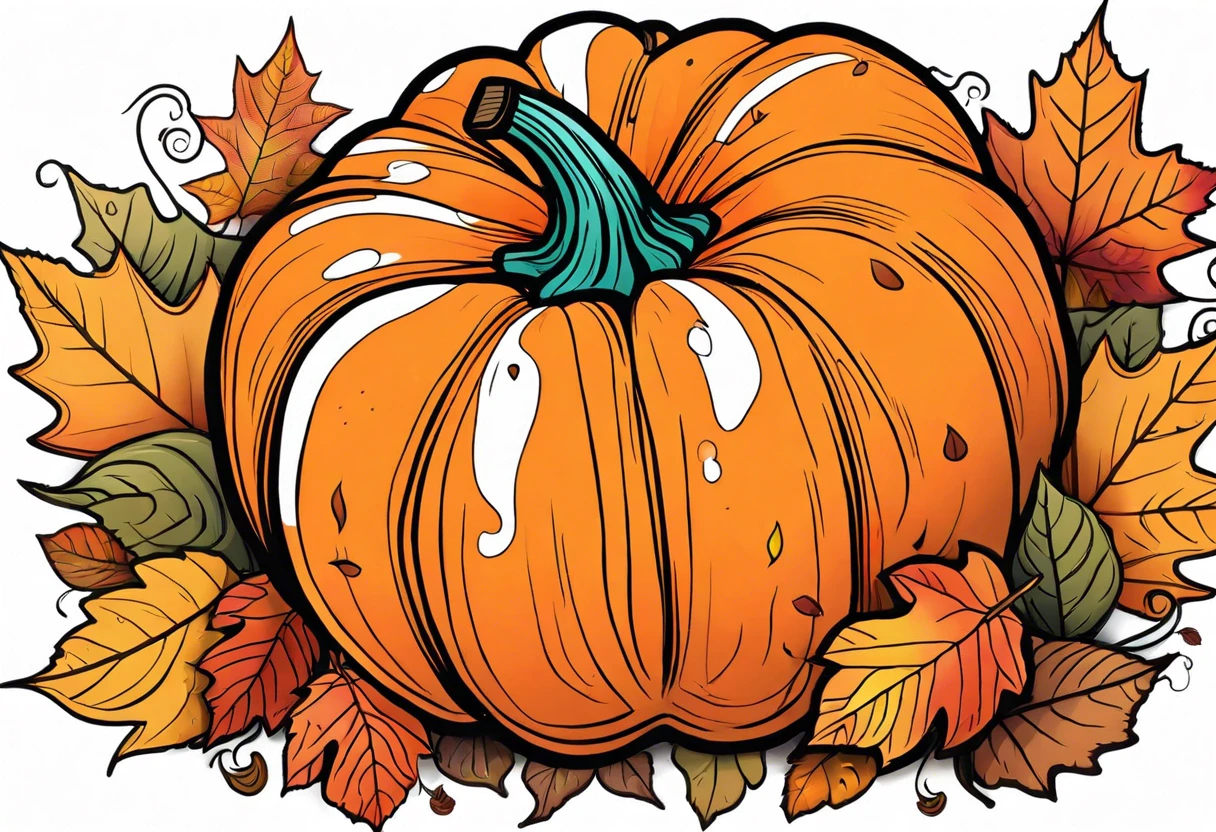
Can You Spray Paint a Pumpkin?
Published on: January 27, 2025 | Last Updated: January 7, 2025
Written By: Alisha Winters
A pumpkin is a round, orange fruit that grows on vines. Kids love them for Halloween, and you can carve funny faces or make beautiful decorations.
So, can you spray paint a pumpkin? It’s important because spray painting can make your pumpkin stand out, and I’ve had great fun transforming ordinary pumpkins into colorful masterpieces.
In this guide, you’ll discover essential tips about spray painting pumpkins, recommended colors for crafting, suitable pumpkin types, factors that affect paint adherence, and solutions to common painting problems. You’ll also find DIY project ideas and answers to questions like what paint should you use to paint pumpkins.
Contents
- 1 Can You Spray Paint a Pumpkin?
- 2 What is a Pumpkin?
- 3 Before You Start Spraying
- 4 Steps to Successfully Spray Paint a Pumpkin
- 5 Types Of Pumpkins Suitable for Spray Painting
- 6 Factors Affecting Spray Paint Adherence on Pumpkins
- 7 Common Issues When Spray Painting a Pumpkin
- 8 Finishing Touches to Enhance Your Pumpkin Design
- 9 Creative Techniques for Spray Painting Pumpkins
- 10 Innovative Ideas for Spray Painted Pumpkins
- 11 Frequently Asked Questions
- 12 Conclusion
- 13 Additional Resources
Can You Spray Paint a Pumpkin?
Yes, you can spray paint a pumpkin! Use acrylic spray paint for best results. It’s quick-drying and comes in many colors. Just make sure to do it outside or in a well-ventilated area.
What is a Pumpkin?
A pumpkin is a type of squash scientifically known as Cucurbita pepo. Typically, they weigh between 4.5 kg and 18 kg (10 Lbs to 40 Lbs) and have vibrant orange skin, although colors can vary.
Many people love decorating pumpkins to enhance the Halloween spirit! I once spray-painted a pumpkin black for a spooky twist—it was so much fun!
I found it helpful to use pastel paint for a light, playful vibe. I learned that spray painting offers unique effects; it dries quickly and allows for creative designs! Curious about durability? It depends on the paint type; quality canisters can last several weeks. Want to refresh your look? Consider painting a wooden pumpkin to keep it looking fresh. When exploring different paint techniques, I discovered some fascinating details about specialized paint formulations.
Before You Start Spraying
What do you need to prepare for painting your pumpkin?
- Spray Paint: Use high-quality spray paints like Krylon Outdoor Décor, which remain vibrant for weeks. They offer weather resistance and smooth finishes.
- Primer: A spray primer such as Rust-Oleum Painter’s Touch is essential. It helps the paint adhere better to the pumpkin’s surface.
- Protective Gear: Get gloves and a mask, like the 3M Particulate Respirator. They protect you from spray mist and toxic fumes.
- Drop Cloth: Use a large drop cloth, such as a canvas tarp, to contain overspray and keep your work area clean.
- Sealant: Try a sealant like Mod Podge Spray. It locks in your design and adds longevity to your masterpiece.
That covers preparation and safety for spray painting. Let’s now take a look at the steps for successfully spray painting a pumpkin.


Also See: Can You Use Acrylic Paint Outside? Check the Weather!
Steps to Successfully Spray Paint a Pumpkin
Now, we’ll cover the steps to spray paint a pumpkin. Let’s get creative!
-
Choosing the Right Pumpkin
Pick a pumpkin that appeals to you! Look for a smooth surface, ideally 8-12 inches (20-30 Cm) in diameter for easy handling and standout visuals.
In my experience, choosing a firm pumpkin helps. Soft spots can bruise easily and affect the paint later.
-
Preparing the Pumpkin Surface
Clean your pumpkin with soap and water to remove dirt and oils. This helps the paint adhere well and ensures a smooth finish.
Don’t forget to dry it properly! Use a cloth or paper towel to pat it down; any moisture can ruin your paint job.
Recommended SuppliesAs an Amazon Associate, I earn from qualifying purchases. Images are representativ and not actual product images. -
Selecting the Spray Paint
Choose spray paint suitable for outdoor surfaces, ideally an acrylic-based type. Look for vibrant colors – rich oranges, deep blacks, and metallics work great!
Trust me, test your paint on a hidden area first. This confirms the color and finish suit your vision before the big reveal.
-
Applying the Spray Paint
Start from a distance of 10-12 inches (25-30 Cm) and apply thin, even coats. Begin with a light mist and use sweeping motions for better coverage.
Allow each coat to dry completely before adding more. Two to three coats may give you the flawless finish you’re after, so patience is key!
-
Drying and Curing Time
After you’re satisfied with the layers, let the pumpkin dry for at least 24 hours before handling. This helps the paint adhere and prevents smudges.
If you plan to display it outside, consider bringing it in overnight to extend its lifespan. Painted pumpkins generally last about 1-2 weeks depending on conditions.

That covers the process of spray painting a pumpkin. Let’s now take a look at suitable pumpkin varieties for painting.
Types Of Pumpkins Suitable for Spray Painting
Let’s explore the different types of pumpkins for spray painting: Sugar Pumpkins, White Pumpkins, Field Pumpkins, and Carving Pumpkins.
-
Sugar Pumpkins
Sugar pumpkins, weighing about 3-5 lbs (1.4-2.3 Kg), are sweet and smooth. Their smaller size makes them an excellent canvas for vibrant spray paint.
-
White Pumpkins
White pumpkins, often called Ghost Pumpkins, weigh between 5-10 lbs (2.3-4.5 Kg). Their light color is ideal for bright spray paint, providing a striking contrast.
-
Field Pumpkins
Field pumpkins typically weigh 10-20 lbs (4.5-9 Kg) and are suited for outdoor settings. Their thick skin withstands bold spray paint strokes well.
-
Carving Pumpkins
Carving pumpkins weigh around 8-15 lbs (3.6-6.8 Kg) and are bred for easy design. They serve as a great base for artistic spray paint designs, yielding eye-catching results.
From my experience, I particularly love white pumpkins for spray painting. Their smooth texture makes vivid colors pop, and they’re perfect for spooky or artistic designs!
You should now have a good understanding of suitable pumpkin varieties for spray painting. In the next part, we’ll discuss factors impacting paint adherence.
Factors Affecting Spray Paint Adherence on Pumpkins
What factors impact your ability to spray paint a pumpkin successfully?
-
Surface Texture: A smooth pumpkin surface lets paint adhere better than a bumpy one.
-
Type of Paint: Using acrylic or specialized pumpkin paint is essential; they bond well.
-
Temperature: Ideal temperatures (18-24°C or 64-75°F) ensure the paint dries evenly and adheres properly.
-
Prepping the Pumpkin: Cleaning your pumpkin before spraying removes oils that hinder paint adherence.
We’ve wrapped up the factors influencing spray paint adherence on pumpkins here. Let us turn our attention to common problems encountered while spray painting pumpkins.
Common Issues When Spray Painting a Pumpkin
When my friend tried spray painting a pumpkin, he accidentally over-sprayed, causing drips. It looked messy. Luckily, using wet wipes and sandpaper fixed the mistake.
To avoid this, keep the spray can 12 inches (30 Cm) away. Use light coats, waiting 10 minutes (600 Seconds) between layers. This helps create a smooth finish!
Finishing Touches to Enhance Your Pumpkin Design
After you’ve painted your pumpkin, apply a clear acrylic sealant for protection. Spray 2-3 light coats every 30 minutes to preserve your design.
Inspect your painted pumpkin for bubbles or cracks. Use fine-grit sandpaper (400 Grit) to smooth any imperfections.
If you’re experienced, consider using artist-grade spray paint with UV protection for durability. Look for options like Montana Gold—a reliable choice for pumpkins.
Creative Techniques for Spray Painting Pumpkins
Let’s dive into some fun and innovative techniques to truly transform your pumpkins!
Splatter Painting
Want to create a trendy look? Try splatter painting! Here’s how:
- Choose contrasting colors—think bright yellows and deep purples.
- Use an old toothbrush or a spray bottle for a fun splatter effect.
- Hold the brush or bottle a few inches away and flick paint to achieve randomness!
Ombre Effect
The ombre effect is all the rage right now. Here’s a simple guide:
- Pick 2-3 shades of the same color. A light orange shading into a darker orange works great!
- Start with the lightest color at the base and gradually move to the darkest at the top.
- Use a sponge to blend the transition between colors for a smooth gradient.
Stencil Designs
Bring some precision to your art with stencils:
- Create or buy stencil patterns—stars, leaves, or even spooky designs for Halloween!
- Secure the stencil to avoid slipping, then spray your color over it. Remove carefully!
- This allows for stunning designs without the freehand struggle!
Layering for Depth
Add depth by layering multiple colors:
- Start with a base color, then lightly spray a second color over the surface.
- Use less paint with each layer for a beautiful effect.
- Experiment to find combinations you adore. You can’t go wrong!
Innovative Ideas for Spray Painted Pumpkins
Want to elevate your spray painted pumpkin game? Let’s explore some unique ideas!
Textured Pumpkins
Add some flair by using textured spray paint! It gives your pumpkin a 3D effect.
- Use spray paint designed for texture. Choose from options like stone, sand, or stucco.
- Layer different colors for depth. For example, start with a light gray and add dark gray textures for contrast.
Glow-in-the-Dark Pumpkins
Make your pumpkins shine even in the dark! Here’s how:
- Spray a base coat with regular paint, then let it dry.
- Apply glow-in-the-dark spray paint as a top layer. Choose colors like bright green for a spooky effect.
It’ll surprise everyone when the sun sets!
Pumpkin Planters
Why not turn an old pumpkin into a cute planter? Here’s how to do it:
- Carve out the top of the pumpkin and scoop out the seeds.
- Paint the exterior with your favorite colors.
- Add potting soil and some small succulents for a fresh twist!
This creates a vibrant garden party vibe.
Accessorized Pumpkins
Add bling or fun to your pumpkins:
- Stick on some faux gems, feathers, or even fabric flowers after painting.
- You can use hot glue or adhesive spray to secure these items.
This adds personality and makes your pumpkin the talk of the town!
Frequently Asked Questions
Can I Use Any Spray Paint on Pumpkins?
Yes, you can use spray paint on pumpkins. Most spray paints work well on pumpkins, but look for acrylic-based paints. They dry quickly and are usually non-toxic, making them great options for decorating.
How Long Does the Spray Paint Last on a Pumpkin?
The spray paint can last about 1-3 weeks on a pumpkin, depending on conditions. Direct sunlight, rain, and humidity can speed up wear. In cool, dry areas, painted pumpkins can remain vibrant for longer. If you’re looking to achieve the best color match for your pumpkin, you might want to explore professional paint matching techniques.
Can I Combine Other Materials With Spray Paint?
Yes, you can combine other materials like glitter or stickers with spray paint techniques. This adds texture and depth to your design, creating a unique look. Just ensure the base layer is dry before adding extra materials. If you want to explore more creative techniques for artistic painting, check out how to master watercolor bird painting.
Is It Safe to Spray Paint Pumpkins Indoors?
No, it’s not safe to spray paint pumpkins indoors. Spray paint creates fumes that can be harmful in enclosed spaces. Always use spray paint outside or in a well-ventilated area for safety.
What Should I Do if the Paint Starts to Peel?
If the paint starts to peel off your pumpkin, gently scrape off the peeling paint. You can then touch it up with more paint or start fresh. When dealing with stubborn paint removal, you might need specialized techniques to protect your surface’s integrity. safely remove paint without damage. This ensures your pumpkin looks great for the duration of its display.
How Can I Extend the Life Of My Painted Pumpkin?
You can extend the life of your painted pumpkin by keeping it dry and cool. Store it in a shaded area and avoid moisture. Applying a clear sealant can also protect the paint from the elements.
Can I Use Acrylic Paint for Outdoor Pumpkins?
Yes, acrylic paint is suitable for outdoor pumpkins. It’s water-based but becomes somewhat water-resistant when dry. Choosing an outdoor sealant can further enhance durability against weather damage. If you’re working with different materials like plastic decorations, you might want to explore specific painting techniques for plastics.
Conclusion
I’m glad we could cover this together. We explored the basics of pumpkins, tips for painting preparation, step-by-step instructions, a useful color palette, appropriate pumpkin types, factors that impact paint adherence, common challenges, finishing touches, and creative DIY project ideas.
So, can you spray paint a pumpkin? Absolutely! By selecting the right paint, such as acrylic, and following the recommended steps, you’ll be set for success. Best of luck with your welding projects and pumpkin painting endeavors.
For more detailed guides and tutorials, visit Paint Answers.
Additional Resources
- How to Paint a Pumpkin: 10 Steps (with Pictures) – wikiHow
- How To Spray Paint Pumpkins – Easy Thanksgiving Decor DIY – Kelsey Bang
- How to Paint Pumpkins (the Right Way) – Scraplifters.com
Experienced interior designer with 15+ years in transforming spaces, blending artistry with expertise in color and design. Rhode Island School of Design graduate, specializing in restorations and modern makeovers.
Medium, Spray


