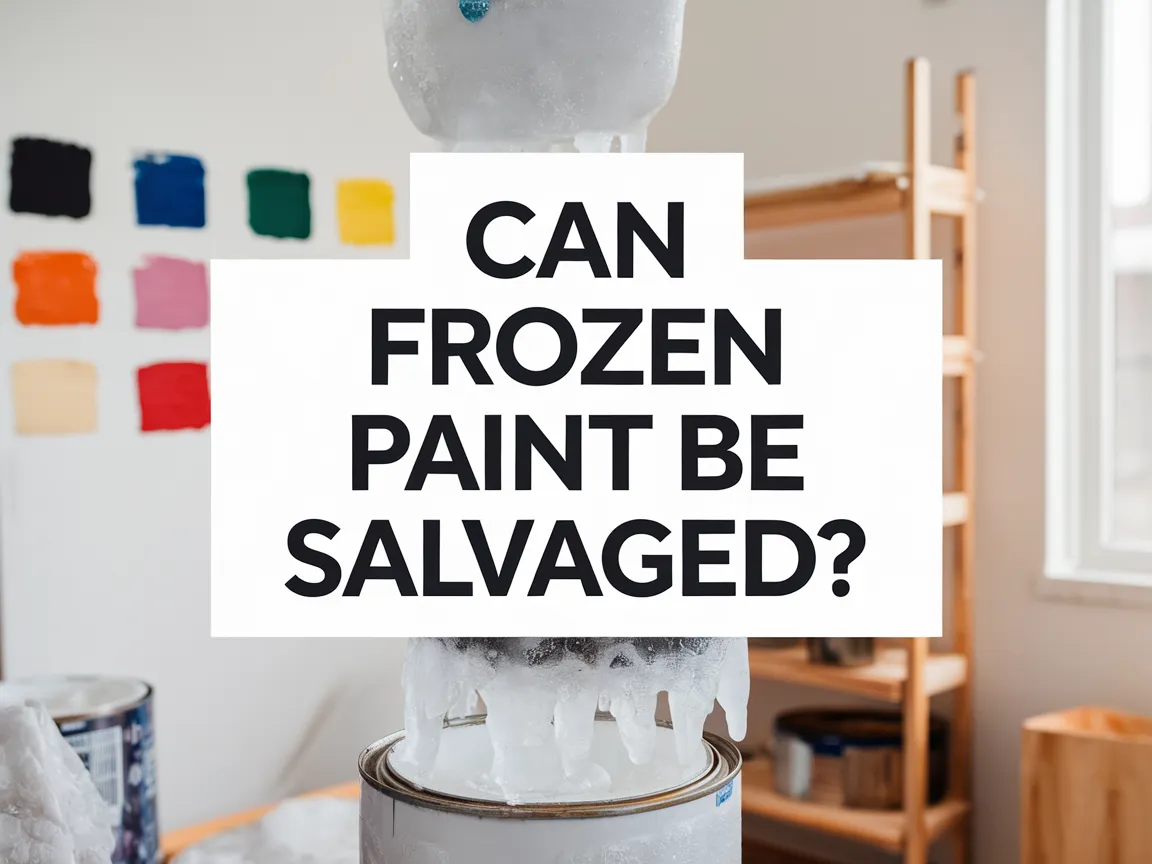
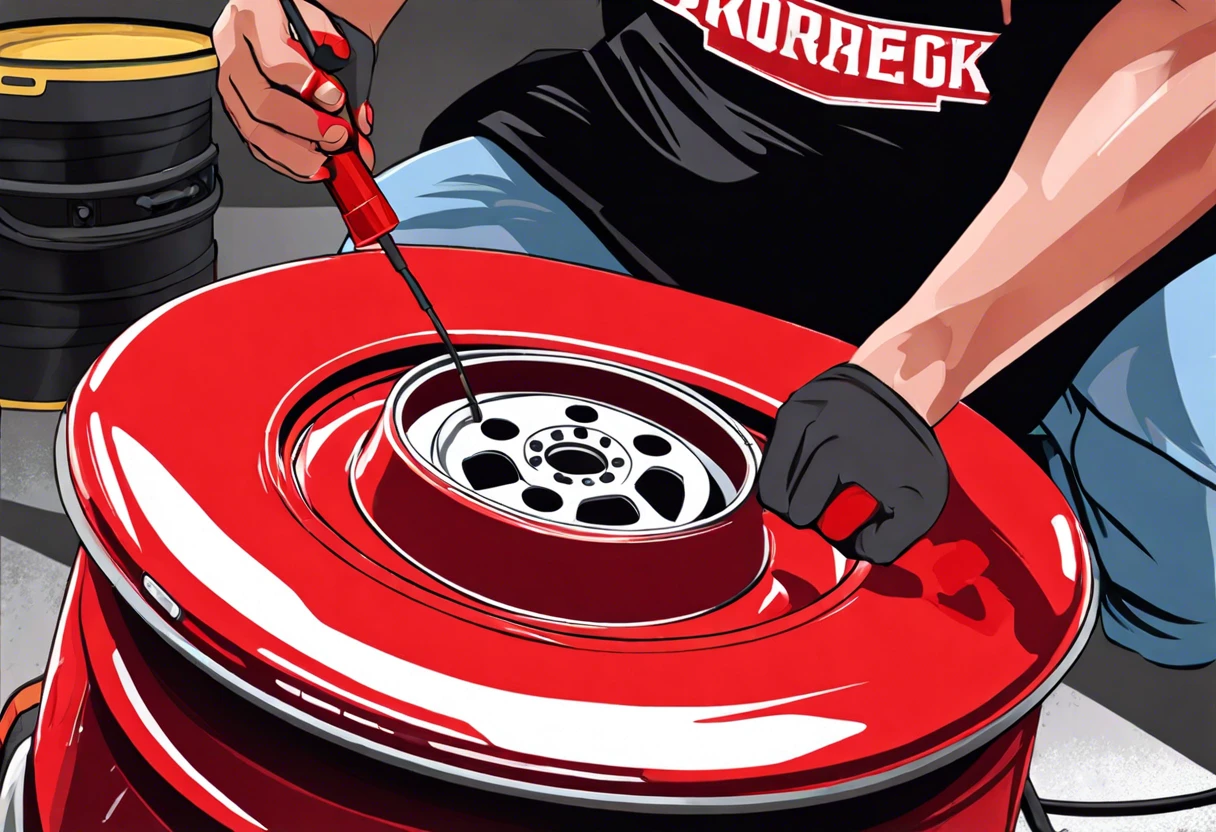
Can You Paint Brake Drums?
Brake drums are round metal pieces that help cars stop by holding the brake shoes. They’re like little cups that squeeze the brakes to slow down the wheels.
You might wonder, can you paint brake drums? Well, it’s vital to know if it’s safe and how it can affect your car maintenance performance. I once painted my own brake drums, and trust me, following the right steps is essential—looking good is one thing, but safety is everything.
In this article, we’ll explore what brake drums are, important things to consider before painting them, a step-by-step guide, recommended colors, types of paint you can use, factors that can affect the outcome, common mistakes, and some cool DIY ideas. We’ll also touch on related topics like how to paint your brake calipers and how to prep wheels for paint.
Contents
- 1 Can You Paint Brake Drums?
- 2 What Are Brake Drums?
- 3 Essential Considerations Before You Start Painting Brake Drums
- 4 Step-by-step Guide to Painting Brake Drums
- 5 Benefits of Painting Brake Drums
- 6 Environmental Impact of Painting Brake Drums
- 7 Comparison of DIY Painting vs. Professional Services
- 8 Different Types Of Paint Suitable for Brake Drums
- 9 Factors Affecting the Outcome Of Painting Brake Drums
- 10 Common Issues to Avoid When Painting Brake Drums
- 11 Finishing Touches for Your Painted Brake Drums
- 12 Best Practices for Maintaining Painted Brake Drums
- 13 Comparative Cost Analysis: Professional vs. DIY Brake Drum Painting
- 14 Frequently Asked Questions About Painting Brake Drums
- 15 Conclusion
- 16 Additional Resources
Can You Paint Brake Drums?
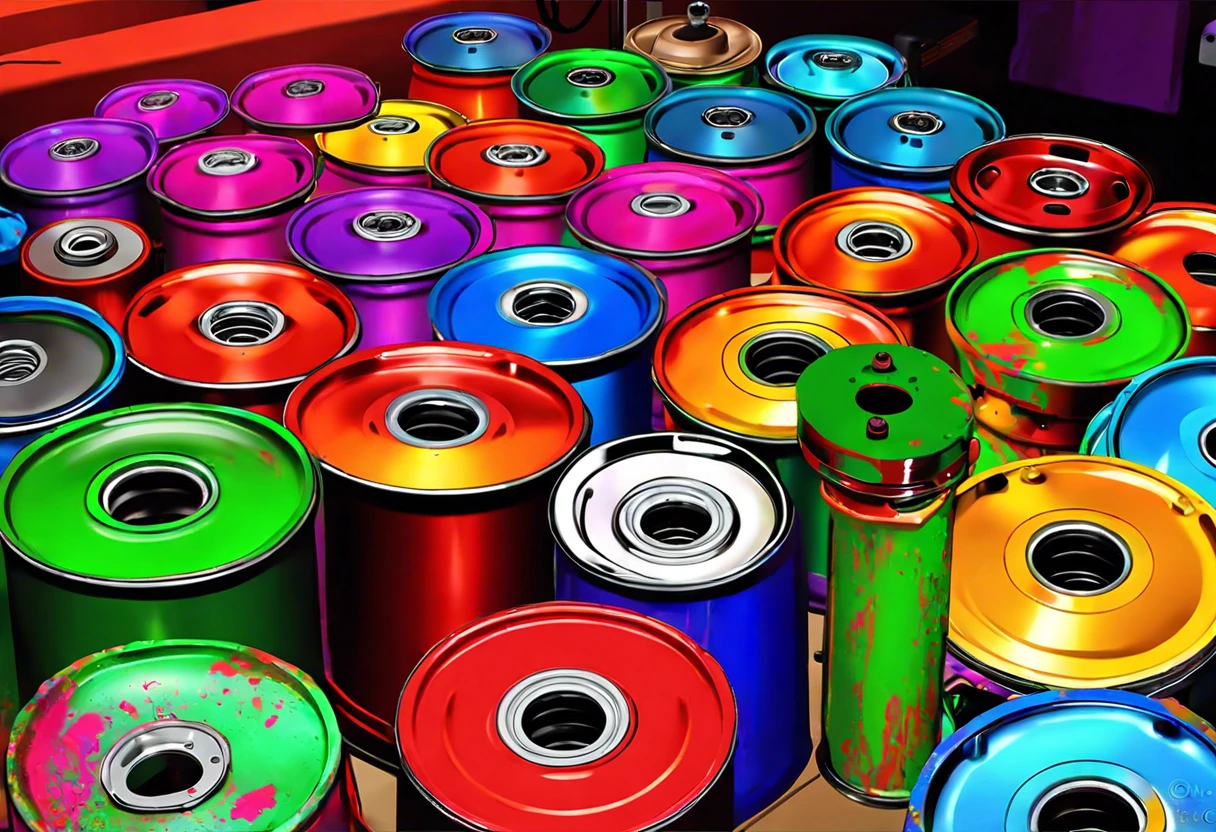
Yes, you can paint brake drums! Use high-temperature paint designed for automotive parts. Make sure to clean them well before painting. If you’re curious about painting different surfaces, painting techniques extend beyond automotive parts. Don’t forget to let the paint cure properly to avoid any damage.
What Are Brake Drums?
Brake drums are cylindrical parts of drum brake systems in vehicles. When you press the brake pedal, the brake shoes expand inside the drum, creating friction and slowing the vehicle. They typically measure about 12 to 15 inches (30 to 38 Cm) in diameter. Using them can reduce stopping distances by around 30%, depending on conditions.
You might wonder, can you paint brake drums? I tried it on my old car, thinking it would make the wheels stand out more!
I used it for a DIY project that turned into a fun weekend. Proper preparation is crucial, just like prepping wheels for paint. You want to clean them thoroughly to ensure safety and great results. If you’re wondering about painting techniques for your creative DIY projects, painting air-dry clay requires specific steps to achieve the best finish.
Essential Considerations Before You Start Painting Brake Drums
What do you need before you start?
- Brake Drum Paint: Use high-temperature paint, such as VHT Engine Enamel, that withstands temperatures up to 600°F (315°C) without peeling.
- Sandpaper ⚡ Best Pick: Assorted Grit Sandpaper → : Obtain 120-grit and 220-grit sandpaper, like 3M Gold, to prepare the surface and ensure good paint adhesion.
- Masking Tape: Use 3M Blue Tape for clean lines. It protects nearby components from paint splatters.
- Brake Cleaner: A can of CRC Brake Cleaner is essential. It removes grease and dirt to ensure proper paint adhesion.
- Safety Gear: Get an N95 respirator and goggles to protect yourself from fumes and debris while painting.
We have now covered key factors to consider before painting brake drums. Next, we will discuss a step-by-step painting guide.
Also See: Where to Dispose Of Paint Thinner? Find Safe Methods
Step-by-step Guide to Painting Brake Drums
This guide covers the steps to paint your brake drums with precision. Follow these steps for a durable finish.
-
Remove the Brake Drums
Start by jacking up the vehicle safely to access the brake drums. Use jack stands for safety, and remove the wheel nuts with a lug wrench.
Once the drum is accessible, carefully slide it off the spindle to expose the brake assembly. This step takes about 15 to 20 minutes.
-
Clean the Brake Drums Thoroughly
Use a degreaser to clean grease and dirt from the brake drums. Rinse with water and let them dry completely to prevent contamination during painting.
Focus on the surface area—clean drums ensure better paint adhesion and a more attractive finish.
-
Sand the Drum Surface
Use 180 to 220 grit sandpaper to roughen the drum surface. This step increases paint adhesion—don’t skip it!
I recommend using a sanding block for even pressure. It’s easier on your hands and ensures a uniform surface. If you’re too carefree, the paint layer could peel!
-
Apply Primer (Optional)
If you want a smoother finish or are using light-colored paint, apply a high-heat primer for metal surfaces. Spray in light coats, about 15 minutes apart, to avoid drips.
Let it cure according to the manufacturer’s instructions—usually 24 hours. This critical step can enhance the final look and durability.
-
Paint the Brake Drums
Use high-temp spray paint designed for automotive applications. Hold the spray can about 6 to 12 inches (15 to 30 Cm) from the drum and spray in thin, even coats.
Apply several coats, allowing each to dry for about 20 minutes before adding a new layer. Usually, three coats provide the best coverage. Be patient—a great finish takes time!
-
Allow the Paint to Cure
After your final coat, let the brake drums sit undisturbed for at least 24 hours to fully cure. Don’t rush this step—it’s crucial for durability!
Once cured, check the surface for consistency and smoothness before reassembling. Proper curing minimizes the chance of chips when your wheels start spinning!
We covered the process of painting brake drums here. We will now cover the advantages of painting brake drums.
Benefits of Painting Brake Drums
Painting your brake drums isn’t just for looks! There are several practical benefits that you might not consider at first. Let’s dive into some of them.
- Corrosion Resistance: A good coat of high-temperature paint helps protect against rust. This is crucial since brake drums often deal with moisture and road salts.
- Improved Aesthetics: Custom colors can enhance your vehicle’s overall look. It’s a small detail that really stands out, especially during car shows.
- Heat Management: High-temperature paints can help dissipate heat better, potentially increasing the lifespan of your brake components.
- Increased Resale Value: A well-maintained exterior, including painted brake drums, can make your car more appealing to future buyers.
You should now have a good understanding of the advantages of painting brake drums. In the next part, we’ll discuss the ecological effects.
Environmental Impact of Painting Brake Drums
Ever thought about how painting brake drums affects the environment? It’s a good idea to consider this aspect too!
- Eco-Friendly Paint Options: Look for water-based or low-VOC (volatile organic compound) paints. These are less harmful and better for the environment.
- Proper Disposal: Always dispose of leftover paint and paint residues responsibly. Many communities have specific disposal sites for hazardous materials.
- Less Waste: By painting your drums instead of replacing them, you reduce overall waste associated with replacement parts.
We have now covered the environmental effects of painting brake drums. Next, we will compare DIY painting to professional services.
Comparison of DIY Painting vs. Professional Services
Not sure if you should tackle this yourself or hire a pro? Here’s a simple breakdown to consider.
| Category | DIY Painting | Professional Service |
|---|---|---|
| Cost | $30 – $50 | $100 – $200 |
| Time Requirement | 2-4 hours | 1-2 hours |
| Skill Level Needed | Basic DIY skills | No special skills required |
| Quality of Finish | Depends on technique | High-quality, consistent finish |
Different Types Of Paint Suitable for Brake Drums
Let’s explore different types of paint for brake drums, including high-temperature paint, spray paint, specialty brake paint, and enamel paint.
-
High-temperature Paint
This paint withstands temperatures up to 1200°F (650°C). It’s essential for this application because brake drums get extremely hot during use.
-
Spray Paint
Spray paint allows quick and easy application. It’s great for DIY projects, but ensure it’s designed for high heat or metal surfaces.
-
Specialty Brake Paint
Designed specifically for brake components, this paint prevents cracking and peeling. It’s formulated to endure extreme temperatures while maintaining adhesion.
-
Enamel Paint
Enamel paint provides a tough finish but requires careful application. While durable, it’s less heat-resistant compared to other options.
I’ve learned that high-temperature paint is my go-to for brake drums. Its ability to handle extreme heat prevents flaking or fading over time.
Factors Affecting the Outcome Of Painting Brake Drums
What factors influence your ability to paint brake drums effectively?
-
Surface Preparation: Cleaning the surface properly ensures paint adheres and prevents flaking.
-
Paint Type: Using high-heat paint is essential; regular paint can’t withstand brake temperatures.
-
Environmental Conditions: Humidity and temperature affect drying time and adhesion.
-
Application Technique: Even, thin coats are preferable; thick layers can bubble and ruin the finish.
Common Issues to Avoid When Painting Brake Drums
My friend tried to paint his brake drums but didn’t clean the surface first. Dust and grease caused the paint to peel off after a week.
To fix this, use 600-grit sandpaper (0.015 Mm) for preparation. Clean with isopropyl alcohol and spray a high-temperature enamel designed for brake components. This ensures a durable finish!
Finishing Touches for Your Painted Brake Drums
After you’ve painted the brake drums, let them cure for at least 24 hours (1 Day) at 21°C (70°F). Apply a high-temp clear coat to protect your work from grime and heat damage.
Inspect for imperfections like drips, runs, or discoloration within the first week of installation. Use a brake evaluation tool, such as the Shar TVS-500, to measure the drum’s temperature during operation. If you’re looking to apply a fresh coat of paint to your equipment, master the painting techniques that ensure a smooth, professional finish.
I recommend investing in a thermal imaging camera with a 1-meter (3-foot) detection range. This provides accurate temperature readings, ensuring optimal performance after painting.
Best Practices for Maintaining Painted Brake Drums
Once you’ve painted your brake drums, proper maintenance helps keep that fresh look!
- Regular Cleaning: Clean your brake drums every few months. Use a brake cleaner to remove dirt and grease. Avoid abrasive materials that could scratch the paint.
- Inspect for Damage: Periodically check for chips or peeling. Catching problems early can save you from more extensive repairs.
- Avoid Harsh Chemicals: Don’t use strong chemicals when washing your car. Stick to gentle soap and water; it’ll help maintain the paint job.
- Touch Up as Needed: If you spot any chips, don’t hesitate to do a quick touch-up. Use the same high-temperature paint you initially applied.
Comparative Cost Analysis: Professional vs. DIY Brake Drum Painting
Here’s how the costs stack up when painting your brake drums yourself versus hiring a pro.
| Method | Estimated Cost (USD) | Time Required | Pros | Cons |
|---|---|---|---|---|
| DIY | $30 – $50 | 2-4 hours | Cost-effective; creative control | Potential for mistakes; requires skill |
| Professional | $100 – $200 | 1-2 hours | Expert results; less hassle | More expensive; less personal touch |
Frequently Asked Questions About Painting Brake Drums
Can You Spray Paint Brake Drums?
No, you can’t just spray paint brake drums. Brake drums handle extreme heat and chemicals when braking, which can cause any paint to chip or burn off.
How Long Does the Paint Last on Brake Drums?
The paint typically lasts about 1 to 3 years on brake drums. Factors like weather, heat, and driving conditions affect this lifespan; for example, a high-performance vehicle may wear it out faster. If you’re considering painting metal surfaces like brake drums, you might want to explore specific techniques for painting aluminum to ensure better durability and protection.
What is the Best Type Of Paint for Brake Drums?
The best type of paint for brake drums is high-temperature paint or spray specifically made for automotive applications. These paints can resist temperatures over 400°F (204°C) and handle exposure to grime and brake fluid. If you’re wondering about removing unwanted spray paint, acetone can effectively strip paint from metal surfaces.
Can I Paint Brake Drums With Them Still on the Car?
Yes, you can paint brake drums while they’re still on the car. However, it’s crucial to clean the surfaces really well before applying paint to ensure a proper bond.
Are There Any Safety Concerns When Painting Brake Drums?
Yes, there are safety concerns when painting brake drums. If proper ventilation isn’t used or if high-temperature paint isn’t applied, harmful fumes can be dangerous.
What Surface Preparation Do Brake Drums Need Before Painting?
Brake drums need thorough cleaning and sanding before painting. Removing rust and ensuring a smooth surface helps the paint adhere better and increases durability.
Should You Use Primer on Brake Drums Before Painting?
Yes, using a high-temperature primer on brake drums can enhance paint adhesion. This primer creates a barrier that helps protect against heat and wear.
How Can I Ensure Even Coverage When Painting Brake Drums?
You can ensure even coverage when painting brake drums by applying multiple thin coats instead of one thick coat. This method prevents drips and allows for better drying and curing.
Also See: Can You Paint Your Brake Calipers? Yes, Here’s How!
Conclusion
We covered brake drums, essential considerations, a step-by-step guide, recommended colors, different paint types, factors affecting outcomes, common issues, finishing touches, and creative DIY project ideas.
You can definitely paint brake drums if you prep properly and choose the right paint. Remember, using heat-resistant options and proper application methods will lead to better results.
To explore more related topics and deepen your understanding, visit our homepage: Paint Answers.
Additional Resources
- Gurney, J. (2009). Color and Light: A Guide for the Realist Painter. Kansas City, MO: Andrews McMeel Publishing.
Experienced interior designer with 15+ years in transforming spaces, blending artistry with expertise in color and design. Rhode Island School of Design graduate, specializing in restorations and modern makeovers.
Car, Misc.