
Can You Spray Paint Pumpkins?
Published on: January 27, 2025 | Last Updated: January 7, 2025
Written By: Alisha Winters
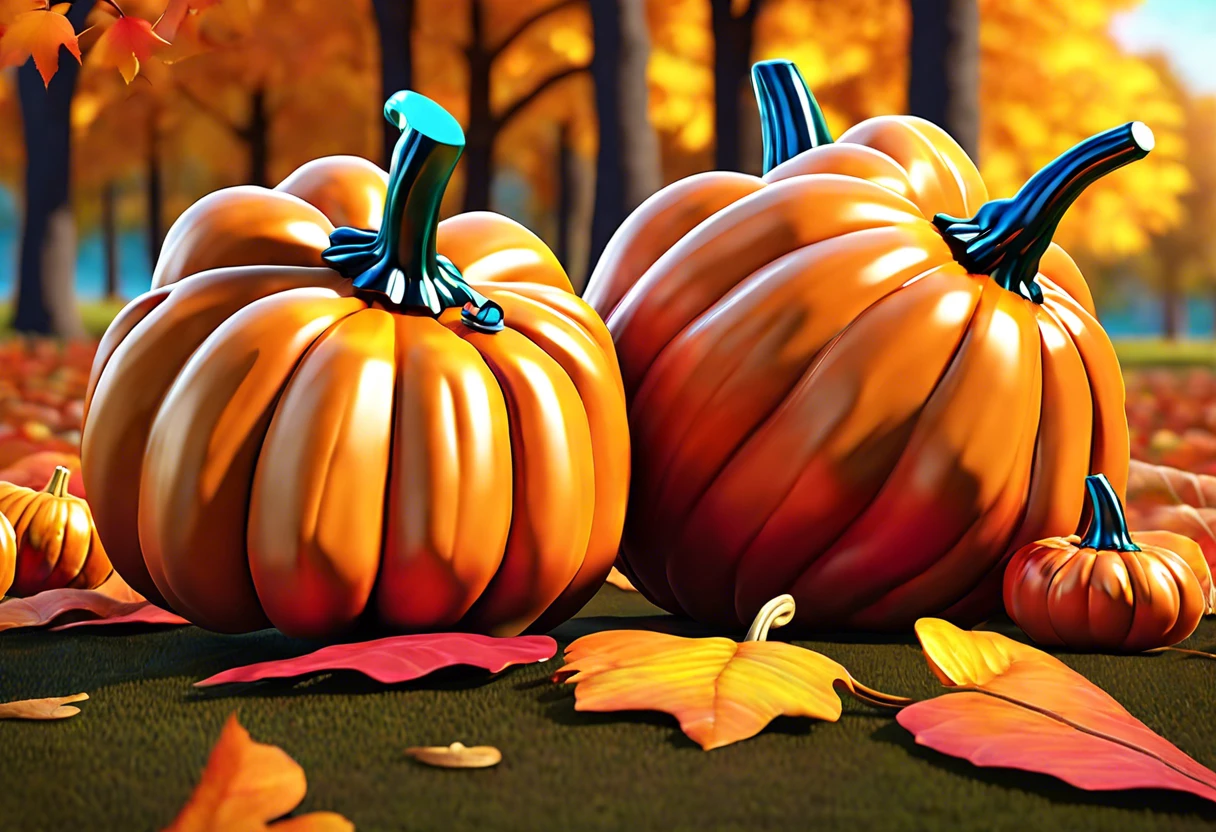
Pumpkins are round, orange fruits that grow on vines and are perfect for Halloween. They can be carved, painted, or even made into yummy pies!
So, can you spray paint pumpkins? It’s super important to know how before you dive in. I’ve sprayed pumpkins before, and let me tell ya, choosing the right paint makes all the difference.
In this guide, you’ll discover essential tips, a step-by-step process, the best color choices, what types of pumpkins to use, factors affecting paint adherence, common pitfalls, finishing touches, and fun DIY project ideas. Plus, we’ll explore what paint works on pumpkins and how to paint a face on a pumpkin!
Contents
- 1 Can You Spray Paint Pumpkins?
- 2 What Are Pumpkins?
- 3 Essential Considerations Before You Start Spray Painting Pumpkins
- 4 Step-by-step Guide to Spray Painting Pumpkins
- 5 Recommended Color Palette for Painted Pumpkins
- 6 Types Of Pumpkins Suitable for Spray Painting
- 7 Factors Affecting Paint Adherence on Pumpkins
- 8 Common Issues When Spray Painting Pumpkins
- 9 Finishing Touches to Enhance Your Painted Pumpkins
- 10 Creative DIY Project Ideas Using Spray Painted Pumpkins
- 11 Maintaining Your Spray Painted Pumpkins
- 12 Creative Techniques for Spray Painting Pumpkins
- 13 Comparison of Spray Paint Options for Pumpkins
- 14 Innovative Ideas for Displaying Your Spray Painted Pumpkins
- 15 Frequently Asked Questions About Spray Painting Pumpkins
- 16 Conclusion: Enjoy Your Beautifully Spray Painted Pumpkins This Fall!
- 17 Additional Resources
Can You Spray Paint Pumpkins?
Absolutely, you can spray paint pumpkins! Use acrylic spray paint for the best results. Make sure to clean the pumpkin’s surface first. It dries quickly and gives a smooth finish, perfect for your fall decor! If you’re wondering about paint storage and shelf life, check out how long paint lasts.
What Are Pumpkins?
Pumpkins are large, orange fruits from the Cucurbita pepo species. They can weigh up to 500 kg (1,100 Lbs) and measure more than 1 meter (3 Feet) in diameter.
Now, let’s dive into a fun topic: can you spray paint pumpkins? I tried it one Halloween and was amazed at how vibrant my designs turned out!
I found it useful for work, especially when I needed a creative twist. Using spray paint brought my wooden pumpkin craft to life, making it easy to showcase different designs. Painting a face on a pumpkin or creating a pumpkin on wood was definitely easier with spray paint compared to other methods.
Essential Considerations Before You Start Spray Painting Pumpkins
What do you need for a successful project?
- Acrylic Spray Paint: Choose brands like Rust-Oleum or Krylon. These paints adhere well to pumpkin surfaces and provide vibrant colors.
- Protective Gear: Get a mask and gloves, such as 3M masks and non-latex gloves. They protect you from fumes and paint.
- Drop Cloth ⚡ Best Pick: Heavy-Duty Canvas Drop → : Use a plastic or canvas sheet at least 2 m x 3 m (6 Ft X 10 Ft) to protect your workspace from paint spills.
- Stencils: Use products like Plaid or Fiskars for creative designs. They help you create intricate patterns easily.
- Sealer: Apply a clear coat sealer like Mod Podge to preserve your design against the elements.
You should now have a good understanding of key factors, tips, and best practices for spray painting pumpkins. In the next part, we’ll discuss a detailed process for spray painting pumpkins.

Also See: Can You Paint on Top Of Acrylic Nails?
Step-by-step Guide to Spray Painting Pumpkins
Now, we’ll cover the steps for spray painting pumpkins to make them stand out!
-
Choose the Right Type Of Pumpkin
Select a pumpkin that’s smooth and has a nice shape. Varieties like Atlantic Giant or Cinderella pumpkins work well because they have a good surface area for painting.
Avoid pumpkins with dents or deep ridges as they can make painting difficult and affect the finish.
-
Prepare Your Work Area
Set up your workspace outdoors or in a well-ventilated area. Lay down a drop cloth to catch any overspray; you don’t want paint on your porch or floor!
Ensure you have a sturdy table to hold your pumpkins. Stability matters for even spray application and to prevent drips.
-
Clean and Dry Your Pumpkins
Wipe down your pumpkins with a cloth and warm, soapy water to remove dirt and oils. Trust me, skipping this step can lead to an uneven finish.
Wait until they’re completely dry—about 1 hour usually does it. Otherwise, moisture can cause the paint to bubble or peel.
-
Select Quality Spray Paint
Choose a spray paint specifically made for outdoor use. Brands like Rust-Oleum or Krylon are excellent options that can withstand the weather.
Technical tip: Look for non-toxic paint if you plan to carve or use pumpkins for decor. This creates a safer holiday environment!
-
Apply a Primer (Optional)
Using a primer before spray painting can improve adherence and create a smoother finish. Choose a multipurpose primer that dries quickly.
Most primers recommend a thickness of about 14 to 21 μm (Micrometers). Allow it an hour to dry thoroughly before painting.
-
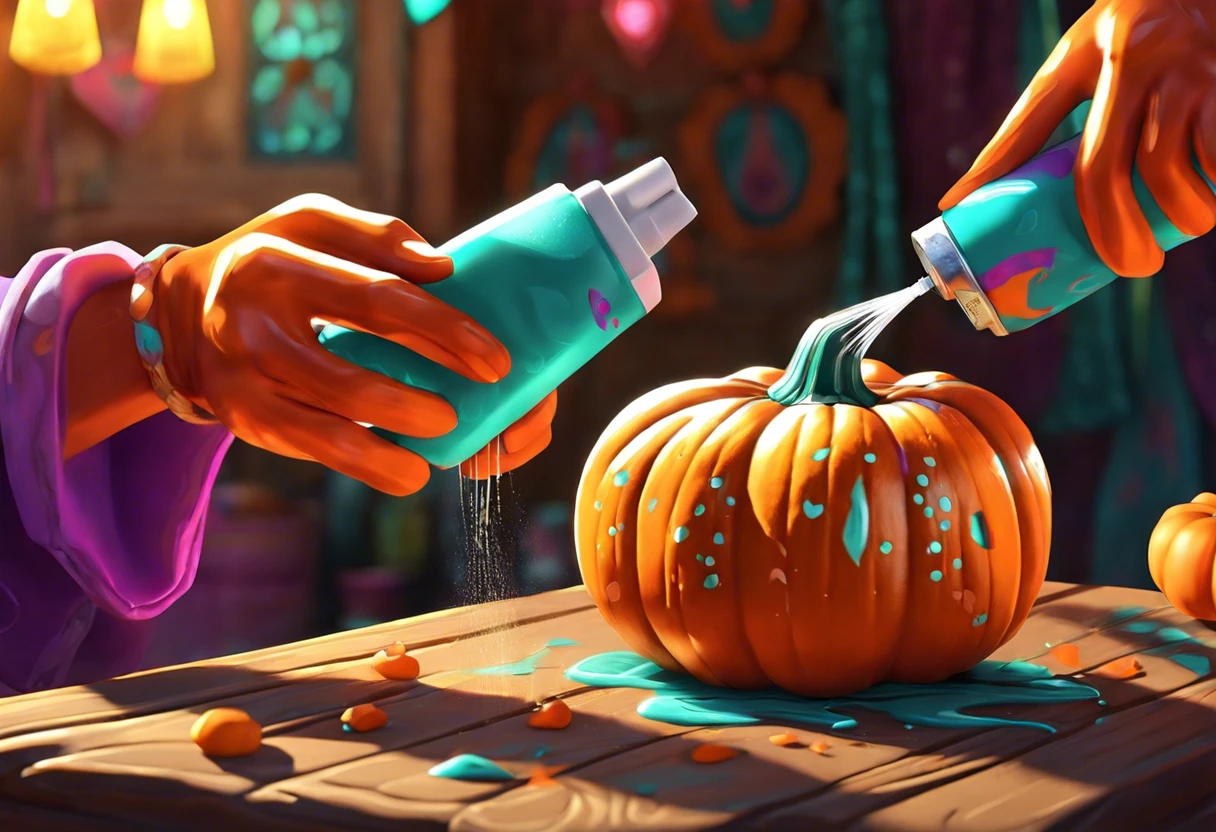
Spray Paint Techniques
Spray paint your pumpkin in even coats, holding the can about 6 to 12 inches (15 to 30 Cm) away. Overlap each spray pass for even color and reduced drips.
Experiment with different techniques—stenciling or sponging can create unique designs. The fun part? Let your creativity take charge!
-
Allow Drying Time Between Coats
Let each coat dry completely before adding more paint; typically around 30 minutes suffices. A thick coat could lead to runs, ruining your masterpiece.
Four light coats work best for a vibrant finish, with adequate drying to yield a smooth surface of about 15 to 17 μm per coat.
-
Add Finishing Touches
Add sparkle, glue on beads, or spray some clear sealer over the design to protect your work. This adds a wow factor and helps it last for the season!
Touch-ups can be done as needed. Just ensure any additional decorations don’t overcomplicate the beautiful lines and colors.
We have now covered the process of spray painting pumpkins. Next, we will explore a suggested color palette for your creations.
Recommended Color Palette for Painted Pumpkins
I suggest a “Chic Autumn” theme with warm hues to create a cozy vibe; it complements the fall season beautifully.
| Color Box | Hex Code | Color Name |
|---|---|---|
| #FF5733 | Pumpkin Orange | |
| #D9A300 | Golden Yellow | |
| #571845 | Deep Plum | |
| #4F7942 | Forest Green |
We covered the recommended color palette for painted pumpkins here. We will now cover the types of pumpkins suitable for spray painting.
Types Of Pumpkins Suitable for Spray Painting
Let’s explore different types of pumpkins: White Pumpkins, Classic Orange Pumpkins, Mini Pumpkins, and Blue Pumpkins.
-
White Pumpkins
White pumpkins, also known as Casper or Lumina, have a smooth surface, perfect for spray painting. They provide a bright backdrop, making colors pop beautifully.
-
Classic Orange Pumpkins
The traditional orange pumpkin is familiar to everyone. With a skin thickness of about 1-2 inches (2.5 – 5 Cm), they’re great for any paint application, including spray paints.
-
Mini Pumpkins
Mini pumpkins, about 2-6 inches (5 – 15 Cm) in diameter, are ideal for crafting. Their small size lets you practice different painting techniques with ease and creativity.
-
Blue Pumpkins
Blue pumpkins, like the Minnesota Midget, add a unique twist to your art. Their slightly rough skin holds paint well, making them a fun alternative for creative designs.
Reflecting on my experiences, I tend to prefer white pumpkins. Their smooth surface lets my spray paintings shine, giving my decor an extra flair.
So far we covered the different varieties of pumpkins ideal for spray painting. Let’s look at factors influencing paint adherence on pumpkins next.
Factors Affecting Paint Adherence on Pumpkins
What factors impact your ability to successfully spray pumpkins?
-
Surface Texture: Smooth surfaces don’t hold paint well; rough surfaces grip it better.
-
Pumpkin Freshness: Fresh pumpkins release moisture, causing paint to lift or drip off.
-
Paint Type: Use acrylic or outdoor spray paint for durability.
-
Temperature: Cooler temperatures (Temps) can slow drying; warm, dry days help with adhesion.
Common Issues When Spray Painting Pumpkins
When my friend spray-painted her pumpkins, the paint ran due to moisture. Excess water on the pumpkin’s surface causes this. Pat the pumpkins dry first; aim for less than 10% humidity. Use acrylic spray paint for the best adhesion!
Also, consider the temperature. Spray at around 65-75°F (18-24°C). Spraying in cold air can trap moisture and ruin the finish. Warm pumpkins and warm paint? A perfect combo!
Finishing Touches to Enhance Your Painted Pumpkins
After spray painting your pumpkins, apply a clear acrylic sealant like Rust-Oleum Protective Gloss for long-lasting shine and durability. Allow it to cure for 24 hours at 20°C (68°F) before displaying.
Inspect your pumpkins for blemishes or missed areas. Check corners and curves, ensuring even coverage without drips or streaks. Use tools like an X-Acto knife or fine-tipped brushes for touch-ups.
If you’ve spent a few years perfecting your technique, using an airbrush for gradients and layering adds a professional touch. Thin your paint with 30-40% water for a smoother finish.
Creative DIY Project Ideas Using Spray Painted Pumpkins
Have you ever thought about creating a chic pumpkin centerpiece or spooky outdoor decor? You can spray paint pumpkins in metallics for glam vibes or fun colors for that whimsical touch!
For these projects, I’d grab a couple of pumpkins, some primer spray (Around $10), and two cans of acrylic paint ($8 Each). It’ll take about an hour of your time, including drying—easy peasy!
Can you spray paint pumpkins? Absolutely! I once painted pumpkin fairy houses using twinkly lights and scrap fabric for windows—it was a hit. You can even try using a sponge brush for textures if you want to create something a little different. If you’re looking to explore more creative painting techniques, painting tile surfaces offers unique possibilities.


Maintaining Your Spray Painted Pumpkins
Want to make your spray painted pumpkins last longer? Here are some maintenance tips!
| Tip | Description | Frequency |
|---|---|---|
| Keep Out of Direct Sunlight | Sun can fade colors quickly. Store pumpkins in a shaded area. | Daily |
| Check for Damage | Inspect for chips or peeling. Touch up with more paint if needed. | Weekly |
| Use a Sealer | A clear acrylic sealer adds a protective layer against wear. | Every month |
| Store in Cool, Dry Place | High humidity can damage painted surfaces. Store in a garage or shed. | As needed |
Creative Techniques for Spray Painting Pumpkins
Let’s get creative! There’s more than one way to make your pumpkins pop.
-
Ombre Effect
Achieve a stunning ombre look by blending multiple colors. Start with the lightest color at the bottom and gradually transition to a darker shade at the top!
-
Splatter Technique
Feeling playful? Dip a brush in paint and flick it onto the pumpkin for a fun splatter effect. Just don’t forget to cover your workspace!
-
Layering Textures
Add depth by layering textures. Try sponging on different colors over a base coat for added interest and the wow factor.
-
Stencil Patterns
Use stencils for quick, detailed designs. Simply secure the stencil with painter’s tape 🔥 Deal: Blue Painter’s Tape → and spray over it carefully. Remove the stencil once dry for a neat finish!
Comparison of Spray Paint Options for Pumpkins
Let’s look at how different spray paint options fare when decorating pumpkins.
| Type of Spray Paint | Durability | Drying Time | Finish Type | Best Use |
|---|---|---|---|---|
| Acrylic Spray Paint | High | 30 minutes | Matte or Glossy | Outdoor Decorations |
| Chalkboard Spray Paint | Medium | 1 hour | Chalky Finish | Interactive Art |
| Metallic Spray Paint | Medium | 30 minutes | Shiny | Glam Decor |
| Water-Based Spray Paint | Low | 20 minutes | Varies | Indoor Use |
Innovative Ideas for Displaying Your Spray Painted Pumpkins
Displaying those pumpkins can be just as fun as painting them! Here are some ideas to showcase your art:
- Place them in an old wheelbarrow filled with hay for a rustic look.
- Arrange painted pumpkins on your dinner table as centerpieces for festive meals.
- Hang mini pumpkins from tree branches with colorful ribbons at outdoor parties.
- Create a pumpkin topiary by stacking smaller painted pumpkins on top of one another.
Also See: Can You Spray Paint Over Rust? Yes, Here’s How!
Frequently Asked Questions About Spray Painting Pumpkins
Is Spray Painting Pumpkins Safe for the Environment?
Yes, spray painting pumpkins can be safe for the environment when you use non-toxic spray paint. Many brands offer water-based options that are less harmful to ecosystems and reduce volatile organic compounds (Vocs), which can total around 300–600 g/L in typical paints.
Can You Use Any Kind Of Spray Paint on Pumpkins?
No, it’s best to use spray paint specifically designed for crafts. Regular spray paints often contain harmful chemicals and may not adhere well to the pumpkin’s surface, leading to quick peeling or chipping. If you’re wondering about specific paint compatibility, you can explore paint matching techniques for your project.
What Should You Do if the Paint Starts to Peel?
If the paint starts to peel, you should sand down the affected area gently and apply a new layer of spray paint. Keeping the pumpkin in a cool, dry spot can also prevent peeling, especially if temperatures jump above 22°C (72°F). When dealing with stubborn paint issues, you might want to explore safe solvent removal techniques.
How Long Will Spray-painted Pumpkins Last?
Spray-painted pumpkins can last anywhere from one week to several months, depending on the type of paint and environmental conditions. Acrylic spray paint tends to hold up better, often maintaining color and finish for four to six weeks outdoors. If you’re looking to enhance durability, consider exploring professional alkyd paint techniques.
Can You Remove Spray Paint From Pumpkins?
Yes, you can remove spray paint from pumpkins using rubbing alcohol or acetone. Soak a cloth and gently rub the painted area until the paint starts to lift, making it easy to re-decorate your pumpkin. The tradition of painting surfaces like pumpkins and barns with vibrant colors has deep cultural roots in artistic expression.
What Type Of Base Should You Use Before Spray Painting Pumpkins?
Using a primer before spray painting pumpkins enhances adhesion. A spray-on primer, typically designed for plastic or wood, helps the paint stick better and can double the lifespan of your design! If you’re wondering about additional spray painting techniques.
How Can You Prepare Pumpkins for Spray Painting?
You should clean pumpkins thoroughly and dry them completely before spray painting. Dirt or moisture can affect how the paint adheres, leading to streaks or uneven coats.
Is It Possible to Use Spray Paint on Real and Fake Pumpkins?
Yes, you can use spray paint on both real and fake pumpkins. However, it’s crucial to select compatible paint types; for instance, plastic pumpkins may require a special spray specifically designed for plastic to ensure the paint adheres properly. If you’re looking to transform your decorative surfaces, painting tiles offers similar creative possibilities.
Conclusion: Enjoy Your Beautifully Spray Painted Pumpkins This Fall!
Thank you for joining us! We explored essential painting techniques and considerations for spray painting pumpkins, provided a step-by-step guide, highlighted recommended color palettes, and discussed suitable pumpkin types, paint adherence factors, common issues, finishing touches, and creative DIY project ideas.
So, can you spray paint pumpkins? Absolutely! With the right spray paint, preparation, and techniques, your pumpkins will be stunning additions to your home decor. Best of luck in your creative journey!
For more expert guidance and inspiration, visit Paint Answers.
Additional Resources
- Loomis, A. (2011). Figure Drawing for All It’s Worth. New York, NY: Titan Books.
- The Best Paints to Use on Pumpkins for Decorating
- SPRAY PAINTED PUMPKINS Fall Mad in Crafts
- r/crafts on Reddit: Best type of paint for pumpkins?
Experienced interior designer with 15+ years in transforming spaces, blending artistry with expertise in color and design. Rhode Island School of Design graduate, specializing in restorations and modern makeovers.
Medium, Spray


