
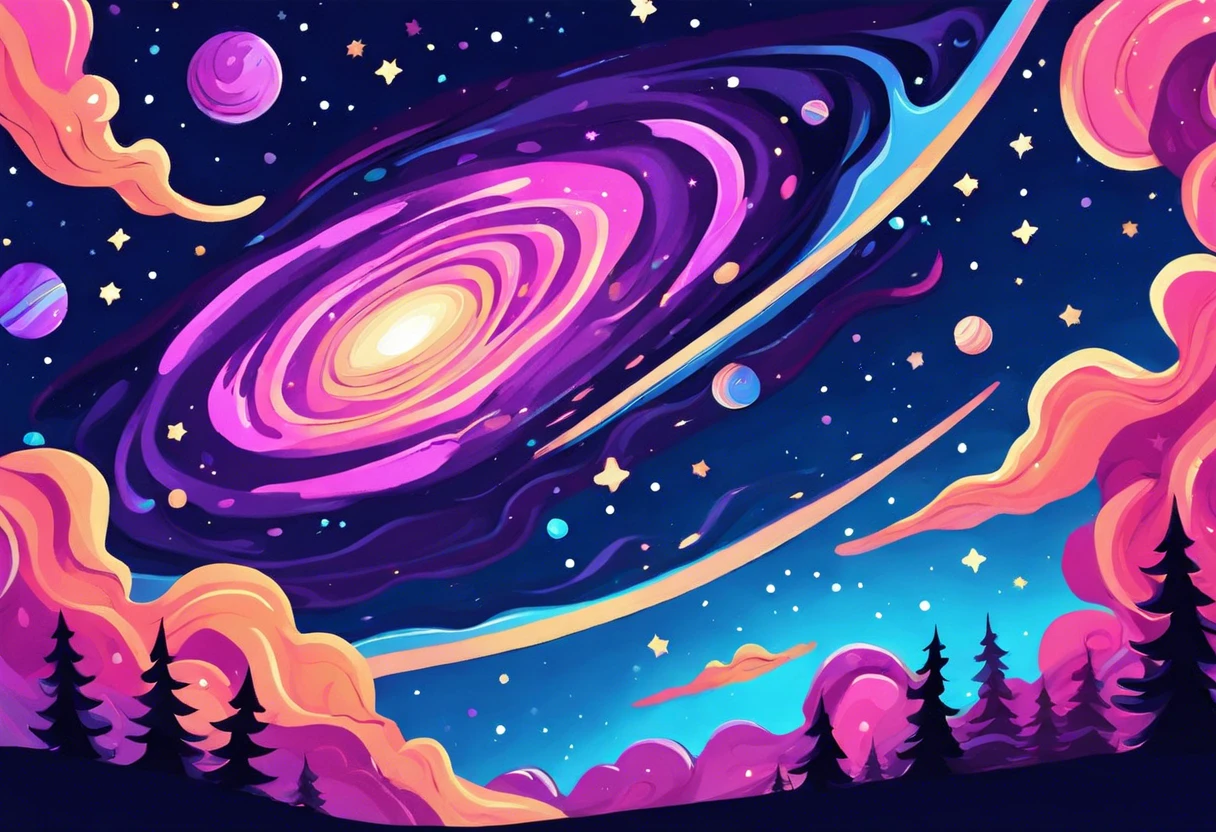
How to Paint A Galaxy With Acrylic?
Published on: January 23, 2025 | Last Updated: January 7, 2025
Written By: Alisha Winters
A galaxy is like a big, colorful cloud of stars and dust floating in space. Imagine a beautiful night sky filled with sparkly lights—that’s what a galaxy looks like!
Learning how to paint a galaxy with acrylic can be a lot of fun! I’ve tried it myself, and following steps carefully makes your painting pop with color and depth.
In this guide, you’ll discover essential prep work, steps to create a stunning galaxy, a recommended color palette, and common issues to avoid, all while using how to paint a galaxy with acrylic paint as a handy reference.
Contents
- 1 How to Paint a Galaxy With Acrylic?
- 2 What is a Galaxy?
- 3 Essential Preparation Before You Start Painting a Galaxy
- 4 Steps to Create a Stunning Galaxy With Acrylics
- 5 Recommended Color Palette for Galaxy Paintings
- 6 Types Of Galaxy Scenes You Can Paint
- 7 Factors Affecting Your Galaxy Painting Outcome
- 8 Common Issues When Painting a Galaxy With Acrylics
- 9 Techniques for Adding Depth in Galaxy Paintings
- 10 Common Blending Techniques for Galaxy Effects
- 11 Techniques for Creating Dynamic Starfields
- 12 Understanding the Cosmic Color Theory
- 13 Experimenting with Textures in Galaxy Paintings
- 14 Finishing Touches for Your Galaxy Artwork
- 15 DIY Galaxy Project Ideas to Explore
- 16 Frequently Asked Questions About Painting a Galaxy With Acrylics
- 17 Conclusion: Embrace Your Creativity in Galaxy Painting
- 18 Additional Resources
How to Paint a Galaxy With Acrylic?
To paint a galaxy with acrylic, start with a dark base. Use a sponge to dab on shades of blue, purple, and black. Add white dots for stars and blend in some pink or gold for a dreamy effect. Don’t forget to let it dry between layers! If you’re wondering about mixing different paint types, mixing acrylic paints effectively can help expand your artistic techniques.
What is a Galaxy?
A massive collection of stars is a massive collection of stars, gas, dust, and dark matter, all bound by gravity. The Milky Way, for example, is part of at least 100 billion galaxies in the observable universe, some spanning over 100,000 light-years (31,000 Parsecs) across!
To paint a galaxy with acrylic, it’s about blending colors to mimic stunning cosmic scenes. I’ve spent countless hours experimenting with techniques, and it’s incredible to watch vibrant hues come to life on canvas! Exploring ancient artistic techniques has always fascinated me, especially when considering how prehistoric artists captured celestial imagery.
I had a friend use acrylics for their galaxy painting for an art show. Watching their creativity ignite through techniques like layering colors with acrylic paint for depth truly inspired me. Painting a galaxy with acrylic isn’t just about technique; it captures the vast beauty of the universe! If you’re curious about exploring unique artistic methods like creating stunning diamond art designs.
Essential Preparation Before You Start Painting a Galaxy
What do you need to prepare for?
- Acrylic Paints: Use brands like Liquitex, Winsor & Newton, or Golden. You’ll need high-opacity colors, especially black (150 Ml) and white (150 Ml), to create a deep, cosmic backdrop.
- Canvas or Paper: Choose a 16×20 inch (40.6×50.8 Cm) canvas. It provides enough space to explore depth and detail in your galaxy.
- Brushes: Get round brushes (Like Size 10) and a fan brush. They’re essential for blending and adding texture to your galaxy’s stars and clouds.
- Palette: A mixing palette, like the Masterson’s Stay Wet Palette, keeps your paint fresh while you work. This is crucial for long, detailed painting sessions.
- Water Container: An 8 oz (240 Ml) container for rinsing brushes is a must. Clean brushes ensure vibrant colors and precise detailing.
We have now covered essential preparation for painting a galaxy. Next, we will explore the steps to create a stunning galaxy with acrylics.
Also See: How to Paint a Watercolour Sky With Clouds? Tips!
Steps to Create a Stunning Galaxy With Acrylics
Now, let’s cover the steps to master painting a galaxy with acrylics.
-
Select Your Canvas and Tools
Start with a canvas size of at least 24 x 18 inches (61 X 46 Cm) for bold impact. Choose acrylic brushes size 10 and 12 for blending and fine details.
A smooth canvas makes blending easier. Consider using a canvas board for a more accessible surface to achieve dreamy swirls.
-
Choosing Your Background Colors
Decide on a gradient of colors: dark blue (Ultramarine), purple (Dioxazine Purple), and black. Blend these on the canvas for about 3-5 minutes before the paint dries for a seamless transition.
Mix the colors directly on the canvas in a circular motion for a more organic space feel. This creates the cosmic depth you want.
-
Creating Stars and Cosmic Elements
Use a stiff brush or toothbrush to splatter white paint across your galaxy for stars. Be random—nature’s elements aren’t uniform.
While splattering, mix a little iridescent paint with the white for shimmer. It gives a glow that makes your stars pop.
-
Layering Techniques for Depth
Layering is key! Use airy strokes to build up your nebulae with pinks, greens, or light blues. Apply 2-3 layers, letting each dry for 15 minutes in between. This stage is crucial for a multidimensional look.
Using a rag to dab on lighter colors works wonderfully! Dab to create soft edges and a more cloud-like appearance across the sky.
-
Finalizing Your Galaxy Painting
Once you’re happy with the layers and stars, add finishing touches like meteors with dashed yellow lines or clusters of stars. Don’t forget to sign your masterpiece—it’s your creation!
You can use a small detail brush for these finishing strokes. Spray a fixative for extra protection once it’s dry, keeping your texture and vibrancy intact.
We covered the steps to create a stunning galaxy using acrylics. Next, we will explore the recommended color palette.
Recommended Color Palette for Galaxy Paintings
I recommend a “Celestial Dreams” palette, which uses deep blues and purples as that rich main color, complemented by bright pinks and soft whites to create stunning contrasts.
| Color Box | Hex Code | Color Name |
|---|---|---|
| #1a1a4b | Midnight Blue | |
| #4b0c5e | Purple Bump | |
| #ff4cb0 | Neon Pink | |
| #ffffff | Starlight White | |
| #7f00ff | Ultra Violet |
So far we covered a suggested color palette for galaxy paintings. Let’s look at different types of galaxy scenes you can paint next.
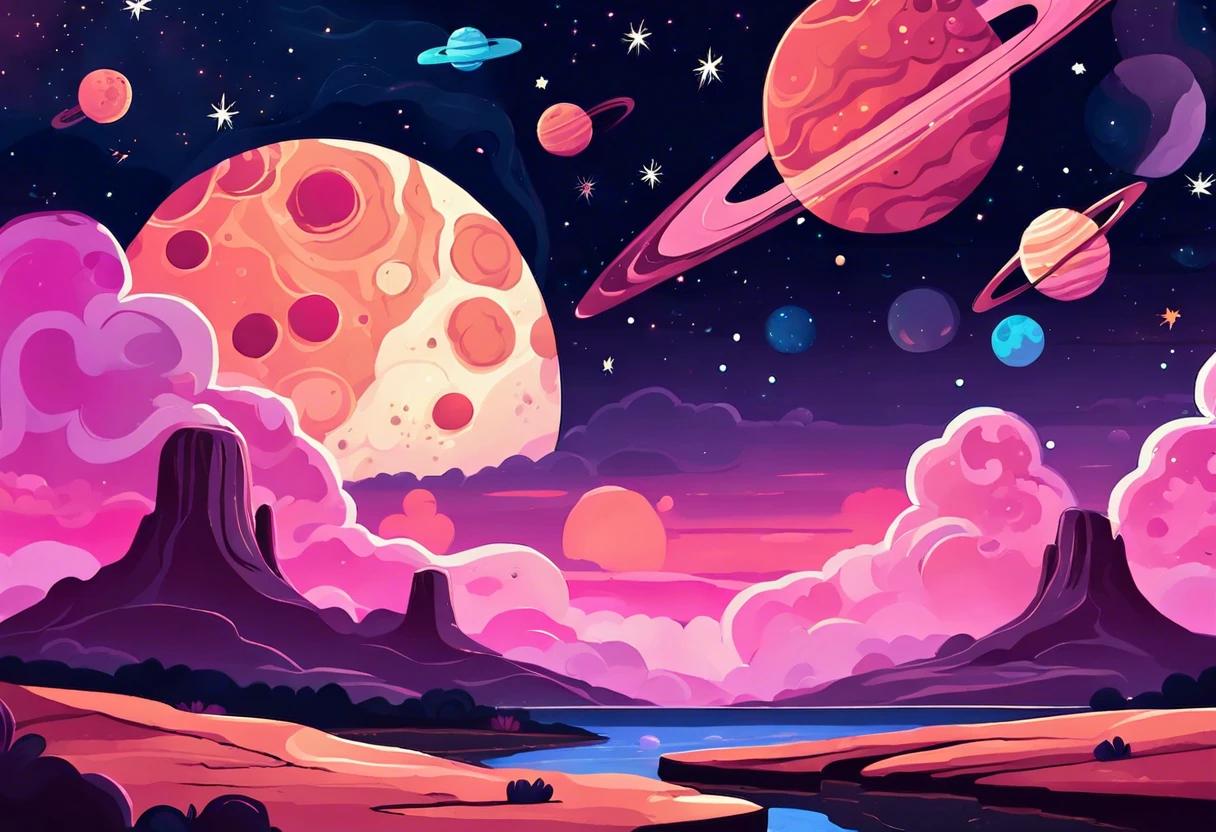
Types Of Galaxy Scenes You Can Paint
Let’s move on to the types of galaxy scenes: Nebula, Starfields, Galactic Plane, and Dark Matter.
-
Nebula
A nebula is a colorful cloud of gas and dust in space. To paint it, use wide strokes and blend colors like pink, purple, and blue—similar to creating a glow effect—with soft brushes.
-
Starfields
Starfields are filled with distant stars, mainly white or yellow. For this scene, use a dotting technique; a fine brush and acrylic paint will help create scale, with sizes varying from pinpricks to larger dots. If you want to explore advanced color techniques for achieving the perfect stellar hue, check out these professional painting color strategies.
-
Galactic Plane
The galactic plane features a band of stars and light across a night sky. Use horizontal strokes and layer colors like deep blue and bright white to convey depth and distance—this technique is essential in alien landscapes.
-
Dark Matter
To illustrate dark matter, create empty spaces filled with contrasting light. This contrast makes other elements stand out; consider using dark hues like navy blue with bright accents to emphasize the void. If you’re curious about crafting the perfect precise blue paint mixture for your design.
I’ve learned through hands-on experience that painting nebulae enhances my creativity. The blend of vibrant colors and swirling forms allows me to experiment more with my acrylics.
You should now have a good understanding of various galaxy scene types and painting techniques. In the next part, we’ll discuss influencing factors for your galaxy artwork.
Factors Affecting Your Galaxy Painting Outcome
What factors influence your acrylic universe masterpiece?
-
Color Selection: Choosing vibrant colors creates depth but can clash overall.
-
Blending Techniques: Smooth blending results in a starry gradient, while harsh blending appears unnatural.
-
Brush Types: Different brushes add unique textures; a fan brush effectively mimics stars.
-
Layering Approach: Multiple layers enhance complexity, but too many can muddy your colors.
Common Issues When Painting a Galaxy With Acrylics
Once, my friend created muddy colors while trying to blend her galaxy swirls. A mix of too much water and overlapping layers caused this issue.
To fix it, use heavy-body acrylics. Keep layer transparency in check—about 20% water works best—for smooth blending without turning brown. Keep experimenting!
Techniques for Adding Depth in Galaxy Paintings
Ready to elevate your galaxy paintings? Let’s explore some effective techniques to add depth!
1. Layering with Glazing
Glazing involves applying thin layers of transparent paint. This method allows underlying colors to shine through, creating a rich depth. Here’s how:
- Mix acrylic paint with a glazing medium or water (30% mixture).
- Spread with a large flat brush for an even coat.
- Apply multiple layers for increased depth, allowing each layer to dry before adding the next.
2. Dry Brushing for Texture
Dry brushing creates a textured look and enhances the stars or nebulae. It involves:
- Dipping a dry brush in minimal paint (30-50% of the brush bristles covered).
- Using light strokes across the textured areas to create highlights.
3. Using Soft Brushes for Soft Transitions
Soft bristle brushes help achieve smooth transitions between colors. Here’s the quick guide:
- Choose a soft round brush.
- Smoothly blend with light pressure, working from the darker areas towards the lighter areas.
Common Blending Techniques for Galaxy Effects
Blending effectively brings your galaxy to life. Here are some popular methods:
| Technique | Description | Best Used For |
|---|---|---|
| Sponge Dabbing | Using a sponge to apply and blend colors creates soft transitions. | Nebulae and Backgrounds |
| Brush Blending | Mixing colors directly on the canvas with a brush for smooth gradients. | Starfields and Milky Way Effects |
| Finger Blending | Using your fingers for a tactile approach gives a natural look. | Small details and Texture |
| Stippling | Using a small brush to create dots for stars adds richness. | Star Fields and Distant Objects |
Techniques for Creating Dynamic Starfields
Want your starfields to dazzle? Try these effective techniques!
1. Dotting Method
Use the dotting method to create various star sizes. Here’s how:
- Grab a small round brush or a toothpick.
- Dip it in white paint and flick or dot onto your canvas.
- Vary the pressure for larger and smaller dots!
2. Stencil Stars
Create a consistent look using stencils:
- Make or purchase star-shaped stencils.
- Set them on your canvas and paint over.
- Use a sponge for soft edges around stencils.
3. Glow Effect
To add a glowing effect to your stars:
- Use a light touch with a dry brush and light blue paint around the stars.
- Apply a thin layer of iridescent medium for added shimmer.
Understanding the Cosmic Color Theory
Let’s dive into how colors interact in your galaxy painting.
| Color | Emotion | Best Used For |
|---|---|---|
| Dark Blue | Calmness | Background layers for depth |
| Purple | Mystique | Creating nebulae |
| Pink | Creativity | Highlighting stars and accents |
| White | Innocence | Stars and highlights |
| Iridescent | Magic | Finishing touches for sparkles |
Experimenting with Textures in Galaxy Paintings
Add some flair with different texture techniques!
- Sand Texture: Mix sand with acrylic for that gritty cosmic feel.
- Modeling Paste: Apply modeling paste for raised, cloud-like formations.
- Textured Brushes: Use brushes with unique bristles to create interesting patterns.
Finishing Touches for Your Galaxy Artwork
After creating your cosmic scene, let it dry completely for at least 24 hours. Seal it with clear acrylic varnish, like Liquitex, to protect your brushwork.
Inspect for smoothness and even coverage, ensuring no brush strokes remain. Look for any dull spots; touch them up with acrylic paint and ensure adhesion before varnishing.
If you’re experienced, like me, experiment with texture using modeling paste for depth or add iridescent medium to sections for extra shimmer. This adds dynamic visual appeal to your galaxy.
Also See: Can You Use Acrylic Paint on Shoes? Get Creative!
DIY Galaxy Project Ideas to Explore
Ever wanted to create your own cosmic masterpiece? Try making a galaxy-inspired canvas art piece or crafting a glowing galaxy jar!
For the canvas, you’ll need acrylic paints, a brush, and a canvas—typically costing around $15-$30. The jar version only takes about 30 minutes and costs less than $20 for paint, a jar, and some glow-in-the-dark powder. Artists and hobbyists often explore creative painting techniques.
Want a twist on how to paint a galaxy with acrylic? Instead of a brush, use an old toothbrush for fun splatter effects, or throw in some glitter for that dazzling touch! Trust me, these techniques take your galaxy painting to a whole new universe! If you’re feeling adventurous, you might even want to explore painting your galaxy design on jeans.
Frequently Asked Questions About Painting a Galaxy With Acrylics
What Are the Best Acrylic Colors for a Galaxy Painting?
Yes, the best acrylic colors for a galaxy painting include deep blue, purple, and black. These colors mimic the night sky and create a vibrant, mystical look that’s truly captivating.
Can Beginners Achieve Good Results in Galaxy Painting?
Absolutely! Beginners can achieve good results in galaxy painting with practice and the right tools. Using blending techniques, they can easily create the swirling, cosmic effects that galaxies are known for. If you’re curious about expanding your painting skills for outdoor art projects, acrylic paint offers versatile options.
How Can I Make My Stars Shine Bright?
To make your stars shine bright, use a white acrylic paint and add a bit of water for a smoother finish. Applying a layer of metallic or glitter paint on top enhances that luminous effect.
What Surfaces Are Best for Acrylic Galaxy Paintings?
For acrylic galaxy paintings, canvas and thick watercolor paper are best. These surfaces are absorbent and durable, allowing for easy blending and layering of colors.
Is It Necessary to Use a Palette Knife for Galaxy Painting?
Using a palette knife for galaxy painting is not necessary but highly recommended. It gives unique textures and helps create those stunning, sweeping movements in your galaxies.
What Tools Do I Need to Paint a Galaxy?
You typically need a few brushes, a palette knife, and a spray bottle. These tools will help you blend beautifully and create stellar effects.
How Do I Blend Colors Effectively in a Galaxy Painting?
To blend colors effectively in a galaxy painting, use a wet brush and apply gentle strokes. This technique helps colors merge seamlessly, giving depth to your artwork.
Can I Add Additional Elements Like Planets to My Galaxy Painting?
Yes, you can definitely add elements like planets to your galaxy painting! Just use contrasting colors for the planets to make them stand out against the glowing backdrop.
Are There Special Techniques for Depicting Nebulae in Galaxy Paintings?
Yes, special techniques for depicting nebulae include using soft brushes and circular motions. This helps create those wispy, cloud-like effects seen in nebulae.
Conclusion: Embrace Your Creativity in Galaxy Painting
We’ve reached the end, and I hope you found this guide valuable. We discussed essential preparations, step-by-step instructions for creating a stunning galaxy with acrylics, a suggested color palette, common challenges you might encounter, factors influencing your results, and exciting DIY project ideas.
In summary, painting a galaxy with acrylics involves layering vibrant blues, purples, and blacks while blending them seamlessly. Apply stars with a small brush or sponge, and include finishing touches for added realism. The key is to unleash your creativity—experiment with different scenes like nebulae or coral to truly personalize your work.
For additional tips and inspiration, check out Paint Answers—your go-to resource for everything painting-related.
Additional Resources
- Edwards, B. (2012). Drawing on the Right Side of the Brain. New York, NY: TarcherPerigee.
- How To Paint A Galaxy With Acrylic Paint – Easy Tutorial For Beginners – Artful Haven
- Sponge Painting a Galaxy with Acrylic Paint – YouTube
Experienced interior designer with 15+ years in transforming spaces, blending artistry with expertise in color and design. Rhode Island School of Design graduate, specializing in restorations and modern makeovers.
Acrylic, Medium


