


What Can Remove Painted-on Lines From Healing Cutting Mats?
Published on: March 13, 2025 | Last Updated: January 7, 2025
Written By: Isabella Cruz
Contents
- 1 What Can Remove Painted-on Lines From Healing Cutting Mats?
- 2 What Are Healing Cutting Mats?
- 3 Before You Start: Important Considerations
- 4 Step-by-step Guide to Removing Painted-on Lines
- 5 Types Of Removal Products for Painted-on Lines
- 6 Factors Affecting Line Removal Success
- 7 Common Issues Encountered While Removing Painted-on Lines
- 8 Alternative Methods for Removing Painted-on Lines
- 9 Comparison of Removal Methods
- 10 Finishing Touches: Restoring Your Cutting Mat’s Integrity
- 11 Environmental Impact of Removal Products
- 12 Tips for Maintaining Your Healing Cutting Mat
- 13 Impact of Weather on Mat Maintenance
- 14 Frequently Asked Questions About Removing Lines From Healing Cutting Mats
- 15 Conclusion: Effective Removal Of Painted-on Lines From Healing Cutting Mats
- 16 Additional Resources
What Can Remove Painted-on Lines From Healing Cutting Mats?
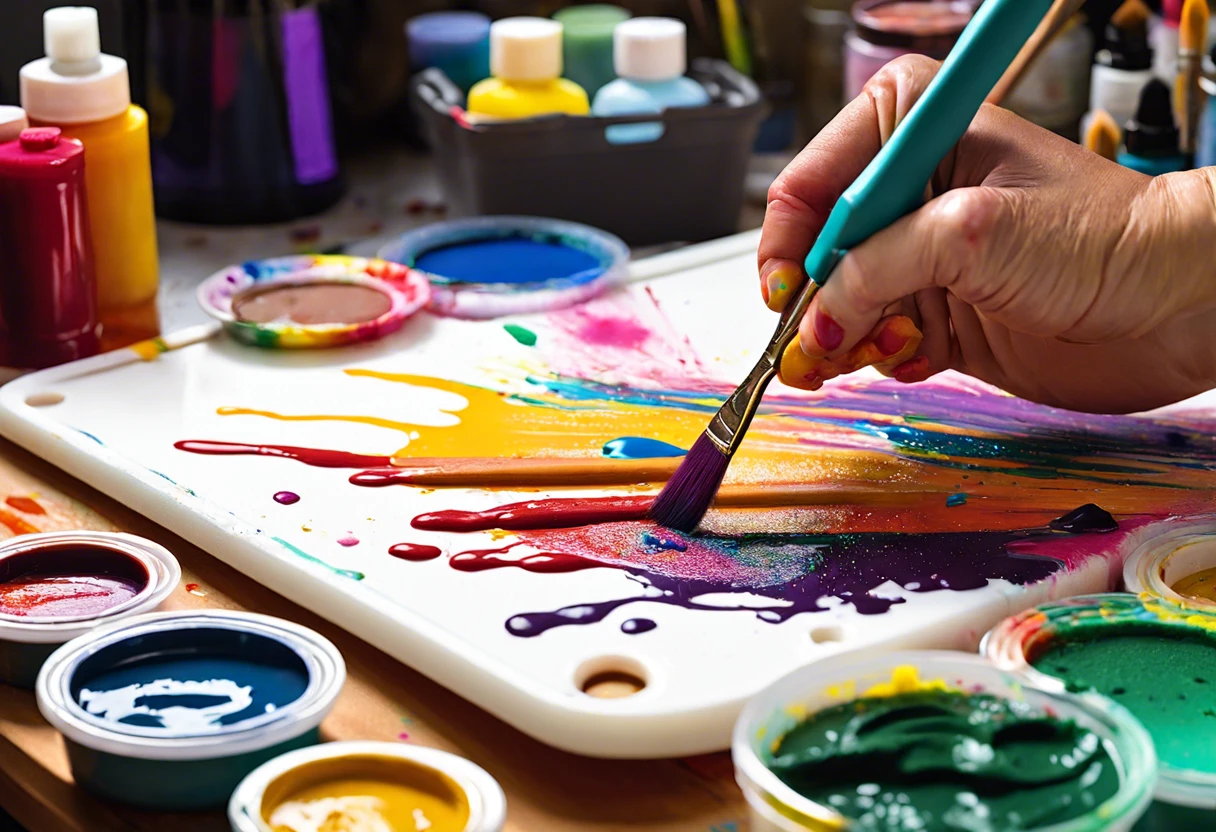
You can use rubbing alcohol or a magic eraser to remove painted lines from your healing cutting mats. Simply soak a cloth in alcohol and gently scrub the lines. For magic erasers, just dampen it slightly and rub. Both methods are effective and safe!
What Are Healing Cutting Mats?
Cutting mats are durable surfaces designed for use with blades or knives. These mats are made from self-healing materials that protect their surface by sealing small cuts and grooves, ensuring precision and safety.
I remember struggling with the maintenance of those pesky painted surface line maintenance. Finding the right balance between usage and care is crucial. I’ve tried various solutions, but that’s a story for another time.

The Finishing Touch
A freshly painted wall is a blank canvas. The best way to bring your room to life is with a single piece of statement art that ties everything together.
Browse Wall Art at Big Wall DecorIn my experience, I used the mat for work to craft intricate fabric designs. Its self-healing property kept my mat looking new, even after heavy use. Learning how to remove painted-on lines from healing cutting mats became an important part of my regular maintenance routine.
Before You Start: Important Considerations
What do you need to remove painted lines from healing cutting mats?
- Isopropyl Alcohol (70%): Use Isopropyl Alcohol 70% for effective removal. It dissolves the paint without damaging the mat.
- Rubbing Alcohol Pads: Cotton Rubbing Alcohol Pads are convenient. They allow direct application to the affected area.
- Soft Cloths: Use lint-free Microfiber Cloths. They prevent scratches while wiping away the paint removal solution.
- Scraper Tool: A plastic scraper tool, like the ZYQUD Plastic Spatula, is essential. It helps lift stubborn paint without gouging your mat.
That covers key considerations before starting. Let’s now take a look at the step-by-step guide for removing painted-on lines.
Also See: How Do You Remove Bottom Paint From a Boat? Easy Tips
Step-by-step Guide to Removing Painted-on Lines
Follow these steps to effectively remove painted-on lines from your cutting mats.
-
Identify the Paint Type
Different paints require different removal methods. Water-based paints are easier to remove than oil-based ones, so identify what you’re dealing with before you start.
If you’re unsure, rub a damp cloth on a small area to see if the color rubs off. This can indicate how stubborn the paint is.
-
Choose an Appropriate Solvent
Select the right solvent based on the paint type you’ve identified. For water-based paint, use rubbing alcohol (70% or More). For oil-based paint, you may need mineral spirits.
Always test the solvent in a small area first, as some can damage the mat’s surface. You don’t want to ruin your mat while fixing it!
-
Test Inconspicuously
Testing is crucial before full application. Always try your chosen solvent in a hidden area of the mat to see if it affects the material.
If it works, apply the same method to the painted area. If not, consider switching solvents or techniques — don’t rush!
-
Apply the Solvent
Saturate a soft cloth with the solvent and gently rub it on the painted lines. Use small circular motions to avoid damaging the mat’s surface.
For tough spots, let the solvent soak in for a few minutes before rubbing. This will help break down the paint more effectively.
-
Finish With Cleaning
Once the lines are gone, clean the mat with soapy water to remove any residue. Use warm water (Around 37°C or 98°F) and a soft sponge.
Don’t skip conditioning your mat after cleaning. Mist with mat cleaner or apply a light coat of mineral oil to maintain flexibility and keep it in good shape.
That covers the process for removing painted-on lines. Let’s now take a look at the different removal products available.
Types Of Removal Products for Painted-on Lines
Let’s explore the different types: cleaners, erasers, solvents, and homemade solutions.
-
Cleaners
Cleansers designed for mats often contain polymers. Look for products specifically labeled safe for cutting mats that can remove painted-on lines effectively, providing about 98% removal.
-
Erasers
Mat erasers are designed to erase marks from these surfaces. They can quickly remove most lines without damaging the mat, with approximately 500 uses per eraser.
-
Solvents
Common solvents like rubbing alcohol can swiftly dissolve paint. Use with caution; always test a small area of the mat first! Some brands indicate that it may take just 30 seconds of application. If you’re working with ABS plastic surfaces, you’ll want to know the specific techniques for painting plastic materials effectively.
-
Homemade Solutions
A mix of vinegar and baking soda creates an effective, eco-friendly option. This combination can often remove lines after just 2-3 minutes of scrubbing.
I often find that specialized cleaners work best for my mats. Their formulations make line removal easy and hassle-free!
The Finishing Touch
A freshly painted wall is a blank canvas. The best way to bring your room to life is with a single piece of statement art that ties everything together.
Browse Wall Art at Big Wall DecorYou should now have a good understanding of removal products for painted lines. In the next part, we’ll discuss factors influencing removal success.
Factors Affecting Line Removal Success
What factors influence how effectively painted lines are removed from cutting mats?
-
Type of Cleaner: Different cleaners have varying strengths; some dissolve (Break Down) paint better than others.
-
Material Composition: The mat’s material affects how each cleaner interacts with painted lines.
-
Duration of Application: Allowing the cleaner to sit longer can enhance its effectiveness on the paint.
-
Technique Used: Rubbing too hard or incorrectly can damage the mat while removing lines.
We’ve wrapped up the factors influencing line removal success here. Let us turn our attention to common challenges faced during this process.
Common Issues Encountered While Removing Painted-on Lines
Once, my friend tried to clean her cutting mat and ended up damaging it. She used water mixed with vinegar. Bad move! The lines started to fade, but the mat became sticky.
To fix it, use denatured alcohol (C2H6O) on a cotton pad. It’ll dissolve the painted lines without harming your mat. Just test a small area first to be safe!
Alternative Methods for Removing Painted-on Lines
You’ve got options! Besides traditional methods, there are some unique ways to tackle painted-on lines on your cutting mat. Let’s dive in.
Using Heat to Remove Paint
Heated tools can be a surprising ally! Try using a heat gun on a low setting. Here’s how:
- Set the heat gun to the lowest setting.
- Hold it about 6 inches (15 cm) away from the line.
- Gently heat the area for a few seconds — you’ll see the paint soften.
- Quickly wipe it away with a soft cloth.
Alcohol and Essential Oils Blend
Mixing rubbing alcohol with a few drops of essential oil can enhance the removal process. Here’s how to make it:
- Combine 1 part rubbing alcohol (70% or more) with 2 drops of lavender or tea tree oil.
- Shake well and apply to a cloth.
- Gently rub the painted area to see better results. Essential oils can also reduce odors!
Comparison of Removal Methods
Check out this handy table to see how different methods stack up against each other:
| Method | Effectiveness | Time Required | Risk of Damage |
|---|---|---|---|
| Rubbing Alcohol | High | 2-5 minutes | Low |
| Magic Eraser | Medium | 1-3 minutes | Very Low |
| Heat Gun | Medium to High | 1 minute per area | Medium |
| Essential Oil Blend | High | 2-4 minutes | Very Low |
As you can see, various methods can effectively help you tackle those annoying painted-on lines!
Finishing Touches: Restoring Your Cutting Mat’s Integrity
After removing painted lines, consistently apply a mat conditioner like Olfa Cutting Mat Oil. Use it monthly to improve the texture and longevity of your cutting mats.
The Finishing Touch
A freshly painted wall is a blank canvas. The best way to bring your room to life is with a single piece of statement art that ties everything together.
Browse Wall Art at Big Wall DecorInspection is crucial. Check for wear with a ruler—grooves above 1 mm (0.04 Inches) can affect precision. For the best results, use a self-healing mat like Fiskars and handle it with care.
If you’re not new to assessing lines on your cutting mat, try advanced methods like light abrasives. Lightly sanding with 400-grit sandpaper can effectively remove stubborn marks and restore a smooth cutting surface. When working with specialized surfaces, you might also want to explore protecting delicate paint finishes with similar precision techniques.
Environmental Impact of Removal Products
Choosing eco-friendly removal products can benefit both you and the environment. Let’s look at sustainable options!
- Biodegradable Cleaners: These are made from natural ingredients and break down without harming the ecosystem. Look for those labeled “eco-friendly” or “green.”
- Homemade Solutions: Using vinegar and baking soda not only works well but also reduces your carbon footprint. It’s inexpensive and safe for the environment!
- Reusable Materials: Instead of disposable wipes, opt for washable cloths. Microfiber cloths work great and can be used multiple times, reducing waste.
Tips for Maintaining Your Healing Cutting Mat
Keeping your cutting mat in good shape can minimize the need for line removal. Here are some useful tips!
- Regular Cleaning: Clean your mat after each heavy use. A detergent solution can keep it fresh and prevent buildup.
- Storage: Store your mat flat or rolled loosely to prevent creases. Avoid placing heavy objects on it to maintain its integrity.
- Use a Protective Cover: Consider using a plastic or acrylic cover during crafts. It shields the mat from paint and marks.
Impact of Weather on Mat Maintenance
Weather can affect your mat’s condition. Let’s see how to adjust your care based on the environment!
| Weather Condition | Impact on Mat | Care Tips |
|---|---|---|
| High Humidity | Can cause mold or mildew. | Keep in a dry place; use dehumidifiers. |
| Extreme Heat | Makes mat sticky and warps it. | Avoid direct sunlight; store in a cool space. |
| Cold Temperatures | Can make the material brittle. | Let it warm gradually to room temperature. |
Frequently Asked Questions About Removing Lines From Healing Cutting Mats
What Are the Best Products to Remove Painted-on Lines?
To remove painted-on lines, products like rubbing alcohol and acetone can effectively do the job. These solutions break down the paint without harming your mat, making them a popular choice among crafters.
Will the Removal Process Damage My Cutting Mat?
No, the removal process shouldn’t damage your cutting mat if done correctly. Use gentle formulations and avoid harsh chemicals to preserve the mat’s surface integrity.
Can I Avoid Painted-on Lines on My Mat in the Future?
Yes, you can avoid painted-on lines by choosing mats with removable lines or using a clear mat overlay. This protects your cutting mat, allowing you to keep it pristine.
Is It Possible to Restore the Mat’s Original Color?
Yes, you can restore a mat’s original color, but results may vary. Using cleaning solutions designed for polymer surfaces can help refresh the mat’s appearance.
How Often Should I Clean My Healing Cutting Mat?
You should clean your healing cutting mat after every significant use. Regular maintenance keeps your mat functional and extends its lifespan, typically lasting 5-10 years with proper care.
What is the Best Method for Cleaning a Cutting Mat?
To clean a cutting mat, use a damp cloth with mild soap and water. Regular cleaning helps maintain the mat’s surface while preventing debris buildup that can affect cutting precision.
Are There Any Stains That Can’t Be Removed From Cutting Mats?
Yes, some stains, like ink or permanent marker, may be tough to remove. Using prompt cleaning techniques can minimize staining risks before they set permanently.
Do I Need to Treat My Mat After Cleaning?
It’s not necessary to treat your cutting mat after every clean, but applying a mat-specific conditioner occasionally can help maintain its elasticity and surface quality.
When Should I Replace My Cutting Mat?
Consider replacing your cutting mat when you notice severe dents, cuts, or peeling material. Keeping track of usage (Like Blade Wear) helps decide when it’s time for a new one.
Also See: How Much Does a Can Of Paint Cost? Get the Basics!
Conclusion: Effective Removal Of Painted-on Lines From Healing Cutting Mats
We’ve reached the conclusion, and I hope you found this information valuable. We discussed the types of removal products, provided a step-by-step guide, highlighted common issues, examined factors affecting removal success, and shared essential considerations before starting.
I trust these insights have clarified your questions about removing painted-on lines from healing cutting mats. As we’ve demonstrated, products such as isopropyl alcohol, baking soda, and specialized removers can work effectively together to restore your mat.
For more information and resources, check out Paint Answers for a deeper dive into best practices and solutions.
Additional Resources
- Betti, C., & Sale, T. (2012). Drawing: A Contemporary Approach (6th ed.). Belmont, CA: Cengage Learning.
- Craft Tip: Clean Up a Stained Cutting Mat | Red-Handled Scissors
- How do I remove adhesive spray from my self healing cutting mat? – Arts & Crafts Stack Exchange
- How to Clean a Cutting Mat – Shiny Happy World
Isabella is a Filipino-American art writer and critic specializing in contemporary painting, blending her Filipino heritage with global art trends. She holds a BFA from California State University, Long Beach, and a Minor in Art History from the University of the Philippines. Isa has experience as a Gallery Assistant, Art Appraisal Specialist, and Social Media Creative for Art & Design.
Removing, Topics


