
How Do You Clean A Paint Sprayer?
Published on: March 22, 2025 | Last Updated: January 7, 2025
Written By: Alisha Winters
A paint sprayer is a special tool that sprays paint onto surfaces. It’s like a magic wand for colors, helping you cover wide areas quickly!
Cleaning your paint sprayer is super important, and I can’t stress this enough! If you don’t clean your paint sprayer properly, you could ruin your next project, and believe me, I’ve faced that frustration before.
In this guide, you’ll discover preparation steps to take before cleaning, the actual cleaning process, tips for different types of sprayers, common issues people face, and fun DIY project ideas. Plus, I’ll throw in some tips on how to thin latex paint for spraying and how to use a Wagner paint sprayer effectively!
Contents
- 1 How Do You Clean a Paint Sprayer?
- 2 What is a Paint Sprayer?
- 3 Preparation Steps Before You Start Cleaning
- 4 Cleaning Steps for a Paint Sprayer
- 5 Different Types Of Paint Sprayers and Their Cleaning Needs
- 6 Factors Affecting the Cleaning Process Of Paint Sprayers
- 7 Common Issues Encountered When Cleaning a Paint Sprayer
- 8 Finishing Touches After Cleaning Your Paint Sprayer
- 9 Tips for Maintaining Your Paint Sprayer After Cleaning
- 10 Understanding Paint Sprayer Components That Need Special Attention
- 11 Understanding the Disassembly Process for Different Paint Sprayers
- 12 Cleaning Frequency Based on Usage and Type of Paint
- 13 Frequently Asked Questions About Cleaning a Paint Sprayer
- 14 Conclusion on Cleaning Paint Sprayers and Maintaining Optimal Performance
- 15 Additional Resources
How Do You Clean a Paint Sprayer?
To clean a paint sprayer, first empty the paint reservoir. Then, flush it with water or solvent according to the paint type. Disassemble parts and soak them if needed. Finally, wipe everything down and reassemble. If you’re working with different paint types, you might want to check compatibility before mixing paints.
What is a Paint Sprayer?
A paint sprayer is a tool that atomizes paint into tiny droplets, allowing for smooth and even application. It typically uses air or hydraulic pressure to shoot the paint, creating a fine mist and providing a finish five times faster than a traditional brush. If you accidentally spill paint during your project, you might want to know how to remove paint from carpet quickly.
Once you’re done spraying, cleaning the paint sprayer is essential for maintaining its performance. In my experience, thorough cleaning can feel like a chore, but taking the time to do it right significantly improves how well the sprayer works next time.
While working on a mural in my studio, this tool was invaluable for covering large areas quickly. After learning how to maintain it properly, including how to clean a paint sprayer, I felt confident it would be ready for my next creative project without any issues.
Preparation Steps Before You Start Cleaning
What do you need to clean a paint sprayer effectively?
- Cleaning solution: Use a cleaner like Krud Kutter or Simple Green to dissolve paint residues efficiently.
- Bucket: Use a 5-gallon (19-liter) bucket to store the cleaning solution and rinse components.
- Brush set: Get a brush set such as the Marley Paint Brush Cleaner to reach tight spaces between parts.
- Protective gloves: Wear nitrile gloves for protection against harsh chemicals.
- Screwdriver: A flat-head screwdriver helps remove stubborn parts during cleaning.
We’ve wrapped up the preparation steps for cleaning your paint sprayer here. Let us turn our attention to the cleaning steps.
Also See: Why Are Paintings Expensive? Secrets Of Art Valuation
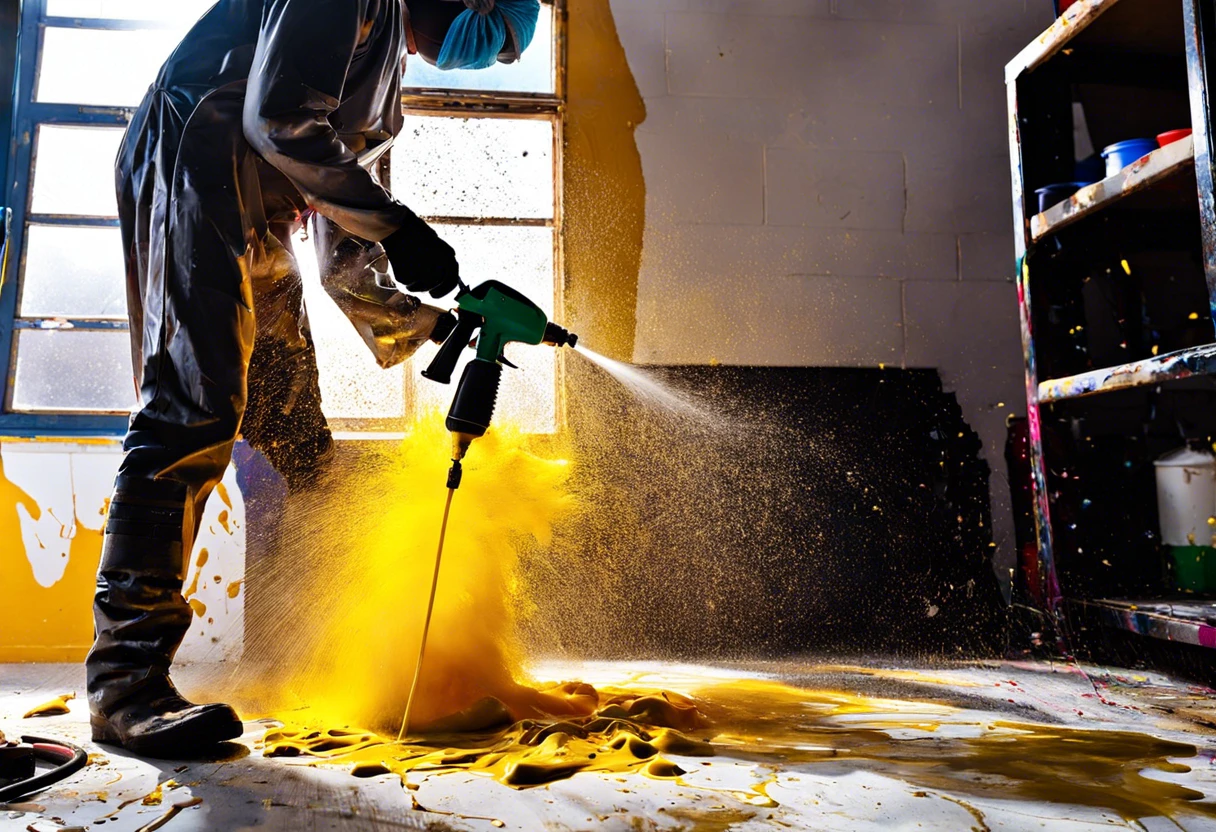
Cleaning Steps for a Paint Sprayer
Here are the steps to effectively clean a paint sprayer.
-
Disassemble the Paint Sprayer
Start by removing the fluid nozzle and tip. For optimal performance, check your model’s manual for disassembly instructions.
Ensure all parts are easily accessible to minimize paint residue in hard-to-reach areas. Take your time with this step!
-
Clean the Spray Gun
Use a soft brush to scrub off excess paint from the spray gun. Soak a cloth in paint thinner (Solvent) and wipe down the body thoroughly to prevent clogs.
Pay attention to all crevices, especially the air cap, to avoid future issues—it’s worth it!
-
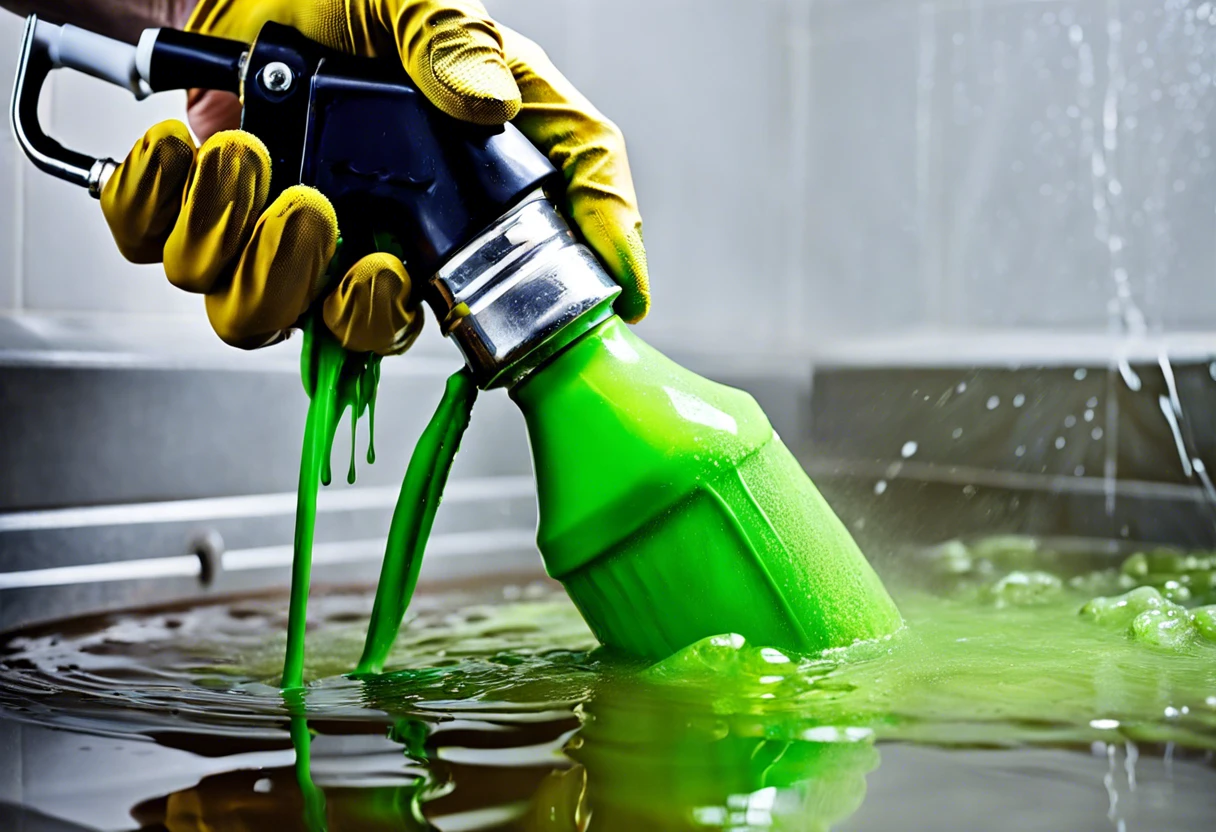
Flush the Paint System
Connect your sprayer to a bucket filled with clean water (For Water-based Paints) or your chosen solvent (For Paint Thinners). Start the machine and flush for about 3 minutes to remove lingering paint residue. Professional painters know that thorough cleaning is crucial, and you might want to explore how body shops match factory paint with precision.
Set the pressure to medium to prevent splatters. Check the stream afterward; it should run clear. If not, repeat until satisfied!
-
Rinse and Dry Components
Rinse each detached piece with clean water or solvent. Soak them for about 5 minutes if necessary.
After rinsing, dry all parts with a lint-free cloth. Proper drying helps maintain the sprayer’s components, especially the seals, which ensure consistent pressure during future use!
So far we covered the cleaning process for paint sprayers. Let’s look at the various types of paint sprayers and their cleaning requirements next.
Different Types Of Paint Sprayers and Their Cleaning Needs
Let’s move on to the types of paint sprayers: airless, HVLP, traditional, and electric.
-
Airless Paint Sprayer
Airless paint sprayers use a high-pressure pump instead of air. Clean by flushing the system with a solvent or water, depending on the paint base.
-
HVLP (High Volume Low Pressure) Sprayer
HVLP sprayers deliver paint at lower pressure, reducing overspray. To clean, run a clean solvent through the nozzle immediately after use to prevent clogs.
-
Traditional Spray Gun
Traditional spray guns use compressed air for an even application. To clean, disassemble the gun, soak the parts in solvent, and rinse thoroughly to remove residue.
-
Electric Paint Sprayer
Electric sprayers are user-friendly and ideal for DIY projects. Clean by running water or solvent through the system to remove all paint from the nozzle and reservoir.
Having faced similar challenges before, I prefer the HVLP sprayer for indoor projects. Its efficiency, low overspray, and easy cleaning make it my go-to choice.
We’ve wrapped up various paint sprayer types and their cleaning requirements here. Let us turn our attention to factors influencing cleaning processes.
Factors Affecting the Cleaning Process Of Paint Sprayers
What factors impact the effectiveness and efficiency of cleaning a paint sprayer?
-
Type of Paint Used: Water-based paints clean more easily than oil-based paints, requiring different solvents.
-
Size of the Sprayer: A larger sprayer may require more time and effort to clean its components.
-
Cleaning Tools: Using the right brush or nozzle cleaning kit can significantly speed up the process.
-
Time Procrastinated: Allowing paint to dry makes cleaning much tougher. Don’t wait!
So far we covered the elements influencing paint sprayer cleaning. Let’s look at common problems faced during this process next.
Common Issues Encountered When Cleaning a Paint Sprayer
My friend once struggled with a clogged nozzle while learning how to clean a paint sprayer. It took longer than expected, and paint was everywhere!
To fix this, he disassembled the sprayer and used a 0.013-inch (0.33 Mm) needle for the nozzle. A quick acetone rinse cleared it up. Thorough cleaning after each use will save you headaches!
Finishing Touches After Cleaning Your Paint Sprayer
After cleaning your paint sprayer, lubricate the pump with a few drops of oil. Replace seals every 50 hours of use; this’ll significantly extend your sprayer’s life.
Inspect small parts closely, such as the nozzle and spray tip. Ensure the Wagner SprayTech tip isn’t clogged; use a fine needle or an air compressor to clear any blockage.
A useful tip: keep a maintenance log with usage hours for your paint sprayer. Regular updates help you know when to replace worn-out parts and optimize performance.
Tips for Maintaining Your Paint Sprayer After Cleaning
Cleaning isn’t enough; you need to maintain your paint sprayer too!
-
Store Properly
Keep your sprayer in a clean, dry place. Avoid extreme temperatures. This’ll help prolong its life!
-
Lubrication
Apply a few drops of oil to the pump regularly. This keeps it running smoothly and helps prevent rust.
-
Inspect Regularly
Check hoses, gaskets, and other parts for wear and tear every few uses. Replace anything that looks damaged.
-
Keep Spare Parts Handy
Invest in a few spare parts, like nozzles and filters. This’ll make quick fixes easier and reduce downtime.
Understanding Paint Sprayer Components That Need Special Attention
Some parts of your sprayer need extra care during cleaning. Here’s a quick rundown:
| Component | Cleaning Method | Recommended Frequency |
|---|---|---|
| Fluid Nozzle | Soak and scrub gently with a brush. | After each use |
| Spray Tip | Run cleaning solution through to clear residue. | After each use |
| Pump Seals | Wipe clean; lubricate with oil. | Every few uses |
| Hoses | Flush with cleaning solution; inspect for cracks. | Weekly or biweekly |
Understanding the Disassembly Process for Different Paint Sprayers
Disassembling your paint sprayer correctly is essential for effective cleaning.
| Type of Paint Sprayer | Disassembly Instructions | Time Required (approx.) |
|---|---|---|
| Airless Paint Sprayer | Remove the spray tip and guard; disconnect the hose. | 5 minutes |
| HVLP Sprayer | Detach the cup and nozzle assembly; remove the turbine unit if applicable. | 3 minutes |
| Traditional Spray Gun | Unscrew the needle cap and remove the needle; detach the fluid cup. | 4 minutes |
| Electric Paint Sprayer | Disconnect the container; unscrew and detach the nozzle assembly. | 6 minutes |
Cleaning Frequency Based on Usage and Type of Paint
Your cleaning frequency should align with how often you use the sprayer and the paint type.
| Usage Level | Type of Paint | Recommended Cleaning Frequency |
|---|---|---|
| Occasional (1-2 times/month) | Water-based | After each use |
| Regular (3-5 times/week) | Oil-based | Immediately after each use |
| Heavy (daily use) | Latex (high pigment) | After every 1-2 hours of continuous use |
Frequently Asked Questions About Cleaning a Paint Sprayer
What is the Best Way to Clean a Paint Sprayer After Use?
Yes, the best way to clean a paint sprayer after use is to flush it with the recommended solvent. Cleaning immediately after use prevents paint residue from hardening and clogging components.
Can I Use Water to Clean My Paint Sprayer?
No, you shouldn’t use water for cleaning all paint sprayers. Water works well for latex paints, but oil-based products require specific solvents to ensure thorough cleaning and avoid damage.
How Often Should I Clean My Paint Sprayer?
You should clean your paint sprayer after each use to maintain its efficiency. This regular cleaning helps ensure a longer lifespan, saving you repair costs, which can reach up to $150 or more. Proper maintenance also involves understanding specific techniques for preserving your equipment’s condition, such as protecting paint tools from environmental damage.
What Happens if I Don’t Clean My Paint Sprayer?
If you don’t clean your paint sprayer, dried paint can block the nozzle and damage the internal parts. Neglected sprayers could require extensive repairs or even replacement, costing upwards of $300. When paint residue accumulates, you’ll want to know the proper techniques for restoring your painting tools.
Do I Need to Disassemble the Paint Sprayer for Cleaning?
Yes, you need to disassemble a paint sprayer for thorough cleaning. Many models have components that trap paint; disassembly allows you to access hard-to-reach areas, ensuring no residue is left behind. If you’re wondering about painting techniques beyond sprayer maintenance, paint sprayer cleaning methods require similar precision.
What Solvent Works Best for Cleaning Different Types Of Paint Sprayers?
The best solvent to clean a paint sprayer depends on the paint type. For water-based paints, use water mixed with soap. For oil-based paints, mineral spirits or a dedicated cleaner is effective in breaking down stubborn residues. When selecting the right cleaning tools, I recommend exploring professional chip paint brushes that can help remove paint residue efficiently.
Can I Store My Paint Sprayer With Leftover Paint in It?
No, you shouldn’t store your paint sprayer with leftover paint. It can dry and clog the system, turning your sprayer into a fragile tool that could incur additional servicing costs later.
Is It Necessary to Rinse the Sprayer After Cleaning?
Yes, rinsing your paint sprayer after cleaning is necessary. This final step ensures that all cleaning agents and residues are removed, which helps to maintain optimal operation and prevents mixing solvents during your next project. If you’re working on specific painting techniques like capturing detailed wildlife subjects, you might want to explore precise painting methods.
What Are the Signs That My Paint Sprayer Needs Cleaning?
Signs that your paint sprayer needs cleaning include poor spray patterns, spitting paint, or decreased pressure. Ignoring these signals can affect your project quality and may require extensive repairs.
Conclusion on Cleaning Paint Sprayers and Maintaining Optimal Performance
You’ve reached the conclusion, and you now possess the essential steps to clean a paint sprayer effectively. We explored the necessary preparation, detailed cleaning procedures, the significance of selecting the right color palette, various paint sprayer types and their specific cleaning requirements, factors influencing the cleaning process, common challenges faced, and the final touches needed post-cleaning.
To ensure your paint sprayer is thoroughly cleaned, remember to flush it with water or the suitable thinner and meticulously follow all steps to eliminate any residue. Should you require further guidance, don’t hesitate to reach out for tips on techniques, tools, and adjustments.
For further insights into effective cleaning techniques, visit Paint Answers.
Additional Resources
- Smith, R. (2003). The Artist’s Handbook of Materials and Techniques (5th ed.). New York, NY: Knopf.
- How to Clean Your Airless Paint Sprayer | ozito.co.nz
- r/paint on Reddit: Cleaning paint sprayers
- How To Clean Your Sprayer Using Power Flush – YouTube
Experienced interior designer with 15+ years in transforming spaces, blending artistry with expertise in color and design. Rhode Island School of Design graduate, specializing in restorations and modern makeovers.
Cleaning, Topics


