
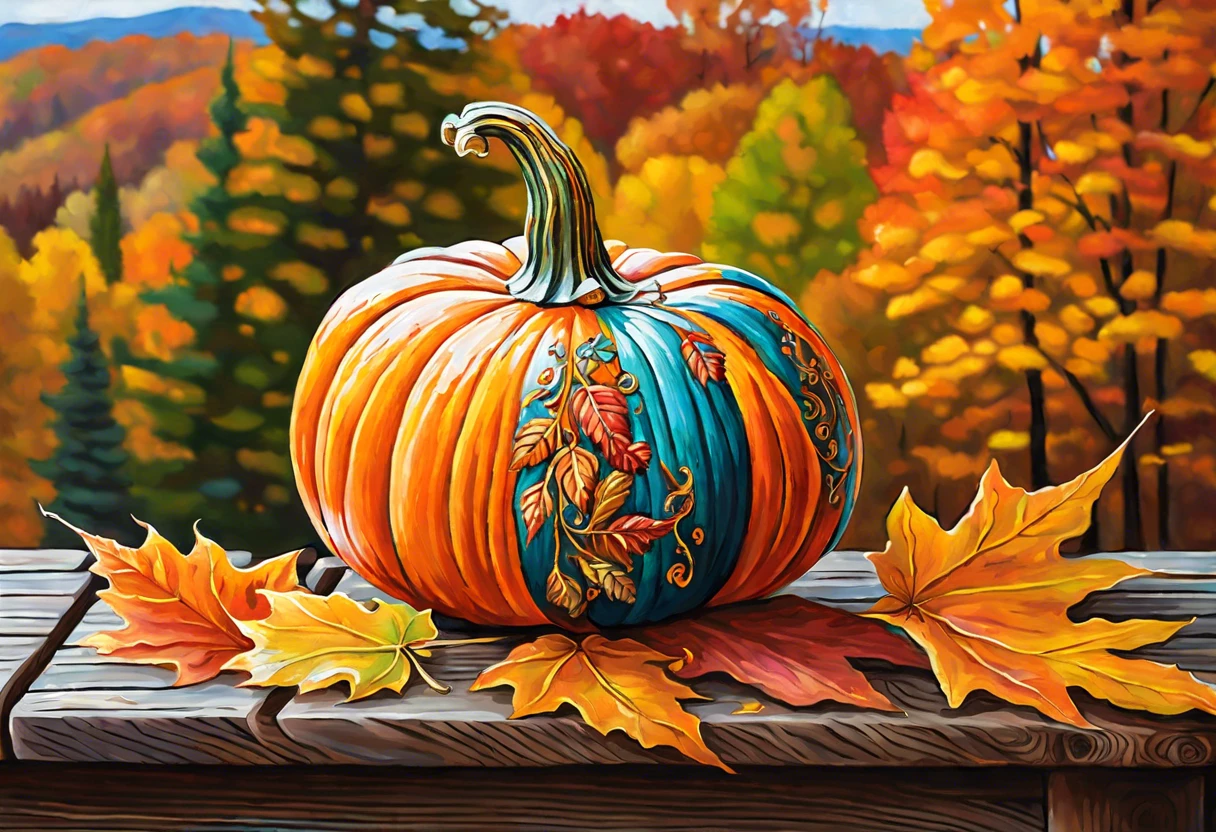
Can You Use Acrylic Paint on a Pumpkin?
Published on: April 4, 2025 | Last Updated: January 7, 2025
Written By: Alisha Winters
A pumpkin is a round orange fruit with a hard shell and seeds inside. It’s like Halloween’s best friend, perfect for carving and decorating!
So, can you use acrylic paint on a pumpkin? It’s important ’cause painting can make your pumpkin shine and show your creativity. When I tried it, I loved how bright and colorful my pumpkins looked, and it really brought some fun to my fall decor.
In this article, we’ll dive into techniques for painting pumpkins, tips and tricks for choosing the right paint, common issues you may face, and creative DIY project ideas. I’ll also share what paint you use for pumpkins, steps to get started, and what to paint on your pumpkin.
Contents
- 1 Can You Use Acrylic Paint on a Pumpkin?
- 2 What is a Pumpkin?
- 3 Before You Start Painting Your Pumpkin
- 4 Steps to Successfully Paint a Pumpkin With Acrylic Paint
- 5 Recommended Color Palette for Painting Pumpkins
- 6 Types Of Acrylic Paint Suitable for Pumpkins
- 7 Factors Affecting Acrylic Paint Application on Pumpkins
- 8 Common Issues When Using Acrylic Paint on Pumpkins
- 9 Finishing Touches for Your Painted Pumpkin
- 10 Creative DIY Project Ideas for Painted Pumpkins
- 11 Different Painting Styles for Pumpkins
- 12 Time Management Tips for Painting Pumpkins
- 13 Creative Techniques for Painting Pumpkins with Acrylics
- 14 Best Practices for Maintaining Painted Pumpkins
- 15 Frequently Asked Questions (FAQs)
- 16 Conclusion
- 17 Useful Resources
Can You Use Acrylic Paint on a Pumpkin?
Sure, you can use acrylic paint on a pumpkin! It dries quickly and offers vibrant colors. Just remember to seal it afterward, as acrylic can peel when exposed to moisture. Happy pumpkin painting! If you’re curious about painting other materials, check out how to paint ABS plastic.
What is a Pumpkin?
A pumpkin is a type of winter squash from the species Cucurbita pepo. Typically round and ranging from 15 cm to 50 cm (6 Inches to 20 Inches) in diameter, pumpkins can weigh between 1 kg and 12 kg (2 Lbs and 26 Lbs) or more!
You might wonder, can you use acrylic paint on a pumpkin? One Halloween, I let my kids paint their pumpkins with bright acrylics. Watching them express their creativity was everything.
I often use acrylic paint for my job, especially for crafting decorations. It’s essential to choose the right paint for pumpkins—like water-based acrylics. These dry quickly and don’t fade easily outdoors, making them a great choice for your artistic pumpkin makeover! In examining historical art techniques, one might wonder what the 1950 cave painting was called as it reflects the evolution of paint use across the ages.
Before You Start Painting Your Pumpkin
What do you need to get started?
- Pumpkin: Choose a medium-sized pumpkin, like a 5-8 lb (2.3-3.6 Kg) variety. A sturdy pumpkin holds paint better.
- Acrylic Paint: Select vibrant colors from brands like Arteza or Apple Barrel. Acrylic paint sticks well to pumpkin surfaces.
- Paint Brushes: Get a set, such as Royal Langnickel detail brushes. They’re essential for fine details.
- Palette or Paper Plate: Use this for mixing colors, like a disposable palette. It’s crucial for blending shades for smoother application.
- Water and Cloth: Keep these handy for cleaning brushes. Clean brushes prevent color contamination for precise designs.
We’ve wrapped up the preparations for painting pumpkins. Let us turn our attention to the steps for successfully painting a pumpkin with acrylic paint.
Also See: Can You Use Watercolor Paint on Canvas? Tips for Use
Steps to Successfully Paint a Pumpkin With Acrylic Paint
Here are the steps to bring your pumpkin art to life using acrylic paint.
-
Select the Right Pumpkin
Choose a firm, healthy pumpkin, ideally about 2 kg (4.4 Lbs) for easy handling. Look for one with a smooth surface to showcase your skills.
I often pick a medium-sized pumpkin; it’s easier to manage while painting. A visually appealing shape enhances your final design.
-
Prepare the Pumpkin’s Surface
Rinse the pumpkin under warm water to remove dirt and dust. Dry it well; moisture affects paint adhesion.
If the skin is shiny, lightly sand it with fine-grit sandpaper ⚡ Best Pick: Assorted Grit Sandpaper → . A rougher surface helps the paint grip better.
-
Apply a Base Coat
Choose a base coat color that complements your design and apply an even layer. Use a sponge brush for a smoother finish, covering the whole pumpkin in one go.
Letting the first layer dry properly makes layering easier. Aim for a base coat thickness of about 1 mm (0.04 In) for solid coverage.
-
Add Designs and Details
Once the base coat is dry, visualize your design or sketch it lightly with a pencil. Different brushes create various effects; try fan brushes for leaves or detail brushes for intricate patterns. You can explore the possibilities of using acrylic paint on various painting mediums and surfaces.
Bold colors stand out beautifully on a pumpkin’s surface. Blend colors for unique effects—try yellow with a touch of red for sunset shades!
-
Let It Dry Completely
After adding all the designs, place your pumpkin in a dry, ventilated area. Drying can take 30 minutes to several hours, depending on paint thickness and humidity.
It’s worth the wait to avoid smudging when handling the finished pumpkin. Once dry, enjoy your creative masterpiece!
We have now covered the steps for painting a pumpkin with acrylic paint. Next, we will discuss a recommended color palette.
Recommended Color Palette for Painting Pumpkins
For painting pumpkins, I recommend the “Warm Autumn” palette, which features rich, earthy tones that reflect the beauty of the season.
| Color Box | Hex Code | Color Name |
|---|---|---|
| #D36E3D | Burnt Orange | |
| #3B5B29 | Deep Green | |
| #F4AD4C | Sunshine Yellow | |
| #46236E | Purple Plum |
We covered the suggested color palette for painting pumpkins. We will now cover the types of acrylic paint suitable for pumpkins.
Types Of Acrylic Paint Suitable for Pumpkins
Let’s explore the types of acrylic paint you can use for pumpkins: Matte, Gloss, Metallic, and Fluorescent.
-
Matte Acrylic Paint
Matte acrylic paint offers a non-reflective finish that looks great on pumpkins. It dries quickly, usually within 30 minutes, and has a soft texture that’s easy to apply.
-
Gloss Acrylic Paint
Gloss acrylic paint gives your pumpkin a shiny, vibrant finish. It dries relatively fast, taking about 1 hour, and creates a slick surface that catches the eye.
-
Metallic Acrylic Paint
Metallic acrylic paint adds a dazzling touch with its sheen. It’s often used for stunning designs and typically dries in 30-45 minutes, enhancing visual appeal.
-
Fluorescent Acrylic Paint
Fluorescent acrylic paint glows under black light, making it perfect for spooky decorations. It dries quickly, usually within 30 minutes, which is fun for Halloween or vibrant designs.
I’d like to share what’s worked for me: matte acrylic paint really shines on pumpkins. Its smooth application and non-glossy finish create beautiful details that stand out.
We’ve wrapped up the different types of acrylic paint suitable for pumpkins here. Let us turn our attention to factors influencing paint application.
Factors Affecting Acrylic Paint Application on Pumpkins
So, what factors influence the effective use of acrylic paint on a pumpkin?
-
Surface Texture: A rough surface helps the paint adhere better than a smooth one.
-
Type of Acrylic Paint: Not all acrylic paints are the same; choose those designed for outdoor use for better durability.
-
Pumpkin Condition: Fresh pumpkins versus dried ones can affect how well the paint sticks and lasts.
-
Temperature & Humidity: Ideal painting conditions are around 20-25°C (68-77°F) with low humidity for faster drying.
Common Issues When Using Acrylic Paint on Pumpkins
Once, my friend tried using acrylic paint on her Halloween pumpkin. She noticed the paint didn’t stick well and peeled off, making it look messy!
To fix this, she applied a primer first. A water-based spray primer works wonders. It helps the acrylic adhere and prevents chips. Always let it dry for about 30 minutes too!
Finishing Touches for Your Painted Pumpkin
Once you’ve confirmed that you can use acrylic paint on a pumpkin, allow 24 hours for the paint to cure completely. Maintain a temperature between 18°C and 25°C (65°F and 77°F) for the best results.
If you’re curious about how different brands handle color matching, you can explore whether Behr can match Sherwin-Williams.
Inspect your painted pumpkin for areas needing touch-ups. Pay close attention to the edges where the paint meets the skin. Use a fine-tip brush, such as the Winsor & Newton Cotman series, for detailed work.
If you’re worried about acrylic paint stains on your clothes, it’s worth discovering how acrylic paint washes off.
An insider tip: Apply a clear acrylic sealer, like Mod Podge, to enhance durability. This will help preserve vibrant colors and prevent premature fading.
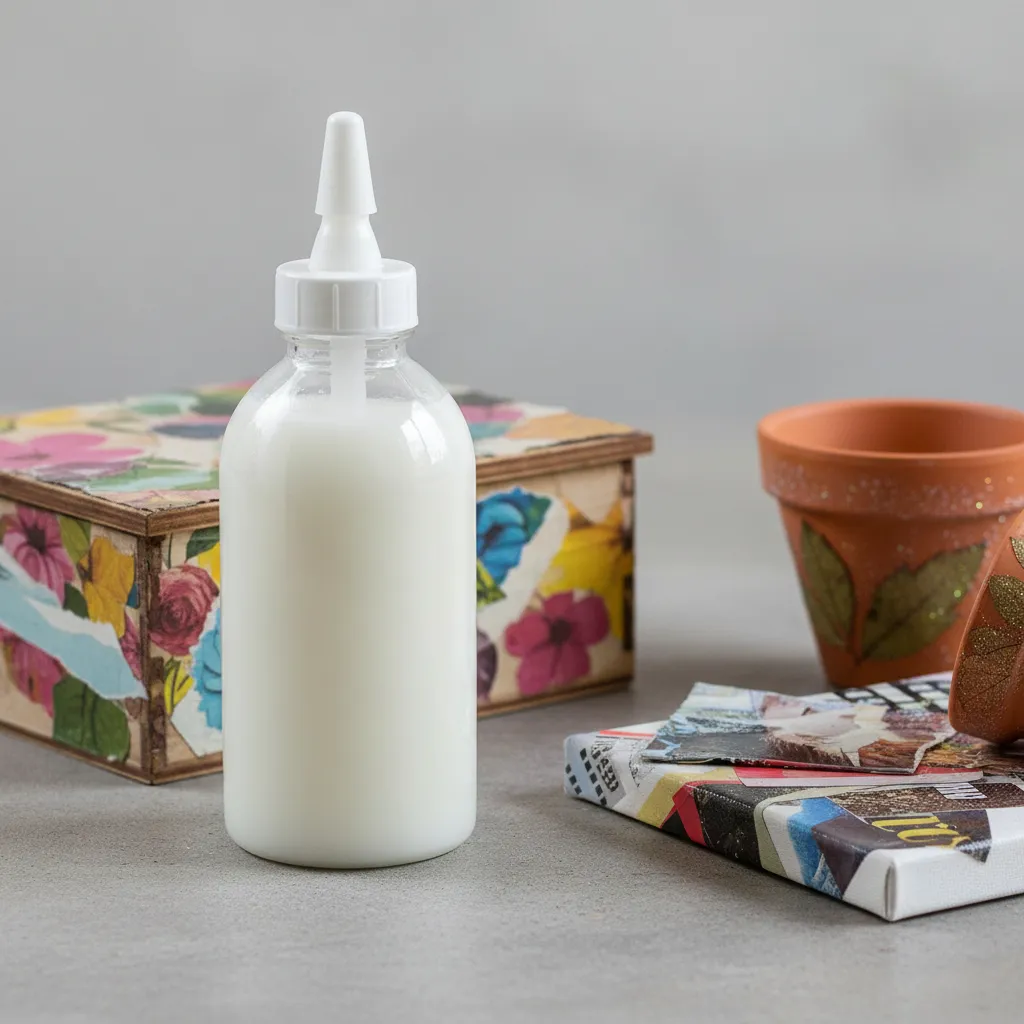
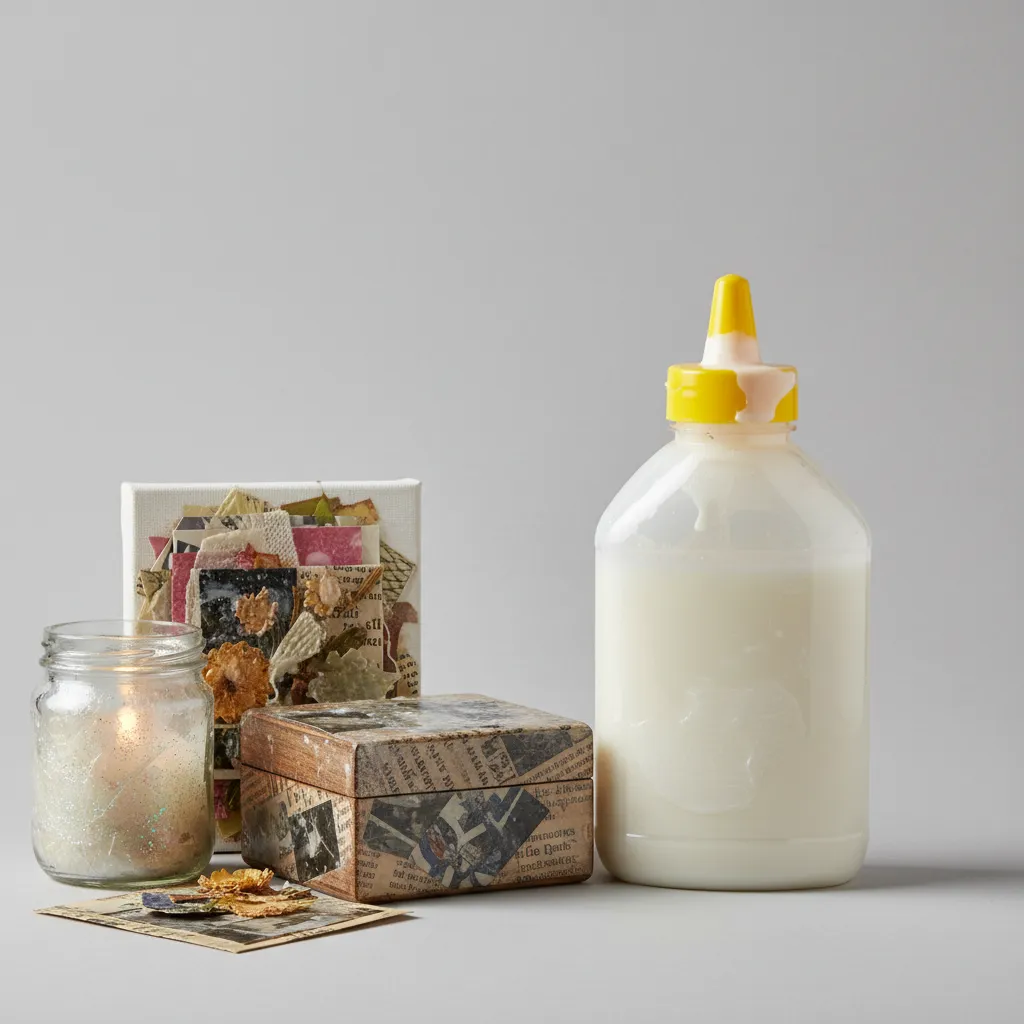

Creative DIY Project Ideas for Painted Pumpkins
Let’s think outside the box! How about decoupage pumpkins with your favorite fabrics or pictures? Or try a celestial theme, painting galaxies and stars on them!
For these projects, you’ll need acrylic paint, brushes, glue, and your fabric scraps. I’ve spent around $15-30 USD for materials, and you can knock these out in just a few hours.
Now, let’s tackle the question: can you use acrylic paint on a pumpkin? Absolutely! But if you want a unique twist, consider using a sponge to dab on the paint for a textured look. You can also mix in some clear glue for a glossy finish. For a different kind of painting challenge, you might wonder how to paint behind a radiator.
Different Painting Styles for Pumpkins
Choosing a painting style can enhance your pumpkin’s appeal. Let’s explore some popular styles!
-
Realistic Painting
This technique mimics the natural colors and textures of a pumpkin. Use shades of orange, green, and brown to create depth.
-
Whimsical Designs
Let your imagination run wild! Incorporate fun patterns, like polka dots or stripes, using bright colors to create a cheerful look.
-
Nature-Inspired Themes
Think leaves, vines, or critters! Brush on earthy tones with some glitter for a magical touch reminiscent of autumn!
Time Management Tips for Painting Pumpkins
Time is everything when it comes to crafting. Here’s how to manage it!
- Plan Your Design: Spend about 15-30 minutes sketching out your design before painting.
- Layering Paint: Allow adequate drying time between layers. Give at least 30 minutes before applying the next layer.
- Cleanup: Set aside 10-15 minutes post-project to clean up your workspace and materials.
Creative Techniques for Painting Pumpkins with Acrylics
Want to spice up your pumpkin painting? Here are some innovative techniques that can elevate your designs!
-
Sponging Technique
Use a damp sponge to apply acrylic paint. This creates a textured, dreamy effect. Mix colors for unique blends!
-
Splatter Method
Feel artsy? Use an old toothbrush for a splatter effect. Dip it in paint and flick it onto the pumpkin for a fun, chaotic look!
-
Ombre Effect
Blend colors from light to dark. Apply lighter colors first and gradually add darker hues. It gives your pumpkin a stunning gradient!
-
Stencil Designs
Use stencils for crisp letters or shapes. Place the stencil, secure it with tape, and paint over it. Remove for neat results!
Best Practices for Maintaining Painted Pumpkins
Keep your pumpkin looking fresh with these simple care tips!
| Action | Frequency | Details |
|---|---|---|
| Inspect for Damage | Every Few Days | Check for peeling or chipping paint, and make touch-ups as needed! |
| Keep in Cool, Dry Place | Daily | Avoid heat and moisture to prolong pumpkin life. |
| Apply Sealer | One-Time After Drying | A clear acrylic sealer protects the paint and enhances shine. |
| Clean with Damp Cloth | As Needed | Dust can dull the colors. Wipe gently with a damp cloth to restore vibrancy. |
Also See: Can You Use Pouring Paint As Regular Paint?
Frequently Asked Questions (FAQs)
What Paint Should You Use for Pumpkins?
The best paint to use for pumpkins is acrylic paint. Acrylics offer vibrant colors and are versatile for indoor and outdoor displays.
Is It Safe to Eat the Pumpkin After Painting?
No, it’s not safe to eat the pumpkin after painting. Even non-toxic paints may not be food safe, as they can contain harmful chemicals.
Can I Use Other Types Of Paint on Pumpkins?
Yes, you can use other types of paint on pumpkins. Spray paint and tempera paint are also popular choices for decorating pumpkins.
What Should I Do if My Paint Starts to Peel?
If your paint starts to peel, gently sand the area before repainting. This helps create a smooth surface for better adhesion.
How Long Can a Painted Pumpkin Last?
A painted pumpkin can last up to two weeks if kept in cool, dry conditions. Heat and moisture drastically reduce its lifespan.
Conclusion
We covered acrylic paint techniques on pumpkins, different types of paint, essential steps, color palettes, factors affecting application, common issues, finishing touches, and even DIY project ideas.
So, can you use acrylic paint on a pumpkin? Yes, just pick the right acrylic type, prep well, and you’ll achieve great results. If you need additional advice, I’m here to help with anything related to painting pumpkins or exploring more creative ideas.
For further inspiration and guidance, visit Paint Answers.
Useful Resources
- Smith, R. (2003). The Artist’s Handbook of Materials and Techniques (5th ed.). New York, NY: Knopf.
- Painting Pumpkins With Acrylic Paints – MomAdvice
- How to paint a pumpkin – a step-by-step guide for the perfect paint finish
- acrylic paint – How can I prep a pumpkin for painting? – Arts & Crafts Stack Exchange
Experienced interior designer with 15+ years in transforming spaces, blending artistry with expertise in color and design. Rhode Island School of Design graduate, specializing in restorations and modern makeovers.
Acrylic, Medium


