
What Do You Need to Start Oil Painting?
Oil painting is a way of making pictures using special colors that are thick and shiny. Imagine squeezing out rainbow-colored goo to create beautiful scenes!
So, what do you need to start oil painting? It’s super important to have the right tools because they help you make your art look just the way you want. I remember when I first started, I had a jumble of brushes and paints, and it was hard to figure out what worked best!
In this guide, you’ll learn about the basics of oil painting, how to prepare for your journey, essential steps to begin, finding the right colors, and tips on common problems. I’ll also share DIY project ideas and answer frequently asked questions about how to get started painting.
Contents
- 1 What Do You Need to Start Oil Painting?
- 2 What is Oil Painting?
- 3 Preparing for Your Oil Painting Journey
- 4 Essential Steps to Start Oil Painting
- 5 Building Your Oil Painting Kit
- 6 How to Choose the Right Canvas
- 7 Understanding Color Theory for Oil Painting
- 8 Recommended Color Palette for Beginners in Oil Painting
- 9 Understanding Oil Painting Mediums
- 10 Finding Your Style in Oil Painting
- 11 Types Of Oil Paints You Can Use
- 12 Common Issues When Starting Oil Painting
- 13 Finishing Touches to Enhance Your Oil Painting
- 14 Frequently Asked Questions About Starting Oil Painting
- 15 Conclusion
- 16 Additional Resources
What Do You Need to Start Oil Painting?
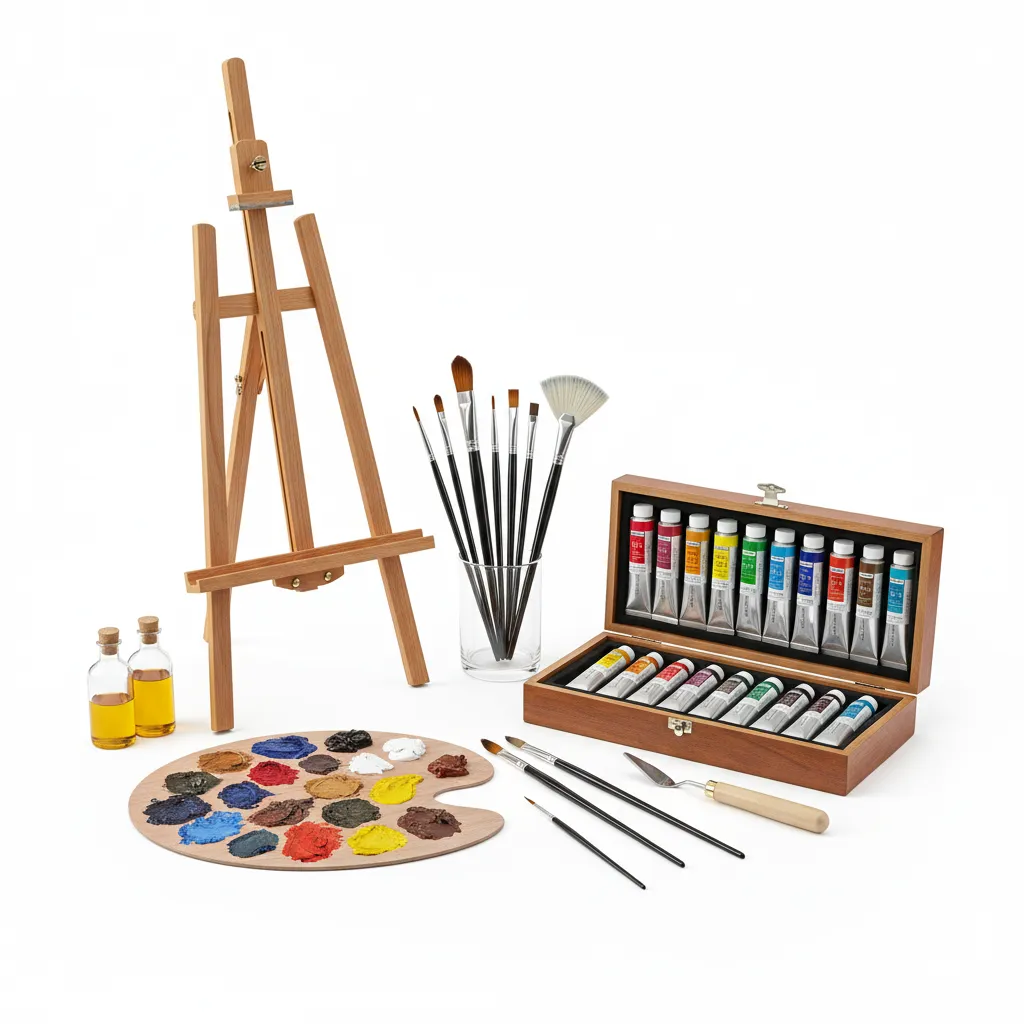
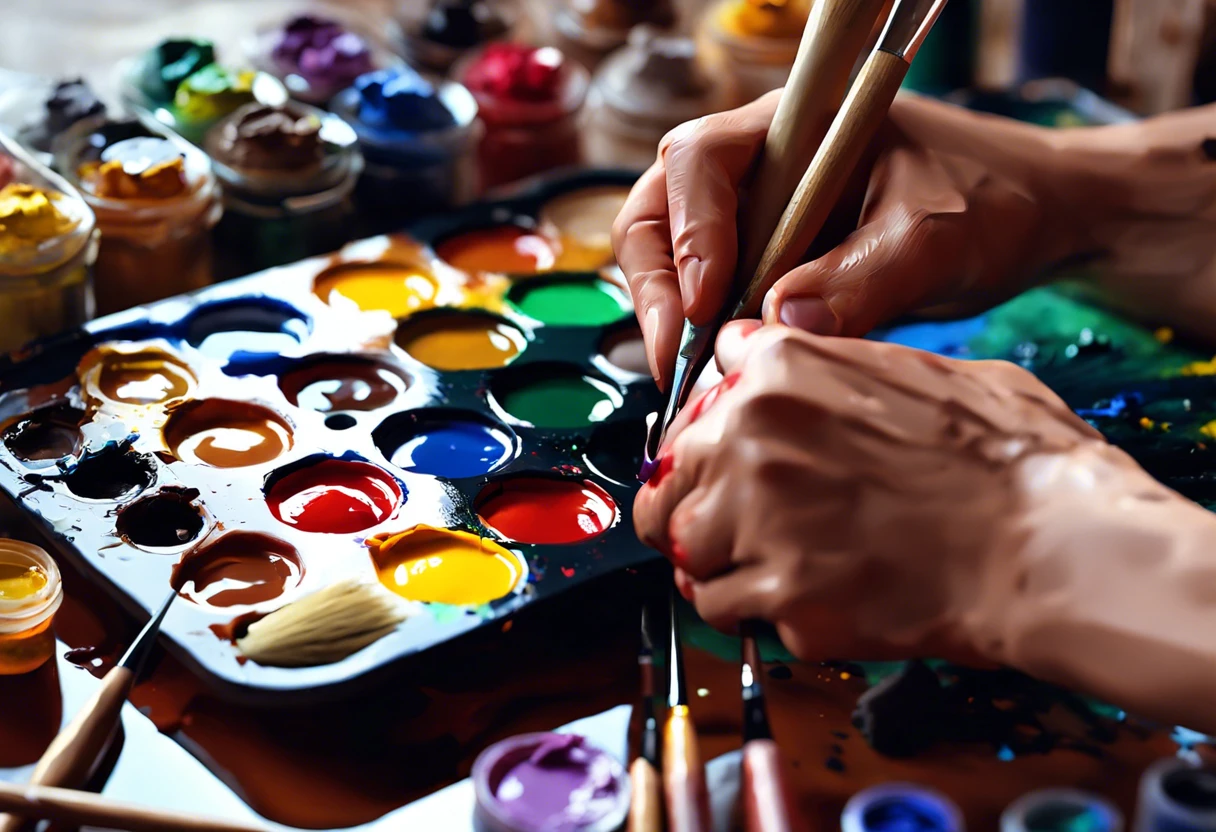
To start oil painting, you need basic supplies: oil paints, brushes, a palette, canvas, and mineral spirits for cleaning. A sturdy easel helps too! Don’t forget paper towels for messes—trust me, they come in handy.
Interestingly, enthusiasts often explore if they can put acrylic paint in the oven for certain effects. For more details on oven-safe painting methods, delve further.
What is Oil Painting?
Oil painting uses pigments mixed with drying oils, such as linseed or poppy oil. This technique dates back to the 15th century, enabling artists to create rich textures and vibrant colors.
To start oil painting, you’ll need essential materials like oil paints, brushes, and canvases. I remember when I began oil painting—I gathered a few tubes of paint and some inexpensive brushes to get started.
Once you have your basic supplies, you might find yourself branching into other creative projects. If you’re interested in modifying other objects, you can explore how to paint an airsoft gun.
I’ve seen a friend use it for stunning landscapes that made the colors pop. She’d tell me how key elements, like high-quality brushes and palette knives, can make all the difference when diving into oil painting techniques. Before starting to paint in your own space, it’s essential to know if you can paint your apartment.
Preparing for Your Oil Painting Journey
What do you need to start oil painting?
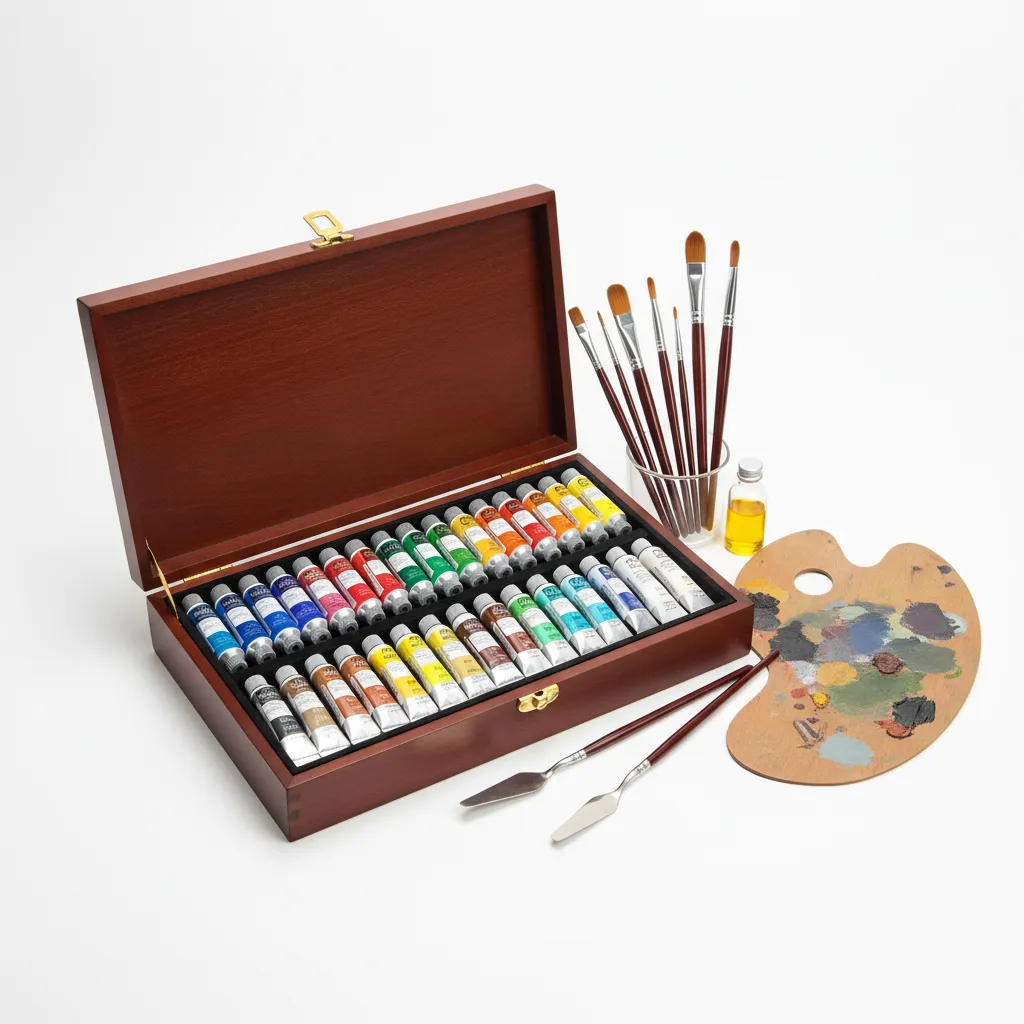
- Oil paints: You’ll need quality oil paints, like Winsor & Newton Artist Oil Colour. They offer rich pigments and smooth blending, crucial for vibrant artwork.
- Brushes: Get a variety of brushes, such as the Princeton Velvetouch Series 3950. Different shapes (Round, Flat) and sizes help you create detailed and broad strokes.
- Palette: A sturdy wooden palette (Like the Robert Simmons Palette) is essential. It provides space to mix your paints without ruining your setup.
- Canvas: Use canvas boards or stretched canvases, such as Fredrix Stretched Canvas, 24”x30” (61×76 Cm). A solid surface is vital for an ideal painting experience.
- Solvent: For cleaning brushes, use a solvent like Gamblin Odorless Mineral Spirits. This keeps your tools in top shape between paintings.
We covered the essentials for starting your oil painting journey. We will now cover key steps to begin oil painting.
Also See: Can You Paint on Top Of Acrylic Nails?
Essential Steps to Start Oil Painting
Here are essential steps to begin oil painting. Follow these closely to elevate your skills and enjoyment of this beautiful art form.
-
Select Your Paints
Choose high-quality oil paints for vibrant results. Look for brands like Winsor & Newton or Gamblin that offer rich pigmentation in small tubes, typically around 37 mL (1.25 Fl Oz).
Investing in a starter set with primary colors, whites, and a few earth tones is worthwhile. Start with 6-12 tubes to explore as you grow.
-
Pick Brushes Wisely
Select brushes suited for oil painting, like hog bristle or synthetic options. A small set with varying sizes, like #6 and #12, works well for details and broader strokes.
These brushes help achieve different effects. Rotate your brushes; it shows various techniques beautifully when you mix colors directly on your canvas!
-
Prepare Your Canvas
Stretch your canvas or purchase pre-stretched ones. Most artists use sizes 16” x 20” (40.6 Cm X 50.8 Cm) or larger to experiment comfortably with layouts.
A well-prepared canvas saves you time—paint adheres better and shows true colors!
-
Master Basic Techniques
Learn foundational skills like blending, glazing, and scumbling. Practice with paint thinned down with linseed oil or turpentine for a smoother finish.
Using techniques like layering adds depth to your art. Find online tutorials and dedicate afternoons to these fundamentals to really improve!
-
Experiment With Color Mixing
Start mixing colors on a palette—no need to panic! Basic knowledge will help you blend greens, grays, and maroons in minutes. Remember the color wheel: blue and yellow make green.
Experimentation leads to creativity. With practice, you’ll create unique tones and beautiful shades you can proudly call your own artistic style!
We’ve wrapped up essential steps for starting oil painting here. Let us turn our attention to assembling your oil painting kit.
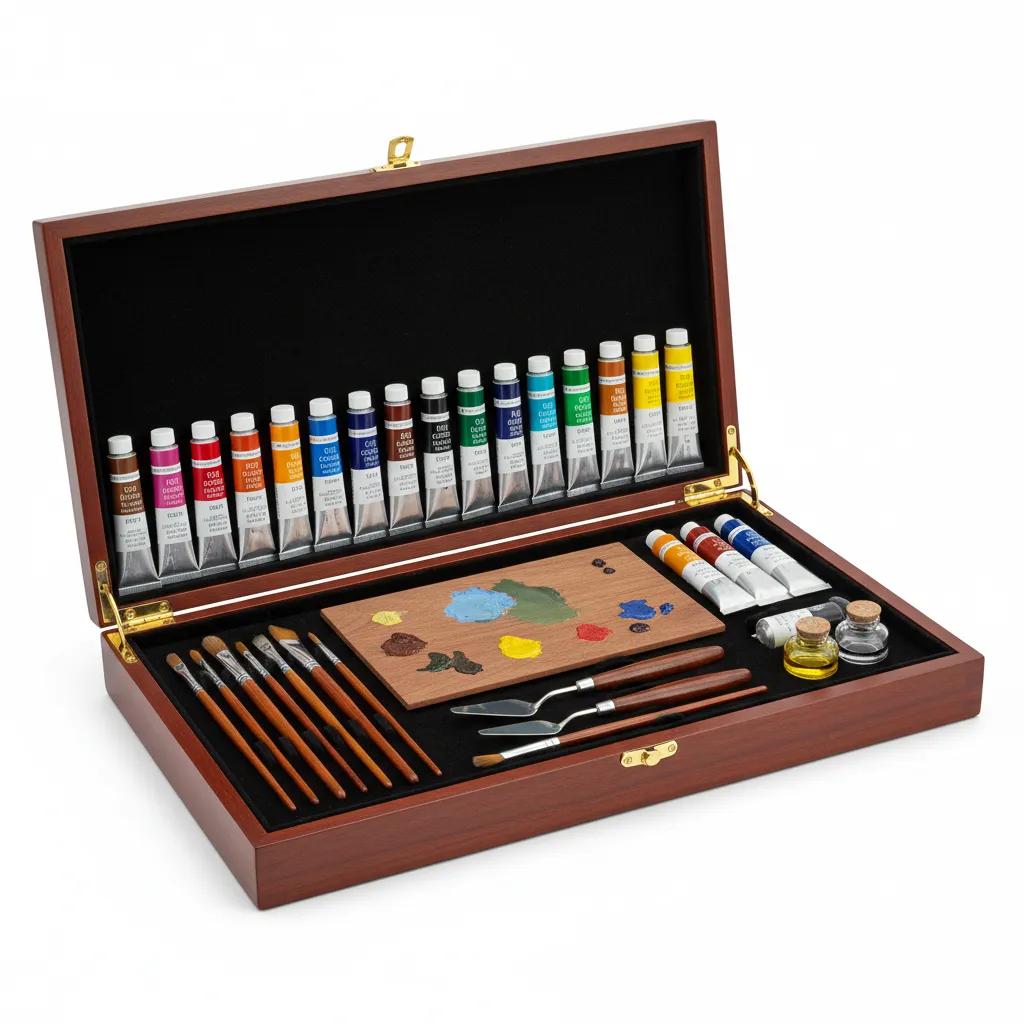
Building Your Oil Painting Kit
Creating a well-rounded oil painting kit is essential for beginners. Here’s a checklist to ensure you have everything needed for your artistic adventure!
- Storage Solutions: A tote or box for organizing your paints, brushes, and other supplies can save time and keep you tidy.
- Brush Cleaner: Invest in a brush cleaner solution. A product like The Masters Brush Cleaner and Preserver keeps your brushes in top shape.
- Palette Knives: These aren’t just for mixing! They’re perfect for applying paint and creating texture, adding depth to your artwork.
- Reference Material: Book or online resources for techniques and inspiration can be game-changers for your growth.
That covers assembling your oil painting kit essentials. Let’s now take a look at selecting the ideal canvas.
How to Choose the Right Canvas
Getting the right canvas makes a difference in your oil painting experience. Here’s a breakdown to help you choose wisely.
| Canvas Type | Common Size (inches) | Material | Best for |
|---|---|---|---|
| Stretched Canvas | 16 x 20 | Cotton or Linen | All skill levels |
| Canvas Board | 11 x 14 | Cotton Board | Beginners & studies |
| Hardboard Panel | 24 x 36 | Wood | Advanced techniques |
| Canvas Rolls | Varies | Cotton | Custom projects |
We have now covered selecting the appropriate canvas for your artwork. The next section will delve into the principles of color theory.
Understanding Color Theory for Oil Painting
Diving into color theory can elevate your oil paintings. Here’s a brief overview to get you started!
- Primary Colors: Red, blue, and yellow are the building blocks of all colors. Mix these to create secondary colors.
- Color Wheel: Visualize how colors interact. Complementary colors (opposite each other) enhance each other’s brightness.
- Warm vs. Cool Colors: Warm colors (reds, oranges) evoke energy, while cool colors (blues, greens) create calm. Use these to set the mood of your artwork!
Recommended Color Palette for Beginners in Oil Painting
For beginners venturing into oil painting, I recommend a “Serene Oasis” color palette; it’s calming and easy to work with, showcasing harmony in nature’s tones.
| Color Box | Hex Code | Color Name |
|---|---|---|
| #3FAE9E | Seafoam Green | |
| #D7EBE7 | Soft Aqua | |
| #F4F9F9 | Whisper White | |
| #D1C97D | Sandy Beige | |
| #EAB3AB | Dusty Coral |
Understanding Oil Painting Mediums
Different oil painting mediums can enhance your art experience. Here’s what you should know!
-
Linseed Oil
A traditional binding agent, linseed oil slows down drying time and improves gloss. It’s perfect for glazing and adding depth to colors.
-
Safflower Oil
This oil dries slower than linseed but remains pale, making it great for white and bright colors. It helps prevent yellowing over time!
-
Walnut Oil
Walnut oil is slow-drying and doesn’t yellow. It offers a rich texture, making it ideal for creating smooth finishes.
-
Mediums for Thinning
Mediums like Galkyd or Liquin speed up drying time and are fantastic for thin washes and quick-drying techniques.
Finding Your Style in Oil Painting
Developing your unique style can be fun and exciting! Here are some tips to help you discover it.
-
Experiment with Techniques
Try blending, glazing, and impasto. Each method offers different textures to your piece. Don’t hesitate to mix them!
-
Study the Masters
Look at famous oil painters like Van Gogh or Monet. Analyze their color choices and brushwork. What resonates with you?
-
Create Mood Boards
Gather images and colors that inspire you. A mood board helps you visualize your style and themes before starting a project.
-
Seek Feedback
Share your work with fellow artists or friends. Constructive criticism can guide you on your artistic path.
Types Of Oil Paints You Can Use
Let’s look at the types of oils: Ferrous, Generic, Specialty, and Alkyd.
-
Ferrous Oil Paints
These paints contain iron-based pigments, which are durable and often have warm hues. They mix well with other oils and are great for startup artists focusing on vibrancy.
-
Generic Oil Paints
These standard-quality paints are made from various pigments and oils, making them perfect for beginners. They’re often cheaper, making them accessible while figuring out what you need to start oil painting. If you’re curious about extending your creativity to fabric, explore how acrylic paint can be used on fabric.
-
Specialty Oil Paints
These include water-miscible and slow-drying paints, offering options for different techniques. Specialty types expand your methods, especially if you want diverse textures in your work.
-
Alkyd Oil Paints
These fast-drying oils contain synthetic resin, reducing your wait time between layers. They’re perfect when you’re eager to progress on your pieces without long delays.
In my professional journey, I’ve found that alkyd paints are game-changers for productivity. Their rapid dry time keeps my creativity flowing without frustrating pauses.
Common Issues When Starting Oil Painting
When my friend wanted to start oil painting, he struggled with the oil medium’s drying time. It’d go from wet to tacky before he finished blending colors!
To fix this, use a faster-drying medium like Liquin. It improves drying time from weeks to days—allowing you to layer your work more efficiently.
Finishing Touches to Enhance Your Oil Painting
After your initial oil painting, let your artwork dry for at least 6 months. Consider flattening the canvas with weights to prevent warping.
Inspect your work using natural light, and check for areas needing touch-ups with Winsor & Newton Liquid Oil Painting Medium. I found this crucial for achieving luster!
If you’re experienced, like me, consistently thin your final layers with a medium like linseed oil (Or a Synthetic Option) to promote fluid blending in fine art techniques.
Frequently Asked Questions About Starting Oil Painting
What Supplies Do I Need to Start Oil Painting?
To start oil painting, you’ll need brushes, paints, a palette, and a canvas. These supplies can cost you as little as $50 (USD) but can go up depending on quality.
How Do I Choose the Right Brushes for Oil Painting?
Choosing the right brushes for oil painting is crucial for your technique. Select brushes made from natural hair for finer details and synthetic brushes for broader strokes. They’ll enhance your painting experience immensely. To delve into the creativity and innovation in painting techniques, explore who painted the gravity-defying stairs.
Can Beginners Use Oil Paints Right Away?
Yes, beginners can use oil paints right away. They’re versatile and forgiving. Be careful, as oil paints can take a long time to dry—sometimes days to weeks!
What is the Best Canvas for Oil Painting?
The best canvas for oil painting is pre-stretched and primed canvas. It allows better adhesion of paint and improves durability, costing around $15 (USD) for a good quality piece.
How Do I Clean Oil Paint Brushes?
To clean oil paint brushes, use solvents likelinseed oil or turpentine. These options effectively remove paint and extend the life of your brushes, saving you money in the long run!
How Can I Improve My Oil Painting Skills?
You can improve your oil painting skills by practicing regularly. Try completing a painting every week. Consistency helps build muscle memory and enhances your technique!
What Are the Common Mistakes in Oil Painting?
Common mistakes in oil painting include not layering properly and overworking the paint. Avoid these errors by being patient and allowing each layer to dry before adding more.
How Long Does It Take for Oil Paint to Dry?
Oil paint typically takes several days to weeks to dry completely. Drying times can vary based on thickness and the chosen medium, so keep an eye on your artwork!
Is Ventilation Important When Oil Painting?
Absolutely, good ventilation is very important when oil painting. The solvents in many oil paints and mediums can be harmful, so always work in a well-ventilated space.
Also See: How Much Are Bob Ross Paintings? Learn Their Value!
Conclusion
I hope this was worth your while. We covered essential painting mediums and tools like oil paints, brushes, canvas, a palette, and mediums, along with communicating important aspects like preparing your workspace and selecting a beginner-friendly color palette.
So, what do you need to start oil painting? Just grab paints, brushes, a canvas, and some medium, and get to creating. You’ve got everything needed to dive into your new artistic journey.
For further expert insights and tips to elevate your painting skills, visit Paint Answers.
Additional Resources
- Smith, R. (2003). The Artist’s Handbook of Materials and Techniques (5th ed.). New York, NY: Knopf.
- Oil painting supplies for beginners [artist recommended] – Irene Duma Teaches Art
- 5 Essential Oil Painting Supplies For Beginners
- Could I start oil painting without any painting experience at all? – Quora
Isabella is a Filipino-American art writer and critic specializing in contemporary painting, blending her Filipino heritage with global art trends. She holds a BFA from California State University, Long Beach, and a Minor in Art History from the University of the Philippines. Isa has experience as a Gallery Assistant, Art Appraisal Specialist, and Social Media Creative for Art & Design.
Medium, Oil


