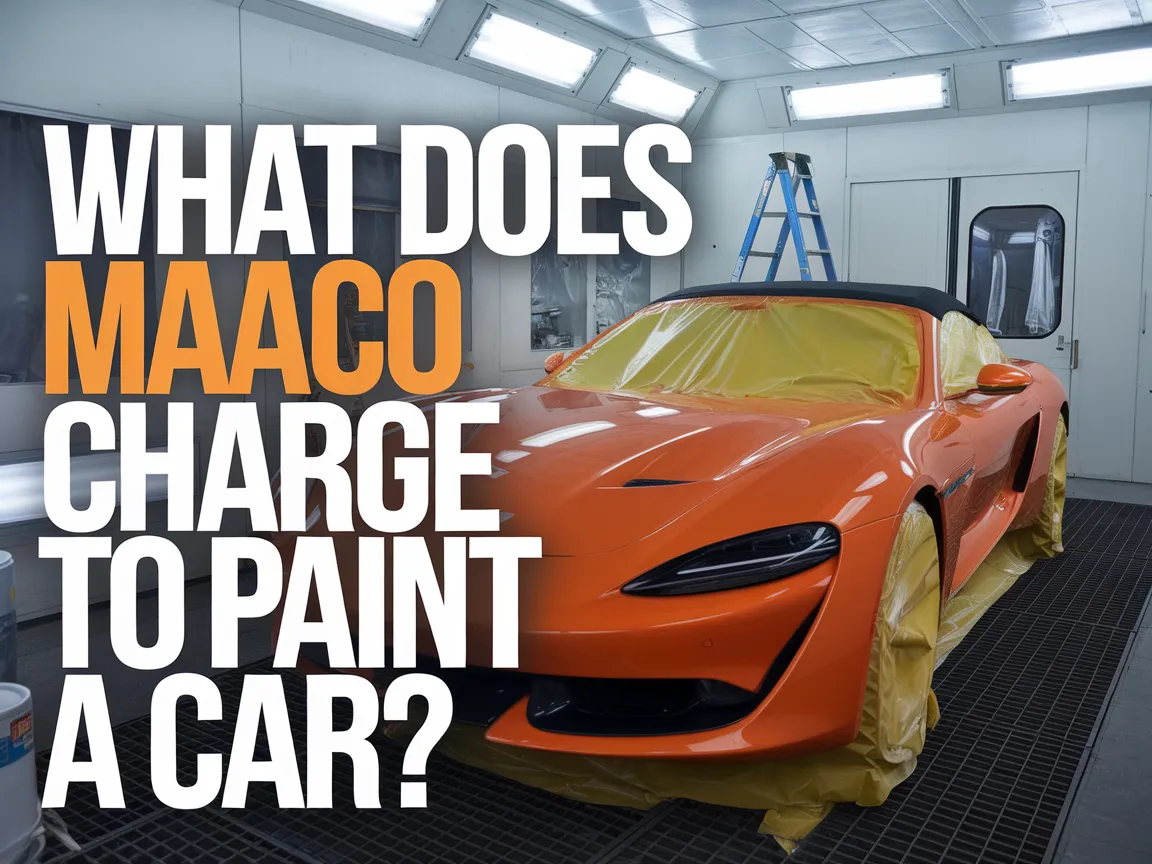
What Grit Sandpaper for Painting Car?
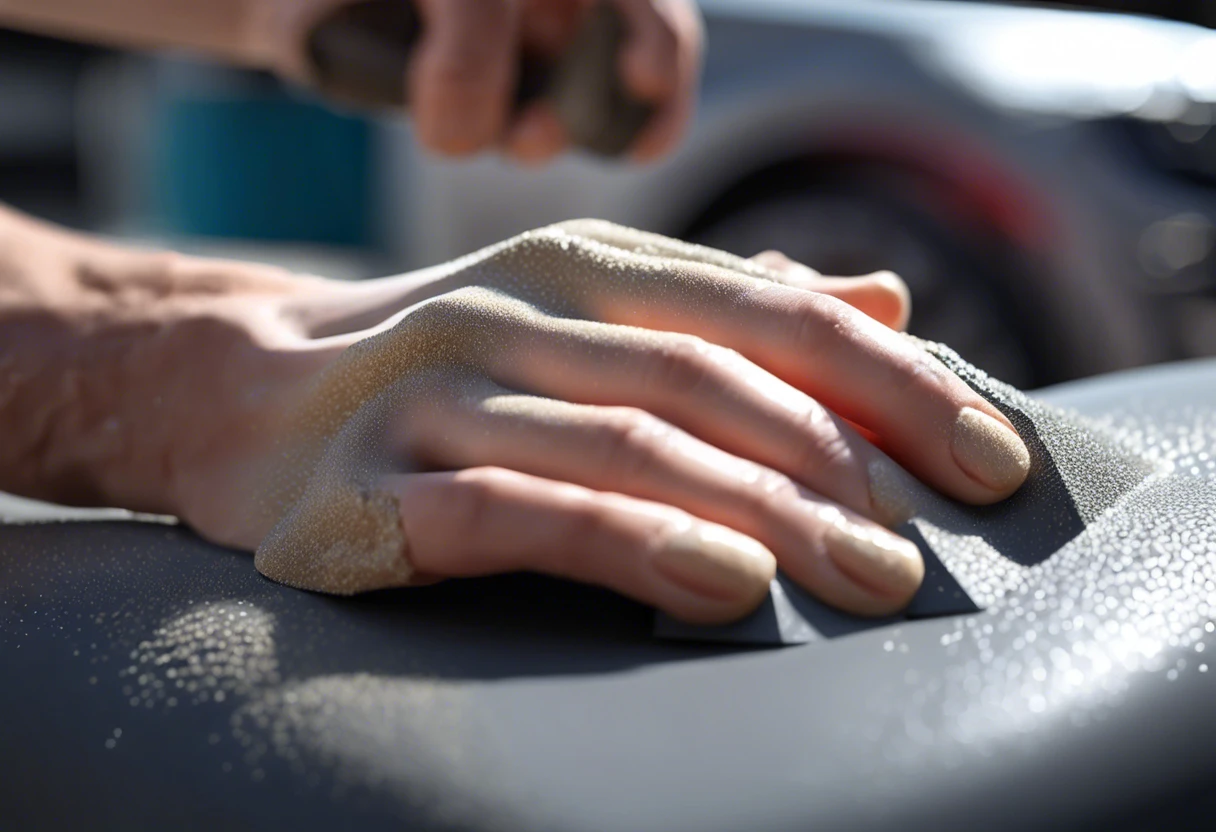
Sandpaper is a special paper with tiny bits that rub away rough spots. It’s like a magic eraser for surfaces!
Choosing the right grit is super important when you’re painting a car. I once skimped on this step, and trust me, it made my work look less shiny and smooth!
In this guide, you’ll discover essential preparations for car painting, steps to sand your car properly, the types of sandpaper 🔥 Deal: Assorted Grit Sandpaper → you’ll need, and common issues when using sandpaper. Plus, we’ll touch on what grit sandpaper for painting car you should consider.
What Grit Sandpaper for Painting Car?
For painting a car, use 320 to 400 grit sandpaper. Start with 320 grit to smooth rough surfaces, then move to 400 grit for a fine finish. This helps remove old paint and prepares the surface for a fresh coat. Don’t forget, clean the surface before painting! When considering painting techniques, car painting methods matter.
What is Sandpaper?
Sandpaper is a flexible sheet of abrasive material used to smooth surfaces. It typically has a paper backing glued with abrasives like aluminum oxide or silicon carbide. Sandpaper comes in various grits—from super coarse (24 Grit) to ultra-fine (1200 Grit)—allowing you to adjust for different projects. If you’re planning a painting project, understanding the average cost of exterior painting can help you budget effectively.
When working on a car, choosing the right grit is crucial. I’ve learned that using multiple grits helps achieve a professional finish, especially when painting. A combination of grits often makes a significant difference. If you’re looking to customize your equipment, you might want to customize your gear with precision painting.
I can’t tell you how many times I’ve used sandpaper to prep surfaces before painting. I once tackled a chip on my car’s bumper and found that the right grit made it easier to remove imperfections. Did you know that using too coarse a grit can damage the surface instead of leveling it? It’s all about finding the right grit size for rust or chip repairs, especially for areas that need smooth surfaces. That’s something to keep in mind!
When working with different painting mediums, surface preparation becomes crucial. If you’re curious about specific paper techniques and surface compatibility, painting surface preparation matters significantly for achieving professional results.
Before You Start: Essential Preparations for Car Painting
What do you need to prepare first?
- Sandpaper: Use various grits like 400-grit and 800-grit, such as 3M Wetordry, to smooth the surface before painting.
- Masking Tape: Choose a high-quality type, like 3M Blue Masking Tape, to create clean lines and prevent paint from getting on unintended areas.
- Respirator Mask: An N95 mask is necessary to protect against harmful paint fumes. Safety’s crucial!
- Drop Cloths: Use thick drop cloths, such as a 3M Canvas Drop Cloth 💰 Save on Heavy-Duty Canvas Drop → , to shield your surroundings from splatters and drips.
- Paint Gun: A professional sprayer like the Wagner Flexio 890 is ideal for a smooth finish and precise control.
We’ve wrapped up essential preparations for car painting here. Let us turn our attention to the steps for properly sanding your car.
Also See: Does Paint Go Bad in the Can? Understanding Longevity
Steps to Properly Sand Your Car Before Painting
Here are the steps to choose the right sandpaper grit for your painting project!
-
Assess the Paint Condition
Examine your car’s surface. If you notice oxidation or scratches, you’ll need the right grit for surface preparation.
It’s crucial to assess any blemishes. This helps determine if you need to start with coarse or fine grit sandpaper—possibly as low as 80 grit (180 Μm) for heavy work.
-
Select the Appropriate Grit Sandpaper
For most tasks, use sandpaper ranging from 220 grit (70 Μm) to 320 grit (50 Μm) after heavy sanding. For smoother surfaces before painting, opt for finer options like 400 grit (41 Μm) or higher. When preparing your surface, selecting the right grit can significantly impact your final finish, so consider choosing the perfect canvas size.
Start with 180 or 220 grit if your paint is in poor condition. Always finish with something finer—aim for 600 grit (25 Μm)—to create a silky-smooth surface.
-
Prepare the Vehicle’s Surface
Clean the area thoroughly before sanding. Wash the car with soap and water to ensure it’s free from dirt and grease, as these can interfere with the sanding process.
Cleaning is essential. Skipping this step could damage the paint or trap contaminants, leading to problems later.
-
Begin Sanding With a Technique
Apply even pressure as you sand. Move in a circular pattern or back-and-forth along the length of the car to avoid gouging.
Regularly check your progress. If you’re focusing on deep scratches, take your time before switching to finer sandpaper to avoid damage.
-
Inspect Your Work
Examine the surface often. Look for a consistent texture and possibly dull areas, indicating you’re ready for finer sandpaper.
Taking breaks allows you to return with fresh eyes, helping you catch flaws you might otherwise miss.
We covered steps for sanding your car before painting. We will now cover the choice between dry and wet sanding techniques.
Choosing Between Dry and Wet Sanding Techniques
Wondering whether to dry sand or wet sand? Each technique has its perks and will impact your car painting process.
Dry Sanding
- Quick Process: It’s easier and faster to apply, perfect for initial sanding.
- Dust Creation: Be ready for dust clouds. It may require more cleanup time!
- Ideal for Coarse Grits: Typically works best with grits from 80 to 220.
Wet Sanding
- Smoother Finish: Using water reduces friction and lets you achieve a finer finish.
- Less Dust: It keeps dust down, so it’s easier on your lungs and eyes.
- Recommended Grits: Ideal for grits above 400, especially when prepping for paint.
If you’re unsure, I’ve often found that adapting based on the task works wonders. I’ve had smooth experiences with wet sanding for finishing touches—super satisfying!
You should now have a good understanding of dry and wet sanding methods. In the next part, we’ll discuss grit progression for car painting.
Example Grit Progression for Car Painting
Here’s a handy reference for your sanding process. Following a grit progression helps achieve the best results. Check it out!
| Task | Initial Grit | Intermediate Grit | Final Grit |
|---|---|---|---|
| Initial Paint Removal | 80 grit (100 Μm) | 120 grit (75 Μm) | N/A |
| Surface Prep | 180 grit (63 Μm) | 220 grit (50 Μm) | 320 grit (41 Μm) |
| Smoothing Before Paint | N/A | 400 grit (38 Μm) | 600 grit (28 Μm) |
This progression smooths out imperfections and prepares the surface beautifully. Trust me, it’s more approachable than it sounds!
We’ve wrapped up the example grit progression for car painting here. Let us turn our attention to types of sandpaper for painting cars.
Types Of Sandpaper for Painting Cars: A Comprehensive Overview
Let’s explore the types of sandpaper, including Aluminum Oxide, Silicon Carbide, Waterproof Sandpaper, and Garnet Sandpaper.
-
Aluminum Oxide Sandpaper
This type features durable, long-lasting grit with a range of 40 to 120 grit, making it ideal for initial paint removal.
-
Silicon Carbide Sandpaper
Silicon carbide has sharp edges and comes in grits from 60 to 400, making it perfect for fine sanding and finishing touches.
-
Waterproof Sandpaper
As the name implies, it works well with water, typically in grit sizes from 120 to 2000. Using it reduces dust and extends the paper’s lifespan.
-
Garnet Sandpaper
Made from natural materials, garnet grit ranges from 60 to 320, providing a smoother finish for final sanding steps.
With my experience in the field, I prefer using Silicon Carbide for its sharp cutting ability, helping me achieve a flawless finish on car paint jobs.
Factors Affecting the Choice Of Sandpaper Grit for Car Painting
What factors determine the grit level needed for your car painting project?
-
Surface Condition: A rough surface may need coarser grit, around 80 to 120 grit, for effective smoothing.
-
Type of Paint: If you’re using antifouling paint, finer grits like 240 to 400 may be necessary for a smooth finish.
-
Previous Coating: The quality of existing paint affects your grit choice; damaged paint may require coarser options.
-
Desired Finish: For a glossy finish, use finer grit sandpaper, such as 320 to 600 grit, to achieve smoothness.
Understanding Grit Numbers and Their Applications
Let’s break down grit numbers and how they relate to your car painting project.
| Grit Range | Typical Application | Texture Created | Ideal Before Painting? |
|---|---|---|---|
| 24 to 80 grit | Heavy material removal | Very rough | No |
| 120 to 180 grit | Paint stripping and surface repair | Rough | Sometimes |
| 220 to 320 grit | Surface preparation for painting | Smooth | Yes |
| 400 to 600 grit | Finishing and polishing before paint application | Very smooth | Absolutely |
Sandpaper Grit for Specific Car Finishing Techniques
Different techniques need different grits for the best results. Here’s how to match them.
- Clear Coat Finishing: Use 800 to 1200 grit for a glossy finish that shines.
- Base Coat Preparation: Stick to 320 to 400 grit to help the base coat adhere well.
- Repairing Minor Scratches: Choose 1000 grit to buff the repair area smoothly.
Choosing the right grit enhances your finish. I swear by this to make each project pop!
Common Issues When Using Sandpaper for Painting Cars
When my friend painted his car, he used 400-grit sandpaper first. It left scratches everywhere! He didn’t realize you should start with a coarser grit, around 150 to 220, for clear coats.
To fix it, he switched to 220-grit sandpaper, sanding in circular motions. This helped smooth the surface and better prepare it for primer. A crucial detail: make sure to clean off dust between each grit (Grain) step! If you’re worried about paint stains during your project, you might want to know how to remove acrylic paint ⭐ Top Rated: Heavy-Duty Paint Cleaning → from clothes.
Finishing Touches: Preparing the Surface Before Paint Application
After choosing the right sandpaper grit, wipe the surface with a tack cloth to remove fine dust. Also, use isopropyl alcohol (IPA) to ensure a clean, residue-free surface.
Inspect for scratches larger than 0.5 mm. Use 3M Trizact sanding sheets for precise inspection. I recommend the 3M Perfect-It Polishing System for best results.
Advanced users should sand with the grain, applying a maximum pressure of 1.4 kPa (2 Psi) to avoid damaging the substrate. Watch for heat to prevent warping your workpiece!
Frequently Asked Questions (FAQs)
What Grit Sandpaper Should I Use for Removing Paint From My Car?
Yes, using the right grit sandpaper is crucial for removing paint from your car. Generally, you’ll start with a coarse grit like 80 and finish with a finer grit, around 320.
Can I Use Wet Sanding Techniques for Car Painting?
Yes, you can use wet sanding techniques for car painting. Wet sanding reduces dust and helps achieve a smoother finish, using water-based lubrication and finer grits between 1000 and 3000.
How Often Should I Change Sandpaper Grit While Sanding?
You should change sandpaper grit based on the surface you’re sanding. Typically, switch every 10-15 minutes for optimal performance and efficiency.
Is It Necessary to Prime the Car After Sanding?
Yes, it’s necessary to prime the car after sanding. Priming helps enhance paint adhesion and serves as a protective layer, improving durability and finish.
What Are the Safety Precautions for Sanding a Car?
Safety precautions for sanding a car include wearing a mask and goggles. Proper gear protects against dust and debris, which can harm your lungs and eyes.
How Long Should I Wait Before Sanding After Painting My Car?
You should wait at least 24 to 48 hours before sanding after painting your car. This window allows the paint to cure properly, preventing damages to the finish.
What is the Best Technique to Sand Curved Surfaces?
The best technique to sand curved surfaces is using a sanding block or curved sandpaper. This method ensures even sanding and avoids flat spots on the curves.
How Do I Identify the Right Grit for Prep Sanding?
To identify the right grit for prep sanding, check the paint type and surface condition. Generally, 120 to 180 grit works well for minor imperfections, while harsher conditions may require coarser options. If you want to enhance your paint’s appearance, you might want to explore creative paint customization techniques.
Conclusion: Finding the Right Grit Sandpaper for a Flawless Car Paint Job
You’ve reached the conclusion of our guide, where we’ve explored essential topics related to achieving the perfect car paint job. From understanding sandpaper types to the necessary steps of preparation and application, we’ve provided insights on how to enhance your painting process.
To summarize our discussion on grit sandpaper for painting a car: start with 120 to 150 grit for initial sanding, and follow up with 220 grit for the final prep phase. This approach will yield smooth surfaces and promote excellent paint adhesion. Best of luck with your projects and crafting that flawless finish.
If you’re interested in exploring more valuable resources, visit our homepage at Paint Answers for additional expert articles and tips.
Additional Resources
- What Sandpaper Grit to Use for Car Sanding
- Sandpaper Grit Guide for Auto Body Work | National Abrasives
- How to Select Correct Grit Size for Sanding Car Paint – fastplus.eu – FastPlus.eu | Sandpaper Online Store
Experienced interior designer with 15+ years in transforming spaces, blending artistry with expertise in color and design. Rhode Island School of Design graduate, specializing in restorations and modern makeovers.
Car, Misc.