
Can You Access Your Key Clip Paint?
Published on: April 21, 2025 | Last Updated: January 7, 2025
Written By: Alisha Winters
Key Clip Paint is like a magical brush for your digital canvas. It helps you splash colors and create beautiful art on your screen, just like painting with crayons!
When you ask can access your key clip paint, it’s super important to know how to navigate the tools. I’ve had moments where I struggled to find colors, but once I learned the ways to access my paint, my creativity took off!
In this article, you’ll discover essential preparations, steps to access your key clip paint, recommended color palettes, types of key clip paint, and common issues you might face. Plus, we’ll touch on how to mass select and add sub tools in Clip Studio Paint to make your tasks even easier.
Contents
- 1 Can You Access Your Key Clip Paint?
- 2 What is ‘Key Clip Paint’?
- 3 Essential Preparations Before You Begin
- 4 Steps to Access Your Key Clip Paint
- 5 Types Of Key Clip Paint and Their Uses
- 6 Factors Affecting Your Key Clip Paint Application
- 7 Common Issues You Might Encounter When Accessing Your Key Clip Paint
- 8 Advanced Features of Key Clip Paint
- 9 Understanding Key Clip Paint Tools and Functions
- 10 Accessing Key Clip Paint Features
- 11 Best Practices for Using Key Clip Paint
- 12 Creative DIY Project Ideas Featuring Key Clip Paint
- 13 Frequently Asked Questions About Accessing Key Clip Paint
- 14 Conclusion
- 15 Additional Resources
Can You Access Your Key Clip Paint?
You can easily access your Key Clip Paint by opening the application and navigating to your saved colors. Don’t forget to check your custom color swatches! If you need help, just search for tutorials online. When selecting complementary paint colors for your home exterior, you might want to explore perfect paint color combinations.
What is ‘Key Clip Paint’?
Key Clip Paint is a digital painting application designed for creating artwork clips. It lets users draw, paint, and illustrate using various tools, such as adjustable brush sizes and layers.
Accessing Key Clip Paint is seamless. I set up my workspace in just a few minutes and felt empowered to create—what a rush!
You might be surprised, but I used it to design a series of posters. It enhances artistic efficiency, especially when creating color swatches within the app. Organizing my colors simplified my workflow and allowed my ideas to flourish. When exploring creative techniques, I discovered some fascinating ways to expand my artistic possibilities.
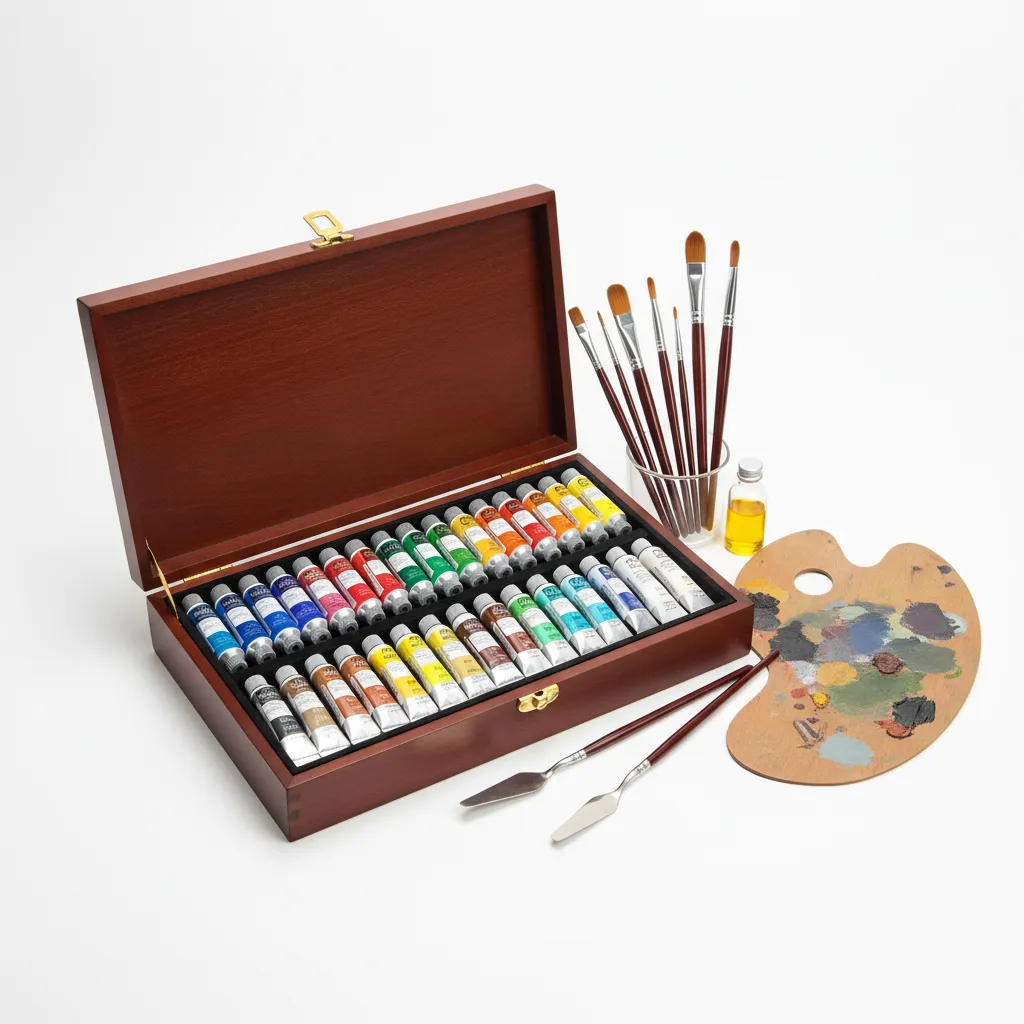
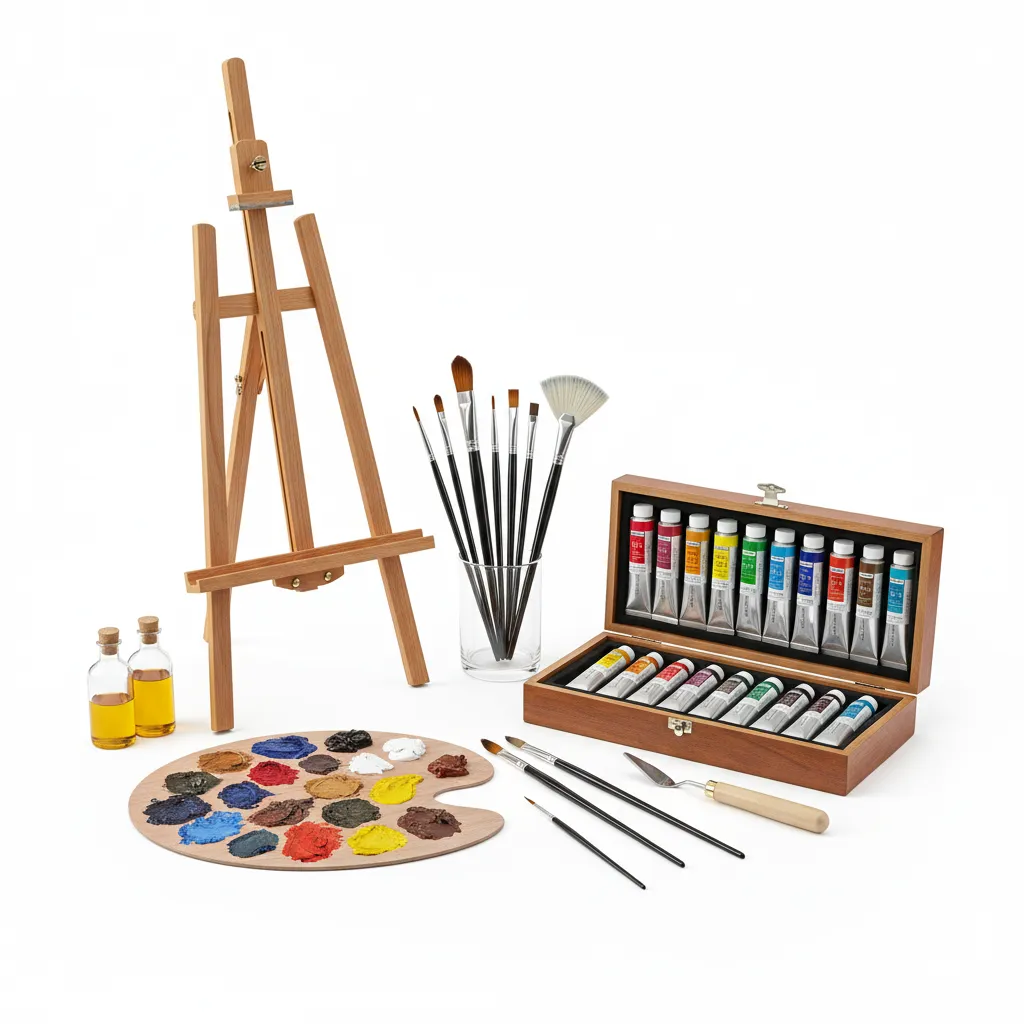
Essential Preparations Before You Begin
What do you need to start your key clip paint process?
- High-Quality Canvas: Choose canvas boards like Winsor & Newton 16×20 in (40.64×50.8 Cm). It’s crucial for smooth paint application and ensures durability and color retention.
- Brush Set: Get a set like Grumbacher Gold Polyester in sizes 0, 4, and 8. These brushes excel in detailed painting and offer versatility for different techniques.
- Acrylic Paints: Have specific brands like the Liquitex Basics 12-color set (59 Ml Tubes). These vibrant colors help achieve clarity in your artwork.
- Palette: Use a disposable or ceramic palette like the Arteza 10-Color Set. It helps mix colors effectively and keeps your workspace tidy.
- Water Cup: Include a rinse cup, such as a plastic pint-sized (16 Fl Oz or 473 Ml) cup. It’s essential for cleaning brushes between colors to avoid muddy shades.
So far we covered essential preparations needed to start your project. Let’s look at the steps to access your key clip paint next.
Also See: Can You Paint 3D Printed Objects? Here’s How!
Steps to Access Your Key Clip Paint
Here are the steps to use your special key clip paint effectively.
-
Prepare the Paint Mixing Space
Start by setting up your mixing area. Keep it clean and organized to avoid spills, as they can affect your paint quality.
For the best color mixing, use a palette that holds and separates small amounts of paint—think a pie dish or a paper plate.
-
Select the Suitable Paint Base
Choose a base compatible with your project. For durability, use polyurethane-based paints.
The right base influences the color and finish. Glossy finishes reflect light better, making colors more vibrant.
-
Mix the Colors Efficiently
Mix colors using a ratio of 2:1—two parts color to one part base. This balance helps maintain pigment intensity and flow.
I made the mistake of adding too much base once, resulting in a dull color that didn’t meet my project’s needs.
-
Choose the Right Application Technique
Select your application method wisely—brushes offer detail, while spray techniques cover larger areas quickly. Understand your project’s requirements.
Different tools create different finishes, so practice to see what works best. Brushes often yield smoother finishes on fine details!
-
Apply the Paint Carefully
Keep your first layer thin. Building up layers usually enhances depth and vibrancy in color.
Free ToolOpen Calculator →Car Paint Cost EstimatorBody shops charge thousands. See exactly what it costs to DIY vs Pro. Don't get ripped off on your quote.As a personal tip, work from lighter to darker areas for ease. Let each layer dry before adding the next for optimal results.
We’ve wrapped up the steps for accessing your key clip paint here. Let us turn our attention to different types and their uses.
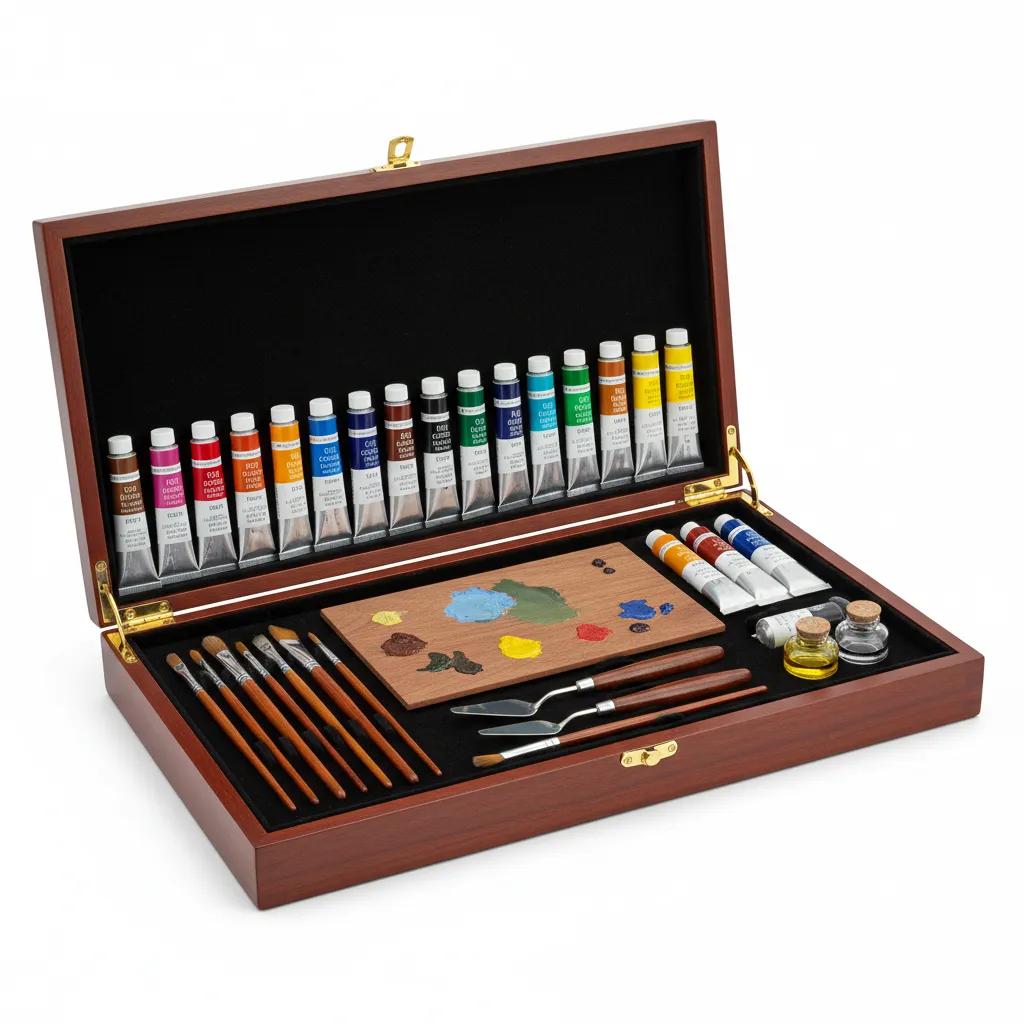
Types Of Key Clip Paint and Their Uses
Let’s explore the various types of key clip paint: Acrylic, Watercolor, Oil, and Gouache.
-
Acrylic Paint
Acrylic paint is water-soluble and dries quickly. It adheres well to many surfaces and is known for its vibrancy, making it a popular choice for artists.
-
Watercolor Paint
Watercolor paint consists of pigments suspended in a water-soluble binder. It offers transparency and allows for gradual layering, perfect for creating delicate details.
-
Oil Paint
Oil paint uses oil to bind pigments, resulting in a longer drying time. This feature allows for seamless color blending and adds depth, providing rich texture in artwork.
Recommended SuppliesAs an Amazon Associate, I earn from qualifying purchases. Images are representative. -
Gouache Paint
Gouache is similar to watercolor but has a higher pigment concentration, making it more opaque. Artists value its versatility and vibrant finish, ideal for illustrations requiring varied styles. When working with gouache, proper surface preparation is crucial to prevent potential issues like preventing mold growth on artwork.
I’d like to share what has consistently worked for me with Acrylic. The quick drying times allow me to layer colors rapidly, which truly speeds up my creative process.
We’ve wrapped up the various types of key clip paint and their applications here. Let us turn our attention to factors influencing your key clip paint application.
Factors Affecting Your Key Clip Paint Application
What factors affect access to your key clip paint? Here’s a quick rundown.
-
System Memory: Insufficient memory can slow down or freeze your key clip paint.
-
File Size: Large file sizes can cause lag when accessing features in key clip paint.
-
Software Updates: Not updating the software often causes bugs that limit access.
-
Compatibility: Using an incompatible device or operating system (OS) can block access to critical tools.
So far we covered the elements influencing your key clip paint application. Let’s look at potential challenges you might face when using it.
Common Issues You Might Encounter When Accessing Your Key Clip Paint
Last week, my friend couldn’t open their Key Clip Paint due to a missing library file. That’s frustrating, right? They spent a long time looking for a solution.
To fix it, validate your installation: go to Preferences > Editing. Ensure all paths are linked correctly. It’s essential to have the latest updates from Clip Studio support. These often exceed 500 MB, so double-check your memory allocation!
Advanced Features of Key Clip Paint
Did you know that Key Clip Paint comes packed with cool advanced features to supercharge your creativity? Let’s dive into some unique options!
-
Layer Effects
You can apply different effects to layers. For instance, multiply, overlay, and screen modes can change how colors interact. This gives depth and complexity. Experiment with these options!
-
Brush Customization
Create your own brushes by adjusting size, shape, and texture. Want a glitter effect? Modify a watercolor brush and see magic happen. Tailor brushes to fit your style!
-
Digital Textures
Incorporate textures from the app’s library. This helps in adding realism and dimension. Mix in wood, fabric, or stone patterns to your digital canvas.
Recommended SuppliesAs an Amazon Associate, I earn from qualifying purchases. Images are representative. -
Interactive Tutorials
Key Clip Paint offers interactive tutorials. You can learn features through guided steps while painting. This is perfect for getting the hang of all its tools quickly!


Understanding Key Clip Paint Tools and Functions
Let’s dive deeper into the essential tools and functions key clip paint offers!
Tool Palette Overview
The tool palette is your best friend! Here’s a quick guide:
| Tool | Function | Usage Tips |
|---|---|---|
| Brush Tool | For painting and drawing. It mimics traditional brushes. | Choose sizes based on detail level—smaller for fine lines! |
| Eraser | Removes mistakes or creates highlights. | Adjust to different shapes for versatile effects. |
| Fill Tool | Colors large areas easily. | Ensure no gaps in your outlines to avoid splotches. |
| Shape Tool | Draws geometric shapes. | Hold the Shift key for perfect circles and squares. |
Customizing Your Workspace
Setting up your workspace can spark creativity! Follow these steps:
- Arrange Your Panels: Move panels around to suit your workflow. Keep frequently used tools nearby.
- Save Workspace Layouts: Save different layouts for various projects. Use keyboard shortcuts for easy access.
- Create Reference Layers: Add a layer for references without affecting your main artwork. It’s like having a guide while you paint!
Accessing Key Clip Paint Features
Unlock unique features to enhance your painting experience! Here’s how:
- Layer Management: Use layers effectively! Group related layers to keep your project organized.
- Color Sampling: Use the eyedropper tool to pick colors directly from your art. It saves time!
- Quick Access Bar: Customize your quick access bar. Add favorite tools for quick switches.
Best Practices for Using Key Clip Paint
Want a seamless experience while using Key Clip Paint? Check out these best practices!
| Practice | Benefit |
|---|---|
| Save Frequently | Prevents data loss; aim every 10-15 minutes, especially during big projects! |
| Organize Layers | Keeps your work tidy; easy to find and manage different elements. |
| Use Shortcuts | Speeds up workflow; learn snaps for tools you use often! |
| Test Blending Modes | Enhances creativity; see how colors mix and merge in real-time! |
Creative DIY Project Ideas Featuring Key Clip Paint
You can make an artful bulletin board and a vibrant key holder! Use some plywood, add hooks, and splash on that key clip paint for a pop of color!
I’d grab some 1 cm x 2 cm (0.4 In X 0.8 In) wood pieces and about $15-20 of key clip paint. It might take about 2-3 hours to rock this fab project!
If you’re aching for alternatives, why not try old palette scraps? I once used leftover canvas to create unique shapes and caught some bursts of that key clip paint magic!
Frequently Asked Questions About Accessing Key Clip Paint
What is the Best Way to Clean Up After Painting?
To clean up after using Key Clip Paint, you should use water and soap if the paint is water-based. Proper clean-up prevents damage to brushes and tools, ensuring their longevity. Try to clean up within 30 minutes after painting for best results.
How Long Does Key Clip Paint Take to Dry?
Key Clip Paint typically takes about 1 to 2 hours to dry, depending on temperature and humidity. In high humidity, drying might extend to 4 hours. Warmer, drier conditions hasten the drying process. If you accidentally spill paint and need quick removal, you might want to explore alternative paint removal techniques.
Can You Mix Different Key Clip Paint Brands?
Mixing different Key Clip Paint brands is generally not recommended. Brand formulas may differ, affecting adhesion and color consistency, leading to potential unexpected results. Stick to one brand for uniformity.
What Surface Types Are Suitable for Key Clip Paint?
Key Clip Paint works best on porous surfaces like canvas, wood, and plaster. A suitable surface allows paint to adhere properly and offers the desired final finish. Always check manufacturer guidelines for optimum results. If you’re considering mixing different paint types, you might want to explore mixing acrylic craft paint techniques.
How Do I Store Leftover Key Clip Paint?
Storing leftover Key Clip Paint in an airtight container is crucial. Keep it in a cool, dry place to prevent contamination and drying. Label containers with open dates for future use, ensuring usage within 2-3 years for best quality. If you’re looking to repurpose old paint containers or explore creative storage solutions, you might want to transform ceramic pots into paint storage.
Can You Use Key Clip Paint Indoors?
Yes, you can use Key Clip Paint indoors. Just ensure proper ventilation during application to minimize inhaling fumes, especially with solvent-based variants. Aim for a well-ventilated space to stay safe. If you’re curious about painting other surfaces like candles, you might want to explore painting techniques for different materials.
Is Key Clip Paint Safe for Children?
Key Clip Paint is typically non-toxic and safe for children, but always check the label. Adults should supervise young kids during use to avoid ingestion. Look for ASTM D-4236 certification for assurance of safety.
Does Key Clip Paint Require Priming?
Yes, priming is recommended for non-porous surfaces before using Key Clip Paint. Primer improves adhesion and enhances durability, reducing peeling risks. Invest in a quality primer for optimal performance. If you’re wondering about painting specific surfaces like ceramic tiles, you might want to explore painting ceramic tile techniques.
Conclusion
You’ve reached the end, and we’ve thoroughly explored the essentials of accessing your key clip paint. From understanding what Key Clip Paint is to preparing and applying it effectively, we covered a range of topics including recommended color palettes, various types and their uses, challenges, and handy DIY ideas.
So, can you access your key clip paint? Absolutely! By adhering to the outlined steps—ensuring you make the right preparations and choose an effective palette—you can confidently tap into your creative potential. If you need further assistance with accessing your key clip paint, feel free to reach out.
For even more insights, check out our homepage: Paint Answers.
Additional Resources
- Smith, R. (2003). The Artist’s Handbook of Materials and Techniques (5th ed.). New York, NY: Knopf.
Experienced interior designer with 15+ years in transforming spaces, blending artistry with expertise in color and design. Rhode Island School of Design graduate, specializing in restorations and modern makeovers.
Canvas, Material


