
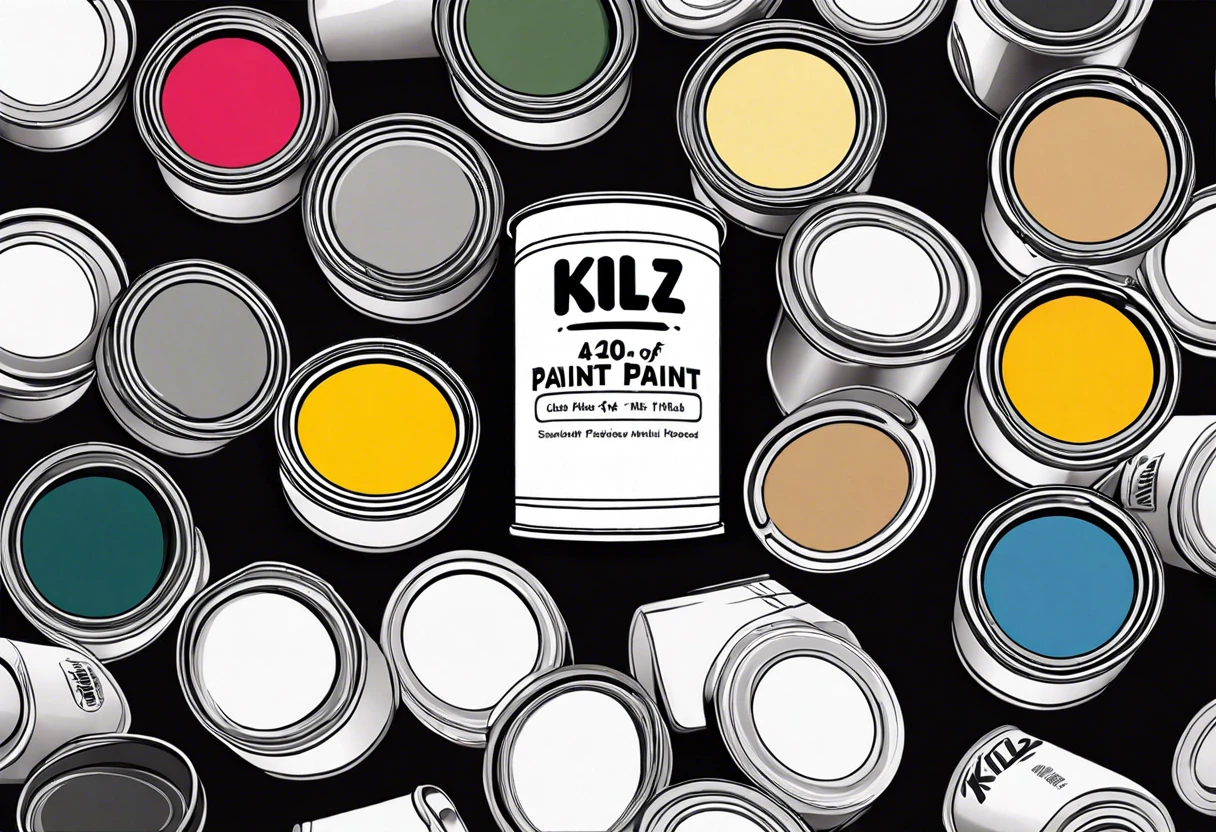
Can Kilz Paint Be Tinted?
Published on: April 19, 2025 | Last Updated: January 7, 2025
Written By: Isabella Cruz
Kilz paint is a special kind of paint that helps cover up stains on walls. It’s like a superhero for your house, making the walls look fresh and clean!
So, can kilz paint be tinted? It’s important because you want your walls to match your style and make you feel good at home. I’ve tried tinting Kilz before, and it really helped bring my color vision to life!
In this article, we’ll cover essential tips before starting, a step-by-step guide for tinting, recommended colors, types of Kilz that can be tinted, and common issues to watch out for. You’ll also discover how long after Kilz can you paint and get creative ideas for your projects!
Contents
- 1 Can Kilz Paint Be Tinted?
- 2 What is Kilz Paint?
- 3 Essential Considerations Before You Start
- 4 Step-by-step Guide to Tinting Kilz Paint
- 5 Benefits of Tinting Kilz Paint
- 6 How to Choose the Right Tinting Color
- 7 Common Tinting Mistakes and How to Avoid Them
- 8 Types Of Kilz Paint That Can Be Tinted
- 9 Factors Affecting Kilz Paint Tinting Quality
- 10 Additional Considerations When Tinting Kilz Paint
- 11 Common Issues When Tinting Kilz Paint
- 12 Finishing Touches for Your Kilz Painted Surface
- 13 Creative DIY Project Ideas Using Tinted Kilz Paint
- 14 Frequently Asked Questions
- 15 Conclusion
- 16 Additional Resources
Can Kilz Paint Be Tinted?
Yes, Kilz paint can be tinted. You can mix it with colorants to achieve your desired shade. Always check the manufacturer’s guidelines for the best results. Customizing your paint helps match your project’s needs perfectly.
What is Kilz Paint?
Kilz Paint is a line of high-performance primers and paints, primarily known for its stain-blocking abilities. It effectively tackles tough stains like mold and smoke. It comes in various formulations, including oil-based and water-based, to suit different surfaces and needs.
As for tinting Kilz paint, I’ve tried it myself. When customizing the shade for a project, I found that tinting options add a personal touch, though it may require some trial and error!
In my experience, I used it to brighten a dull basement. I discovered that waiting the right amount of time to paint after applying Kilz is crucial—usually 1 hour. This allows the primer to dry properly and ensures the paint adheres well! If you’re curious about creating specific paint colors from scratch, priming techniques for painting.
Essential Considerations Before You Start
What do you need to prepare for?
- Kilz Primer: Use Kilz 2 Multi-Surface Low, like Kilz Premium or Kilz Original. This is essential for prepping surfaces for tinted application.
- Colorant: You’ll need a specific tint, such as Sherwin-Williams Colorant, to achieve the desired color after mixing.
- Stir Stick: A durable stick, like a wooden paint mixer 🔥 Deal: Drill Paint Mixing → , is crucial for consistent mixing and obtaining an even tint.
- Measuring Cup: Use a clear 250 mL (8.5 Fl Oz) measuring cup for accurate color ratios, ensuring precision in tinting.
- Personal Protective Equipment (PPE): Gear like gloves and masks protects against fumes and spills during the process.
You should now have a good understanding of key factors to consider before starting. In the next part, we’ll discuss the process of tinting Kilz paint step-by-step.
Also See: What Colors Make Gold Paint? Mix Yellow and Brown!
Step-by-step Guide to Tinting Kilz Paint
Now, we’ll cover the steps to tint Kilz paint for a unique finish—let’s jump in!
-
Selecting the Right Kilz Product
Start by choosing the appropriate Kilz product based on your project needs. For instance, Kilz 2 All-Surface Primer is great for both interior and exterior use, making it versatile.
If you’re tackling stained surfaces, choose Kilz Original, known for its stain-blocking capabilities. Understanding which product meets your requirements is essential before adding color.
-
Choosing the Right Colorant
Select a compatible colorant designed for primers and oil-based paints. Water-based tints work well for Kilz water-based products, while oil-based colorants are better for Kilz Original.
Specifically, consider using universal tints that can achieve a wide range of colors and mix ratios. Adding 10% to 20% colorant offers flexibility in shading.
-
Mixing Colorant With Kilz Paint
Blend your chosen colorant into the Kilz paint using a mixing stick or power mixer. Aim for even distribution to ensure a uniform hue—this helps prevent blotchiness.
Start slowly; mix in small amounts of colorant first to test the shade until it’s just right. Striking the right balance is crucial for achieving the perfect hue!
-
Testing the Tint
Before applying it on a larger scale, test the tint on a sample surface. Let it dry fully according to Kilz guidelines, typically about 30 minutes for basic drying.
Always examine it under the same lighting you’ll use for the main project. Colors can appear different in various lighting; trust me, you don’t want any surprises later!
So far we covered a detailed guide on how to tint Kilz paint. Let’s look at the advantages of tinting it next.
Benefits of Tinting Kilz Paint
Tinting Kilz paint offers several advantages that can enhance your DIY projects. Let’s dive in!
- Personalization: Tinting lets you customize color to fit your style, making your space feel uniquely yours.
- Improved Aesthetics: A tinted primer can create a more even, blended look when applying the topcoat, enhancing visual appeal.
- Better Coverage: Using tinted Kilz can help hide stains or imperfections better than white primer alone.
- Flexibility: You can mix different tints to achieve a more dynamic and rich final color for your project.
You should now have a good understanding of the advantages of tinting Kilz paint. In the next part, we’ll discuss selecting the right tinting color.
How to Choose the Right Tinting Color
Picking the right tint is key to a successful project. Here’s how you can decide!
- Consider Lighting: Evaluate how natural and artificial light changes the appearance of colors in your space.
- Test Samples: Always grab test pots of colors you’re considering, and apply them to small areas to see how they look.
- Match Your Decor: Choose tints that complement existing furniture and decor items for a cohesive look.
We’ve wrapped up tips on selecting the perfect tinting color. Let us turn our attention to common tinting mistakes and their solutions.

Common Tinting Mistakes and How to Avoid Them
Avoid these common pitfalls to ensure your tinting goes smoothly!
- Using the Wrong Tint: Always use a compatible tint for the type of Kilz paint; mismatches can ruin the finish.
- Not Mixing Enough: Inadequate mixing can lead to uneven color. Aim for thorough blending each time.
- Ignoring Drying Time: Don’t rush! Let the tinted primer dry completely before adding top coats for best results.
Types Of Kilz Paint That Can Be Tinted
Let’s explore the various types of Kilz paint: Kilz 2, Kilz Original, Kilz Premium, and Kilz Restoration.
-
Kilz 2
Kilz 2 is a versatile water-based primer that can be tinted. It has excellent adhesion and dries within an hour. You can tint it with up to 30% added pigment, making it ideal for various projects.
-
Kilz Original
Kilz Original is an effective oil-based primer that can also be tinted. It’s typically used for tough stains and takes about 4 hours to dry, providing intense coverage for projects needing a solid base.
-
Kilz Premium
Kilz Premium is a high-quality water-based product. It allows tinting and offers mold and mildew resistance. It dries to the touch in about 60 minutes, perfect for outdoor projects where dampness is an issue.
-
Kilz Restoration
Kilz Restoration is designed for severe restoration projects and can be tinted for better color representation. It dries in about 1 hour, offering strong coverage for patchy surfaces.
I’d like to share what has consistently worked for me: I love using Kilz Premium. The balance of quick drying and superior mold resistance makes it my go-to for humid environments.
Factors Affecting Kilz Paint Tinting Quality
What factors influence the quality of tinting for Kilz paint?
-
Base Type: The primer type—oil-based or water-based—affects its tinting ability.
-
Tinting Method: Mixing techniques, like blending colors, can alter the final shade’s accuracy.
-
Additives: Additives mixed with Kilz affect how evenly it accepts pigment.
-
Cure Time: The drying time before adding paint influences tinting quality.
Additional Considerations When Tinting Kilz Paint
When you’re gearing up to tint Kilz paint, there are a few extra points to think about. These can really make your project shine!
Understanding the Different Tinting Bases
Not all tinting bases are created equal. Knowing which to use is crucial for your project!
- Water-Based Tinting: Works best for Kilz 2 and Kilz Premium. It blends easily and dries quickly.
- Oil-Based Tinting: Ideal for Kilz Original. Provides deep colors and is excellent for tough, oily surfaces.
- Universal Tinting Colorants: These can be used for both water-based and oil-based Kilz paints, giving added flexibility!
Mixing Ratios for Perfect Tinting
Achieving the best color means getting your mixing ratios right. Let’s break it down!
| Paint Type | Tinting Ratio | Notes |
|---|---|---|
| Kilz 2 | 10% – 30% | Higher ratios may alter drying times. |
| Kilz Original | 5% – 20% | Avoid excess tint for best stain blocking. |
| Kilz Premium | 10% – 15% | Ideal for a lightweight finish. |
| Kilz Restoration | 0% – 15% | Use less for severe stain coverage. |
Common Issues When Tinting Kilz Paint
My friend encountered an issue while tinting his Kilz paint. He chose a deep hue but found it didn’t match the expected shade. Frustrating, right?
To resolve this, use the right base tinting formula. Use universal tints; avoid oil-based tints with water-based Kilz. Aim for 1 oz (30 Ml) of tint per gallon (3.8 L) of base for accurate color.
Finishing Touches for Your Kilz Painted Surface
After tinting Kilz Paint, wait at least 24 hours before applying additional layers. Use a quality clear topcoat, like Minwax Polycrylic, for durability.
Inspect Kilz surfaces every few months. Look for discoloration; any color change may indicate mold or humidity issues. Use a moisture meter to test levels, aiming for 15% (0.15) or less.
An insider tip: For a smoother finish, tint some Kilz products with an extra 10-15% colorant. This adjustment can deepen shades and enhance adhesion for experts tackling advanced projects.
Creative DIY Project Ideas Using Tinted Kilz Paint
Feeling adventurous? How about creating a stunning mural on your bedroom wall or designing a unique outdoor furniture set with tinted Kilz paint?
For the mural, I’d start sketching my design. Then, I’d pick up a gallon (3.8 Liters) of tinted Kilz, a brush, and some drop cloths. This project might cost around $50 and take a weekend. As for outdoor furniture, grab some wood, wear some gloves, and have fun with painting techniques and colors! Expect to spend about $75 on materials and a couple of days for drying time.
Looking for alternatives? You can layer ordinary paint over Kilz for bold color combos instead of just tinting it. Or mix in a dash of acrylic paint with your Kilz to brighten up that white primer; it’s an unexpected twist I swear by! If you’re eager to explore creative painting techniques, check out some professional advanced painting methods.
Frequently Asked Questions
Can I Use Any Colorant With Kilz Paint?
Yes, you can use any colorant with Kilz paint. However, it’s best to stick to water-based colorants for optimal results. Mixing with incompatible colorants might affect adhesion and finish quality.
What Happens if I Tint Kilz Paint Too Dark?
If you tint Kilz paint too dark, it may not perform as intended. Darker tints can cause issues with the primer’s opacity, leading to uneven surfaces and needing multiple coats for full coverage. When working with tinted primers, proper cleaning and maintenance of your painting tools is crucial to ensure consistent results. You can find expert techniques for maintaining your painting equipment.
Can I Mix Different Types Of Kilz Paint?
No, you should not mix different types of Kilz paint. Mixing oil-based and water-based paints can lead to separation and other performance issues. If you’re looking to refresh your painting project, you might want to explore professional painting techniques for optimal results. Choose one type to ensure quality application.
Is Tinted Kilz Paint Suitable for High Humidity Areas?
Yes, tinted Kilz paint is suitable for high humidity areas. Kilz formulations contain mold and mildew resistant properties. This feature helps protect painted surfaces even in areas with up to 90% humidity. If you’re curious about paint surface treatments, you might want to explore techniques for modifying paint finishes.
How Do I Properly Store Tinted Kilz Paint?
To properly store tinted Kilz paint, seal the can tightly and keep it in a cool, dry place. Avoid temperatures below 5°C (41°F) or above 30°C (86°F). This helps preserve versatility and quality. If you’re looking to explore specific paint color techniques, you might want to create blonde paint shades with precision.
How Long Does Kilz Take to Dry Before Painting?
Kilz typically takes about 30 minutes to dry to the touch before painting. Allow at least 1 hour before applying a second coat, ensuring an ideal environment (70°F (21°C), 50% humidity) for faster drying. Professional painters often recommend checking paint consistency and exploring unique paint characteristics.
Can You Use Kilz Oil-based Primer Over Latex Paint?
No, you shouldn’t use Kilz oil-based primer over latex paint. It can lead to poor adhesion and a problematic finish. If you’re looking to refresh your surfaces, preparing surfaces without sanding might offer alternative solutions. Always use the right primer that’s compatible with the paint type for seamless results.
Also See: How to Clean Dried Paint Brushes Acrylic? Easy Tips!
Conclusion
Congratulations on reaching the end! We’ve explored what Kilz paint is, the benefits of tinting it, essential mixing steps, recommended hues, suitable types, factors affecting tint quality, common issues, and creative DIY projects.
I hope these insights have clarified whether Kilz paint can be tinted. Indeed, it can! Just remember to adhere to the proper mixing procedures and account for drying times to achieve optimal results.
For more expert tips and guidance, visit Paint Answers.
Additional Resources
- Betti, C., & Sale, T. (2012). Drawing: A Contemporary Approach (6th ed.). Belmont, CA: Cengage Learning.
- KILZ 2® LATEX Gray Primer, Sealer, Stainblocker | KILZ®
- KILZ 2® ALL-PURPOSE Interior/Exterior Primer | Behr Pro
Isabella is a Filipino-American art writer and critic specializing in contemporary painting, blending her Filipino heritage with global art trends. She holds a BFA from California State University, Long Beach, and a Minor in Art History from the University of the Philippines. Isa has experience as a Gallery Assistant, Art Appraisal Specialist, and Social Media Creative for Art & Design.
Priming, Topics


