
Can You Bake Salt Dough After Painting?
Published on: April 8, 2025 | Last Updated: January 7, 2025
Written By: Isabella Cruz
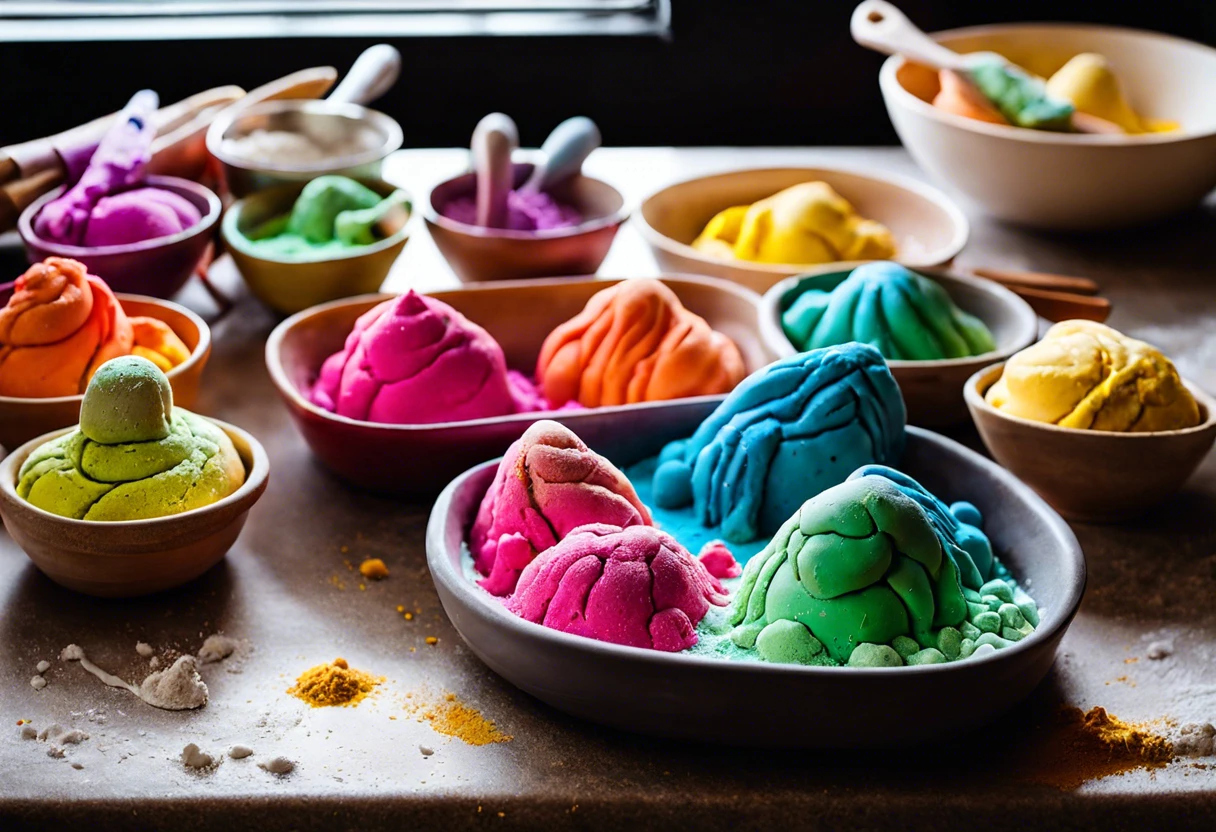
Salt dough is a fun and squishy mixture made of flour, salt, and water that you can shape into cool designs. Think of it like playdough that you bake to make it hard!
Now, let’s get to the main question: can you bake salt dough after painting? It’s important to know because if you don’t follow the right steps, your art could end up a mess! I once painted an ornament and then baked it, only to find all the colors blended together. What a letdown!
In this article, you’ll learn about making salt dough, the best ways to bake it after painting, suitable types of paint, tips for choosing colors, potential issues you might hit, and ways to enhance your finished projects. Plus, find out about creative DIY project ideas that let your imagination run wild! So let’s dive into can you bake salt dough after painting!
Contents
- 1 Can You Bake Salt Dough After Painting?
- 2 What is Salt Dough?
- 3 Before You Start Baking Your Painted Salt Dough
- 4 Steps for Preparing and Baking Painted Salt Dough
- 5 Types Of Paint Suitable for Salt Dough Creations
- 6 Can You Layer Paint on Salt Dough Before Baking?
- 7 Can You Use a Mod Podge Finish After Baking and Painting?
- 8 Best Practices for Painting Salt Dough Creations
- 9 How Heat Affects Different Paint Types
- 10 Effects of Baking Temperature on Painted Salt Dough
- 11 Alternative Finishing Techniques to Enhance Painted Salt Dough
- 12 Factors Affecting the Outcome Of Baking Painted Salt Dough
- 13 Common Issues Encountered When Baking Salt Dough After Painting
- 14 Finishing Touches to Enhance Your Painted Salt Dough Projects
- 15 Frequently Asked Questions About Baking Salt Dough After Painting
- 16 Conclusion
- 17 Additional Resources
Can You Bake Salt Dough After Painting?
No, you can’t bake salt dough after painting it. Painting before baking is the best choice. If you paint after baking, the heat could ruin the paint. When working with crafts, you might want to explore painting techniques for different surfaces. Stick to your creative process for the best results!
What is Salt Dough?
Salt dough is a simple mixture of flour, salt, and water, often used for crafting. The typical ratio is 2 parts flour (About 250 G or 8.8 Oz), 1 part salt (About 125 G or 4.4 Oz), and 1 part water (About 120 Ml or 4 Fl Oz), making it easy to shape.
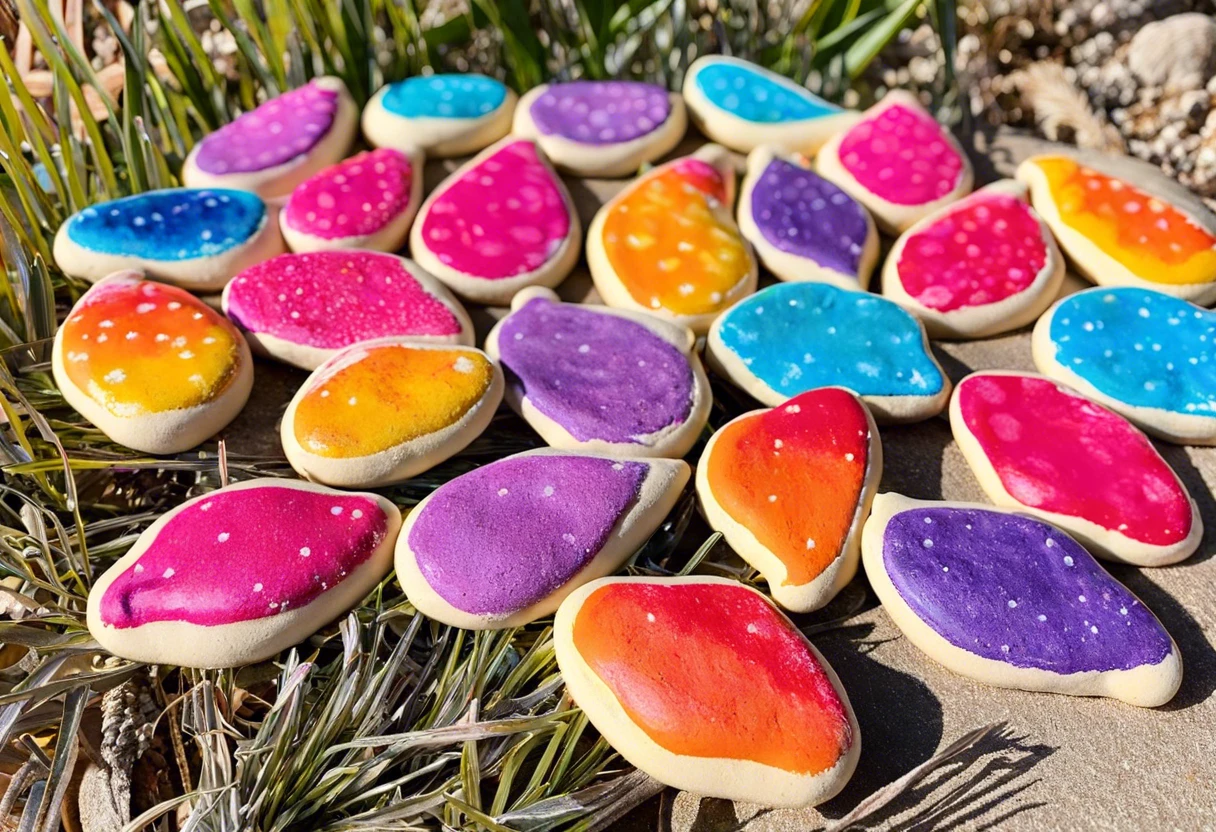
You can paint salt dough after it dries, and it’s a fun way to be creative. I remember finishing a couple of ornaments and couldn’t resist adding a vibrant layer of paint!
I used it often to make holiday decorations. The joy of personalizing the ornaments with my kids was priceless. We often discussed how to paint the salt dough to keep the colors bright and cheerful. That’s really the highlight of using this material—transforming simple shapes into cherished keepsakes! When exploring creative ceramic painting techniques, I discovered some fascinating methods for enhancing surfaces with vibrant colors.
Before You Start Baking Your Painted Salt Dough
What do you need to get started?
- Salt Dough Recipe: Combine 2 cups (480 Ml) of all-purpose flour and 1 cup (240 Ml) of salt. This forms the base for your dough.
- Food Coloring: Choose quality options like Wilton Gel Food Color for vibrant, lasting hues.
- Paint: Use acrylic paint like DecoArt Americana to enhance your creations after baking.
- Rolling Pin: A standard 20 cm (8 in) rolling pin works well for evenly flattening the dough, essential for uniform baking.
- Baking Sheet: Use a non-stick baking sheet to prevent sticking while baking at 175°C (350°F).
We’ve wrapped up the essentials before baking your painted salt dough. Let us turn our attention to the steps for preparation and baking.
Also See: Can Vinyl Shutters Be Painted? Tips for a Fresh Look!
Steps for Preparing and Baking Painted Salt Dough
Let’s cover the steps for painting salt dough and whether you can bake it afterward. Follow these steps closely to make your minted creation shine.
-
Prepare Your Salt Dough
Mix 2 cups (480 G) of all-purpose flour, 1 cup (240 G) of salt, and 1 cup (240 Ml) of water. Stir until a dough forms, then knead for about 5 minutes until smooth.
This simple recipe creates a firm dough that’s perfect for crafting. Adjust the water slightly if your dough feels too sticky or dry.
-
Shape and Craft Your Salt Dough Creation
Roll out your dough to about 0.5 cm (0.2 In) thick for ornaments. Use cookie cutters or shape by hand as desired; the options are endless!
Thinner dough dries better. Remember, larger pieces take longer to dry, so keep it small and fun if you can.
-
Allow Your Salt Dough to Dry
Set your shaped dough creations on a baking sheet to air dry for at least 24 hours. For quicker results, place them in a 100°C (210°F) oven for about 30 minutes.
Make sure they are hard before moving on. Unhardened pieces will warp or break during painting, creating a mess!
-
Paint Your Salt Dough Creations
Apply acrylic paint to your dried creations, allowing about an hour for each layer to dry. Use bright colors, and have fun—after all, you want these pieces to pop!
Be careful not to paint too thickly; I once made that mistake, and the paint crackled as it dried. Thin layers work best, trust me!
-
Final Step: Baking Your Painted Salt Dough
Bake your painted salt dough at 120°C (250°F) for 15-30 minutes. Keep an eye on it, as baking too long can ruin that lovely paint job.
This step locks in your colors, but remember, if you’re using non-heat-resistant paint, check the label first to avoid melting! That’s a lesson I won’t forget.
We covered steps for preparing and baking painted salt dough. We will now cover suitable paint types for salt dough creations.
Types Of Paint Suitable for Salt Dough Creations
Let’s explore the types of paint: acrylic, watercolors, spray paint, and tempera.
-
Acrylic Paint
Acrylic paint is a popular choice for salt dough creations. It’s water-based, dries quickly, and creates vibrant designs. However, can you bake salt dough after painting it?
-
Watercolors
Watercolors are great for subtle effects and delicate details. However, they may not be as durable after baking.
-
Spray Paint
Spray paint provides even coverage and a smooth finish. It’s crucial to check the label, as some brands may require specific drying times.
-
Tempera Paint
Tempera paint is non-toxic and easy to use. However, it’s less durable than acrylic, which might be a concern when baking your painted salt dough. Don’t bake it!
Having experienced similar situations, I prefer acrylics. They hold up well after baking, allowing my creations to shine with color and detail.
You should now have a good understanding of suitable paints for salt dough, including their types and uses. In the next part, we’ll discuss layering paint before baking.
Can You Layer Paint on Salt Dough Before Baking?
Yes, you can layer paint on salt dough before baking, but it requires some finesse.
- Start Light: Use a lighter color as your base, letting it dry completely. Layering helps create depth.
- Drying Time: Allow each layer to dry before adding more. This prevents smudging and promotes vivid colors.
- Thin Coats: Apply thin, even coats. Thick layers can crack or bubble during baking.
We’ve wrapped up the discussion on layering paint on salt dough before baking. Let us turn our attention to using Mod Podge after baking and painting.

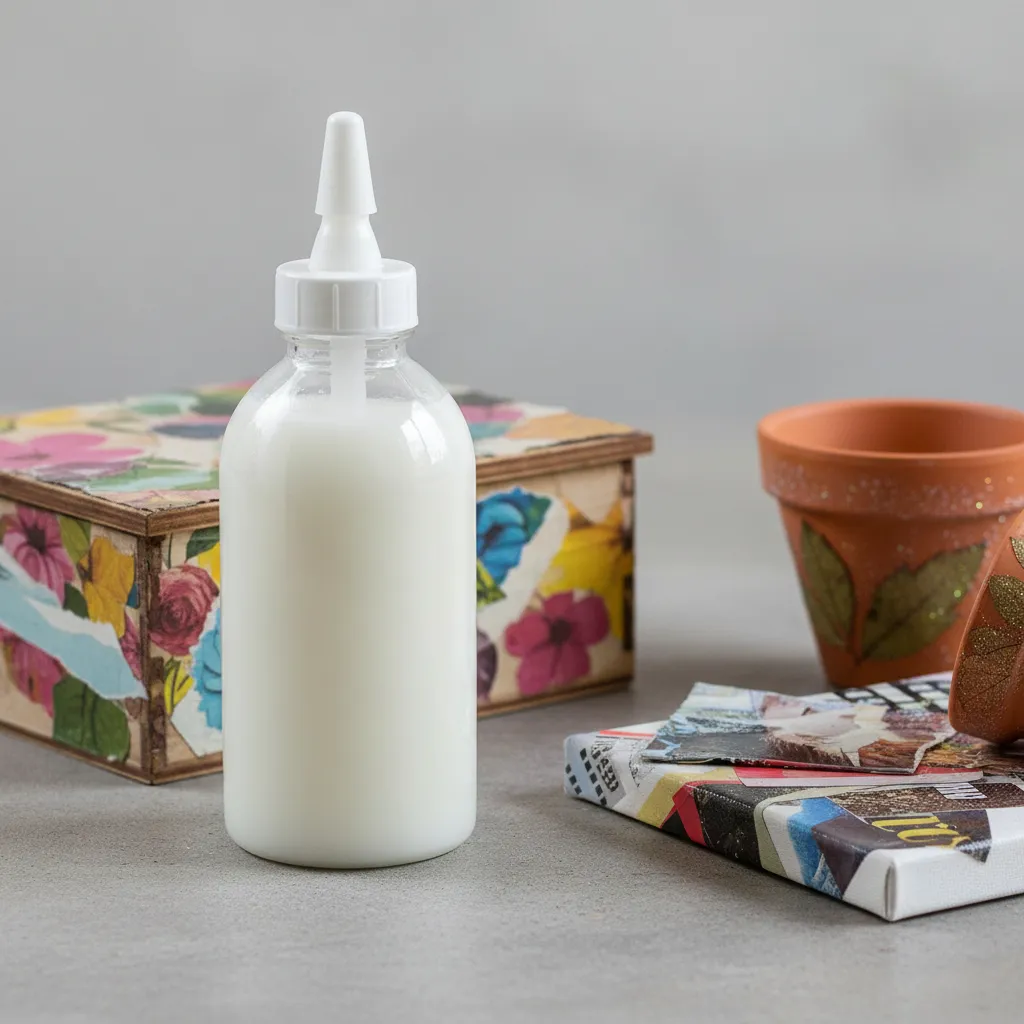
Can You Use a Mod Podge Finish After Baking and Painting?
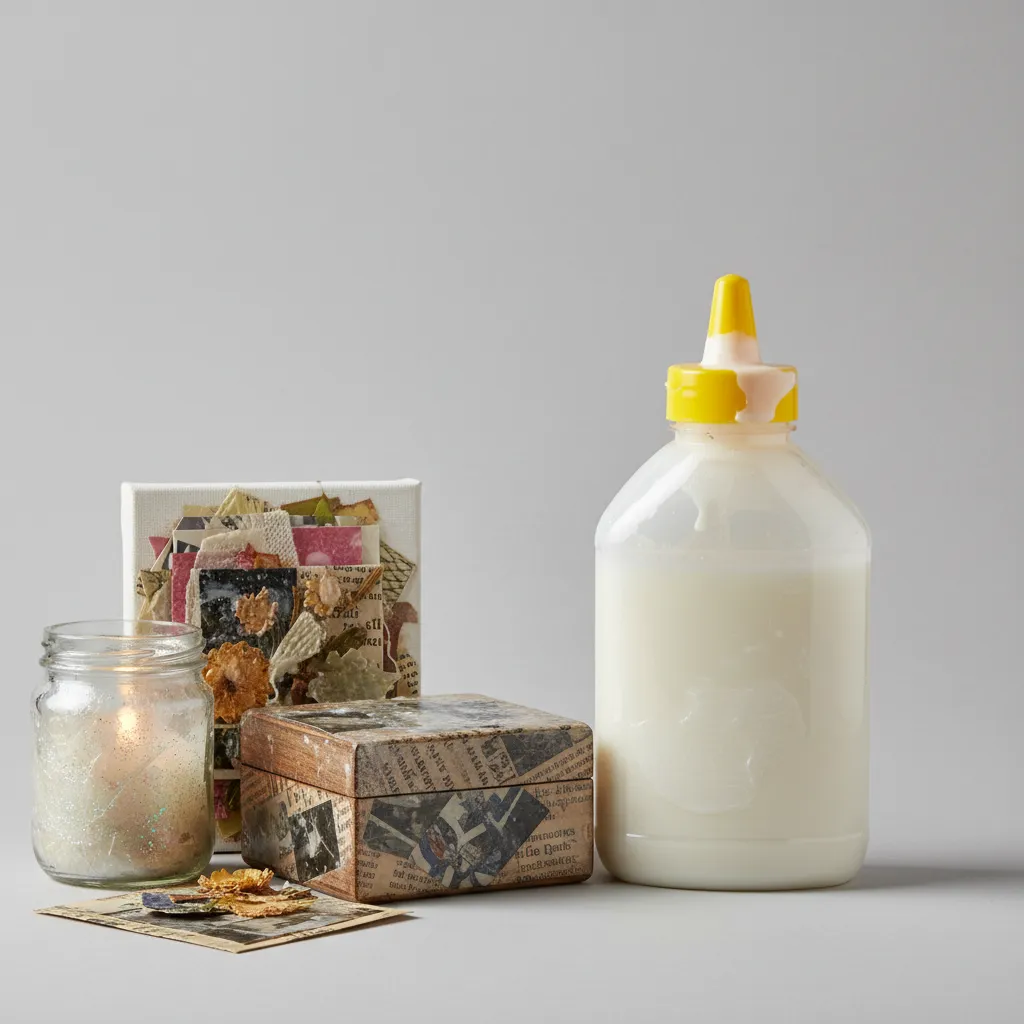
Absolutely! A Mod Podge finish is perfect for sealing your salt dough masterpieces.
- Sealing Benefits: It protects against moisture and enhances vibrancy.
- Application: Use a soft brush, applying a thin coat. Let it dry between layers for a robust seal.
- Types: Choose between matte or glossy finishes according to your desired look.
Best Practices for Painting Salt Dough Creations
Follow these best practices for stunning results when painting your salt dough crafts.
| Practice | Description | Tips |
|---|---|---|
| Choose Quality Paint | Select acrylics for vibrant colors that last. | Test on a scrap piece first! |
| Use a Primer | A primer can help colors stick better. | A spray primer works well! |
| Experiment with Techniques | Try sponging, stenciling, or splatter techniques. | Get creative and have fun! |
| Finish with a Sealer | Acrylic sealer protects your art. | Ensure it’s non-yellowing for longevity. |
How Heat Affects Different Paint Types
Not all paints respond the same to heat. Here’s a look at how common paint types react when baked on salt dough.
| Paint Type | Heat Resistance | Recommended Usage |
|---|---|---|
| Acrylic | Good | Ideal for baking; retains color. |
| Watercolors | Poor | Use for post-baking application. |
| Spray Paint | Varies | Check labels; use with caution. |
| Tempera | Low | Avoid baking; not durable at high temps. |
Effects of Baking Temperature on Painted Salt Dough
Baking temperature is crucial for your painted salt dough. Too hot, and you might ruin your design!
| Baking Temperature (°C/°F) | Effects on Salt Dough | Recommended Action |
|---|---|---|
| 90°C (200°F) | Slow and gentle drying, minimal risk of paint damage. | Best for delicate painted designs. |
| 120°C (250°F) | Standard baking temperature, most paints hold well. | Use for average thickness pieces and quick results. |
| 160°C (320°F) | Higher risk of bubbling or cracking paint. | Monitor closely; check every 5 minutes. |
| 200°C (392°F) | High chance of paint damage; can burn dough. | Avoid unless necessary; use lower temps instead. |
Alternative Finishing Techniques to Enhance Painted Salt Dough
If you’re looking to add that extra sparkle or protection, consider these techniques!
-
Glitter Finish
Sprinkle fine glitter over wet paint to create a shimmering effect.
-
Colored Rubbing Alcohol
Using a mix of colored rubbing alcohol can create a marbled effect, looking very cool!
-
Stenciling
Apply paint through stencils after the base layer dries for detailed designs.
-
Textured Finish
Use sponges or crumpled plastic wrap while painting for a unique textured look.
Factors Affecting the Outcome Of Baking Painted Salt Dough
What factors influence baking painted salt dough? Here’s a quick overview.
-
Type of Paint: Acrylic paint cures well, but oil-based paint can create a sticky surface.
-
Drying Time: Insufficient drying time can cause smudging and blurry details.
-
Baking Temperature: Too high a temperature can burn the dough, while too low may not set the paint.
-
Moisture Content: Excess moisture can lead to bubbling instead of a smooth finish.
Common Issues Encountered When Baking Salt Dough After Painting
Last week, my friend baked salt dough ornaments after painting them with acrylics. They bubbled and cracked! This happens because most paints aren’t heat-resistant.
To fix this, use heat-safe paint. If bubbling occurs, lower the baking temperature to 160°F (71°C) and check every 5 minutes. Trust me, it makes a big difference!
Finishing Touches to Enhance Your Painted Salt Dough Projects
After baking your salt dough creations, let them cool completely for at least 30 minutes. Then, seal them with a water-based acrylic sealer for moisture protection.
Inspect your salt dough closely. Look for cracks or air bubbles, as these can weaken the structure. Check the surface to ensure it’s smooth and even before sealing.
Personally, I’d add a clear resin coat after sealing. This enhances durability and gives your projects a professional, glossy finish that lasts and withstands wear.
Also See: Can You Paint PVC? Tips for Your Projects!
Frequently Asked Questions About Baking Salt Dough After Painting
Can You Use Any Type Of Paint on Salt Dough?
Yes, you can use any type of paint on salt dough. However, acrylic paints offer the best results due to their vibrant colors and durability. They dry quickly and adhere well, preventing any peeling or flaking later.
Will Baking Damage the Painted Surface?
No, baking won’t damage the painted surface. Baking solidifies the salt dough while also sealing the paint, keeping your colors intact for years. Be sure to follow the correct baking time to avoid overcooking. If you encounter any paint imperfections during the process, you might want to explore repairing chipped paint techniques.
How Long Should I Bake Salt Dough Creations Painted?
You should bake painted salt dough for about 30 minutes at 100°C (212°F). This time allows the dough to fully harden without compromising the paint’s quality. Let them cool before touching.
Can I Use Watercolor Paints on Salt Dough?
Yes, you can use watercolor paints on salt dough, but be cautious. Watercolors may fade or bleed, especially if the dough isn’t fully dry. For optimal results, prefer acrylic or tempera paints for vibrant, lasting colors. When selecting the perfect paint, consider exploring best ceiling painting techniques.
Will the Color Fade After Baking Salt Dough?
No, colors shouldn’t fade after baking salt dough. Quality paints like acrylics will retain their vibrancy. Ensure you apply the paint evenly and let it cure properly for the best outcome.
Can You Paint Salt Dough Ornaments After Baking?
Yes, you can paint salt dough ornaments after baking. This allows for easier application and better control of vibrant colors. Just seal with a clear coat when done to protect the paint!
Can Baking Soda Remove Paint From Salt Dough?
Yes, baking soda can remove paint from salt dough. Apply a paste of baking soda and water gently onto the paint, letting it sit briefly before scrubbing lightly. It’s a safe, effective way to fix any paint mishaps! If you’re curious about painting techniques and wood preparation, check out how to prepare wood surfaces for painting.
Conclusion
I’m glad we could cover this together. We discussed salt dough basics, post-painting baking tips, recommended color palettes, suitable paint types, factors affecting baking outcomes, common issues, finishing touches, and fun DIY project ideas.
It’s important to note that baking salt dough after painting can damage your project, as the heat may negatively impact the paint. For further insights on painting salt dough or related topics, feel free to reach out.
For additional information, Paint Answers offers extensive resources to support your creative endeavors.
Additional Resources
- Edwards, B. (2012). Drawing on the Right Side of the Brain. New York, NY: TarcherPerigee.
- Painting Salt Dough – How Wee Learn
- The Best Salt Dough Recipe to Get Great Results Every Time
- How to make salt dough – Easy salt dough recipe | toucanBox
Isabella is a Filipino-American art writer and critic specializing in contemporary painting, blending her Filipino heritage with global art trends. She holds a BFA from California State University, Long Beach, and a Minor in Art History from the University of the Philippines. Isa has experience as a Gallery Assistant, Art Appraisal Specialist, and Social Media Creative for Art & Design.
Ceramic, Material


