
Can You Paint A Plastic Plant Pot?
Published on: March 17, 2025 | Last Updated: January 7, 2025
Written By: Alisha Winters
A plastic plant pot is a container for your plants, usually made out of plastic. Think of it as a cozy little home where your green friends can grow and be happy!
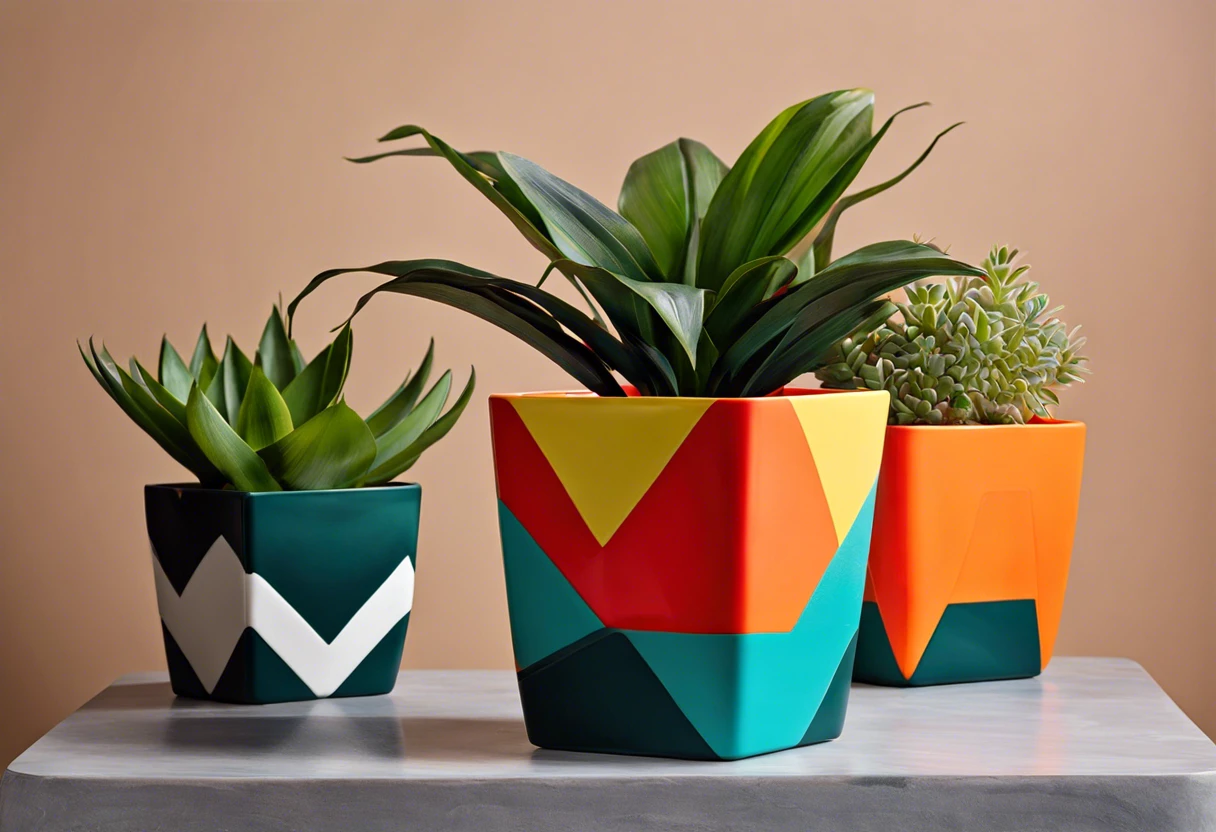
Can you paint a plastic plant pot? It’s important to know because painting plastic plant pots can give your pots a fresh look and match your decor. I once painted mine in vibrant colors, and it totally brightened up my space!
In this guide, you’ll learn how to prepare for painting, discover suitable paint types, find a color palette, and get tips on common issues and finishing touches. We’ll also dive into creative DIY projects for customizing your plastic plant pots, showing how can you spray paint plastic planters for fun results.
Contents
- 1 Can You Paint a Plastic Plant Pot?
- 2 What is a Plastic Plant Pot?
- 3 Before You Start Painting Your Plastic Plant Pot
- 4 Steps to Successfully Paint a Plastic Plant Pot
- 5 Types Of Paint Suitable for Plastic Plant Pots
- 6 Factors Affecting the Success Of Painting a Plastic Plant Pot
- 7 Common Issues When Painting a Plastic Plant Pot
- 8 Finishing Touches for Your Painted Plastic Plant Pot
- 9 Creative DIY Project Ideas for Customizing Your Plastic Plant Pots
- 10 Comparing Paint Finishes for Your Plastic Plant Pots
- 11 Using Upcycled Materials in Your Painting Process
- 12 Tips for Designing Patterns on Your Painted Plastic Plant Pots
- 13 Frequently Asked Questions on Painting Plastic Plant Pots
- 14 Conclusion
- 15 Useful Resources
Can You Paint a Plastic Plant Pot?
Absolutely! You can paint a plastic plant pot. Just clean it well, use a primer suited for plastic, and choose acrylic or spray paint that’s also for plastics. Enjoy your colorful gardening!
What is a Plastic Plant Pot?
A plastic plant pot is a container made mainly from plastic, typically polypropylene or polyethylene, used for growing plants. These pots are lightweight, durable, and weather-resistant, making them popular in gardening and landscaping.
You might wonder about painting a plastic plant pot. I once painted a plastic flower pot, and I was amazed at how it brightened my space.
I found a plastic plant pot useful for work, especially when transporting seedlings. Experimenting with painting plastic plant pots opened up creative possibilities, from vibrant colors to unique designs that match any style. If you’re curious about mixing paint for your project, painting techniques for materials can help achieve the perfect finish. Trust me, it’s a fun way to personalize your plants!
Before You Start Painting Your Plastic Plant Pot
What do you need to get started?
- Plastic Paint or Spray Paint: Choose products like Rust-Oleum Specialty Plastic Spray Paint or Krylon Fusion for Plastic, which are designed for plastic surfaces for better adhesion.
- Sandpaper 💰 Save on Assorted Grit Sandpaper → : Get 220-grit sandpaper to roughen the surface, helping the paint stick better and improving durability.
- Primer: Use a plastic primer, like Zinsser 123, that provides a strong base for your paint.
- Paintbrush or Spray Nozzle: Select high-quality brushes or a spray nozzle, such as the Graco Ultra, for an even coat and smoother finish.
You should now have a good understanding of preparing your plastic plant pot for painting. In the next part, we’ll discuss the steps for successful painting.
Also See: Where Can You Make Prints Of Your Paintings?

Steps to Successfully Paint a Plastic Plant Pot
Follow these steps to paint plastic plant pots successfully.
-
Clean the Plastic Plant Pot
Rinse the pot with warm water and a little dish soap to remove dirt and grime. This helps the paint stick better to the surface.
Rinse thoroughly and let it dry completely. The pot should feel smooth and clean before moving on.
-
Apply Primer
Choose a primer designed for plastic surfaces. Look for options that specifically say they adhere to plastic. Apply a thin, even coat using a brush or spray can for the best results.
Let the primer cure for about 30 minutes or until it feels dry. This step is crucial as it prepares the surface for the paint.
-
Choose the Right Paint
Select paint compatible with plastic—acrylic sprays or specialized acrylic paints work well. For durability, choose paints intended for outdoor use if the pot will be outside.
If you’re unsure, I’ve been there and prefer a semi-gloss finish. It’s attractive and more resistant to moisture.
-
Start Painting
Use even strokes to paint the pot, maintaining a distance of about 12 to 18 inches (30 to 46 Cm) for uniform coverage. Aim for light layers to avoid drips and ensure the colors stand out.
Let the first coat dry for at least an hour, then check if a second coat is needed—often, a second coat enhances color depth.
-
Allow for Proper Drying Time
Let the painted pot dry for a full 24 hours in a cool, well-ventilated area. Don’t rush; this helps seal everything in place.
If you plan to use the pot outdoors, allow extra time for curing to improve your planter’s durability against the elements.
We have now covered the steps needed to effectively paint a plastic plant pot. Next, we will discuss suitable paint types.
Types Of Paint Suitable for Plastic Plant Pots
Let’s explore different types of paint for your pots: acrylic, spray paint, epoxy, and specialty paints.
-
Acrylic Paint
Acrylic paint is popular because it’s water-based and easy to use. It adheres well to plastic pots and typically lasts about 5-7 years with proper care.
-
Spray Paint
Spray paint offers a smooth, even finish and is quick to apply, making it a favorite among DIYers. Look for types labeled for plastic, as these provide better adhesion and durability.
-
Epoxy Paint
Epoxy paint offers superior bonding and resists fading and chipping. This type can last up to 10 years, making your plant pot both attractive and tough.
-
Specialty Paints
These paints are formulated specifically for plastics and often include UV protection. Using this paint ensures bright colors won’t fade from sun damage, preserving your design!
Having faced similar challenges before, I prefer using acrylic paint. It’s easy to apply and offers many color options, making my plastic plant pots look great!
We’ve wrapped up the various types of paint suitable for plastic plant pots here. Let us turn our attention to the factors influencing successful painting.
Factors Affecting the Success Of Painting a Plastic Plant Pot
What factors matter when painting a plastic pot?
-
Surface Preparation: Cleaning the pot thoroughly helps paint adhere better to the plastic.
-
Type of Paint: Use paint labeled for plastic for strong, long-lasting coverage.
-
Environmental Conditions: Painting in a well-ventilated, dry area prevents moisture-related issues.
-
Application Method: Spraying or brush techniques provide different finishes—choose wisely!
That covers the elements influencing the successful painting of a plastic plant pot. Let’s now take a look at typical challenges encountered during this process.
Common Issues When Painting a Plastic Plant Pot
My friend painted plastic pots without cleaning them first. The paint flaked off after drying. Yikes!
To fix this, use a degreaser and sand the surface for better adhesion. Choose acrylic or spray paint designed for plastics, like Rust-Oleum, which works best at temperatures around 10°C (50°F).
Finishing Touches for Your Painted Plastic Plant Pot
After painting your plastic pot, let it dry for 24 hours at room temperature (20-22°C, 68-72°F). Protect it with a clear acrylic sealer for added durability and weather resistance.
Inspect the surface for cracks or peeling paint every month. Use a moisture meter for accurate soil moisture levels and avoid overwatering to prevent pot damage.
From one expert to another, consider applying a second coat of paint for a richer color. Use automotive paint for better adhesion and scratch resistance, as it’s designed for tough conditions.
Creative DIY Project Ideas for Customizing Your Plastic Plant Pots
Have some old plastic plant pots lying around? Why not transform them into stunning pieces of art by wrapping them in colorful yarn or creating a mosaic with broken tiles!
To wrap pots in yarn, grab some vibrant yarn (Around $5) and a glue gun. You’ll spend about an hour creating a unique grip that thrills you every time you water your plants.
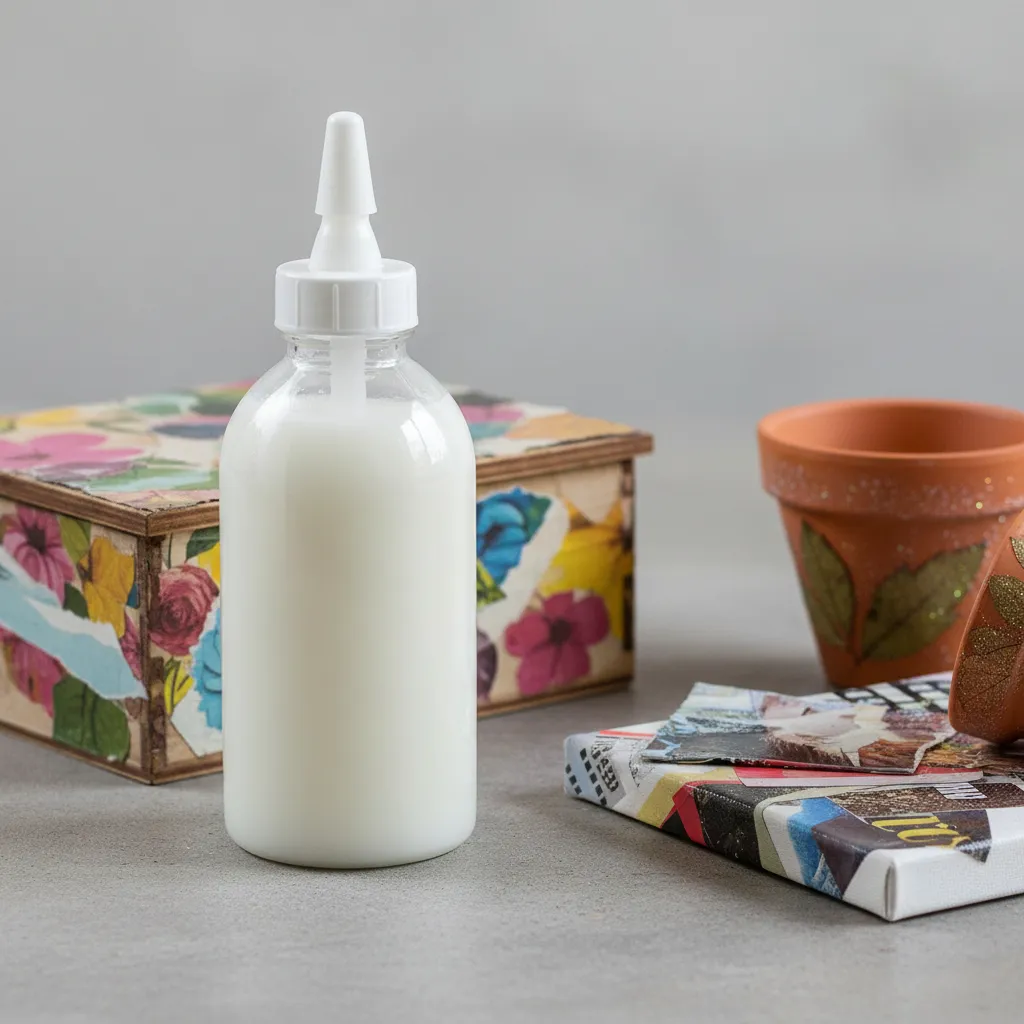
If you want to paint those plastic pots, consider decoupage with paper! You can apply paper designs using Mod Podge, and trust me, the results are mind-blowing and relatively budget-friendly—the whole project only costs around $10! If you’re feeling adventurous and want to explore other painting techniques, painting metal surfaces like brake calipers can be another exciting DIY project to try.

Comparing Paint Finishes for Your Plastic Plant Pots
Different paint finishes can change the overall look of your pots. Here’s a quick comparison.
| Finish Type | Description | Recommended Usage |
|---|---|---|
| Matte | Non-reflective, soft finish for a natural look. | Indoor pots, low-maintenance environments. |
| Semi-Gloss | Slight shine provides durability and ease of cleaning. | Outdoor pots or high-traffic areas. |
| Gloss | Highly reflective surface for a vivid, striking look. | Accent pieces or in bright, sunny areas. |
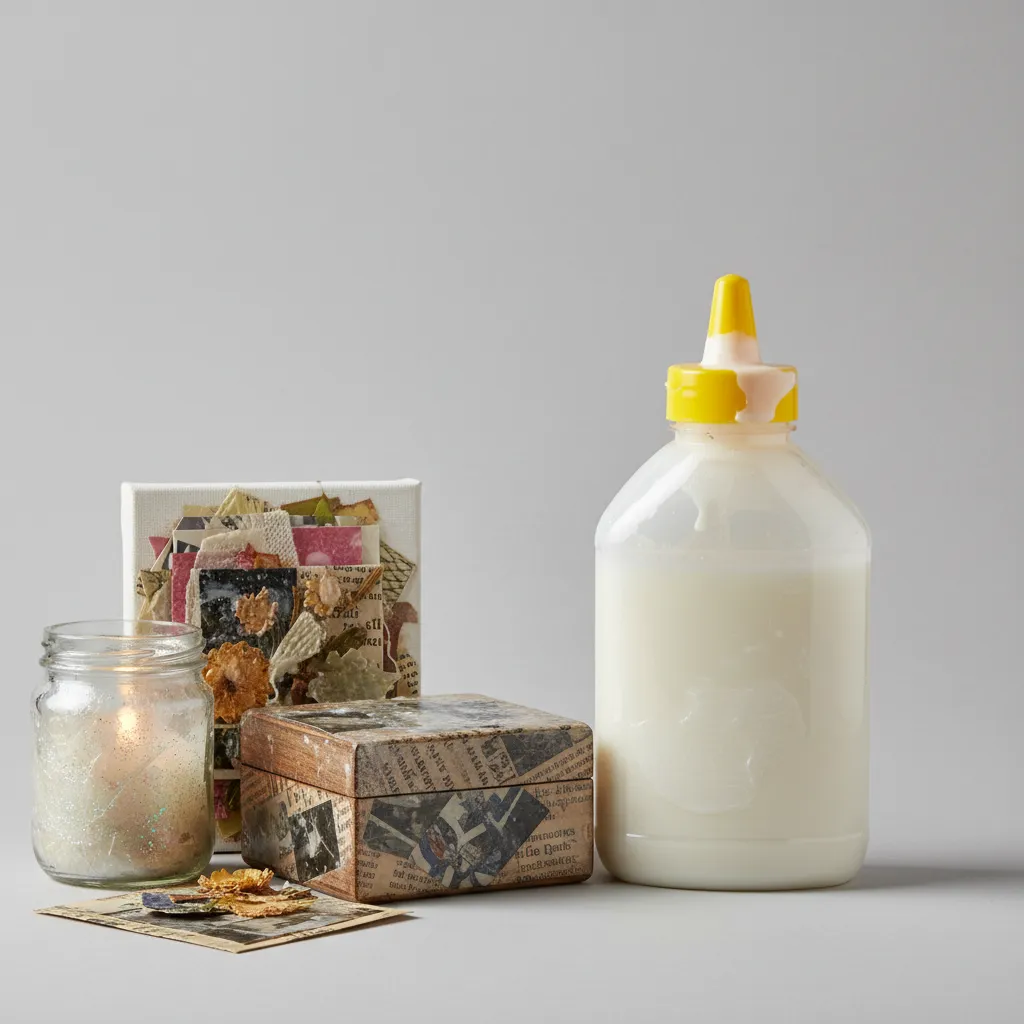
Using Upcycled Materials in Your Painting Process
Here’s how you can incorporate upcycled materials in your project.
-
Old Newspapers
Use them to create a fun decoupage effect on the pots. Tear them into strips, apply with glue, and paint over for a textured finish.
-
Fabric Scraps
Wrap or decoupage using colorful fabric scraps for a soft, different texture. It’s a sustainable way to personalize your pots.
Recommended SuppliesAs an Amazon Associate, I earn from qualifying purchases. Images are representative. -
Recycled Paint Containers
Use those empty paint containers as planters! Paint them up in your style, add drainage holes, and you’ve got eco-friendly planters.


Tips for Designing Patterns on Your Painted Plastic Plant Pots
Want to take your painted pots to the next level? Let’s explore some fun pattern ideas!
-
Stripes
Use painter’s tape to create crisp lines. Alternate colors for a bold look. It’s simple and effective!
-
Stencils
Find or make stencils of your favorite shapes. Spray or brush paint over them for beautiful designs. You can even customize them to match your decor!
-
Dots and Dashes
Create a playful look by painting small dots or dashes using a toothpick or the end of a paintbrush. It’s easy and fun!
-
Abstract Shapes
Unleash your creativity! Pour different colors onto the pot and tilt it to create a unique effect. No two pots will look the same!
Frequently Asked Questions on Painting Plastic Plant Pots
Can You Use Regular Paint on Plastic Plant Pots?
Regular paint isn’t ideal for plastic plant pots. Standard paints do not adhere well, leading to quick peeling or wear due to moisture. Using specialized paint ensures a lasting finish. Regular paint also can’t flex with temperature changes.
What Type Of Primer is Best for Plastic Plant Pots?
The best primer for plastic plant pots is an adhesion primer designed for plastic surfaces. These primers promote paint adhesion by creating a bond. Look for options like KILZ or Zinsser. They cost about $10 (USD) for a quart (946 Ml) and make a big difference. If you want to explore specific techniques for modifying your paint application, check out changing paint application methods.
How Do I Prevent the Paint From Chipping Off?
To prevent paint from chipping off plastic plant pots, always use spray paint designed for plastics. The flexibility it offers stands up to sunlight and water better than standard paints. Additionally, seal your painted pot with a clear acrylic sealant; this adds protection. If you’re feeling creative and want to explore alternative painting techniques, you might want to experiment with chalkboard paint on different surfaces.
Can I Use Acrylic Paint on Plastic Plant Pots?
No, you cannot use acrylic paint on plastic plant pots without proper preparation. Acrylic paint is not inherently adhesive on plastic, so it could flake off easily. If using acrylic, ensure the surface is primed to increase longevity. When considering painting outdoor surfaces, you might want to explore professional techniques for painting exterior surfaces effectively.
What is the Best Way to Clean a Plastic Plant Pot Before Painting?
The best way to clean a plastic plant pot before painting is to wash it with soapy water and a scrub brush. Scrub away dirt and residues to ensure proper adhesion. Rinse thoroughly and let it dry completely before applying any primer or paint. If you want professional tips on transforming your plastic surfaces, check out these expert painting techniques.
How Long Do Painted Plastic Plant Pots Last?
Painted plastic plant pots can last between 2 to 5 years. Factors like weather conditions, paint quality, and maintenance affect their longevity. Using UV-resistant paint along with a protective seal can extend their life considerably. If you want to ensure the best finish and durability, proper paint cleaning techniques can help maintain your pot’s appearance.
Do I Need to Seal Painted Plastic Plant Pots?
Yes, sealing painted plastic plant pots is highly recommended. A sealant adds an extra layer of protection against moisture and UV rays, preventing fading and chipping. Use a clear outdoor sealant, and prepare to reapply every 1-2 years for best results.
Can You Spray Paint Plastic Planters?
Yes, you can spray paint plastic planters. In fact, spray paint specifically designed for plastic surfaces provides excellent adhesion. Just make sure to apply a primer beforehand for optimal results. If you’re new to this craft, you might want to explore diamond painting techniques for additional creative inspiration.
Conclusion
I’m glad we could cover this together. We discussed what a plastic plant pot is, how to prepare it for painting, suitable paint types, recommended colors, steps to do it successfully, potential issues, and some creative DIY ideas.
So yes, you can paint a plastic plant pot. Just remember to clean it, choose the right paint, and finish strong for the best results. If you have any further questions about painting plastic flower pots, garden pots, or similar topics, don’t hesitate to ask.
For more information on techniques, tips, and best practices, visit our main page at Paint Answers.
Useful Resources
- Smith, R. (2003). The Artist’s Handbook of Materials and Techniques (5th ed.). New York, NY: Knopf.
- How to Paint Plastic Plant Pots | Hunker – Pinterest
- The cutest DIY idea of painting plastic flower pots – Learn to create beautiful things
- How to paint plastic plant pots with kids – Easy Garden Crafts – Red Ted Art – Kids Crafts
Experienced interior designer with 15+ years in transforming spaces, blending artistry with expertise in color and design. Rhode Island School of Design graduate, specializing in restorations and modern makeovers.
Material, Plastic


