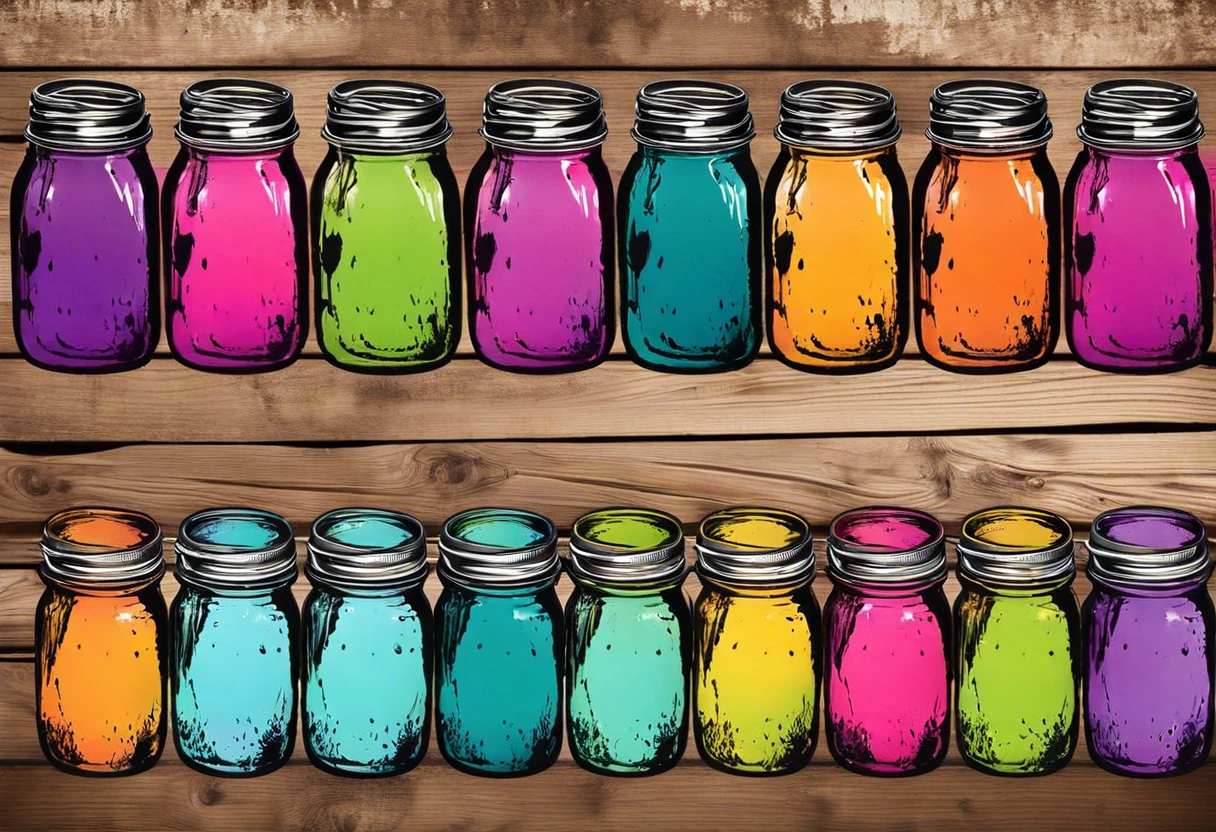
How Do You Paint Mason Jars?
Published on: March 2, 2025 | Last Updated: January 7, 2025
Written By: Alisha Winters
Mason jars are glass bottles used for canning foods, but they’re also a fantastic canvas for art! You can turn these simple jars into colorful decorations for your home or gifts for friends.
So, how do you paint mason jars? It’s super important to learn this because a well-painted jar can brighten up any space. I remember my first time; I went all out, and the results wowed my family!
In this article, you’ll explore essential materials, steps for a successful paint job, color ideas, types of paint, factors that affect your work, common issues and solutions, finishing touches, and creative DIY project ideas. This guide will help you with how do you paint mason jars and how to paint the inside of mason jars, making your creative journey easier and more fun!
Contents
- 1 How Do You Paint Mason Jars?
- 2 What Are Mason Jars?
- 3 Essential Materials Before You Start Painting Mason Jars
- 4 Steps to Paint Mason Jars Successfully
- 5 Recommended Color Palette for Painting Mason Jars
- 6 Different Types Of Paint Suitable for Mason Jars
- 7 Factors Affecting the Painting Process Of Mason Jars
- 8 Common Issues When Painting Mason Jars and How to Fix Them
- 9 Finishing Touches to Enhance Your Painted Mason Jars
- 10 Creative DIY Project Ideas Using Painted Mason Jars
- 11 Maintenance Tips for Painted Mason Jars
- 12 Frequently Asked Questions About Painting Mason Jars
- 13 Conclusion
- 14 Useful Resources
How Do You Paint Mason Jars?
To paint mason jars, start by cleaning them. Use acrylic or spray paint for color. For a neat finish, paint the outside or inside as desired. If you want to master the delicate technique of creating smooth, glossy surfaces, check out how to create perfect acrylic paint effects. Finally, seal with a clear spray to protect your art!
What Are Mason Jars?
Mason jars are glass containers primarily used for preserving food. Invented in 1858 by John Mason, they come in various sizes, typically ranging from 125 milliliters (Ml) to 3.8 liters (L), and feature a lid that seals tightly to create an airtight environment.
There are many creative ways to paint mason jars. I’ve painted the insides with acrylics, which gives a soothing glow to tea candles inside.
A friend of mine used painted mason jars for a wedding centerpiece. She chose the inside painting method, and the soft shine and color made everything pop! If you’re feeling crafty and want to learn how to paint mason jars, just get the right paints and blend those colors like she did.
Essential Materials Before You Start Painting Mason Jars
What do you need to paint? Here’s a quick checklist.
- Acrylic Paint: Use brands like FolkArt or DecoArt. They’re vital for vibrant, durable colors on mason jars.
- Paintbrushes: Get synthetic brushes, size 6 to 10. These help you reach tricky spots and create fine details.
- Clear Sealant: Choose a clear spray sealant like Krylon. It’s essential to protect your designs and enhance longevity.
- Painter’s Tape 💰 Save on Blue Painter’s Tape → : Use high-quality tape like FrogTape. You’ll need this to create sharp lines and keep your work neat.
- Soap and Water: All-natural soap is great for cleaning your jars before painting. It ensures proper paint adherence.
We covered necessary materials and preparations for painting mason jars. We will now cover the steps for successful painting.
Also See: Can You Paint Patio Pavers? Yes, Here’s How!

Steps to Paint Mason Jars Successfully
Follow these steps to paint mason jars like a pro!
-
Prepare Your Mason Jars
Start with clean jars. Wash them thoroughly in hot, soapy water, then dry completely to avoid dust and dirt ruining your paint job.
Check for labels. If there are any, use an adhesive remover or soak the jars in warm, soapy water to peel off the sticky labels easily.
-
Select Your Painting Method
Choose between spray paint, acrylic paint, or chalk paint. For a smooth finish, spray paint works best; it dries faster and provides even coverage.
Decide whether to paint the outside or the inside. Painting inside makes the jars food-safe, especially for storage.
-
Apply the Paint
If you choose spray paint, hold the can about 15 cm (6 Inches) away from the jar. Use thin, even coats for a smooth look. Don’t rush—2 or 3 thin layers create a better finish.
If you opt for acrylic paint, use a paintbrush for better control. Dip your brush into the paint and start from the top, working your way down. Be patient; let each coat dry before applying another to avoid streaks. When mixing colors for your project, you might want to explore how to create specific shades like blending colors for purple.
-
Let It Dry Properly
After applying your last coat, allow it to dry for at least one hour. Rushing could smudge your hard work!
For maximum durability, place your painted jars in a well-ventilated area or out in the sun for a quick cure. This helps the paint bond better and extends the jars’ lifespan.
That covers the effective techniques for painting mason jars. Let’s now take a look at suggested color choices for your project.
Recommended Color Palette for Painting Mason Jars
I recommend a “Coastal Breeze” palette for painting your mason jars. It brings together calming and harmonious shades, perfect for creating a serene vibe in your space.
| Color Box | Hex Code | Color Name |
|---|---|---|
| #A0DFFF | Sky Blue | |
| #F7B2A3 | Coral Pink | |
| #FFF5BA | Light Yellow | |
| #BEF5B6 | Mint Green |
So far we covered a suggested color palette for painting mason jars. Let’s look at various paint types suitable for mason jars next.
Different Types Of Paint Suitable for Mason Jars
Let’s explore various paint types you can use: acrylic, spray paint, glass paint, and chalk paint.
-
Acrylic Paint
Acrylic paint is water-based, easy to use, and dries quickly, usually within 30 minutes. It adheres well to mason jars, making it a great choice for DIY projects.
-
Spray Paint
Spray paint provides a smooth finish and comes in various colors, allowing coverage in hard-to-reach areas. Options include both gloss and matte finishes, so you can select the desired effect for your jars. If you’re looking to transform surfaces with different base coatings, you might want to explore painting material techniques.
-
Glass Paint
Glass paint is specially formulated to adhere to glass surfaces without chipping. It’s an excellent choice if you’re painting the inside of mason jars for a stained-glass effect.
-
Chalk Paint
Chalk paint offers a textured, matte finish and requires minimal prep, making it perfect for a rustic look. This paint is ideal for upcycling jars, as it’s made of non-toxic materials.
Personally, I love using chalk paint for mason jars. It creates a charming, vintage vibe that really stands out on my shelves!
You should now have a good understanding of paint types for mason jars. In the next part, we’ll discuss painting process factors.

Factors Affecting the Painting Process Of Mason Jars
What factors influence how you paint these delightful jars?
-
Surface Preparation: A clean surface ensures better paint adhesion, preventing peeling.
-
Type of Paint: Different paints, like acrylic or spray paint, provide various finishes and durability.
-
Painting Technique: Techniques such as swirling or layering affect the final appearance and texture.
-
Curing Time: Adequate drying time influences the hardness of the paint layer and its longevity.
Common Issues When Painting Mason Jars and How to Fix Them
When my friend used spray paint on mason jars, she noticed drips from thick layers. It’s messy! She switched to 1–2 light coats, and that did the trick.
For sealing, a clear acrylic sealer—aim for 1 liter (34 Oz)—works wonders. Apply light coats every 30 minutes, and you’re set!
Finishing Touches to Enhance Your Painted Mason Jars
After you’ve painted your mason jars, let them cure for 72 hours for a solid finish. This allows the paint to harden and bond properly, ensuring lasting color.
Inspect the painted surface for cracks or bubbles. If you see imperfections, sand lightly with 120-grit (American Grit Scale) sandpaper 🔥 Deal: Assorted Grit Sandpaper → to smooth the area, then reapply paint.
I’d recommend using a clear acrylic sealer spray, like Rust-Oleum, for durability and shine. This prevents wear and keeps the fresh look long-term.
For expert techniques, layer different finishes, like matte or gloss, for a blended and textured effect. Use airbrush techniques for finer details or intricate designs.
Creative DIY Project Ideas Using Painted Mason Jars
How about transforming those mason jars into charming lanterns or whimsical planters? Imagine bright lights or lovely plants sitting on your porch – it’s a cozy touch!
For lanterns, grab some twinkling fairy lights and a few jars. You’ll spend around $15 for fairy lights and a couple of jars. Plan for an afternoon of fun!
If you’re feeling adventurous, try using glass etching cream instead of traditional paint. It creates a frosted look and can be super unique. Or, skip the paint and decoupage colorful paper onto the jars for a vibrant twist! Many artists like Bob Ross have inspired creative techniques for transforming ordinary surfaces, and you might want to explore his iconic painting styles.
Maintenance Tips for Painted Mason Jars
Keep your painted mason jars looking fresh with these easy tips:
- Hand wash with a soft cloth instead of the dishwasher to prevent damage.
- Store away from direct sunlight to avoid fading.
- Touch up paint if you notice any chips or scratches; this will keep them looking brand new!
Frequently Asked Questions About Painting Mason Jars
What Type Of Paint Works Best for Mason Jars?
High-quality acrylic paint for glass surfaces works best for mason jars. Acrylic paint adheres well to glass, making it durable and rich in color. Water-based formulas are easy to clean up and generally safe to use indoors, while prices can range from $5 to $20 per bottle (Depending on the Brand and Size).
Can I Use Spray Paint on Mason Jars?
Yes, you can use spray paint on mason jars. Spray paint provides a smooth finish and covers even tricky areas quickly. Just ensure you’re using a paint meant for glass surfaces and spray in a well-ventilated area for your safety. If you’re curious about creating specific colors like black, mixing paint colors can help.
How Do I Seal Painted Mason Jars?
To seal painted mason jars, use a clear sealant or acrylic spray. This step protects your paint from scratches and fading. Price varies, typically $4 to $15 per can, depending on the brand, and keeps your jars looking fresh longer. If you’re working with single-stage paint, you might want to explore advanced coating techniques for protection.
Are Painted Mason Jars Food-safe?
No, painted mason jars are generally not food-safe. Most paints contain harmful chemicals that can leach into food. If you’d like to use them for food, only use jars without paint or safe, food-grade sealing options.
How Can I Remove Paint From Mason Jars?
You can remove paint from mason jars by soaking them in a mixture of vinegar and water. A 50-50 mix works well. Let the jars soak for 5-10 minutes, and then scrub. This method is safe and eliminates the need for harsh chemicals. When choosing paint colors for your home’s exterior, you might want to consider how different shades complement your foundation paint selection techniques.
Can I Paint the Inside Of Mason Jars?
Yes, you can paint the inside of mason jars. Inside painting offers a beautiful look while being more protected from wear. Use a paint that is designed for glass and be aware that visibility and opacity will affect the finish. When starting your creative project, knowing how to size your canvas can help ensure professional results.
What Happens if I Don’t Seal Painted Mason Jars?
If you don’t seal painted mason jars, the paint may chip or fade over time. Flaking can happen within weeks, especially with frequent handling. Sealing preserves your artwork longer, so it’s best not to skip this step!
Conclusion
I’m glad we could cover this together. We covered mason jar basics, essential materials like brushes and paint, various painting steps, recommended colors, types of paint, and tips for fixing common issues.
To paint mason jars, simply gather your materials, pick your paint, and follow the steps we discussed. Don’t hesitate to reach out if you need more guidance on painting mason jars, whether using spray paint or other techniques.
For additional insights and resources, visit Paint Answers.
Useful Resources
- Smith, R. (2003). The Artist’s Handbook of Materials and Techniques (5th ed.). New York, NY: Knopf.
- How To Paint and Distress Mason Jars
- How To Paint and Distress Mason Jars – DIY And Crafts
Experienced interior designer with 15+ years in transforming spaces, blending artistry with expertise in color and design. Rhode Island School of Design graduate, specializing in restorations and modern makeovers.
Glass, Material
Also See: Can You Spray Paint Metal? Tips for Stunning Results!


