
How Do You Use Watercolor Paint in A Tube?
Published on: December 23, 2025 | Last Updated: October 1, 2025
Written By: paint_answered
Watercolor paint is a magical kind of paint that turns water into colors! It’s like painting with rainbows that blend together.
So, how do you use watercolor paint in a tube? It’s super important to know this, especially if you want your artwork to glow. From my own experience, getting the hang of it makes painting feel like dancing on the canvas.
In this guide, you’ll discover essential prep steps for watercolor tubes, a step-by-step process for using them, color palettes perfect for beginners, types of watercolor paints in tubes, factors that affect them, common issues faced when painting, finishing touches to enhance your art, and some creative DIY project ideas. Let’s explore how to use watercolour paints in tubes together!
Contents
- 1 How Do You Use Watercolor Paint in a Tube?
- 2 What is Watercolor Paint?
- 3 Essential Preparations Before You Start Using Watercolor Tubes
- 4 Step-by-step Guide to Using Watercolor Paint in a Tube
- 5 Recommended Color Palette for Beginners Using Watercolor Tubes
- 6 Types Of Watercolor Paint in Tubes: Which One Should You Use?
- 7 Factors Affecting the Use Of Watercolor Paint in Tubes
- 8 Common Issues When Using Watercolor Paint in a Tube
- 9 Creative DIY Project Ideas Using Watercolor Tubes
- 10 Tips for Mixing Colors with Watercolor Tubes
- 11 Understanding Watercolor Layering Techniques
- 12 Watercolor Techniques to Boost Your Creativity
- 13 Tips for Maintaining Your Watercolor Tubes
- 14 Frequently Asked Questions About Using Watercolor Paint in a Tube
- 15 Conclusion: Mastering the Art Of Watercolor Painting With Tubes
- 16 Useful Resources
How Do You Use Watercolor Paint in a Tube?
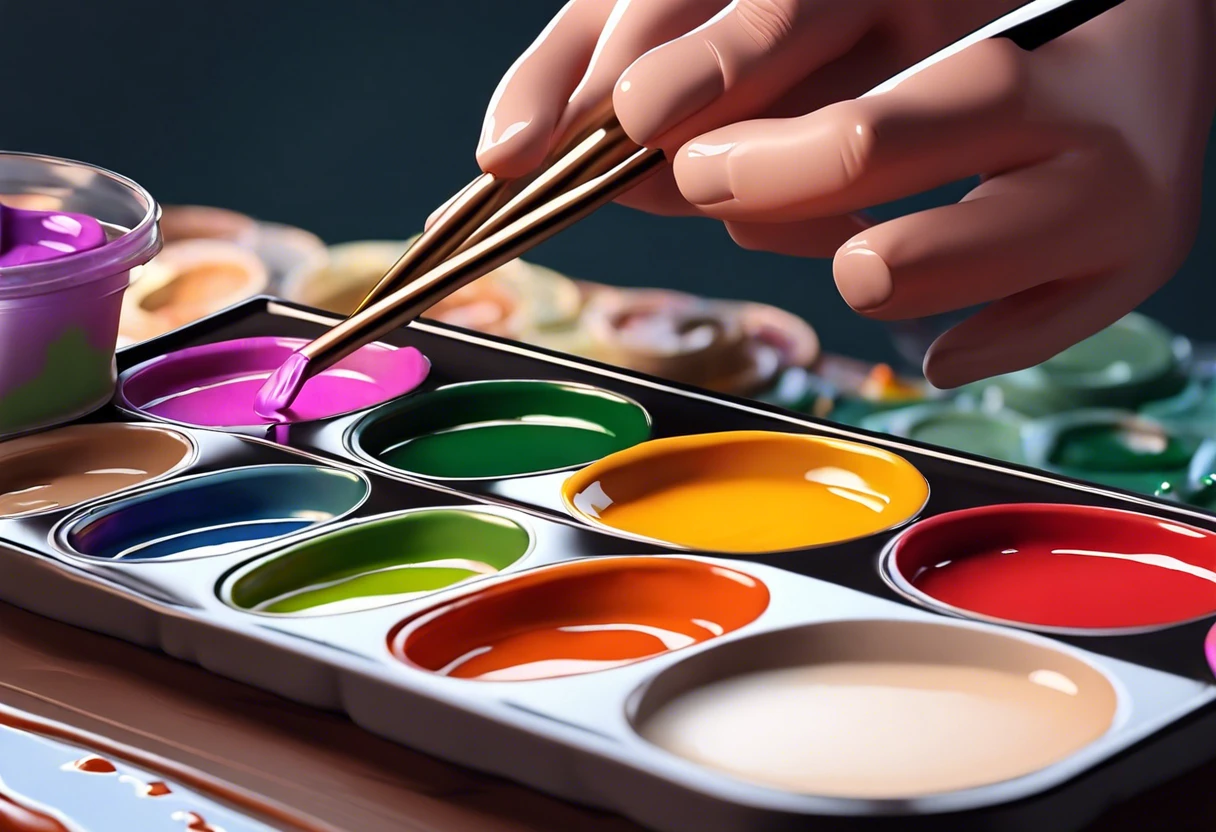
To use watercolor paint in a tube, squeeze a small amount onto your palette. Mix it with water for a smooth consistency. Use a brush to apply it to paper. Remember, less is more for vibrant colors! When blending different paint layers or techniques, you might want to explore seamless paint blending methods.
What is Watercolor Paint?
Watercolor paint is a water-based medium made from pigments suspended in a gum arabic binder. It typically contains 60-90% pigment, with various grades available, including artist quality, which has about 50-120 grams (1.76-4.23 Oz) per liter. When exploring different watercolor painting techniques, you might wonder about mixing various paint formulations, and paint compatibility becomes crucial.
When using watercolor paint in a tube, you squeeze it out for direct application. In my experience, tubes provide greater control, allowing you to blend colors quickly and create vibrant washes. If you’re working on a creative project like painting a nursery item, you might want to explore safe painting techniques for delicate surfaces painting baby furniture safely.
I once used it for landscapes, and it changed my approach to painting. Learning to use tubes of watercolor paint easily opened doors to endless creativity; it’s like having a portable art studio wherever I go. When exploring different painting techniques, I discovered some exciting ways to expand my artistic outdoor painting skills.
Essential Preparations Before You Start Using Watercolor Tubes
What do you need to prepare for?
- Watercolor Paper: Use sturdy paper like Arches Aquarelle (300 Gsm/140 Lb) to prevent warping and enhance paint absorption.
- Watercolors: Choose high-quality brands like Winsor & Newton or Daniel Smith for vibrant colors and smooth application.
- Brushes: A variety of synthetic brushes, including a size 6 round and a size 10 flat, improve your painting style and flexibility.
- Palette: A mixing palette, like the Art Alternatives multimaterial palette, is essential for blending colors and achieving desired shades.
- Water Container: Use a large jar or cup (About 500 Ml/17 Fl Oz) filled with clean water to rinse brushes and dilute paints.
So far we covered important preparations for using watercolor tubes. Let’s look at the step-by-step process for using them.
Also See: Can Resin Be Painted? Tips for Stunning DIY Projects!
Step-by-step Guide to Using Watercolor Paint in a Tube
Here are the steps to effectively work with watercolor tubes.
-
Choosing the Right Tools for Watercolor Painting
Select high-quality watercolor brushes and paper suited for your style. A brush size around 8 to 10 (Synthetic or Natural Hair) works well for various techniques.
Quality paper, ideally 300 gsm (200 Lb), prevents warping. Experimenting with different brush sizes can unlock new techniques!
-
Preparing Your Workspace for Watercolor Painting
Set up in a bright, comfortable area. Good lighting, whether natural or from lamps, helps you see colors clearly.
Cover your table to protect it from stains. A cleaning rag or sponge makes quick brush cleaning much easier.
-
Squeezing Watercolor From the Tube
Gently squeeze the tube—start with a small amount; it’s easier to add more later. A dollop (About the Size Of a Quarter) usually suffices for one session.
Be cautious not to overdo it; tube watercolors are concentrated. I once squeezed out too much and wasted paint—what a hassle!
-
Mixing Watercolors for the Desired Shade
Use a palette to mix colors, adding water to achieve different shades. Generally, a one-to-one ratio of paint to water works for darker colors, and one-to-two for lighter tints.
Experiment; don’t hesitate to combine and layer shades. Each hue offers unique possibilities—mixing helps you discover your personal style!
-
Applying Watercolor to Your Chosen Surface
Begin with light strokes; minimal water and light pressure usually produce the best initial layers. Gradually increase intensity for depth.
Lightly cover the entire area before going bold; it’s easier to deepen a layer than to lighten one once dry. Use your wrist instead of your entire arm to control fluidity!
-
Layering and Blending Techniques in Watercolor Painting
Apply thinner layers to build color; thick spots can muddy your composition. Allow each layer to dry before adding another to avoid unwanted blending.
Use wet-on-wet techniques for softer blends and wet-on-dry for sharper edges. This layering strategy transformed a rushed piece of mine into something special.
-
Finalizing and Protecting Your Artwork
After the artwork dries, consider using a fixative or varnish to protect it from fading. Store it upright in a protective sleeve or frame to prevent damage.
Evaluate your artwork; adding final tweaks or highlights can greatly enhance the piece. Grab a fine brush for those meticulous last touches!
That covers the process of using tube watercolor paints. Let’s now take a look at suggested color palettes for beginners.
Recommended Color Palette for Beginners Using Watercolor Tubes
I’d suggest a Cozy Earthy Palette, perfect for beginners—it blends a warm, inviting vibe, making colors flow harmoniously.
| Color Box | Hex Code | Color Name |
|---|---|---|
| #A0522D | Sienna | |
| #CD5C5C | Indian Red | |
| #FFD700 | Golden Yellow | |
| #8FBC8F | Dark Sea Green |
So far we covered a beginner-friendly color palette for watercolor tubes. Let’s look at the various types of watercolor paints next.
Types Of Watercolor Paint in Tubes: Which One Should You Use?
Let’s explore the types of watercolor paint in tubes: student-grade, professional-grade, transparent, opaque, and metallic.
-
Student-grade
These budget-friendly paints are perfect for beginners. They have a lower pigment concentration, resulting in less vibrant colors but allowing you to explore painting without overspending.
-
Professional-grade
With a higher pigment load, professional-grade watercolors deliver stunning results. They offer greater lightfastness, lasting a lifetime without fading, making them ideal for serious artists.
-
Transparent
These paints allow light to pass through, creating glow and depth. You can layer them effectively, which is great for building color and blending.
-
Opaque
Opaque watercolors provide solid coverage and aren’t see-through. They work well on colored paper or for creating highlights.
-
Metallic
Add sparkle to your artwork with metallic watercolors! These shiny pigments reflect light, creating eye-catching highlights and accents.
From both successes and failures, I’ve learned that professional-grade is my top choice. The vibrant colors really pop, and the lightfastness gives my work longevity, which I truly value.
So far we covered various types of watercolor paints in tubes and their uses. Let’s look at the factors influencing their use next.
Factors Affecting the Use Of Watercolor Paint in Tubes
What factors influence the technique for using watercolor paint tubes?
-
Paint Consistency: The paint’s thickness affects blending and layering techniques.
-
Water Ratio: More water makes colors more translucent, impacting vibrancy.
-
Application Tools: Brushes or sponges change how you spread and texture the paint on canvas.
-
Drying Time: Knowing the drying time helps layer colors without muddying them.
Common Issues When Using Watercolor Paint in a Tube
Once, my friend squeezed too much paint directly onto her palette for a small piece. It made her mix too thick! Using too much (10-20% More Than Needed) can overpower the paper.
Mix equal parts of paint with water for a smoother flow. Start with a 1:1 ratio and adjust until you find the sweet spot. This keeps your colors vibrant without overpowering your artwork!
Creative DIY Project Ideas Using Watercolor Tubes
Let’s get creative! How about making your own watercolor wall art? You can create a dreamy marbled canvas or hand-paint your greeting cards.
For the marbled canvas, grab a sturdy canvas, some water, and those watercolor tubes. Total cost? Roughly $15-$20, and you can whip it up in just a couple of hours!
If you’re looking for inventive ways to use watercolor in a tube, try making your own watercolors with a binder. Mix the watercolor with a little corn syrup and water; it’s like an artist’s magic potion! When experimenting with creative painting techniques, you might also want to explore safe painting on skin.
Tips for Mixing Colors with Watercolor Tubes
Mixing colors is key to creating unique shades and effects in your watercolor paintings.
- Start with Primary Colors: Use red, blue, and yellow as your base. You can create many colors by mixing these.
- Proportional Mixing: Use different parts to mix; for example, two parts yellow to one part blue gives you a bright green.
- Experiment with Gradations: For lighter shades, mix with more water. For richer tones, decrease water. A 1:3 ratio of paint to water can work wonders!
- Keep a Color Log: Track your mixtures and their results. Having a visual guide aids in replicating your favorites later.
Understanding Watercolor Layering Techniques
Layering helps add depth and complexity to your painting.
| Technique | Description | Best Uses |
|---|---|---|
| Wet-on-Wet | Apply wet paint onto wet paper or previous washes for blending effects. | Soft backgrounds & atmospheric effects. |
| Wet-on-Dry | Apply wet paint to dry paper for crisp edges. | Dramatic focal points & sharp details. |
| Glazing | Apply a transparent layer of color over dried paint. | Deepening colors & enriching shadows. |
| Dry Brush | Use a dry brush with minimal paint for texture. | Creating rough surfaces & highlights. |
Watercolor Techniques to Boost Your Creativity
Let’s dive into some exciting watercolor techniques that make using tubes even more fun!
-
Wet-on-Wet Technique
Apply wet paint onto a wet surface. This creates soft, blended washes perfect for backgrounds. I love this for skies and watery scenes!
-
Salt Texture Technique
Sprinkle salt onto wet paint. As it dries, it creates unique textures that can add interest to your work. It’s a surprise every time!
-
Masking Fluid
Use masking fluid to protect areas of your painting. Once dry, paint over it; when you remove the fluid, you’ll reveal untouched white spaces.
-
Blowing Technique
Use a straw to blow on wet paint, creating unexpected shapes and fun patterns. It’s a playful way to experiment with creativity!
Tips for Maintaining Your Watercolor Tubes
Keeping your watercolor tubes in top shape can make a big difference. Here’s how to maintain them:
- Close Tightly: Always seal your tubes tightly to prevent drying out. Even a small gap can cause problems!
- Store Upright: Keep tubes stored upright in a container. This prevents leaks and makes it easy to access colors.
- Check Expiration Dates: Most tubes last 2-5 years. If colors seem off or dry, it’s time to replace them.
- Clean the Caps: Wipe the caps to avoid dried paint buildup, ensuring they seal properly every time.
Frequently Asked Questions About Using Watercolor Paint in a Tube
What is the Best Way to Thin Watercolor Paint From a Tube?
Yes, the best way to thin watercolor paint from a tube is by using water. Thin it gradually, aiming for a fluid consistency that allows better flow and mixing. A 1:1 ratio of paint to water works for most artists.
Can Watercolor Paint in a Tube Be Used on Different Surfaces?
Yes, watercolor paint in a tube can be used on different surfaces, including watercolor paper, wood, and canvas. Specialized surfaces help enhance the paint’s absorption and color vibrancy.
How Do You Store Leftover Watercolor Paint in a Tube?
You should store leftover watercolor paint in a tube by sealing it tightly and keeping it upright. Storing tubes in a cool, dark place extends their shelf life for years.
Is It Necessary to Use Watercolor Paper With Tube Paint?
Yes, it’s necessary to use watercolor paper with tube paint for the best results. Watercolor paper typically absorbs water and pigment evenly, which enhances the final outcome and prevents buckling. When working with touch-up techniques, artists often need precise methods to blend paint seamlessly on surfaces.
What Are Some Common Mistakes to Avoid When Using Tube Watercolors?
Common mistakes to avoid when using tube watercolors include overloading the brush with paint and not pre-wetting the paper. Proper techniques lead to more dynamic, vibrant layers of color.
Can I Mix Different Brands Of Watercolor Paint in Tubes?
Yes, you can mix different brands of watercolor paint in tubes. Most professional-grade watercolors are interchangeable, but be cautious since some brands use different pigments that might behave unpredictably. If you’re looking to explore more painting techniques, painting alternative surfaces can expand your artistic horizons.
How Long Do Tube Watercolors Last Once Opened?
Tube watercolors can last 2-5 years once opened, depending on how well you store them. Proper closure and cool storage can help extend their life, ensuring vibrant colors for many years.
Also See: How Much Do Paints Cost? Find the Best Prices!
Conclusion: Mastering the Art Of Watercolor Painting With Tubes
We’ve reached the end, and I appreciate you sticking around. We covered what watercolor paint is, essential preparations, the step-by-step guide, a recommended beginner palette, different types of tubes, factors affecting use, common issues you might face, finishing touches, and some creative DIY project ideas.
So, to answer ‘how do you use watercolor paint in a tube’—it’s all about squeezing the paint onto your palette, mixing with water, and applying it to your paper. Contact me if you’d like more guidance on using watercolor tubes effectively.
If you’re eager to explore further, return to Paint Answers for additional insights.
Useful Resources
- Edwards, B. (2012). Drawing on the Right Side of the Brain. New York, NY: TarcherPerigee.
- How are watercolor paint tubes used? – Quora


