
How Make 3D Painting?
Published on: January 16, 2025 | Last Updated: January 7, 2025
Written By: Alisha Winters
What is 3D Painting? It’s like drawing, but everything looks like it’s popping out at you! Imagine your favorite toy coming to life on paper!
When you learn how make 3D painting, you dive into a fun world of creativity. I’ve experimented with this myself, and believe me, it feels great to see your art jump off the page.
In this guide, we’ll explore preparation steps, a step-by-step approach, color palettes, painting techniques, realism factors, common issues, finishing touches, and even DIY project ideas. You’ll also find insights on how to paint 3D printed objects and how to paint gundam models.
Contents
- 1 How to Make 3D Painting?
- 2 What is 3D Painting?
- 3 Preparation Before You Start Your 3D Painting
- 4 Step-by-step Guide to Creating Stunning 3D Paintings
- 5 Recommended Color Palette for 3D Paintings
- 6 Different Types Of 3D Painting Techniques
- 7 Exploring Artistic Styles for 3D Painting
- 8 Integrating 3D Painting with Technology
- 9 Factors Affecting the Realism Of 3D Painting
- 10 Common Issues When Creating 3D Paintings
- 11 Finishing Touches for a Professional Look
- 12 Inspiring DIY Project Ideas for 3D Painting
- 13 Frequently Asked Questions About How to Make 3D Paintings
- 14 Conclusion
- 15 Useful Resources
How to Make 3D Painting?
To create a 3D painting, start by layering paint to add depth. Use tools like spatulas and palette knives for texture. Incorporate shadows and highlights to enhance realism. Lastly, consider using mixed media for extra dimension. When paint begins to degrade, you might encounter surface challenges that impact your artwork’s appearance, which is why understanding paint oxidation mechanisms matters.
What is 3D Painting?
3D painting creates art with a three-dimensional illusion. This technique often uses acrylic or oil paints, combining colors and shadows that follow a surface’s contours, leveraging depth perception to enhance realism. When working with exterior surfaces, painters must consider temperature constraints that can impact paint application and durability. Cold weather painting techniques play a crucial role in achieving professional results.
So, how do you make a 3D painting? When I first tried it, I used layering techniques and shading to achieve depth. It was fascinating to see how different depths and textures transformed my artwork. If you’re curious about the versatile medium that makes these techniques possible, blending techniques offer incredible potential.
It was especially helpful for painting 3D-printed miniatures. The shadows I painted blended beautifully with the intricate details, bringing the figurines to life. I learned that paying attention to light sources can significantly elevate these pieces, just as painting 3D-printed objects can; a well-placed shadow is key to realistic 3D effects.
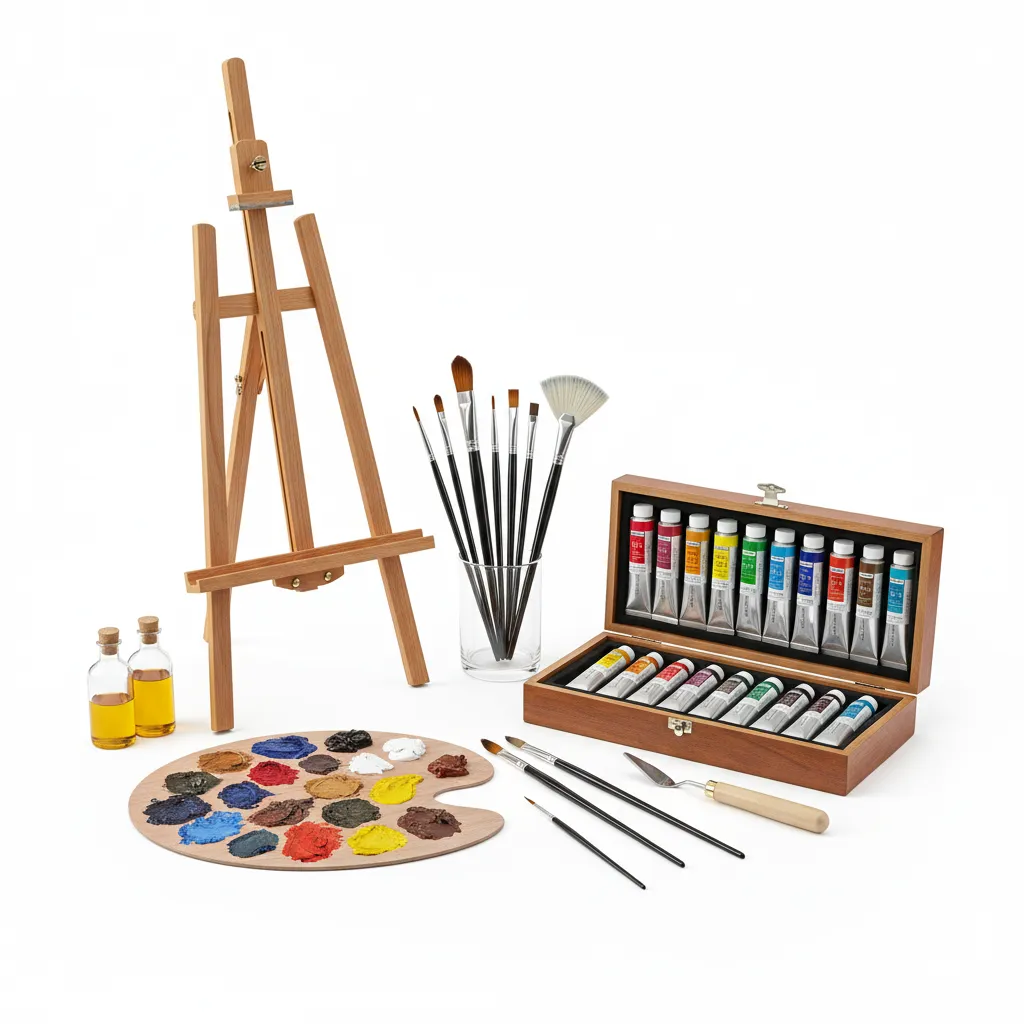
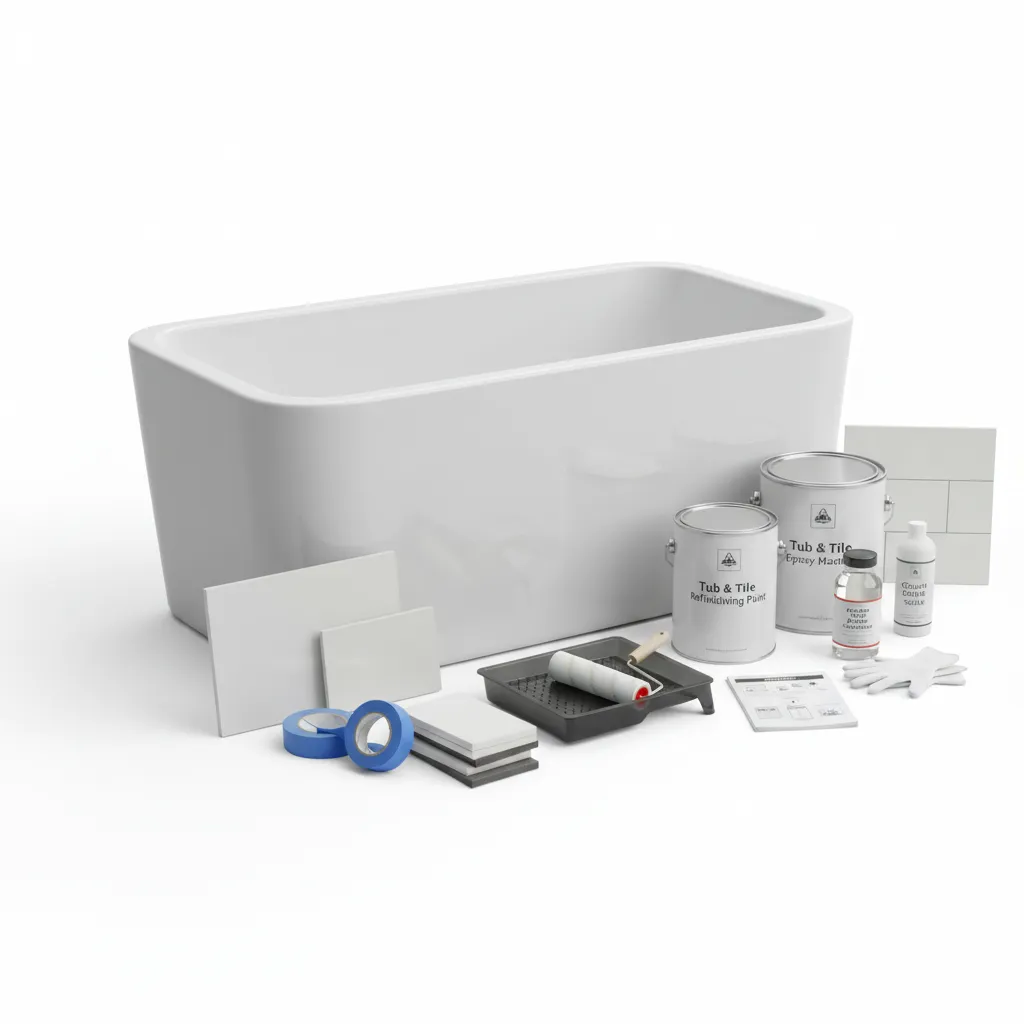
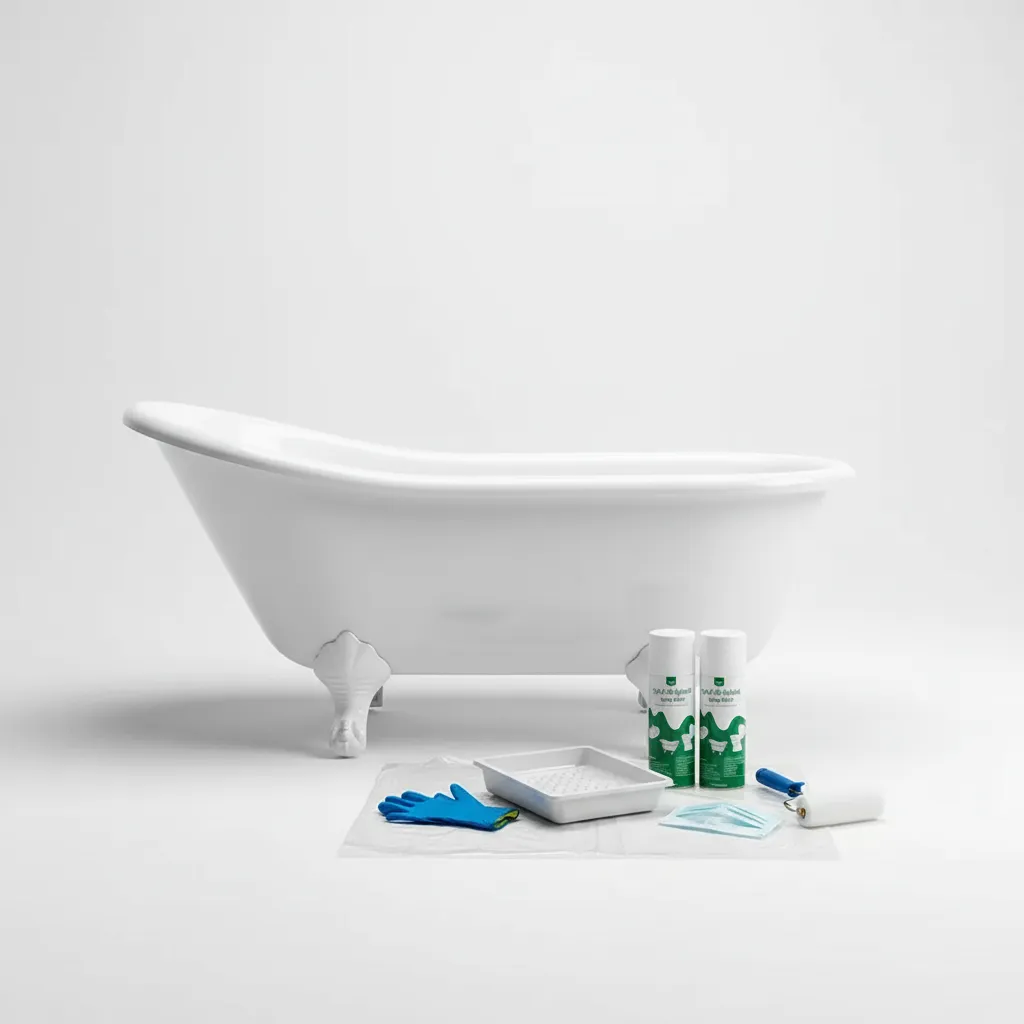
Preparation Before You Start Your 3D Painting
What do you need to get started?
- Surface Primer: Use a primer like Rust-Oleum 2X for Plastics. It ensures proper paint adhesion and coverage.
- Paint Brushes: Choose a set like the Princeton Velvetouch Detail Brush Set. These brushes allow fine detailing on small areas of your 3D models.
- Acrylic Paint: Select a brand like Vallejo Model Color, which offers a wide color range. Acrylics are non-toxic and quick-drying, making them ideal for 3D painting.
- Drop Cloth ⭐ Top Rated: Heavy-Duty Canvas Drop → : Get a strong, reusable drop cloth like the Bulldog Wrinkle-Resistant Drop Cloth. It protects your workspace from paint spills and splatters.
We have now covered preparation essentials for 3D painting. The next section will provide a detailed guide for creating impressive 3D artworks.
Also See: What Colors Of Paint Make Black? Tips for Mixing It
Step-by-step Guide to Creating Stunning 3D Paintings
Now, we’ll cover the steps for creating eye-catching 3D paintings.
-
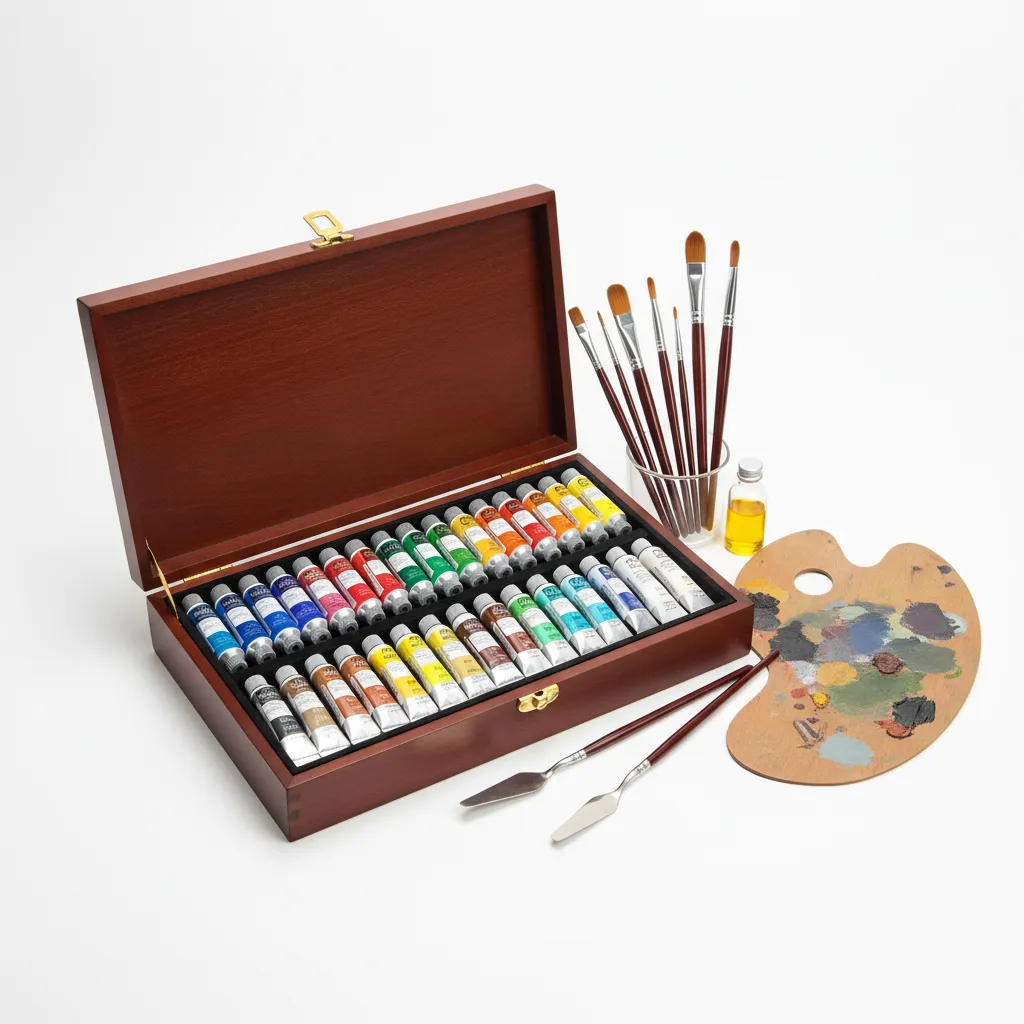
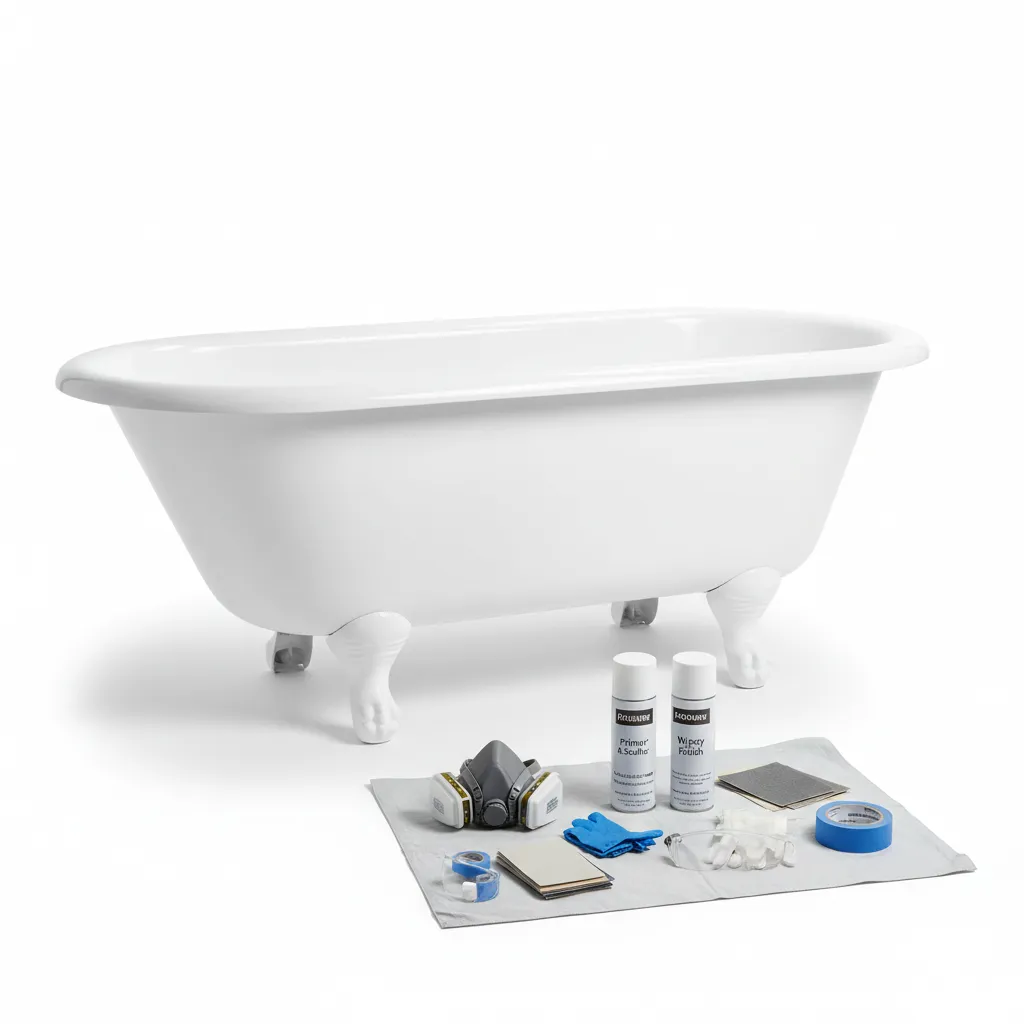
Selecting Your Canvas and Materials
Choose a sturdy canvas—3D artwork needs a solid base. I recommend sizes like 20 x 24 inches (51 X 61 Cm) for breathing room.
Pick paints that provide rich color. Acrylic or oil paints work well; acrylics dry quickly, making them great for layering.
Recommended SuppliesAs an Amazon Associate, I earn from qualifying purchases. Images are representative. -
Sketching Your 3D Design
Start with a pencil. Lightly sketch your design for easy adjustments. Aim for a format that enhances depth; objects should overlap for realism.
Use a vanishing point in your drawing to orient dimensions correctly. Remember, good proportions enhance mind-bending effects!
-
Applying Base Colors
Begin by painting the basic colors of your design. Apply each color in undiluted form for a striking base layer and let it dry completely.
Use darker shades on areas you want to recede. This helps create the illusion of depth; I usually mix one part with a transparent medium.
-
Creating Depth With Shadows and Highlights
Add shadows using a darker tint of base colors. This enhances realism; remember, darker values increase depth!
Apply lighter hues on edges where light hits. This balance enhances the 3D effect; take your time to refine.
-
Adding Final Details and Textures
Focus on intricate touches now. Use a thin brush to add features, highlights, and textures like fur or feathers for depth.
Experiment with layering colors—dab, stipple, and introduce movement into your artwork! This interplay creates satisfaction. More layers mean more depth!
We have now covered the process of creating stunning 3D paintings. Next, we will explore a recommended color palette for them.
Recommended Color Palette for 3D Paintings
I recommend a Vibrant Earth theme for 3D paintings to create depth and warmth using congruent colors that foster harmony.
| Color Box | Hex Code | Color Name |
|---|---|---|
| #D2691E | Chocolate | |
| #FFD700 | Gold | |
| #8FBC8F | Dark Sea Green | |
| #FA8072 | Salmon |
We’ve wrapped up the suggested color combinations for 3D paintings here. Let us turn our attention to the various 3D painting techniques.
Different Types Of 3D Painting Techniques
Let’s explore various methods of 3D painting, including Basic 3D Painting, UV Mapping, Airbrushing, and the Impasto Technique.
-
Basic 3D Painting
This is your starting point. Use simple tools and paints to add depth by layering colors. It’s a straightforward way to enhance your art.
-
UV Mapping
UV mapping involves unwrapping a 3D model’s surface to apply images. It’s crucial for creating detailed textures, often used in gaming. You gain better control over designs with precise coordinates.
-
Airbrushing
Airbrushing creates smooth gradients and shadows, making it ideal for miniatures. The fine mist allows for easy blending, perfect for highly detailed work. Many enthusiasts use a pressure range of 15-30 PSI.
-
Impasto Technique
In impasto, you apply thick layers of paint to create texture. This technique stands out, offering strong 3D effects. Often used with oils, it’s a more hands-on approach for tactile pieces.
I’ve realized that using airbrushing gives astonishing lifelike dimensions to miniature models. The blending quality creates an almost magical finish that flat paint can’t achieve.
We have now covered various types of 3D painting techniques. The next section will explore artistic styles for 3D painting.
Exploring Artistic Styles for 3D Painting
Dive into various artistic styles that can enhance your 3D painting experience!
Style Variations to Consider
- Realism: This style focuses on depicting subjects as they appear in real life. Use real references to capture intricate details and shadows.
- Surrealism: Embrace imagination! Combine unexpected elements for a dreamlike effect. Techniques like blending and distortion add a unique 3D feel.
- Abstract: Use vibrant colors and shapes to express emotion. Play with layers and textures to achieve a sense of depth without realism.
- Pop Art: Bright colors and bold lines define this style. Think about layering over images, making everyday objects appear dynamic and 3D.
Common Characteristics in 3D Painting Styles
Different styles share elements that enhance their 3D effect. Here’s a table comparing their key traits:
| Style | Key Traits | 3D Technique |
|---|---|---|
| Realism | Detailed textures, accurate proportions | Layering & highlighting to create depth |
| Surrealism | Dreamlike scenes, exaggerated shapes | Blending & warped forms enhances depth |
| Abstract | Vibrant colors, open interpretation | Layering colors creates illusionary depth |
| Pop Art | Bold imagery, cultural commentary | Using stencils and layering techniques |
Experimenting with these styles can breathe new life into your 3D paintings. You’ll find that playing with different techniques shifts your creative process into a more dynamic territory!
Integrating 3D Painting with Technology
Have you ever considered how technology can enhance your 3D painting experience? Let’s dive into some innovative methods!
Augmented Reality in 3D Painting
Augmented Reality (AR) is revolutionizing art. You can use apps like Artivive to superimpose digital layers on your physical pieces, adding an interactive element. This way, viewers can engage with different aspects of your painting by scanning it with their phones.
Using 3D Printing with Paint
Imagine printing your models and then painting them! 3D printing lets you create unique shapes that stand out. You can buy a basic 3D printer for around $200. Once printed, these models can be painted using the techniques we discussed.
Digital Painting for Traditional Artists
Even if you love traditional painting, exploring digital tools can open new doors! Software like Procreate allows you to simulate textures and layers seamlessly. Plus, it saves time and materials. Digital canvases are a fantastic option for experimenting without waste. If you’re looking to expand your artistic techniques, painting surfaces beyond canvas can inspire creative exploration.
| Method | Description | Benefits |
|---|---|---|
| Augmented Reality | Overlaying digital elements on physical art. | Increases viewer interaction; adds an innovative touch. |
| 3D Printing | Creating physical objects that can be painted. | Allows unique shapes; easy to replicate and modify. |
| Digital Painting | Using software to create art. | No material costs; limitless canvas space and experimentation. |
Exploring these tech tools can enrich your 3D painting journey. They provide fresh perspectives, making your creations even more engaging and modern!
Factors Affecting the Realism Of 3D Painting
What factors influence your approach to 3D painting? Let’s explore four key ones.
-
Lighting: The direction and intensity of light affect shadows and depth perception.
-
Color Theory: Understanding complementary colors enhances contrast and makes elements pop.
-
Texture Detail: Adding texture makes your piece feel tangible and alive.
-
Layers of Paint: Using multiple layers creates dimension, adding depth to your 3D-printed models.
Common Issues When Creating 3D Paintings
My friend struggled with paint adhesion on her 3D-printed model. The acrylic didn’t stick well, causing flaking.
Use a primer designed for plastics, like Tamiya Fine Surface Primer. Apply at 15–20 psi (Pounds Per Square Inch) for a smooth coat. Clean the surface with at least 70% isopropyl alcohol before painting! If you’re working on exterior surfaces like chimneys, you’ll want to check specific painting techniques for durability.
Finishing Touches for a Professional Look
After completing your 3D artwork, use a cold gloss varnish like Liquitex to seal the surface. Apply it in thin layers, aiming for a thickness of about 0.1 mm (0.004 In).
Inspect your painting for any lifted edges or missed corners. Use a fine brush size 00 (0.5 Mm) for precise touch-ups.
An insider tip: experiment with advanced textures by layering acrylic gels in thicknesses of 5 to 10 mm (0.2 To 0.4 In) for richer depth.
Inspiring DIY Project Ideas for 3D Painting
How about creating a vibrant 3D landscape on wood? You could start a whimsical underwater scene with raised coral textures from paper mâché!
For this, grab some acrylic paints, wood boards, and embellishments. Materials will run you around $30 and you’ll need a weekend to really dive in and enjoy the process.
If you want something quirky, consider using old packaging materials to sculpt abstract 3D shapes, then paint them in bright colors! Another idea? Try painting a 3D printed model with mixed media—using fabric scraps and beads for extra texture. When working with plastic surfaces, you’ll want to ensure proper paint adhesion and finish, which requires specific techniques for painting plastic interior components.
Frequently Asked Questions About How to Make 3D Paintings
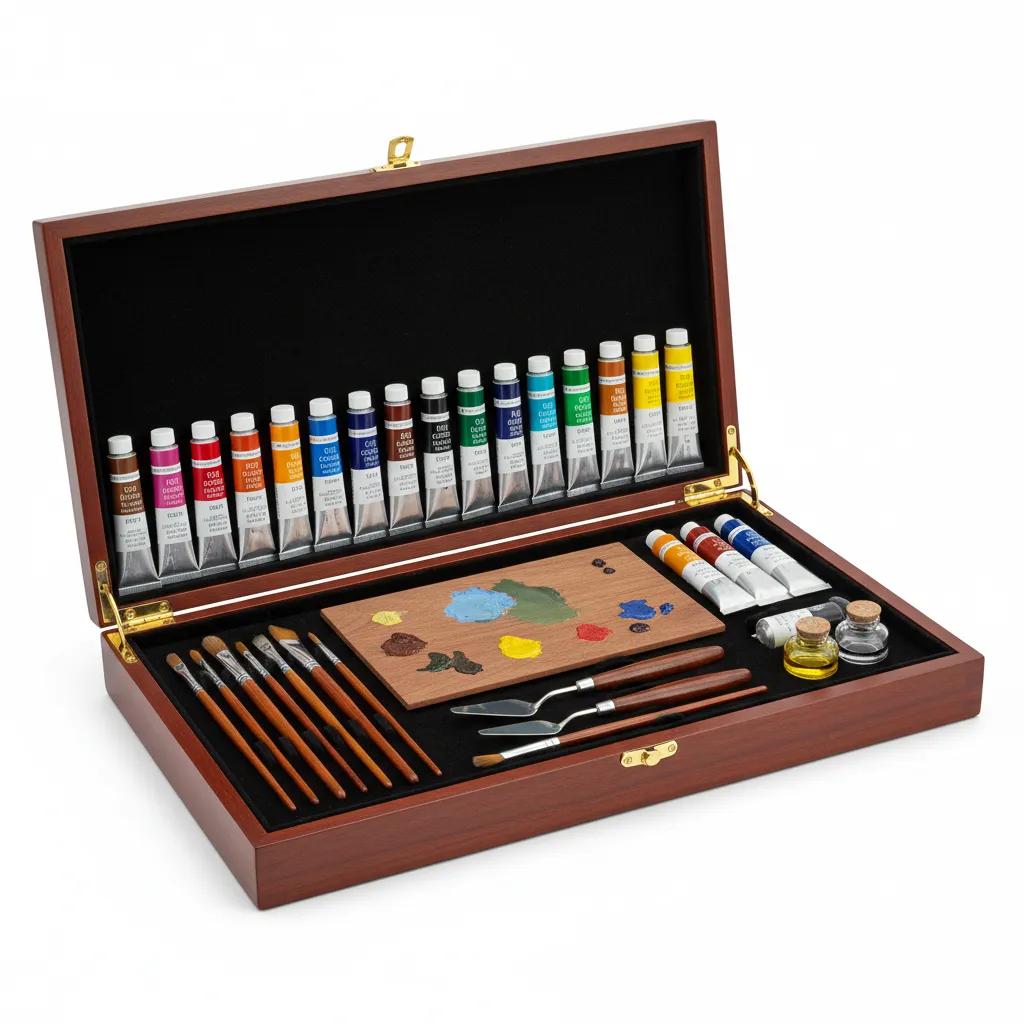
What Materials Are Needed for 3D Painting?
When it comes to 3D painting, you’ll need essential materials like acrylic paints, paintbrushes, a palette, and canvas or cardboard. Choosing acrylic is key, as it dries quickly within 20-30 minutes and adheres well to many surfaces.
How Long Does It Take to Complete a 3D Painting?
Completing a 3D painting can take anywhere from a few hours to several days, depending on size and complexity. Many artists spend 10-20 hours on detailed pieces for optimum layering and texture effects. If you accidentally spill paint or make a mistake, you might wonder about potential removal techniques like exploring bleach as a paint solution.
Can Anyone Learn to Create 3D Paintings?
Yes, anyone can learn to create 3D paintings with practice and guidance! Whether you’re a novice or skilled artist, tutorials and workshops make the learning curve easier. Enthusiasts usually progress in just a couple of months.
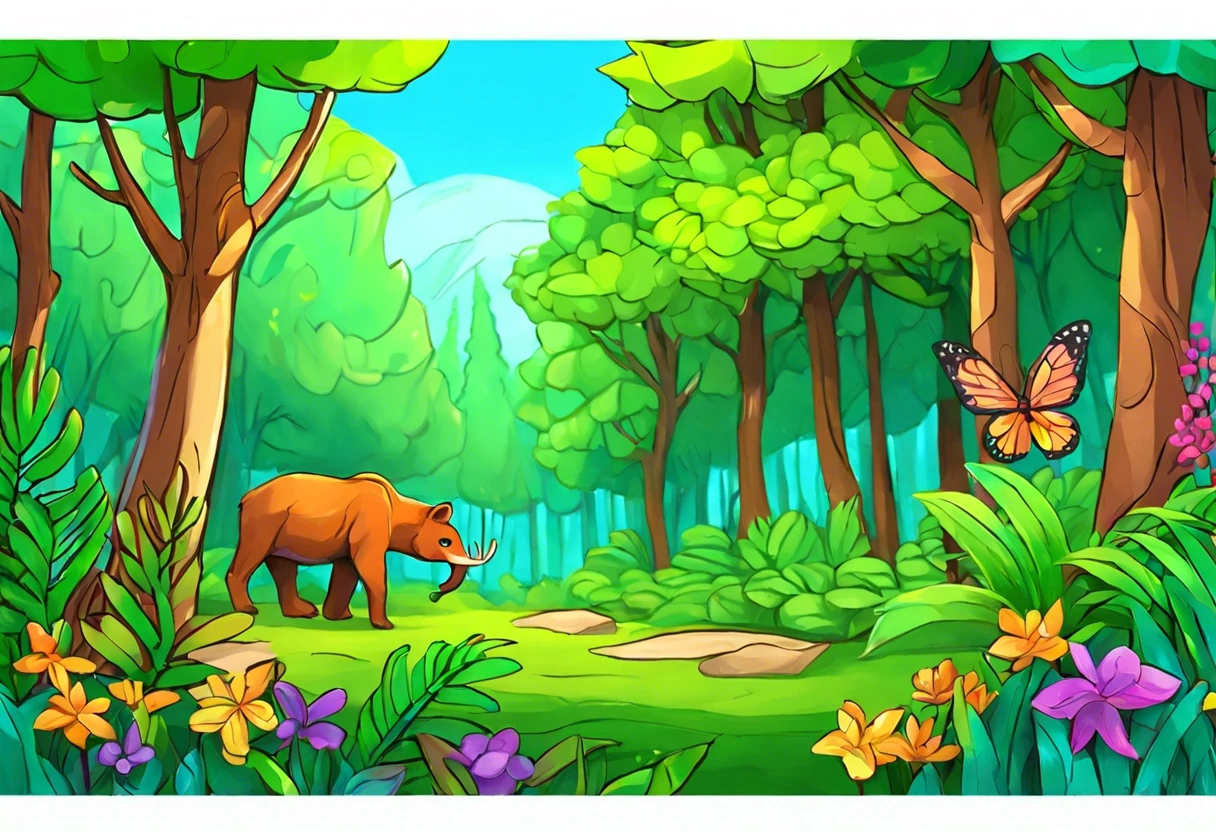
What Are Some Popular Subjects for 3D Paintings?
Popular subjects for 3D paintings often include nature scenes, abstract art, and people. Nature is especially compelling; 75% of artists favor landscapes for their rich textures and vibrant colors. Artists seeking advanced techniques might want to explore painting techniques and insights.
Are There Any Online Resources for Learning 3D Painting?
Absolutely! Websites like Skillshare and Udemy offer videos and tutorials for 3D painting techniques. Many courses are as affordable as $10-20, making resources widely accessible to eager learners.
What Techniques Enhance Depth in 3D Paintings?
Using techniques like layering, shading, and color modulation enhances depth in 3D paintings. These methods create dimensionality, capturing viewers’ eyes and helping your art pop off the canvas.
Can 3D Paintings Be Done Digitally?
Yes, 3D paintings can be created digitally using software like Blender or Adobe Photoshop. Digital painters often find software tools help simulate textures faster than traditional methods.
Conclusion
We have covered a lot: the basics of 3D painting, preparation steps, a step-by-step guide, recommended color palettes, different 3D painting techniques, factors that affect realism, common issues faced, finishing touches for that professional look, and some inspiring DIY project ideas, along with FAQs.
To sum it up, happy painting involves gathering your materials, following the right techniques, and experimenting to create stunning 3D effects, just like we discussed. With the right palette, techniques, and tricks, you’ll be on your way to mastering how to make 3D painting.
For additional insights and tips, be sure to visit Paint Answers.
Useful Resources
- Smith, R. (2003). The Artist’s Handbook of Materials and Techniques (5th ed.). New York, NY: Knopf.
- How To Create A Textured Painting On A Budget | DIY | 3D Painting Tutorial – YouTube
- Paint 3D – Tutorial for Beginners in 10 MINUTES! [ 2020 Updated ] – YouTube
- Create 3D Art with Acrylic Paints | All New Paint Thickener – YouTube
Experienced interior designer with 15+ years in transforming spaces, blending artistry with expertise in color and design. Rhode Island School of Design graduate, specializing in restorations and modern makeovers.
Blending, Topics


