How to Cover Up Chipped Paint on Wall?
Published on: May 28, 2025 | Last Updated: January 7, 2025
Written By: Sarah McClintock
A wall is like the big flat thing that keeps you cozy in your room. It’s what holds up your pictures and makes your space feel homey!
Knowing how to cover up chipped paint on walls is super important. Trust me, I’ve been there—those little chips can ruin the whole look of a room!
In this guide, you’ll learn essential preparations before you start, a step-by-step process to cover up chipped paint, recommended colors for hiding those pesky chips, types of paint to use, and common issues you might face. We’ll make sure you’re ready to tackle how to cover up chipped paint on wall with confidence!
Contents
- 1 How to Cover Up Chipped Paint on Wall?
- 2 What is a Wall?
- 3 Essential Preparations Before You Start
- 4 Step-by-step Process to Cover Up Chipped Paint
- 5 Types Of Wall Paint for Covering Up Chipped Paint
- 6 Factors Affecting the Repair Process for Chipped Paint
- 7 Common Issues When Covering Chipped Paint on Walls
- 8 Finishing Touches for a Professional Look
- 9 Common Painter’s Tools for Touching Up Chips
- 10 When to Consult a Professional
- 11 Frequently Asked Questions About Covering Up Chipped Paint on Walls
- 12 Conclusion
- 13 Additional Resources
How to Cover Up Chipped Paint on Wall?
To cover up chipped paint on a wall, first clean the area with soap and water. Then, use touch-up paint that matches your wall’s color. Apply it with a small brush and feather it out to blend. For larger sections, consider repainting the whole area. If you’re working on a specialized surface like an airsoft gun, you might want to explore specific painting techniques.
What is a Wall?
A wall is a vertical structure that divides or encloses a space. It typically measures between 10 cm (4 Inches) and 15 cm (6 Inches) in thickness and can be made of materials like drywall, concrete, or brick, depending on its wall design and purpose. If you’re curious about exploring creative ways to transform wall surfaces, you might want to explore painting techniques for different materials.
Now, about chipped paint—your walls can really take a beating! I once noticed chips in my living room; it was such a disappointment.
I can’t tell you how many times I’ve dealt with chipped paint! Last year, my sister asked me how to cover up chipped paint on a wall after her kids had a wild time in her freshly painted kitchen. Simple tips can save your cabinets—or any painted surface—from that unsightly wear and tear. If you’re looking to explore creative painting techniques beyond traditional wall repairs, you might want to check out creative painting alternatives.
Essential Preparations Before You Start
What do you need to cover up chipped paint on your wall?
- Spackle or Joint Compound: Use a product like DAP Fast Dry or 3M Patch Plus Primer to fill the chip for a seamless repair.
- Sandpaper 🔥 Deal: Assorted Grit Sandpaper → : Get 120-grit and 220-grit sandpaper to smooth the patched area, ensuring it blends with the wall.
- Primer: Opt for Zinsser B-I-N or KILZ Primer. Applying primer over repairs helps new paint adhere better and provides a uniform base.
- Paint: Choose touch-up paint that exactly matches your wall color, such as Benjamin Moore’s Aura, for a flawless finish.
- Putty Knife: Use a 1.5-inch (3.8 Cm) putty knife to apply spackle smoothly around chips.
We have now covered key preparations to undertake before starting. Next, we will address the step-by-step process for fixing chipped paint.
Also See: Can You Paint a Pool? Discover Your Options!
Step-by-step Process to Cover Up Chipped Paint
We’ll cover steps for effectively concealing paint chips on walls.
-
Assess the Damage
Inspect the area closely to determine how deep the chips are. If the damage is larger than 1 cm² (0.1 In²), patching may be needed before painting.
Decide if multiple spots need attention. Larger areas might require extra coats of paint for a seamless finish.
-
Prepare the Area for Repair
Clear the space around the damaged area. Lay down drop cloths to catch any paint spills, protecting your floors and furniture.
Use painter’s tape to mask areas bordering the chip. This helps avoid painting unwanted surfaces, keeping your lines crisp and clean.
-
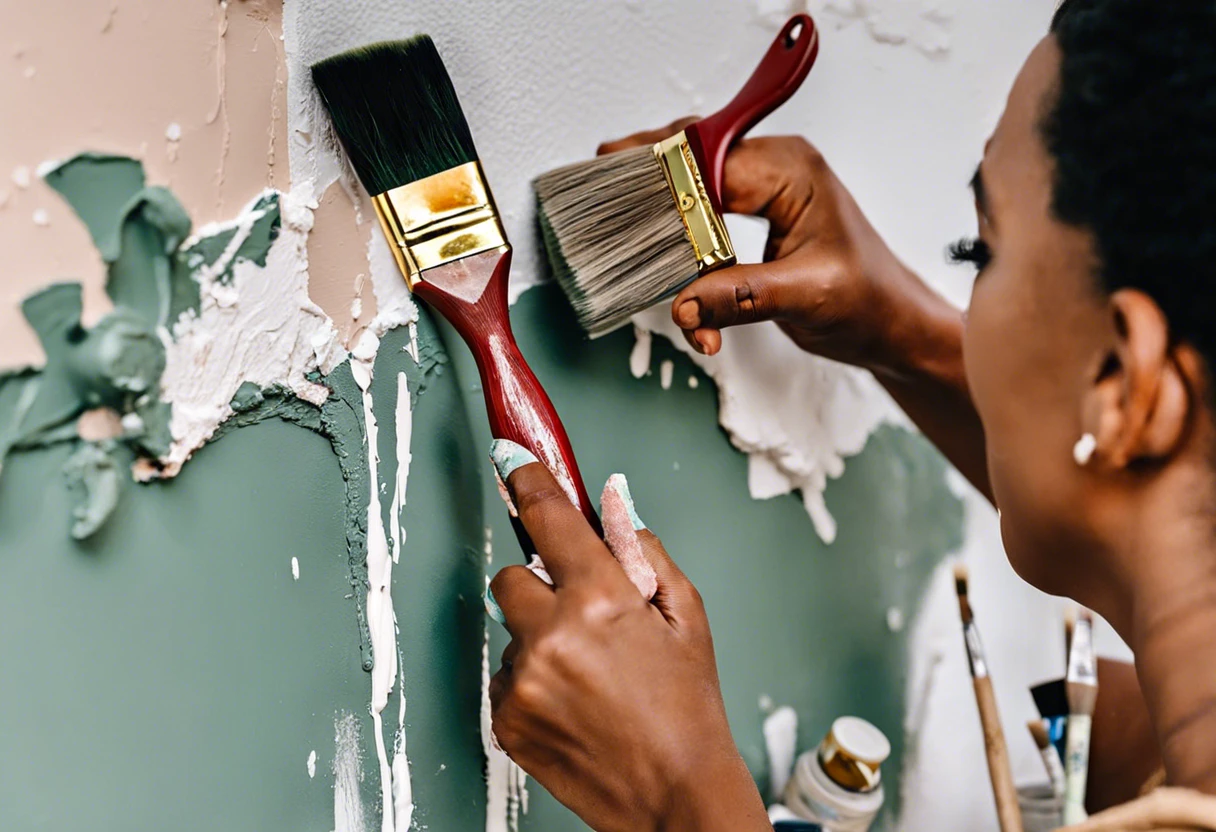
Repair the Chipped Paint
Fill the chips with spackle or wood filler and level it with a putty knife. Ensure the filler is smooth and slightly overfilled to accommodate shrinkage as it dries.
Give it at least 30 minutes to dry, then sand the area gently for a smooth finish. Run your fingers over the area; it should feel even with the rest of the wall.
-
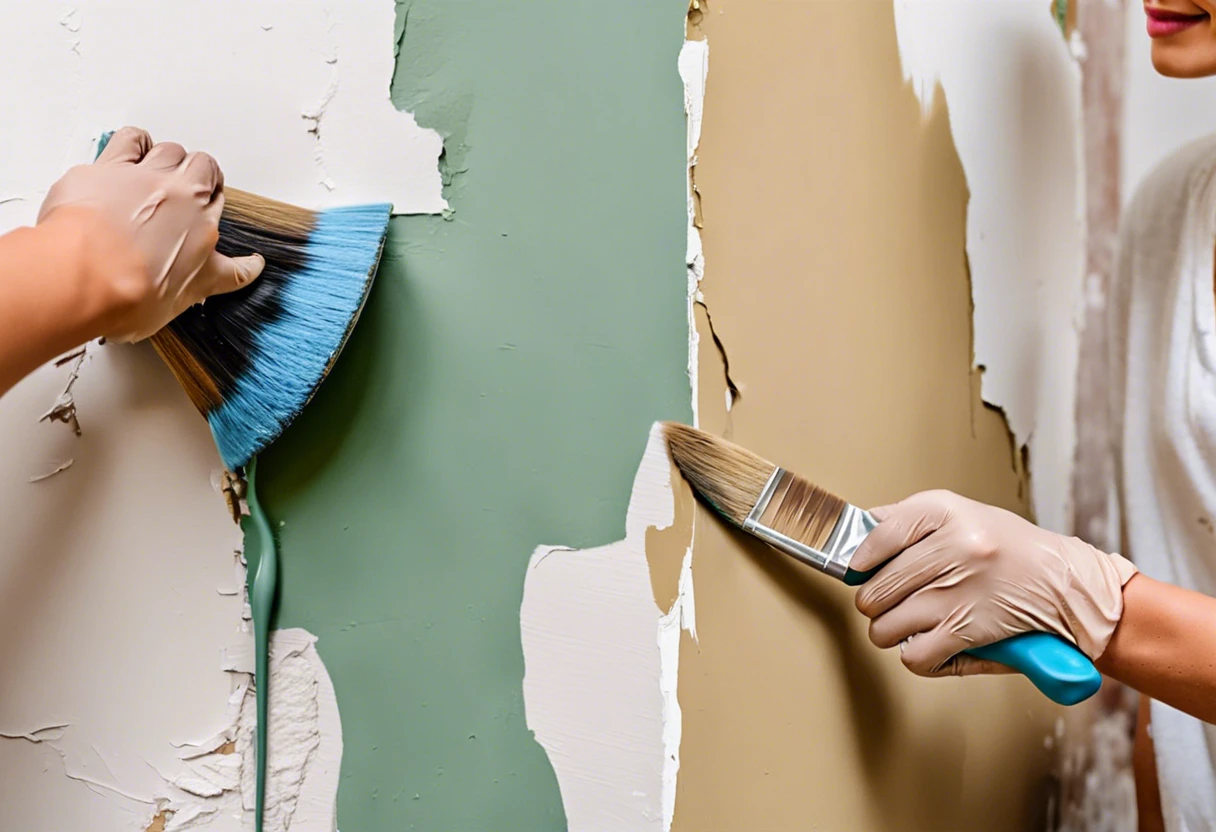
Repaint the Area
After sanding, apply a primer to the patched spot for better adhesion and color consistency. Let it dry for about an hour.
Finally, brush or roll on the matching paint using soft strokes. Allow it to dry completely, which typically takes 2 to 4 hours. You may need to apply a second coat.
That covers the process for covering chipped paint. Let’s now take a look at different wall paint options for this purpose.
Types Of Wall Paint for Covering Up Chipped Paint
Let’s discuss the types: Matte, Satin, Semi-Gloss, and Chalk Paint.
-
Matte Paint
Matte paint has no sheen, making it excellent for hiding imperfections. It absorbs light, effectively covering chipped paint on walls.
-
Satin Paint
Satin paint has a subtle shine, balancing durability and appearance. It’s ideal for high-traffic areas, as it withstands mild scrubbing better than matte.
-
Semi-gloss Paint
Semi-gloss paint has a higher sheen, enhancing durability against chipping. Use it on raised or detailed surfaces; it reflects more light, making repairs harder to conceal but easier to clean.
-
Chalk Paint
Chalk paint provides a unique matte finish and dries quickly. You can layer it easily over chipped areas, creating a vintage look while covering imperfections effectively.
Over time, I’ve found that satin paint strikes the right balance for daily use. Its combination of durability and elegance hides flaws while remaining easy to maintain.
We have now covered the different types of wall paint suitable for covering chipped paint. Next, we will explore the factors that influence the repair process.
Factors Affecting the Repair Process for Chipped Paint
What factors influence the methods you use to mask paint damage effectively?
-
Type of Paint – Different paints, such as oil-based and latex, affect adhesion.
-
Surface Condition – Smooth, clean walls hold repairs better than rough, dirty surfaces.
-
Size of Chips – Larger chips require more thorough treatment than small nicks or scratches.
-
Climate Factors – Humidity and temperature can affect drying time and finish quality during repairs.
You should now have a good understanding of elements influencing paint repair and their implications. In the next part, we’ll discuss typical problems when addressing wall chips.
Common Issues When Covering Chipped Paint on Walls
My friend once struggled to hide paint chips on her living room wall. Uneven surfaces and color mismatches made it difficult!
To fix this, she used fine-grit sandpaper (240 Grit) to smooth the edges, then applied a high-adhesion primer. Finally, she matched the original shade using paint swatches. Voila!
Finishing Touches for a Professional Look
After fixing those chips, seal the touch-ups with a clear matte finish. A product like Minwax Polycrylic protects your wall while enhancing color saturation.
Inspect your work closely. Use a small angle ruler (About 15 Degrees) to check for inconsistencies in texture and ensure a seamless finish no more than 2 cm (0.8 In) off.
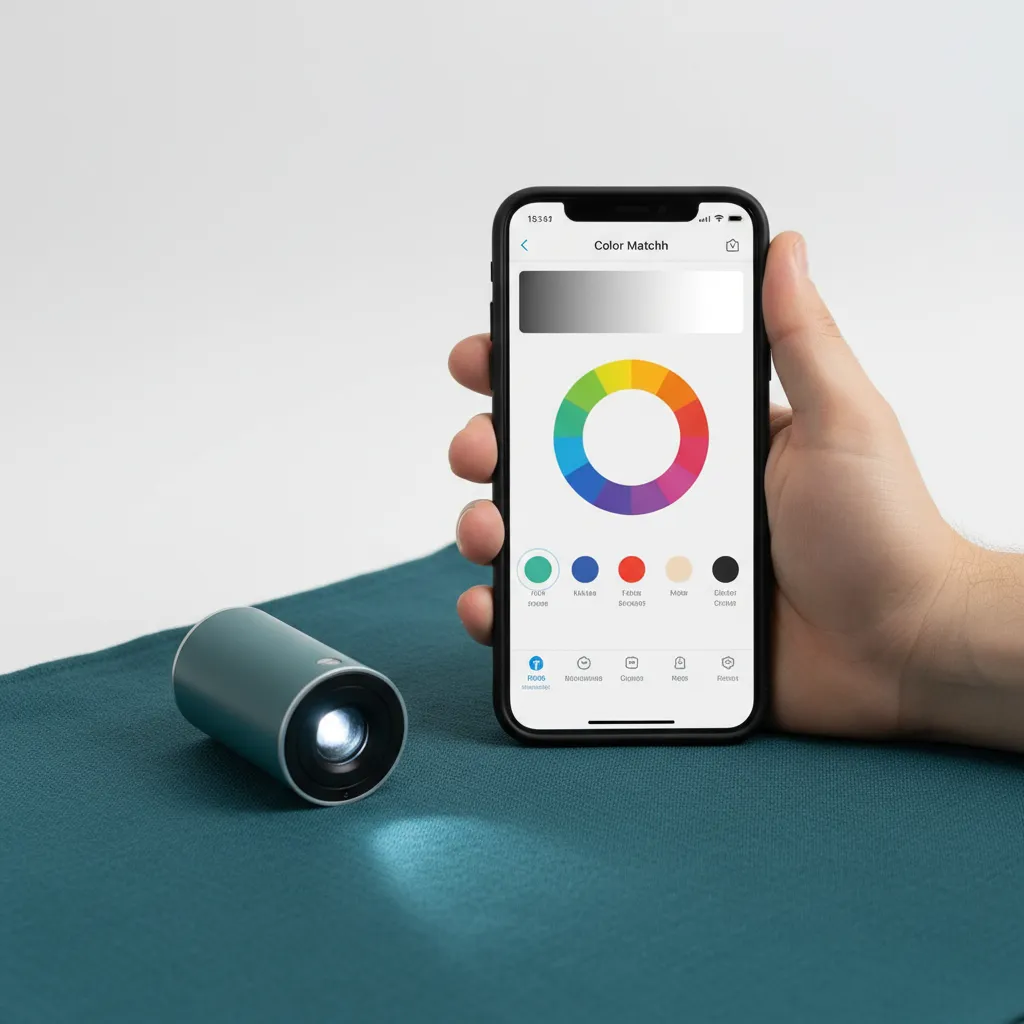
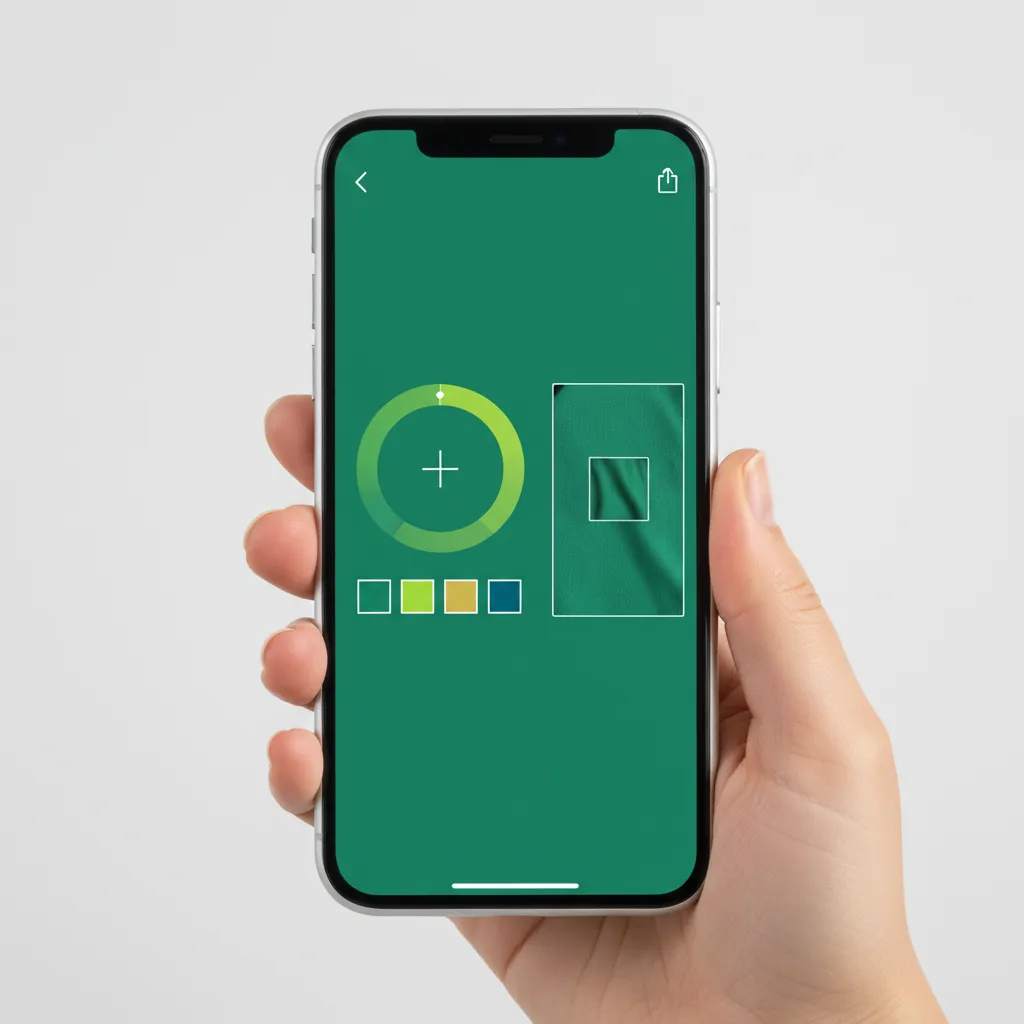
An insider tip: Use a color-matching scanner, like Color Muse, to create a perfect touch-up for advanced retouching on rare hues.
Common Painter’s Tools for Touching Up Chips
Knowing the right tools for your touch-up tasks can make repairs much smoother. Here’s a quick guide on must-haves.
| Tool | Purpose | Recommended Size |
|---|---|---|
| Touch-up Brush | Precision painting | 1-inch (2.5 cm) |
| Foam Roller | Quick coverage | 6-inch (15 cm) |
| Mini Paint Tray | For easy access and spills | 10-inch (25 cm) |
| Spackling Knife | Apply filler smoothly | 3-inch (7.6 cm) |
When to Consult a Professional
Sometimes, calling in the pros is your best move. Here’s when you might want to consider that option.
| Situation | Description | Why Hire a Pro? |
|---|---|---|
| Extensive Damage | Chips spanning over 10 cm² (1.5 In²) or more. | They have tools and skills for a seamless repair. |
| Underlying Structural Issues | If you suspect water damage or mold. | Professionals can identify and fix these before painting. |
| Color Matching Challenges | Finding the right paint to blend perfectly. | Experts often access advanced color-matching technology. |
| Time Constraints | No time to tackle repairs yourself. | They handle all the work, freeing up your schedule. |
Frequently Asked Questions About Covering Up Chipped Paint on Walls
Now let us look at some common questions I typically get asked.
What Types Of Paint Are Best for Touch-ups?
When covering up chipped paint on walls, acrylic or latex paints work best for touch-ups. These types of paint dry quickly and adhere well to existing surfaces, ensuring a seamless finish.
Can I Use a Marker for Small Paint Chips?
Yes, you can use a marker for small paint chips. Specialty paint markers match a variety of wall colors and allow for quick repairs without the need for brushes.
How Long Should I Wait Before Applying a Second Coat?
You should wait about 2 to 4 hours before applying a second coat of paint on walls. This waiting period allows the first coat to cure and bond properly, improving the final result.
What if the Chip is Large or Involves More Than Just Paint?
If the chip is large or if it includes drywall damage, it’s essential to repair that area before painting. Use patching compounds or spackle to fill deep chips, allowing adequate drying time.
How Can I Maintain My Walls and Prevent Future Chips?
To maintain your walls and prevent future chips, keep them clean and apply a protective sealant every few years. Regular touch-ups every 6-12 months can also safeguard against damage.
Is It Important to Choose the Right Paint Finish for Touch-ups?
Yes, choosing the right paint finish for touch-ups is crucial. Mismatched finishes can create noticeable patches—aim for eggshell or satin, which offer a versatile match for most interior walls. If you’re wondering about alternative paint techniques, check out our exterior painting tips.
What Tools Do I Need for a Successful Touch-up?
For successful touch-ups, you’ll need basic tools like a clean brush, a roller, and painter’s tape. These tools help smooth out any imperfections that may arise during the application process.
Can Outdoor Paint Be Used for Indoor Touch-ups?
No, you should avoid using outdoor paint for indoor touch-ups. Outdoor paints often contain chemicals that can create unpleasant odors indoors and may not adhere well on interior surfaces.
Conclusion
We covered the essential preparations, step-by-step process, recommended color palette, types of wall paint, factors affecting repair, common issues, finishing touches, and DIY project ideas for how to cover up chipped paint on wall.
In short, to tackle the issue of chipped paint, clean the area, apply primer, use matching paint, and don’t forget the final touch-up. Contact me if you’d like more guidance on how to cover up chipped paint on walls or how to keep painted cabinets from chipping.
For more comprehensive resources and articles, visit our homepage: Paint Answers for all the information you need!