
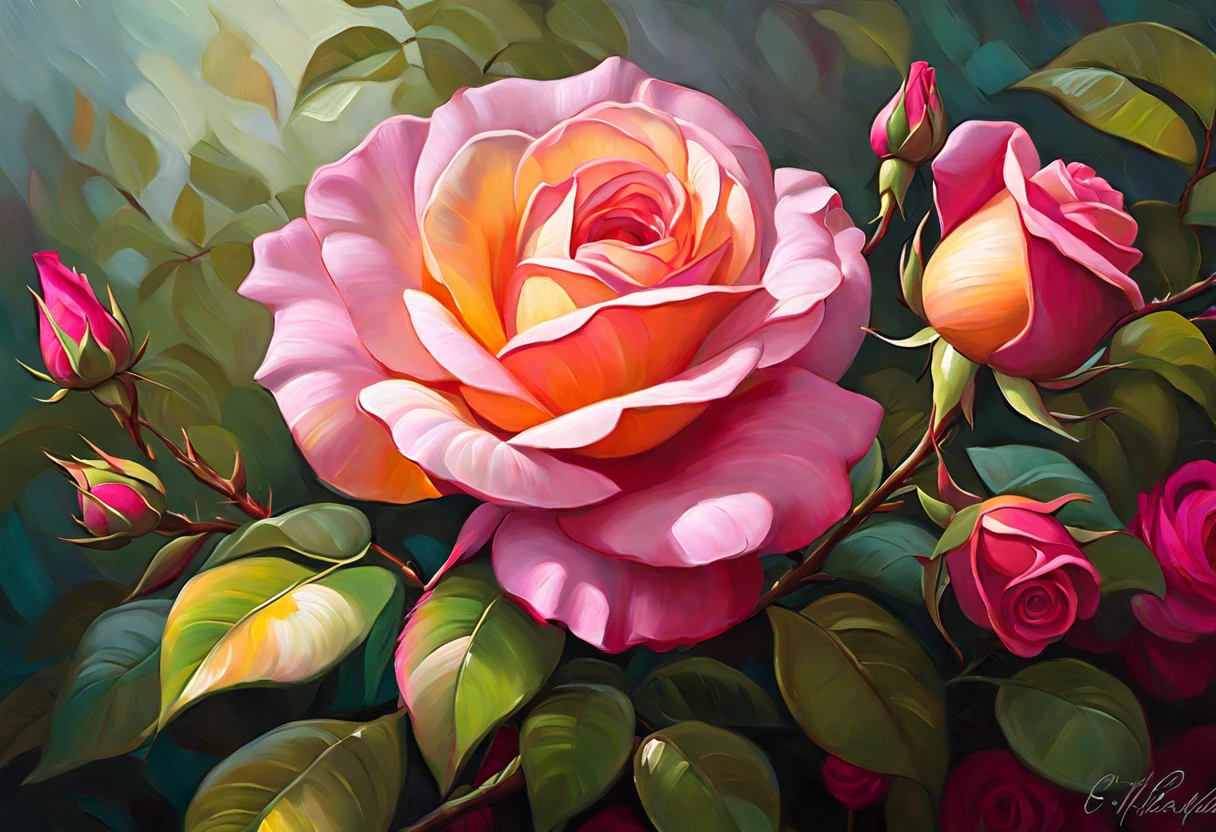
How to Oil Paint a Rose?
A rose is a beautiful flower that comes in many colors. It has soft petals and a sweet smell that makes people smile.
Learning how to oil paint a rose is super important! When I started, I found it really helped me capture those delicate details and vibrant colors.
In this guide, you’ll discover essential steps before painting, techniques for different types of roses, a recommended color palette, factors affecting your painting, and common issues you might face while learning how to paint roses with oil.

- ✓
- ✓
- ✓

- ✓
- ✓
- ✓
Contents
- 1 How to Oil Paint a Rose?
- 2 What is a Rose?
- 3 Preparation: Essential Steps Before You Start Oil Painting
- 4 Steps to Oil Paint a Rose
- 5 Recommended Color Palette for Painting Roses
- 6 Understanding Rose Anatomy for Better Painting
- 7 Understanding Oil Paint Mediums for Rose Painting
- 8 Brush Techniques for Oil Painting Roses
- 9 Exploring Color Mixing Techniques for Your Rose
- 10 Types Of Roses and Their Unique Painting Techniques
- 11 Factors Affecting Your Oil Painting Of a Rose
- 12 Common Issues Encountered When Oil Painting a Rose
- 13 Finishing Touches for Your Rose Painting
- 14 DIY Project Ideas Related to Oil Painting Roses
- 15 Frequently Asked Questions About Oil Painting Roses
- 16 Conclusion: Mastering the Art Of Oil Painting Roses
- 17 Additional Resources
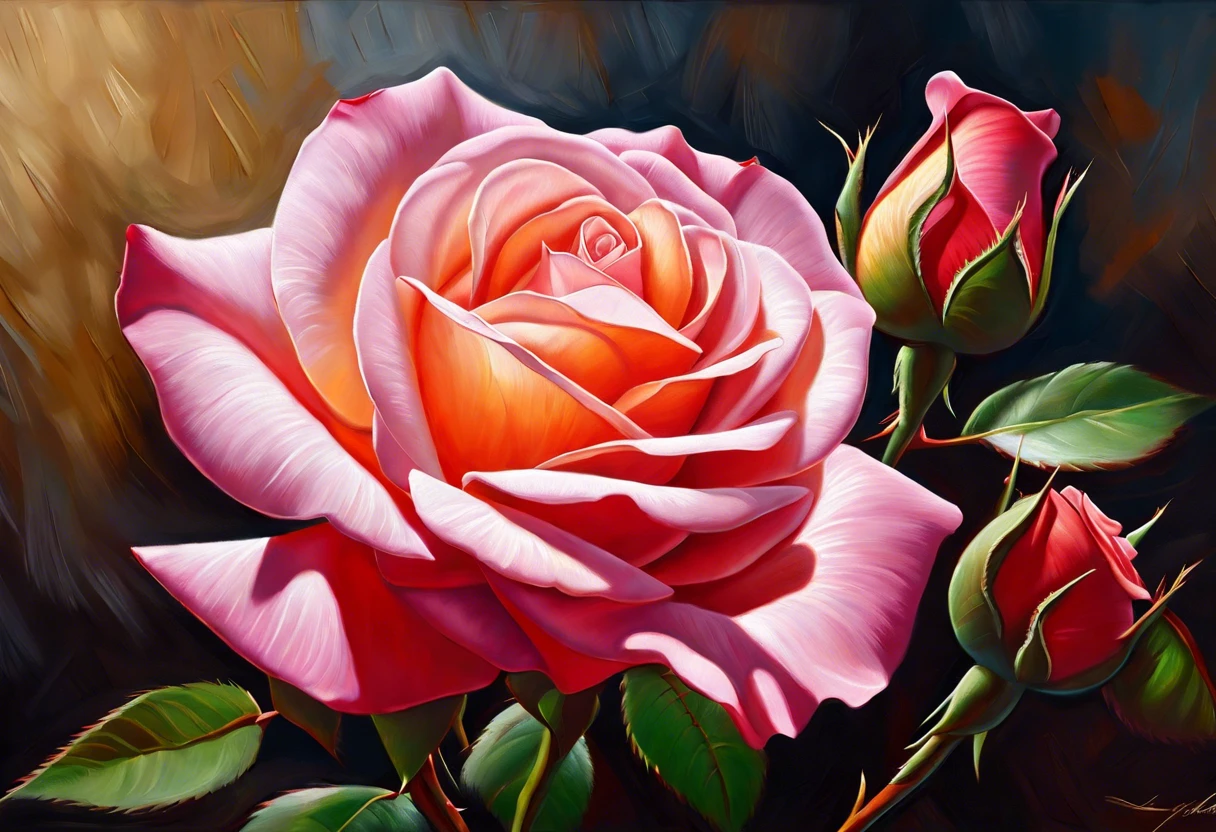
How to Oil Paint a Rose?
To oil paint a rose, start by sketching its shape. Use a base layer of light colors for petals. Then, add darker tones for depth. Lastly, blend for a soft finish, showing light and shadow.
What is a Rose?
A rose is a vibrant flower in the genus Rosa, part of the Rosaceae family. There are over 149 species and numerous hybrids, known for their distinct petals, which vary from 1 cm (0.4 In) to 20 cm (8 in) in diameter.
When you think about oil painting a rose, consider lush textures and striking colors! I remember the first time I tried it; blending crimson and green in oil was fulfilling.
One day, while learning to paint roses with oil, I discovered the magic of capturing their essence on canvas. Each stroke brought life to the intricate layers, leaving me mesmerized and eager to master the art of painting a rose in oil. My fascination with artistic techniques led me to explore remarkable artistic perspectives.
Preparation: Essential Steps Before You Start Oil Painting
What do you need to get started?
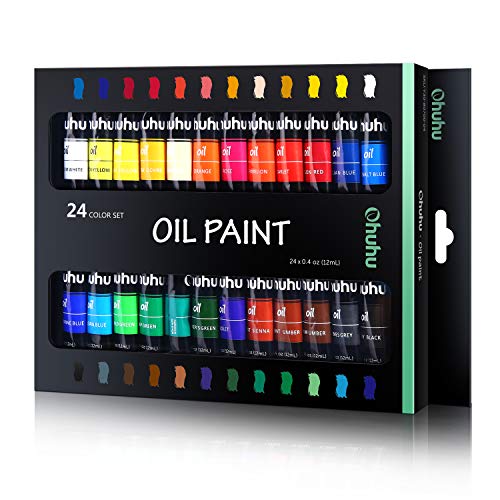
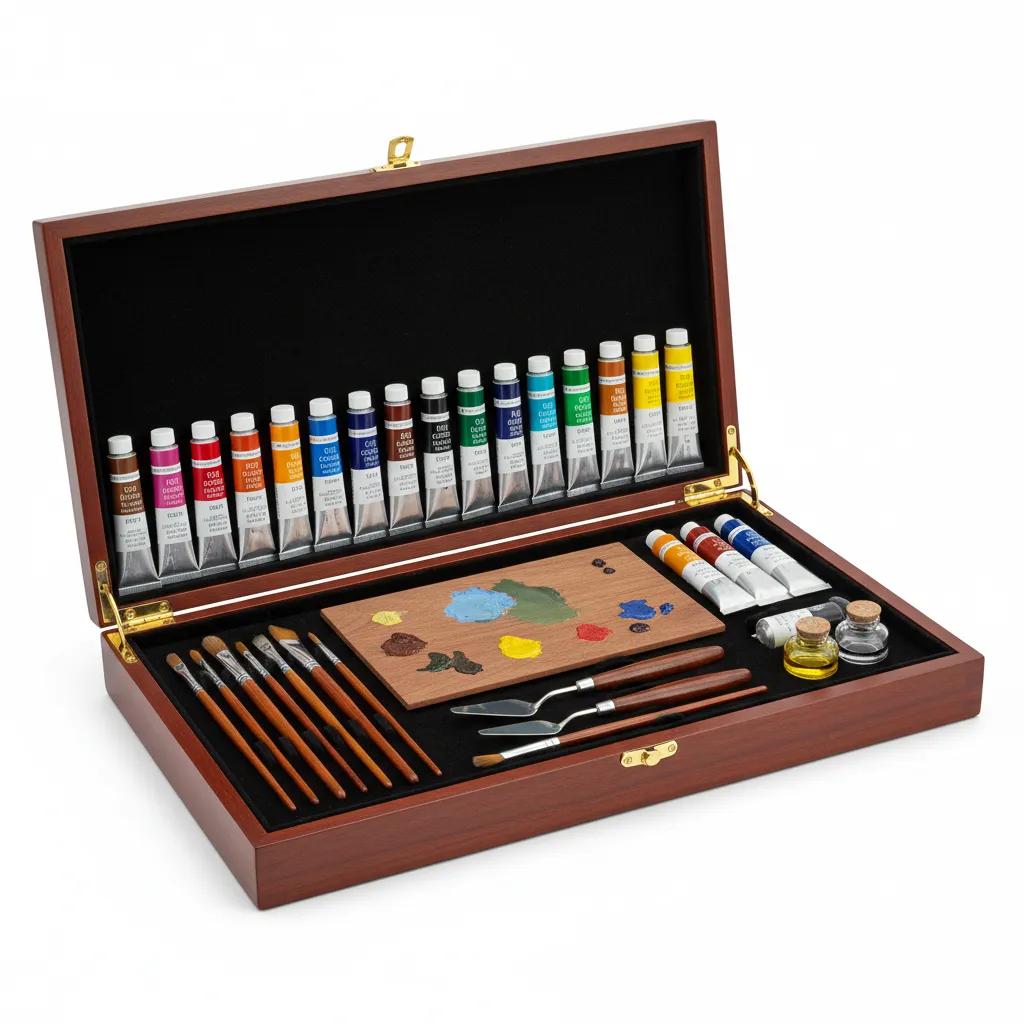
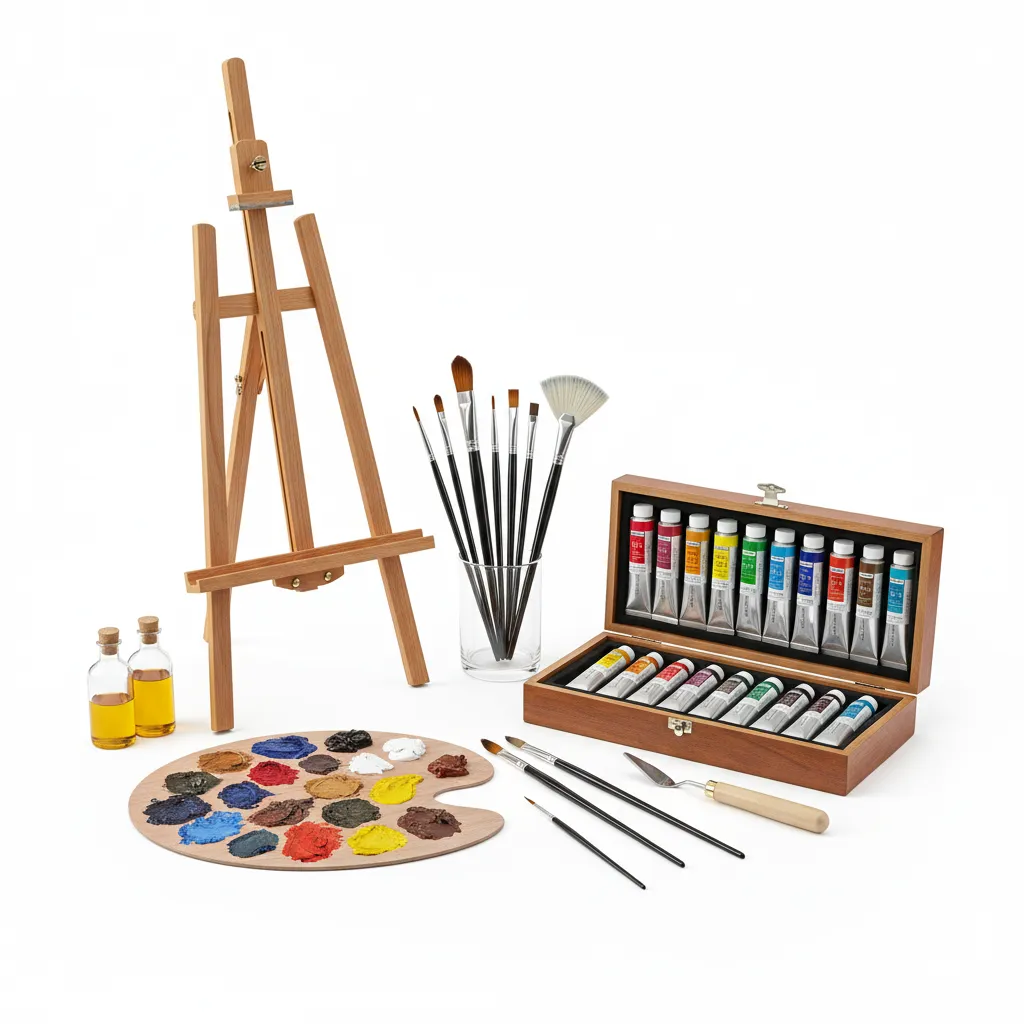
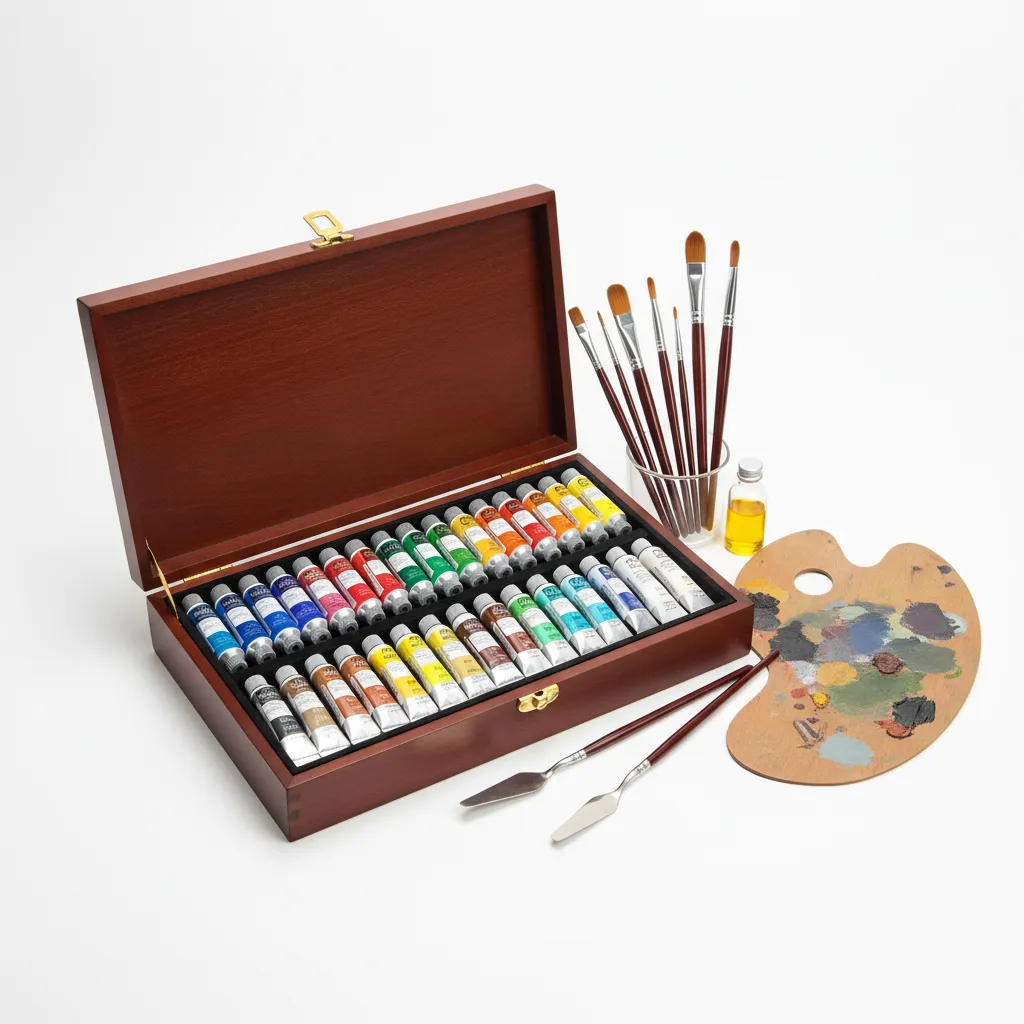
- Oil Paints: Use high-quality oil paints like Winsor & Newton Artist Oils. They produce vibrant colors vital for capturing the rose’s depth.
- Brush Set: Choose a mix of filbert and round brushes, like the Princeton Velvetouch set. These create the soft blends needed for petals.
- Palette: Opt for a wooden palette, such as the New Wave Poured Palette, 46 cm x 30.5 cm (18 in X 12 in). It provides ample space to mix colors accurately.
- Canvas: A stretched canvas, for example, 50 cm x 60 cm (20 in X 24 in), is essential. It offers a sturdy surface for detailed rose artwork.
- Turpentine: You’ll need a solvent like Gamblin Odorless Mineral Spirits. It thins paints and cleans brushes effectively.
We’ve wrapped up essential steps for preparing to oil paint. Let us turn our attention to the steps for painting a rose.

Also See: Can You Add Cornstarch to Liquid Face Paint? Yes!
Steps to Oil Paint a Rose
Here are the steps to paint a rose in oil.
-
Create a Sketch Of the Rose
Start by lightly sketching the rose on your canvas with a charcoal pencil. Aim for proportion—a typical rose has five to seven petals and a central bud to guide your shapes.
I usually spend about 10 minutes on the sketch. A quick initial sketch helps solidify the composition before adding color.
-
Layer the Base Colors
Use a large brush to apply a base layer of color on the petals. Mix cadmium red and white in a 1:1 ratio for a soft pink; this gives vibrancy and depth.
Use thick paint. The best part about oil is building layers; let each layer dry for about 24 hours before adding the next.
-
Deepen Color Tones
Introduce variety by mixing darker colors, like alizarin crimson and burnt umber, into shadows where petals overlap and near the base. This creates a more realistic dimension.
I once added too much black to the shadows, which made them too harsh. Use subtle dark tones—about 80% lighter color to 20% dark works well.
-
Add Details and Highlights
With a fine brush, enhance the edges of the petals by applying a lighter color mix—titanium white with a dash of yellow for sunlit highlights. Strategically placed highlights bring your rose to life. If you’re looking to expand your color palette, you might want to explore creating unique blue paint shades.
Focus on areas that catch the light. You’ll see how the contrasts enhance your rose!
-
Final Touches and Glazing
Let all layers dry completely before adding final touches. Apply a glazing medium mixed with a bit of your base color to unify the piece and create a smooth effect—this is essential for the final polish. If you’re working on decorative painting techniques like pumpkin art, you might want to explore painting medium techniques.
A ratio of about 1:1 medium to oil paint provides enjoyable transparency, helping everything blend beautifully. Take a step back and see how it complements the whole painting!
Recommended SuppliesAs an Amazon Associate, I earn from qualifying purchases. Images are representative.
We have now covered the steps to oil paint a rose. Next, we will discuss the recommended color palette for this artwork.
Recommended Color Palette for Painting Roses
I recommend a Romantic Blush palette; it creates depth while keeping colors soft and inviting.
| Color Box | Hex Code | Color Name |
|---|---|---|
| #FFB6C1 | Light Pink | |
| #FF69B4 | Hot Pink | |
| #C71585 | Medium Violet Red | |
| #FFFFFF | White |
That covers suggested color schemes for painting roses. Let’s now take a look at rose structure for improved painting technique.
Understanding Rose Anatomy for Better Painting
Knowing the anatomy of a rose can enhance your oil painting technique.
-
Petals
Roses typically have 5 to 100 petals based on the variety. Each petal has a unique shape and texture. Observe how layers overlap to create shadows.
-
Sepals
Sepals are the green parts that protect the bud. They can help create a contrast in your painting by introducing verdant colors like sap green or viridian.
-
Thorns
Thorns add character. When painting stems, consider their placement. Use darker greens mixed with brown for realism.
-
Stigma and Anthers
The stigma and anthers are inside the flower. Highlight these features with yellows or soft oranges to complement the petals.
We’ve wrapped up the key aspects of rose anatomy here. Let us turn our attention to oil paint mediums for rose painting.
Understanding Oil Paint Mediums for Rose Painting
The choice of oil paint mediums can greatly influence your painting results. Here’s what you need to know.
-
Linseed Oil
This is the most common medium. It enhances flow and creates a glossy finish. It takes about 3-5 days to dry, making it perfect for layering.
-
Stand Oil
This is a thicker variant of linseed oil. It levels out brush strokes nicely and takes 5-7 days to dry. Use it for smooth, glossy surfaces.
-
Safflower Oil
This oil dries brighter and is less yellow than linseed oil. It’s great for lighter colors and reduces drying time to about 2-4 days.
-
Walnut Oil
This oil dries quickly and doesn’t yellow as much over time. Ideal for bright colors, it can dry in 2-4 days depending on the humidity.
Brush Techniques for Oil Painting Roses
Using the right brush techniques can define your rose’s texture. Check out these methods!
| Technique | Description | Best Brush Type |
|---|---|---|
| Glazing | Use thin layers for luminosity. This technique builds depth. | Flat Brush |
| Scumbling | Apply a dry brush technique to create a textured surface. | Stiff-bristle Brush |
| Wet-on-wet | Apply wet paint onto wet paint for soft blending. | Round Brush |
| Detailing | Add fine lines and intricate details for realism. | Liner Brush |
Exploring Color Mixing Techniques for Your Rose
Mixing colors correctly enhances your rose’s vibrancy. Here are simple techniques.
-
Complementary Mixing
Combine opposite hues (like red and green) to create neutral tones. This can add shadows in your rose.
-
Triadic Color Scheme
Use three colors evenly spaced around the color wheel for a vibrant palette. It can be playful yet harmonious.
-
Monochromatic Scheme
Stick to one hue and play with its shades and tints. This approach unifies your painting’s look.
Types Of Roses and Their Unique Painting Techniques
Let’s explore different types of roses: Classic Roses, Wild Roses, Tea Roses, and Climbing Roses.
-
Classic Roses
Classic roses include popular varieties like Hybrid Tea and Floribunda. When painting, use oil paints to blend their iconic layers, with a petal count typically ranging from 30 to 60 petals per bloom.
-
Wild Roses
Wild roses have a simpler structure, usually featuring 5 petals. Oil painting these requires a loose hand to capture their spontaneous beauty, as they often grow in clusters of 3 to 7 flowers.
-
Tea Roses
Tea roses mix fragrances with a wide color palette, having around 30 to 40 petals. Use soft strokes with oil paint to highlight their elongated forms, evoking grace and elegance.
-
Climbing Roses
Climbing roses grow quickly, reaching up to 3 meters (10 Feet) or more. When painting them with oil, emphasize the intertwined vines and blooms, as they often yield clusters of 5 to 15 flowers during a single bloom cycle.
Reflecting on my experiences, painting Classic Roses captures my heart. Their complex layers challenge me, and experimenting with shades truly brings them to life.
Factors Affecting Your Oil Painting Of a Rose
What factors influence your ability to create a stunning rose with oils?
-
Color selection: Choosing the right colors directly affects your rose’s vibrancy and realism.
-
Brush type: The brush you use determines texture; a stiff brush creates detail, while a soft brush adds smoothness.
-
Layering technique: Layering affects depth; more layers yield a more lifelike and rich appearance.
-
Lighting conditions: Proper lighting changes how colors appear; good lighting highlights your rose’s details beautifully.
Common Issues Encountered When Oil Painting a Rose
A friend once struggled to blend colors for her oil-painted rose. The colors became muddy, ruining her work. She used too much white, cluttering the palette.
To solve this, I advised her to limit white and use a slow-drying medium, like linseed oil. Mixing in ratios of about 1:4 was key—less white, more depth!
Finishing Touches for Your Rose Painting
Once you’ve mastered your oil painting techniques, apply a glaze of 20% linseed oil for a glossy look. Enhance the petals’ luminosity with soft brush strokes.
Inspect your rose for uniform texture on petal edges; aim for a silky finish of about 100 microns (0.1 Mm) thick. Use a biodegradable product, like Gamblin Galkyd, for this step.
An insider tip: squeeze out excess medium from your brush during cleanup. Use a lint-free cloth for precise detailing and to maintain soft color transitions in your work.
DIY Project Ideas Related to Oil Painting Roses
Want a fun twist on painting roses? Try creating DIY rose gift tags using oil paint and watercolor paper!
For this project, gather some small sheets of watercolor paper, oil paints, and brushes. You’ll spend about $15 and maybe an hour or two max to whip up a whole set.
If you’re craving something different, think about using a spico, like a sponge, to dab your colors on canvas. This gives your roses a soft, abstract look that really pops! Project time? Just 30 minutes, and you only need a sponge, oil paints, and canvas.
Also See: Can You Paint Your Glasses Frames With Acrylic Paint?
Frequently Asked Questions About Oil Painting Roses
What Supplies Do You Need for Oil Painting Roses?
To oil paint roses, you need specific supplies. Essential items include oil paints, brushes, a palette, and canvas or oil paper. Quality matters—using high-grade oil paints costs about $30 to $100 per set, depending on the brand and colors.
How Do I Choose the Right Colors for My Rose Painting?
Choosing the right colors for your rose painting is crucial. Use a mix of reds, pinks, yellows, and whites to achieve different rose shades. Experiment with color mixing to create depth and realism, which can take practice—up to 10 hours to get comfortable with blending. Professional artists often invest in high-quality pigments that can significantly impact the final artwork’s appearance, elevate painting material costs.
What Techniques Are Best for Painting Petals?
The best techniques for painting rose petals include glazing, scumbling, and wet-on-wet methods. Glazing lets layers shine through, offering depth. It often takes several layers of paint and about 3 to 5 hours of wait time for drying between applications. If you’re looking to expand your painting skills beyond canvas, you might want to explore painting techniques for different surfaces.
How Long Does It Take for an Oil Painting Of a Rose to Dry?
Oil paintings of roses typically take 6 months to 1 year to fully dry. The drying time depends on the oil medium, thickness, and environmental conditions. For instance, using thin layers may cut that time to just a few weeks. If you’re looking to touch up your artwork quickly, spray gun techniques can help.
Can I Use Water With Oil Paints for My Rose Painting?
You can’t use water directly with oil paints when painting roses. Oil paints need solvents like turpentine or mineral spirits for thinning. Water-based mediums, like water-soluble oil paints, exist and apply easily but yield different textures and appearances. If you’re unsure about the best techniques for oil painting mediums, professional painters recommend specific primer methods.
How Do Lighting Conditions Affect My Rose Painting?
Lighting conditions significantly impact your rose painting’s appearance. Natural light showcases the true colors, while artificial light may distort them. Ideally, paint in daylight for about 20% color accuracy boost—your eyes adjust to colors more evenly.
What’s the Best Way to Preserve an Oil Painting Of a Rose?
The best way to preserve an oil painting of a rose is by varnishing it. A proper varnish protects the painting from dust and UV rays. Use removable varnish for easy touch-ups, and apply it after the painting has dried for about 6 months to achieve optimal results. If you’re curious about alternative painting techniques and preservation methods, you might want to explore acrylic paint baking techniques.
Conclusion: Mastering the Art Of Oil Painting Roses
Phew, we covered a lot, didn’t we? We discussed what a rose is, the essential preparation steps before you start oil painting, the actual steps to paint a rose, the recommended color palette, the unique techniques for different rose types, factors affecting your oil painting, common issues when painting a rose, and some DIY project ideas.
Hopefully, I was able to impart some of my experience on how to oil paint a rose. In short, you start with preparation, use a specific color palette, apply unique techniques for various rose types, and navigate common issues—all so you can create a stunning rose painting with oil paint.
For further insights and articles that will enhance your painting journey, feel free to return to our main page at Paint Answers.
Additional Resources
- Gurney, J. (2009). Color and Light: A Guide for the Realist Painter. Kansas City, MO: Andrews McMeel Publishing.


