
How to Paint a Bird in Watercolor?
Published on: November 23, 2025 | Last Updated: October 1, 2025
Written By: paint_answered
Contents
- 1 How to Paint a Bird in Watercolor?
- 2 What is a Bird?
- 3 Preparing for Your Watercolor Bird Painting
- 4 Step-by-step Guide to Painting a Bird in Watercolor
- 5 Recommended Color Palette for Painting Birds in Watercolor
- 6 Types Of Birds Commonly Painted in Watercolor
- 7 Understanding Bird Anatomy for Better Paintings
- 8 Color Theory in Bird Painting
- 9 Exploring Different Watercolor Techniques for Bird Painting
- 10 Best Practices for Capturing Bird Movement in Watercolor
- 11 Common Issues When Painting a Bird in Watercolor
- 12 Finishing Touches for Your Watercolor Bird Painting
- 13 Frequently Asked Questions (FAQs)
- 14 Conclusion
- 15 Useful Resources
How to Paint a Bird in Watercolor?
To paint a bird in watercolor painting techniques, start with a light pencil sketch. Use soft layers of color, blending as you go. Focus on details like feathers and eyes. Remember to let each layer dry before adding more!
What is a Bird?
A bird is a warm-blooded vertebrate in the class Aves. It has feathers, a beak without teeth, and lays hard-shelled eggs. Most species range from 5 cm (2 in) to 3 m (10 Ft) in length. Birds inhabit every part of the globe, with over 10,000 recognized species worldwide.

- ✓
- ✓
- ✓

- ✓
- ✓
- ✓

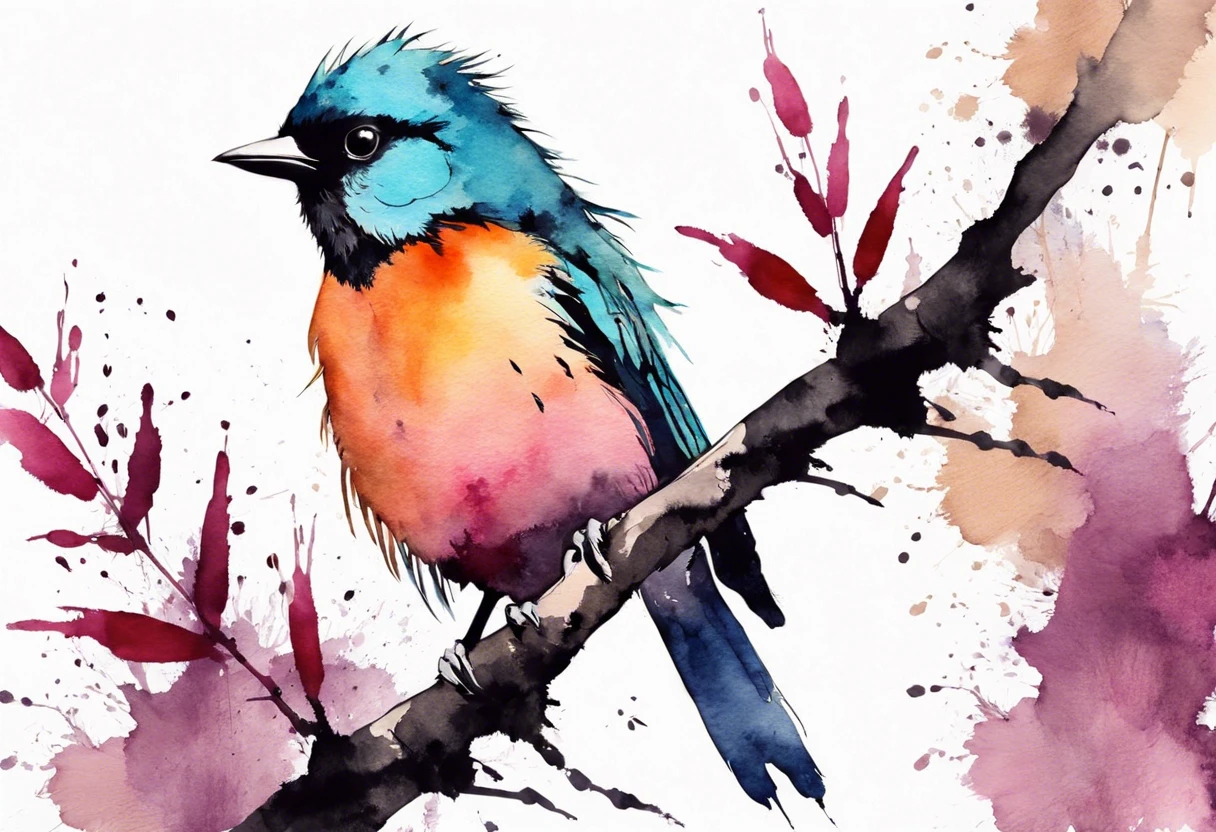
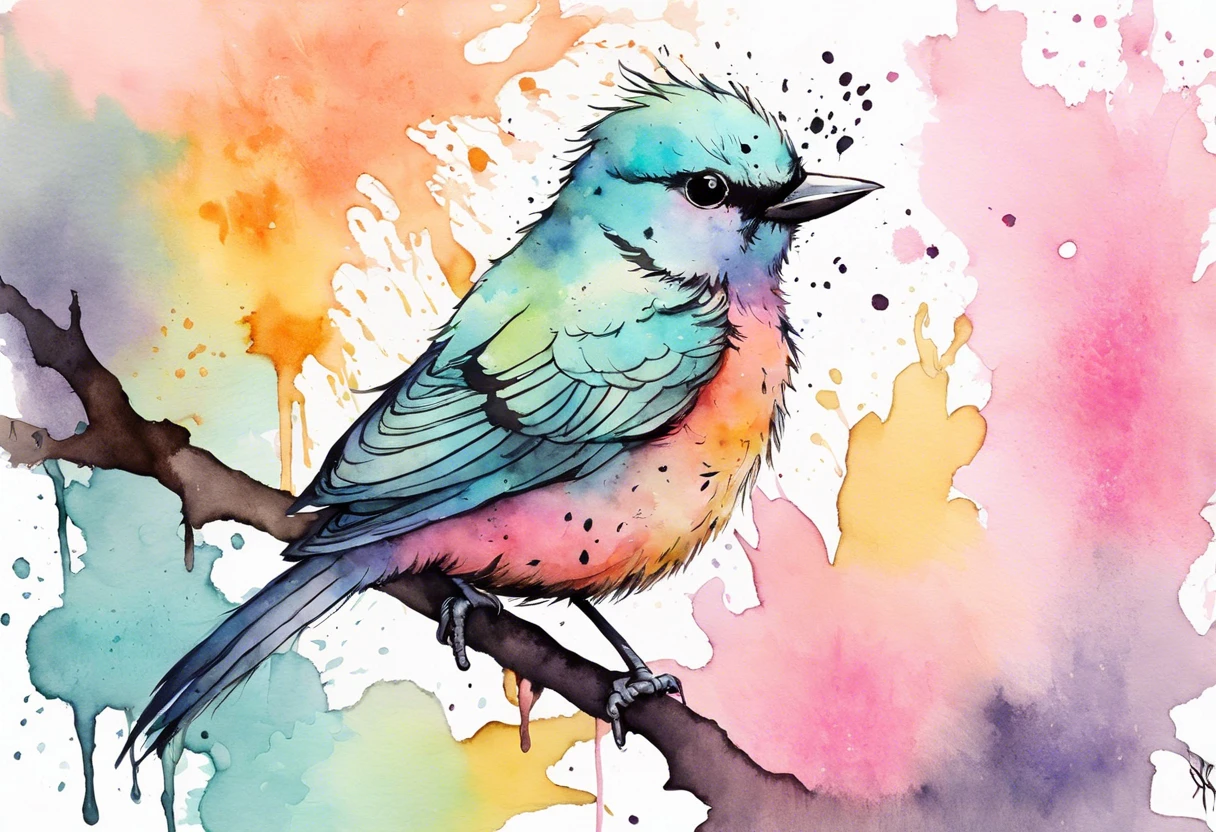
If you’re eager to paint a bird in watercolor, it can be an exciting experience! I remember the first time I captured a robin; the blend of colors really brought it to life.
Using layers of wash can transform that cute little creature on the canvas. When learning to paint a bird in watercolor, especially different species, consider both the technique and the details. Cute feathers or unique features, like those of a peacock, can add depth and character to your artwork.
Preparing for Your Watercolor Bird Painting
What do you need to get started?
- Watercolor Paper: Use 300 gsm (140 Lb) cold-pressed paper, like Arches Natural White, for durability. It’s crucial to manage water without warping.
- Watercolor Paints: Get a quality set, such as Winsor & Newton Cotman, for vivid colors. They’re essential for layering and creating texture in your bird painting.
- Brushes: Use round brushes, sizes 0, 2, and 6, for detail and wash work. Brands like Princeton Velvetouch help create clean strokes and fine details.
- Palette: Use a white ceramic palette to mix colors accurately. This helps control the tones needed for feathers and backgrounds.
- Pencil and Eraser: Keep a 2B pencil and a kneaded eraser handy for sketching. This allows you to alter your bird’s form easily before painting.
So far we covered getting ready for your watercolor bird painting. Let’s look at the step-by-step process for painting a bird.

Also See: Can Acrylic Paint Be Used for a Mural? Here’s How!

Step-by-step Guide to Painting a Bird in Watercolor
Follow these steps to create a beautiful watercolor bird for the best results!
-
Select Your Bird Reference Image
Choose a clear, bold image with good lighting. High-resolution photos capture fine details best.
Consider colorful birds. Bright species like parrots or peacocks offer vibrant palettes that make the process engaging.
-
Create a Light Sketch
Use a pencil to outline the bird’s shape softly on your paper. Aim for gentle strokes so you can easily erase mistakes.
Focus on proportions. Getting the head, wings, and tail aligned correctly sets the foundation for a stunning painting.
-
Establish the Background
Paint the background first. Light colors like soft blue or pale green enhance your bird’s vivid hues.
Use smooth washes. Wet the paper lightly with clean water, then add your colors. This technique creates a seamless background.
-
Layer the Base Colors
Start with light washes for larger parts of the bird. Use transparent layers for soft blending.
Work in sections, allowing colors to dry in between. This prevents muddying and adds depth to the bird.
-
Add Details and Textures
Apply darker, more opaque colors for details like feathers and eyes. Take your time and build these layers gradually.
Run a wet brush lightly over the feathers to create soft textures that mimic a bird’s natural look.
-
Final Touches and Corrections
Check your painting for missing details or corrections. A white gel pen can enhance reflections in the eyes.
Blend areas that feel too harsh or add shadows for depth. These adjustments can elevate your work.
We covered techniques for painting birds in watercolor. We will now cover the suggested color palette for painting birds.
Recommended Color Palette for Painting Birds in Watercolor
I recommend the ‘Nature’s Elegance’ palette for painting birds, as it captures the vibrancy and subtleties of feathered creatures beautifully.
| Color Box | Hex Code | Color Name |
|---|---|---|
| #FFD700 | Golden Yellow | |
| #1E90FF | Dodger Blue | |
| #FF4500 | Orange Red | |
| #228B22 | Forest Green | |
| #FFE4E1 | Light Pink |
We have now covered suggested color schemes for painting birds in watercolor. Next, we will explore bird species often depicted in this medium.
Types Of Birds Commonly Painted in Watercolor
Let’s explore the birds often seen in watercolor art: Sparrows, Cardinals, Peacocks, and Chickadees.
-
Sparrows
Sparrows are small, brown birds that symbolize everyday life. Focus on their textures and earthy colors—use hues like umber and ochre to create realistic feathers.
-
Cardinals
These bright red birds stand out with bold colors. Add contrast using deep greens and grays for backdrops, making the cardinal pop on the paper.
-
Peacocks
Peacocks are stunningly colorful and require blending techniques to showcase their iridescent feathers. Remember, using wet-on-wet methods helps merge hues of blue, green, and gold for dramatic effects.
-
Chickadees
Chickadees feature black, white, and soft gray colors. Pay attention to their round shapes and use fine brushes for clean details—capturing those distinct black caps is key!
From my perspective, painting Peacocks is exhilarating. Their vivid colors and intricate patterns challenge me, making it rewarding when I capture their beauty on canvas.
You should now have a good understanding of various types of birds commonly illustrated in watercolor. In the next part, we’ll discuss bird anatomy for improved paintings.
Understanding Bird Anatomy for Better Paintings
Knowing bird anatomy helps you capture their beauty more accurately.
- Head Structure: Pay attention to the shape and size of the head. Birds often have unique features such as beaks and eye placements that differ from species to species.
- Wing Positioning: Observe how wings fold and spread. Different poses can express motion or stillness, enhancing your painting’s feel.
- Legs and Feet: Legs can tell a lot about a bird’s behavior. Whether gripping branches or poised in water, these details add authenticity.
Color Theory in Bird Painting
Applying basic color theory can elevate your bird paintings immensely.
- Analogous Colors: Use colors next to each other on the color wheel to create harmony in your painting. For example, pairing blue and green brings out subtleties in a parrot’s plumage.
- Complementary Colors: These are opposite colors that make each other pop. Painting a bright yellow bird against a deep purple background can make it stand out vibrantly.
- Value and Contrast: Adjust darkness and lightness of colors to create depth. The contrast between light and shadow can define bird shapes effectively.
Exploring Different Watercolor Techniques for Bird Painting
Dive into these techniques to enhance your bird art.
- Wet-on-Wet: Wet the paper before adding color for soft blends. This technique is ideal for painting fluffy feathers.
- Wet-on-Dry: Apply wet paint onto dry paper for crisp edges. Use this for detailing beaks and eye highlights.
- Lifting Techniques: To remove paint and create highlights, gently scrub with a damp brush or sponge. This method can emulate the reflections on a bird’s feathers.
Best Practices for Capturing Bird Movement in Watercolor
Want to give your paintings life? Here’s how to capture movement.
- Quick Strokes: Use short, swift brushstrokes to portray fluttering wings or rapid-action poses.
- Blurred Lines: Create a sense of motion by slightly blurring areas of the painting. This technique mimics the movement of a bird in flight.
- Dynamic Poses: Paint birds in natural action poses—like perching or soaring. This adds excitement to your artwork.
Common Issues When Painting a Bird in Watercolor
When my friend tried to paint a cardinal in watercolor, she struggled to capture the vibrant red against the white background. The colors appeared dull, and the bird lost its charm.
To fix this, I suggested layering with transparent reds, using a 20% dilution for brightness. Quick strokes can define feathers while maintaining vividness. Avoid blending too much to keep the colors fresh! When working with complex color techniques, you might want to explore creating unique paint mixtures.
Finishing Touches for Your Watercolor Bird Painting
After you’ve finished your brushwork, allow your painting, made with 300 g/m² (140 Lb) paper, to dry completely for at least 24 hours. Then, gently brush off any dust using a soft sable brush.
Inspect your piece for layers and transitions; check the gradients between the wing and tail feathers, typically 2-4 layers, using a color chart like Winsor & Newton. I prefer Escoda’s travel brushes for precision. When working with different surfaces, you might want to explore painting techniques for plastic.
If you have experience, try wet-on-dry techniques for sharper details and watch for pigment granulation effects. Limit your palette to 3-4 colors to maintain vibrancy—professional paint, like Daniel Smith, works wonders here. When exploring painting techniques, you might also want to expand your skills to transform household surfaces with paint.
Frequently Asked Questions (FAQs)
What Are the Best Techniques for Painting Birds in Watercolor?
Yes, the best techniques for painting birds in watercolor include wet-on-wet and dry brush. Wet-on-wet allows colors to blend softly, while dry brush creates fine details. Both techniques give you flexibility for feather textures and vibrant colors.
What Tools Do I Need to Paint a Bird in Watercolor?
You need a watercolor palette, brushes, and quality paper to paint a bird in watercolor. A good set of brushes, especially round ones in sizes 2 to 10, can greatly affect detail and blending.
Can I Paint Birds Using Other Watercolor Styles?
Yes, you can paint birds using various watercolor styles. Styles like layering and glazing can add depth, while impressionistic methods provide a loose and vibrant look. Choosing depends on your artistic goals and the bird’s characteristics. When perfecting your technique, you might want to explore advanced blending techniques to enhance your watercolor skills.
What Should I Do if My Painting Doesn’t Look Right?
If your painting doesn’t look right, take a step back and assess the composition. Sometimes, adjusting colors or simplifying details can make a big difference. Remember, even artists make mistakes—don’t be afraid to experiment! When working with different paint types, you might want to explore acrylic paint’s outdoor potential.
How Long Does It Take to Paint a Bird in Watercolor?
It typically takes 2 to 4 hours to paint a detailed bird in watercolor. Time varies depending on factors like technique, experience, and the bird’s complexity. If you want to explore specific color techniques for creating realistic tones, check out these blonde paint color methods. Enjoy the process—it’s about more than just the final product!
What Type Of Watercolor Paper is Best for Bird Painting?
The best watercolor paper for bird painting is 100% cotton, particularly around 300 gsm (140 Lb). This paper absorbs water without warping, allowing you to maintain fine details and vibrant colors in your artwork. If you’re considering switching painting mediums, you might want to explore painting medium techniques.
How Do I Choose Reference Images for Bird Painting?
When choosing reference images for bird painting, opt for clear, high-resolution photos. Features like good lighting and visible feather detail can guide your work, ensuring you capture the essence of your avian friend. If you’re looking to expand your artistic techniques, you might want to explore painting different surfaces like aluminium doors.
Conclusion
That’s everything I wanted to share with you. We covered how to prepare for your painting, the step-by-step guide, recommended color palettes, types of birds, factors affecting your work, common issues, finishing touches, and DIY project ideas.
I trust these insights have been helpful in learning how to paint a bird in watercolor. With the right preparation and techniques, plus the knowledge of tools like color choices and addressing common issues, you can create stunning bird watercolor art.
If you found this information valuable, consider exploring more resources at Paint Answers for additional inspiration and guidance.
Useful Resources
- Gurney, J. (2009). Color and Light: A Guide for the Realist Painter. Kansas City, MO: Andrews McMeel Publishing.
- Loose Watercolor Cardinal Bird Painting
- How to Paint Birds in Watercolor (tips from a beginner) | Travel For Wildlife
- How to Paint Birds | Watercolor for Beginners | Diane Antone Studio


