


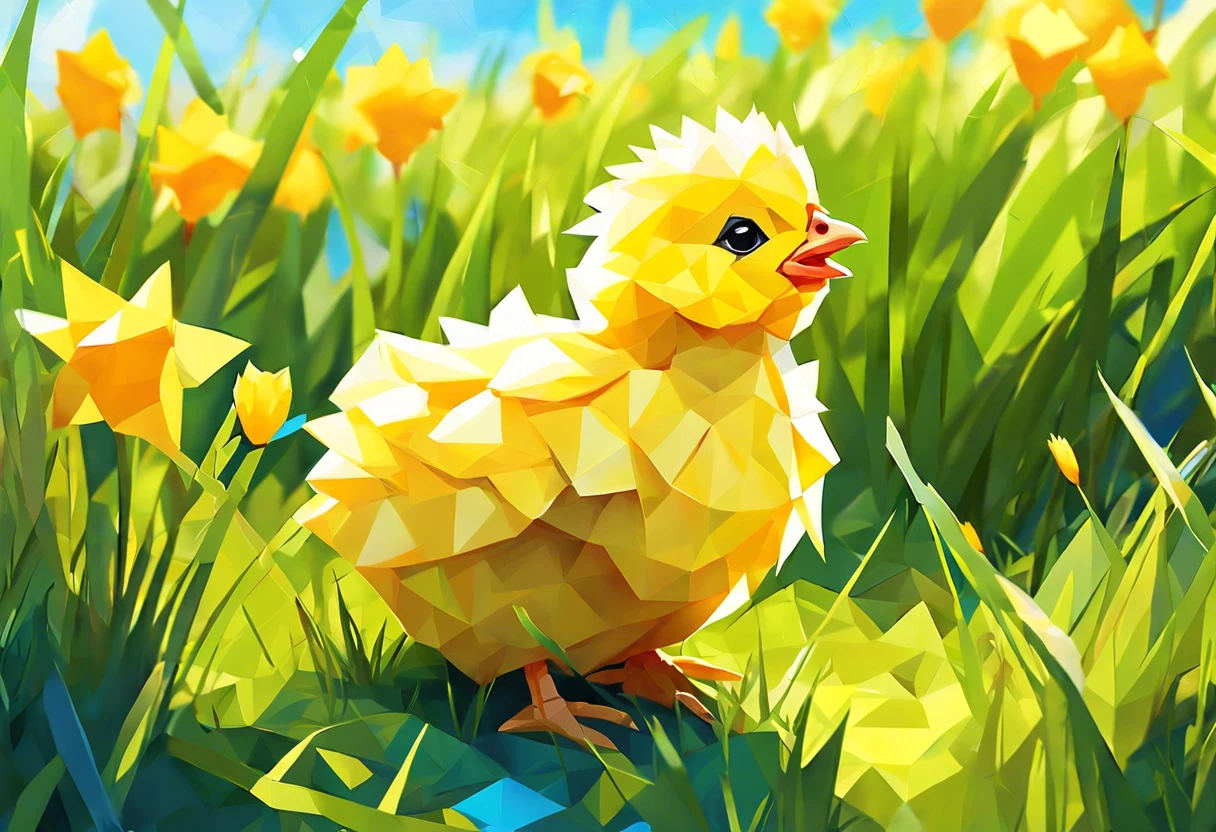
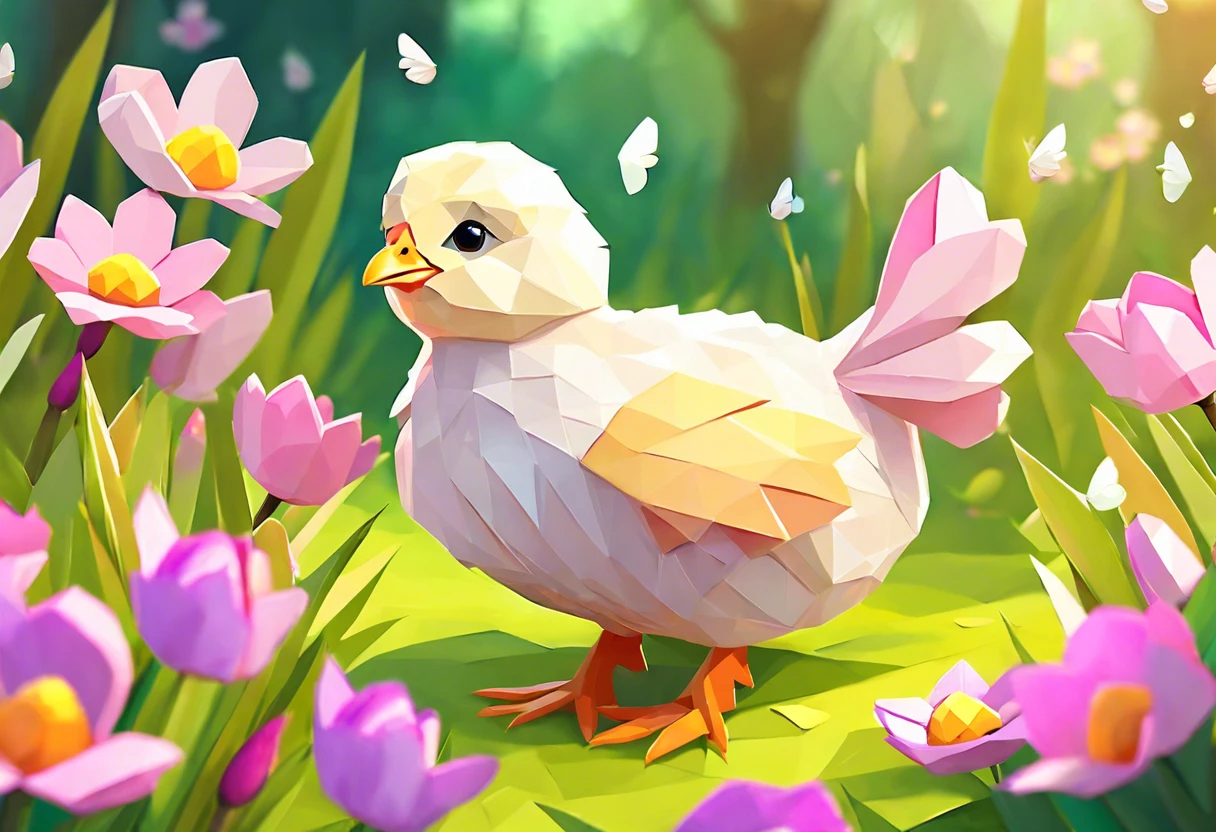
How to Paint A Chick?
Published on: January 24, 2025 | Last Updated: January 7, 2025
Written By: Alisha Winters
A chick is a fluffy baby bird. They’re cute, yellow, and love to chirp!
Learning how to paint a chick is super fun! In my experience, following the steps closely makes your painting look great and helps you enjoy the process.
In this guide, you’ll find essential items you need, step-by-step instructions, a color palette to use, different styles of chick paintings, and some creative DIY project ideas featuring chick art. It’s all about how to paint a chick, so let’s get started!
Contents
- 1 How to Paint a Chick?
- 2 What is a Chick?
- 3 Essential Items You Need Before You Start Painting
- 4 Step-by-step Instructions to Paint a Chick
- 5 Recommended Color Palette for Chick Painting
- 6 Different Types Of Chick Paintings and Styles
- 7 Understanding Chick Anatomy for Better Painting
- 8 Inspiration from Famous Chick Paintings
- 9 Finishing Touches to Enhance Your Chick Artwork
- 10 Finishing Touches to Enhance Your Chick Artwork
- 11 Creative DIY Project Ideas Featuring Chick Paintings
- 12 Frequently Asked Questions About How to Paint a Chick
- 13 Conclusion: Mastering the Art Of Chick Painting
- 14 Useful Resources
How to Paint a Chick?
To paint a chick, start with bright yellow acrylic paint. Use a small brush for details like eyes and beak. Let it dry, then add a cute, fluffy texture with light strokes. If paint accidentally stains your clothing during this creative process, you can remove paint from fabric easily. Enjoy your cheerful chick creation!

The Finishing Touch
A freshly painted wall is a blank canvas. The best way to bring your room to life is with a single piece of statement art that ties everything together.
Browse Wall Art at Big Wall DecorWhat is a Chick?
A chick is a young bird, specifically a young domestic chicken (Gallus Gallus Domesticus) that hatches from an egg. On average, a chick weighs about 40 grams (1.41 Ounces) at birth and is fully feathered at about 2 to 3 weeks old.
When painting a chick, it’s about capturing that fluffy essence. In my experience, using soft yellows and delicate brush strokes brings a chick’s liveliness to life on canvas.
Once, I used this for a fun art project with kids. We painted chicks in various colors to celebrate spring, and I realized the importance of creativity and imagination in art. Whether you’re learning to paint a chick or exploring other crafts, each stroke adds character and flair, pushing boundaries in artistic expression. If you’re curious about digital art techniques, you might want to explore creating animations in digital paint.
Essential Items You Need Before You Start Painting
What do you need to get started?
- High-quality acrylic paint: Use brands like Liquitex or Golden in shades like Cadmium Yellow and Titanium White. These provide vibrant, long-lasting colors crucial for a bright chick.
- Fine-tipped brushes: Get a set that includes sizes 0 to 4 for detailed work, such as Winsor & Newton Grumbacher brushes. You’ll need precision for those fluffy feather details.
- Canvas or painting surface: Choose an 11 x 14 inches (28 X 36 Cm) stretched canvas or heavy paper, as these surfaces hold acrylic well and allow smooth application.
- Palette: A circular or flat palette, like Masterson’s Palette, is essential for mixing colors. It helps you create the perfect chick shades easily.
So far we covered the necessary supplies for painting. Let’s look at the detailed instructions for painting a chick next.
Also See: Why is Your Ibis Paint Blurry? Here’s How to Fix It!
Step-by-step Instructions to Paint a Chick
Here are the steps to create a delightful chick painting. Follow them closely!
The Finishing Touch
A freshly painted wall is a blank canvas. The best way to bring your room to life is with a single piece of statement art that ties everything together.
Browse Wall Art at Big Wall Decor-
Sketch the Outline Of the Chick
Start by lightly drawing the chick’s outline on your canvas with rounded shapes. Use a soft pencil or light charcoal for easy adjustments. The rough outline should measure around 10 cm (4 in) tall.
Consider proportions—chicks have wide bodies and small heads. If you have trouble with proportions, use a grid technique for accuracy.
-
Choose the Base Color
Select a warm yellow for the chick’s body to symbolize cheerfulness. Use cadmium yellow as a base; mix in about 20% white for a soft pastel tone if desired.
Acrylic paints are recommended for their quick drying time, saving you time while layering. Spread a thin coat evenly for the best finish.
-
Add Details and Textures
Add texture with light orange for shadows in the feathers. Mix in 10–15% brown with your yellow base for depth. Apply this color near the legs, neck, and under the wings.
Use a fine brush to add small strokes that mimic feather details. This will bring your chick to life. Keep a reference image handy for accuracy!
-
Finalize Facial Features
Paint the chick’s beak bright orange for contrast with a small triangular shape, around 2–3 cm (0.8–1.2 In) to ensure it stands out.
For the eyes, use a classic black dot or dark brown for a softer look. Highlight the eyes with a touch of white for a sparkling effect—this adds personality!
-
Final Touches and Background
Add a whimsical background to your chick portrait. Light blue skies or grassy patches will accentuate the yellows—consider using 30–50% more of your palette for extra layers.
Finally, sign your artwork when it feels complete. If you plan to display it, apply a coat of matte sealant for protection—be careful not to smudge any wet paint!
You should now have a good understanding of how to paint a chick step-by-step. In the next part, we’ll discuss color options for your painting.
Recommended Color Palette for Chick Painting
For painting a chick, I recommend a pastel yellow theme, which brings a soft and cheerful vibe to your artwork.
| Color Box | Hex Code | Color Name |
|---|---|---|
| #F9E76D | Pastel Yellow | |
| #FCE9A0 | Buttercream | |
| #E6B358 | Sunshine Gold | |
| #D6B53D | Amber |
That covers suggested color choices for chick painting. Let’s now take a look at various styles and types of chick paintings.
Different Types Of Chick Paintings and Styles
Let’s explore various types of chick paintings, including Realistic, Impressionist, Abstract, and Cartoon Styles.
-
Realistic Style
In Realistic painting, aim for accuracy. Use fine brushes and details—like feathers—that mimic their appearance in nature.
-
Impressionist Style
Impressionism emphasizes light and color. Use quick brush strokes and a lighter palette to capture moments rather than details.
-
Abstract Style
In Abstract painting, let form take a backseat. Use colors and shapes to creatively express the essence of a chick.
-
Cartoon Style
This style exaggerates features for a fun and playful effect. Big eyes and bold colors make your chick stand out on the canvas.
Having experienced similar situations, I love the Realistic style for its challenge. The precise details vividly bring a chick’s personality to life!
You should now have a good understanding of various chick painting styles and techniques. In the next part, we’ll discuss chick anatomy.
Understanding Chick Anatomy for Better Painting
Knowing a chick’s anatomy can enhance your painting skills.
- Body Shape: Chicks have a round body shape, with a small head and short legs. Understanding their proportions helps in creating a natural look.
- Feather Details: Observe how feathers lay. The fluffier parts are near the head and belly. They often appear darker at the base and lighter at the tips.
- Facial Features: The beak is small and triangular, while the eyes are round and expressive. Getting these right adds character.
- Feet: Take note of their tiny feet. They usually have three forward-facing toes that are slightly webbed, so add detail there!
Inspiration from Famous Chick Paintings
Explore famous artwork that features chicks for inspiration!
-
“Chick and Hen” by Jean Baptiste Siméon Chardin
This classic painting captures lifelike detail. Notice the realism in the feathers and the warm tones.
-
“Baby Chick” by John James Audubon
Audubon’s work highlights vibrant colors. It’s an excellent example of combining nature study with art.
Finishing Touches to Enhance Your Chick Artwork
After finishing your chick painting, wait at least 24 hours for it to dry completely. Use a UV-resistant varnish, like Liquitex Final Varnish, to protect your work from fading.
Inspect your chick for uneven spots or smudges. Focus on the eyes; use a magnifying glass if necessary. Ensure it shines with Gloss Medium for a vivid finish.
An insider tip: add a second layer of glaze, about 10% thinner, for depth. Adjust your airbrush nozzle to between 0.3 mm and 0.5 mm for precise application.
The Finishing Touch
A freshly painted wall is a blank canvas. The best way to bring your room to life is with a single piece of statement art that ties everything together.
Browse Wall Art at Big Wall DecorFinishing Touches to Enhance Your Chick Artwork
After finishing your chick painting, wait at least 24 hours for it to dry completely. Use a UV-resistant varnish, like Liquitex Final Varnish, to protect your work from fading.
Inspect your chick for uneven spots or smudges. Focus on the eyes; use a magnifying glass if necessary. Ensure it shines with Gloss Medium for a vivid finish.
An insider tip: add a second layer of glaze, about 10% thinner, for depth. Adjust your airbrush nozzle to between 0.3 mm and 0.5 mm for precise application.
Creative DIY Project Ideas Featuring Chick Paintings
Ever thought of creating a vibrant canvas that features colorful chicks? You could even turn oversized pebbles into a playful chick display, adding a surprise to your garden.
For both projects, you’ll need acrylic paints, brushes, and canvas or stones. Expect to spend around $30 (USD) and take about 2-4 hours to finish them, depending on detail!
Wanna mix it up? Instead of a traditional painting, try painting on fabric! Use fabric paint on a tote bag, creating a unique design that flaunts your artistry and is totally functional at the same time. If you’re feeling adventurous and want to explore more creative painting techniques, you might even want to transform your car’s interior surfaces.
Frequently Asked Questions About How to Paint a Chick
What Materials Are Best for Painting Chicks?
To paint a chick, the best materials include acrylic paints, fine brushes, and a sturdy canvas. Acrylic paints dry quickly and can last long, making them ideal. You’ll find a basic set can cost around $10 (USD) and cover your needs beautifully.
Can I Paint a Chick on Different Surfaces?
Yes, you can paint a chick on different surfaces, such as canvas, wood, or paper. Surfaces like canvas have texture that can improve your overall look, while wood can provide a rustic charm. Choose what inspires you! When working with various materials, knowing the right painting techniques becomes crucial for achieving professional results. painting techniques matter most.
What Are Some Common Mistakes When Painting Chicks?
Common mistakes when painting chicks include using too much water or failing to layer your paint properly. Using excessive water can dilute the colors, making them less vibrant. Layering helps achieve depth and realism in your artwork, making a world of difference.
How Can I Make My Chick Painting More Realistic?
To make your chick painting more realistic, incorporate detail in shadows and highlights. For instance, observing real chicks can help you understand their features better. Some artists spend 30% of their time sketching to enhance their final pieces. If you’re looking to elevate your painting techniques, exploring surface preparation methods can provide additional insights into achieving professional-quality artwork.
What Should I Do if I Make a Mistake While Painting?
If you make a mistake while painting, don’t panic! You can often fix it by layering more paint. Wait for it to dry, then adjust your paint colors. When working with specific surfaces like aluminum boats, choosing the right paint becomes crucial for selecting marine-grade aluminum paint. The beauty of painting lies in the ability to adapt and improve!
Can I Use Digital Tools to Paint a Chick?
Absolutely, you can use digital tools to paint a chick. Software like Adobe Photoshop or Procreate allows unlimited undo options and easy color adjustments. Many artists now integrate digital art into their portfolios, on the go! If you’re curious about expanding your artistic techniques beyond digital mediums, you might want to explore painting techniques for different surfaces.
How Do I Clean My Brushes After Painting a Chick?
It’s essential to clean your brushes after painting a chick properly. Simply rinse them in water (Or Solvent for Oil Paints) immediately after use. This practice helps maintain their shape and functionality for future creations. A $5 (USD) brush can last years with proper care! When working with different paint types, you might want to explore acrylic painting techniques for versatile artistic applications.
Conclusion: Mastering the Art Of Chick Painting
I hope this guide provided the insights you needed. We explored essential painting techniques and materials, along with detailed instructions, color palettes, various painting styles, factors influencing the final look, common challenges, finishing touches, and creative DIY ideas.
In summary, to successfully paint a chick, gather your materials, follow the outlined steps, select your colors thoughtfully, and resolve any common issues using the tips provided. With patience and practice, you’ll create charming chick artwork that impresses.
For further exploration and resources, visit our homepage: Paint Answers.
Useful Resources
- Edwards, B. (2012). Drawing on the Right Side of the Brain. New York, NY: TarcherPerigee.
- Relaxing Watercolor – How to Draw and Paint a Baby Chick for Beginners – YouTube
Experienced interior designer with 15+ years in transforming spaces, blending artistry with expertise in color and design. Rhode Island School of Design graduate, specializing in restorations and modern makeovers.
Colors, Topics
Also See: How to Get Paint Off Of Uggs: Simple Tricks to Try!


