
How to Paint A Plant Pot?
Published on: February 25, 2025 | Last Updated: January 7, 2025
Written By: Alisha Winters
A plant pot is a container that holds soil and helps plants grow. It’s like a little house for your plants to live in!
Learning how to paint a plant pot is super fun and lets you show off your style. I remember painting my first pot—it was messy, but seeing it brightened my room made it worth it!
In this guide, you’ll discover what you’ll need before painting, actual steps to paint your pot, color choices, different pot types, common problems, and fun DIY ideas. Get ready to explore how to paint a planter pot and make your plants pop!
Contents
- 1 How to Paint a Plant Pot?
- 2 What is a Plant Pot?
- 3 Before You Start Painting Your Plant Pot
- 4 Steps to Successfully Paint a Plant Pot
- 5 Benefits of Painting Your Plant Pots
- 6 Choosing the Right Finish for Your Painted Plant Pots
- 7 Types Of Plant Pots You Can Paint
- 8 Creative Techniques for Painting Plant Pots
- 9 Tips for Personalizing Your Painted Plant Pot
- 10 Plant Pot Maintenance After Painting
- 11 Factors Affecting Your Plant Pot Painting Project
- 12 Common Issues When Painting a Plant Pot
- 13 Finishing Touches for Your Painted Plant Pot
- 14 Frequently Asked Questions (FAQs)
- 15 Conclusion
- 16 Additional Resources
How to Paint a Plant Pot?
To paint a plant pot, first, clean it thoroughly. Then, use acrylic paint or spray paint for vibrant colors. Apply a primer for better adhesion and let it dry completely. Finish with a clear sealant to protect the paint. If you’re looking to expand your painting skills to other surfaces like bathroom tiles, painting ceramic surfaces requires specific techniques.
What is a Plant Pot?
A plant pot is a container for growing plants. Typically made from clay, plastic, or ceramic, these pots come in various sizes, usually from 1 quart (0.95 Liters) to 25 gallons (94.64 Liters), accommodating different plant types.
Plant pots can be colorful to make them stand out! I remember painting a plastic planter for my balcony, which transformed the entire space.
I used it at work to enhance the office atmosphere with greenery. Learning to paint a planter pot was a game changer. I enjoyed creating unique designs on plastic pots, making my plants feel special and loved.
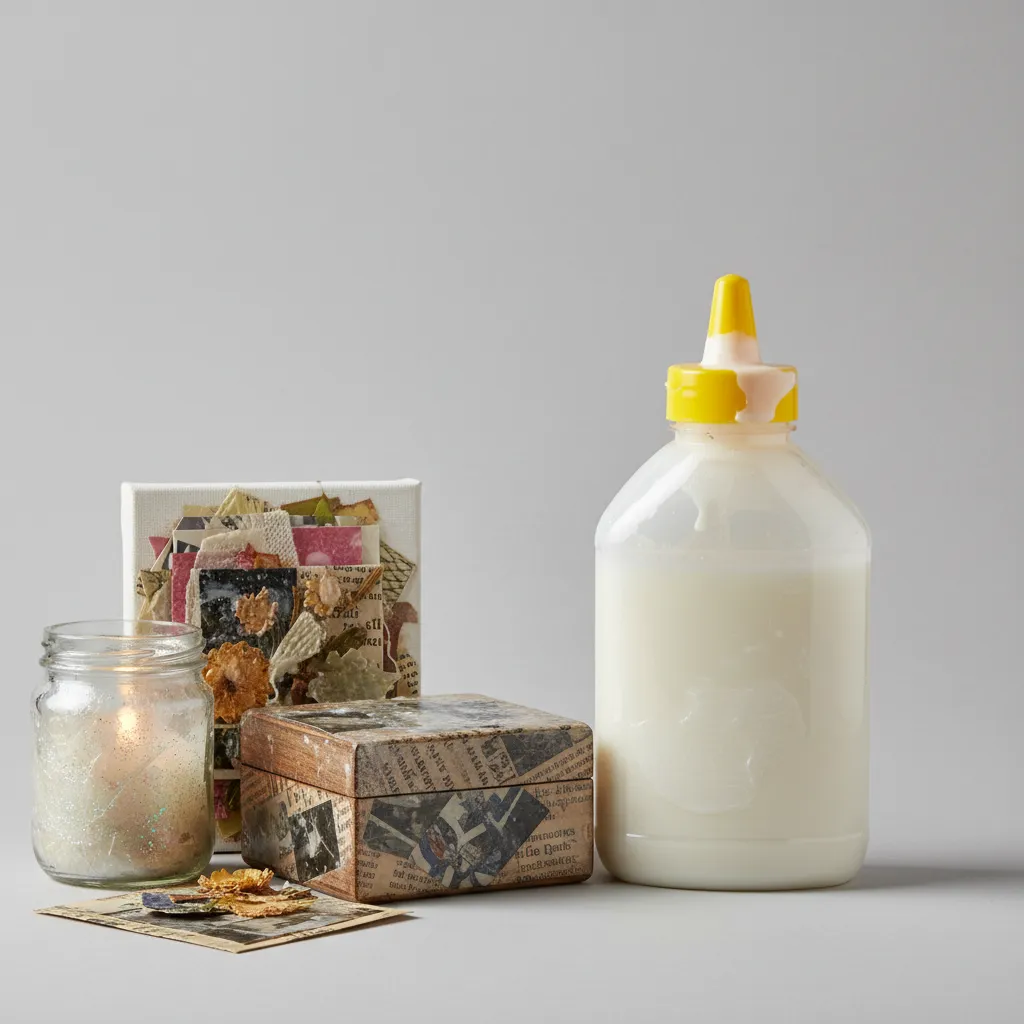
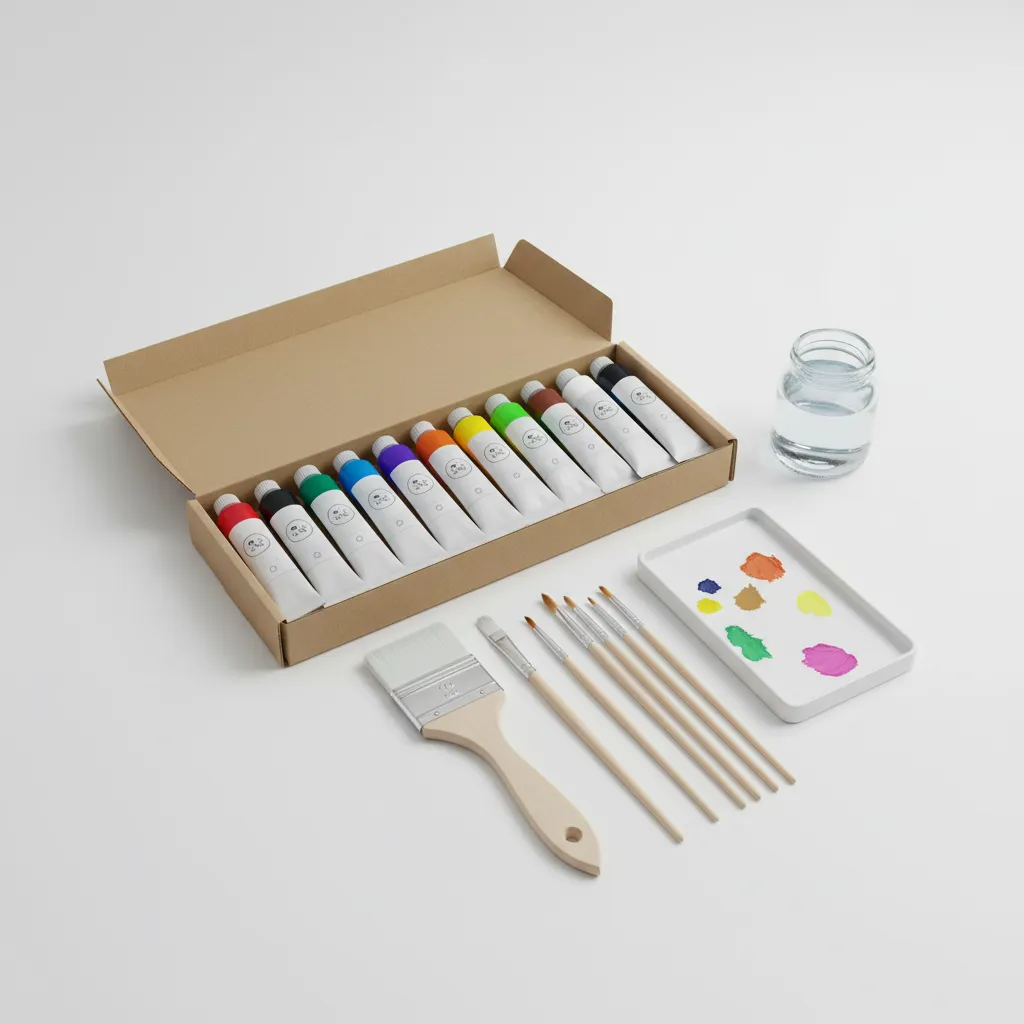
Before You Start Painting Your Plant Pot
What do you need to get started?
- Plant Pot: You need a sturdy pot, like an 11 cm (4.3 In) terracotta pot. This serves as your canvas.
- Acrylic Paint: Get acrylic paint, such as DecoArt Americana Acrylics, in vibrant colors. Acrylic dries quickly and adheres well to surfaces.
- Paintbrushes: Use various sizes, including a flat 1.5 cm (0.6 In) brush and a fine detail brush. These allow for clean, precise strokes.
- Sealer: Use a clear outdoor sealer, like Mod Podge Outdoor. This protects your artwork from the elements.
- Palettes: You’ll need a disposable palette, such as a pack of 10 sheets. This provides a clean area for mixing your paints.
You should now have a good understanding of preparing your workspace, choosing materials, and selecting paint. In the next part, we’ll discuss steps to successfully paint a plant pot.

Also See: What is the Easiest Way to Remove Paint From Metal?
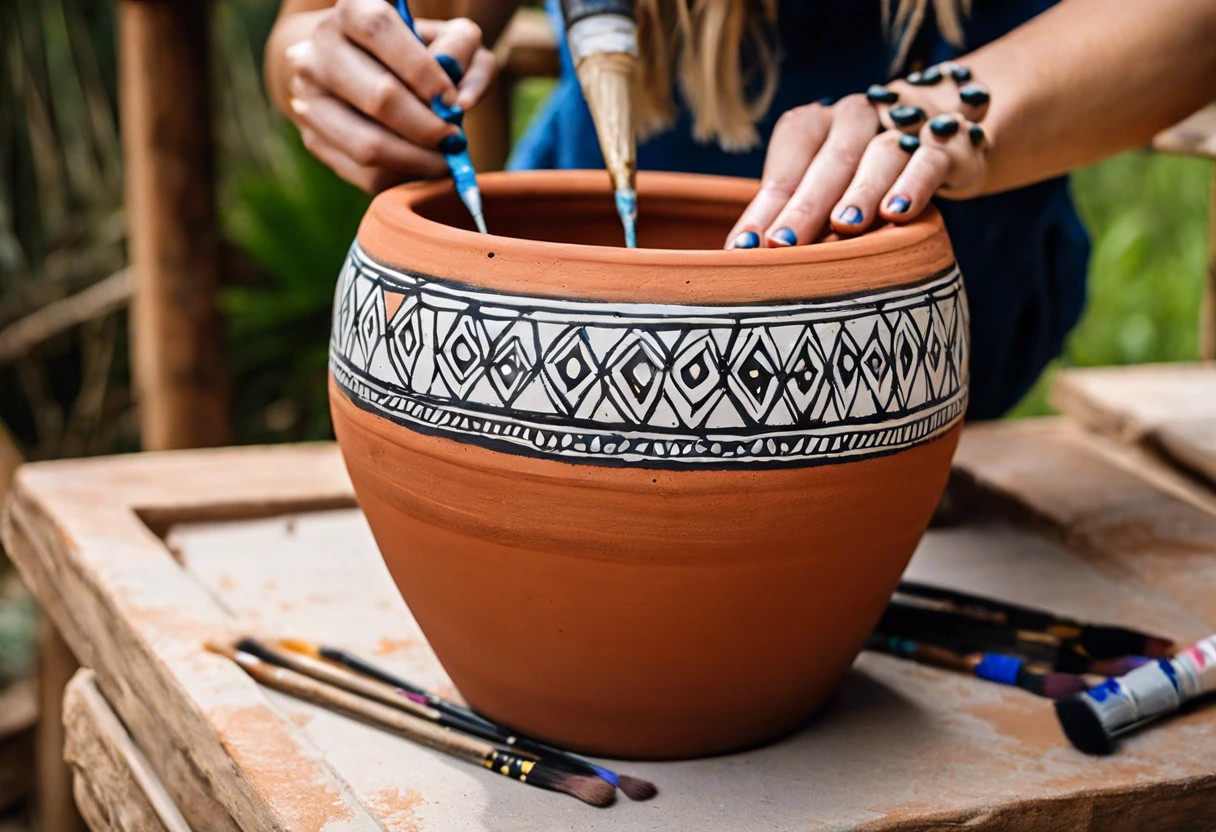
Steps to Successfully Paint a Plant Pot
Follow these steps to paint a planter pot and transform your space!
-
Selecting the Right Paint
Choose paint designed for plastic or ceramic surfaces, like acrylic or spray paint. Using the wrong paint can cause peeling or chipping in as little as three months, so ensure it’s suitable for your pot material. If you’re working with metal surfaces like aluminum siding, you’ll want to prepare the surface with specialized techniques.
I always select paint labeled as weather-resistant. This keeps my design intact outdoors. Look for brands like Rust-Oleum or Krylon—they’ve worked well for me.
-
Preparing the Plant Pot Surface
Thoroughly clean the pot to remove dirt, oils, and residue. Scrub with soapy water or a vinegar-water mix to ensure proper adhesion. Let it dry for at least 30 minutes.
If your pot has a glossy finish, lightly sand it with fine-grit sandpaper ⚡ Best Pick: Assorted Grit Sandpaper → (Around 220-grit). This helps the paint adhere better, ensuring a secure bond for longevity, saving you time later.
-
Applying the Base Coat
Shake your paint well, then apply a uniform base coat with a brush or spray. Allow each coat to dry fully for about 2 hours; this strengthens your base.
For a smoother finish, apply two thin layers instead of one thick one. Thin layers prevent drips and uneven texture, with a total drying time of 24 hours between coats for best results.
-
Adding Designs and Patterns
Use stencils, painter’s tape, or freehand techniques to create your desired design. Make sure the base coat is dry before adding patterns, which may take another 2 hours.
For unique motifs, try sponge techniques or dot painting with small brushes. I suggest selecting contrasting colors for high visibility and flair—your artistic touch will stand out!
-
Sealing the Paint for Longevity
Once your designs are dry for 24 hours, apply a clear sealer for extra protection. Use a spray sealant for even coverage and to prevent weather damage, especially if your pot will be outdoors.
A water-resistant acrylic seal can extend the paint’s lifespan for up to 5 years before reapplication. Personal tip: Avoid exposing it to heavy rain for a week after sealing to give it a better chance! If you’re working with single-stage paint, you might want to explore additional protective techniques like ceramic coating single-stage paint.
We’ve wrapped up the steps for successfully painting a plant pot here. Let us turn our attention to the benefits of painting your plant pots.
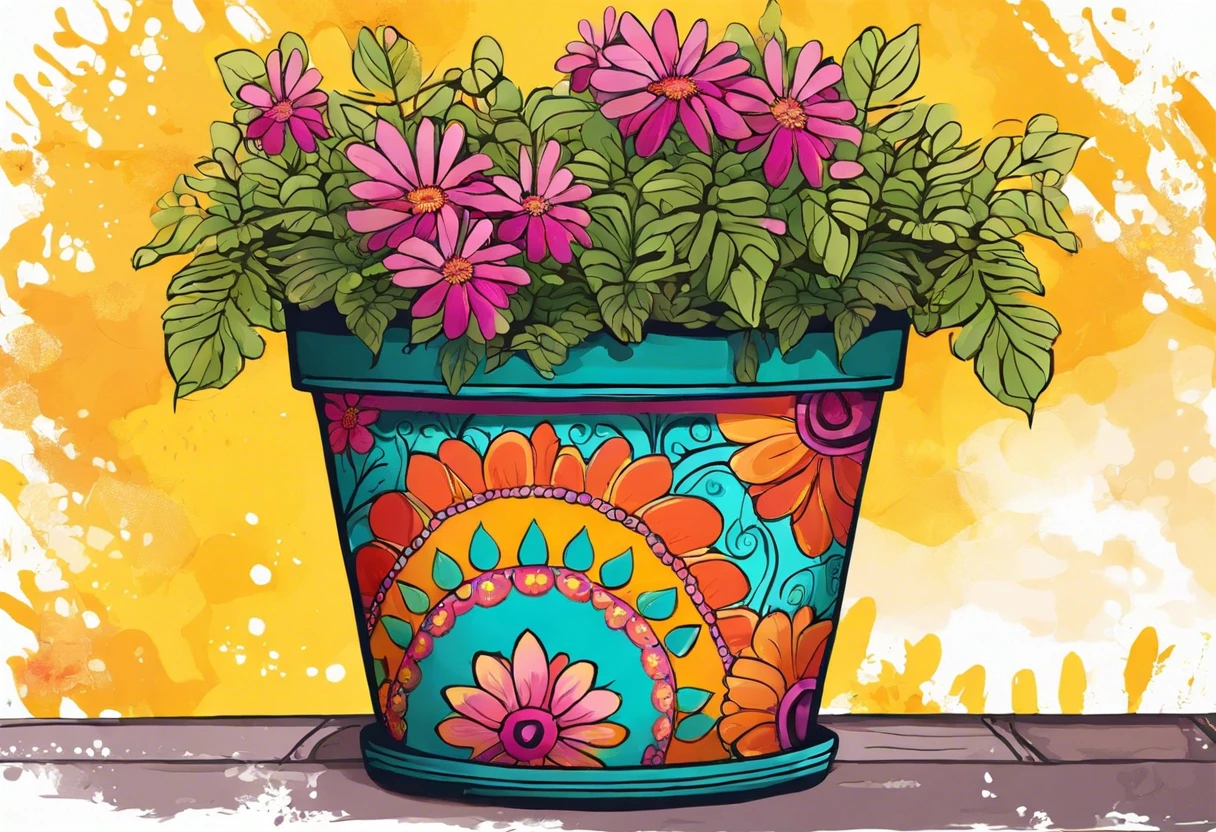
Benefits of Painting Your Plant Pots
Why should you paint your plant pots? Let’s dive into the benefits.
-
Enhances Aesthetic Appeal
Painting pot adds personal flair! Bright colors and unique designs can transform any space.
-
Protects the Material
A good paint job protects your pot from the elements. It reduces wear and tear, prolonging its life.
-
Encourages Creativity
Painting your pots is a fantastic way to express your artistic side. It opens up endless possibilities!
-
Improves Plant Health
Using light colors reflects sunlight better, preventing overheating and promoting better plant growth.
You should now have a good understanding of the advantages of decorating your plant pots. In the next part, we’ll discuss selecting the ideal finish for your painted pots.
Choosing the Right Finish for Your Painted Plant Pots
The finish can make a big difference! Let’s explore various options.
| Finish Type | Features | Best For |
|---|---|---|
| Matte Finish | No shine, absorbs light, hides imperfections. | Indoors, casual settings. |
| Glossy Finish | Shiny, smooth, vibrant colors. | Outdoors, modern designs. |
| Metallic Finish | Glistening, eye-catching, adds glam. | Decorative pots, festive themes. |
| Transparent Sealer | Protects paint without altering color. | Everywhere, especially outdoors. |
So far we covered selecting the ideal finish for your painted plant pots. Let’s look at the different types of paintable pots next.
Types Of Plant Pots You Can Paint
Let’s explore the exciting world of plant pots. We’ll cover terracotta, ceramic, plastic, and metal pots.
-
Terracotta Pots
Terracotta pots are made from natural clay and breathe easily. They’re great for painting but may need a primer for optimal results.
-
Ceramic Pots
Ceramic pots have a glossy surface and come in various glazes and colors. Use acrylic paint for a vibrant finish that lasts a long time.
-
Plastic Pots
Plastic pots are budget-friendly and lightweight, making them easy to carry. They’re simple to paint with acrylic or spray paint, making them very versatile.
-
Metal Pots
Metal pots add a modern touch but may require rust-resistant paint. They’re sturdy and ideal for outdoor settings, perfect for a stylish entryway.
From my experience, I love painting ceramic pots. The glossy surface allows bright colors to pop, adding vibrancy to my garden!
Creative Techniques for Painting Plant Pots
Explore exciting techniques to elevate your plant pot painting game.
-
Pouring Technique
This method involves pouring paint directly onto the pot. Tilt the pot to spread the paint evenly. It creates mesmerizing patterns!
-
Sponge Painting
Use a sponge to dab paint onto your pot for a textured look. It’s perfect for creating abstract designs or blending colors.
-
Ombre Effect
Blend two or more colors together gradually. Start with your base color and add a lighter shade from the bottom up for a beautiful gradient.
-
Stenciling
Create shapes or words with stencils. Just secure a stencil on your pot and paint over it. Remove it to reveal crisp designs!
Tips for Personalizing Your Painted Plant Pot
Add a unique flair to your painted pots with these tips!
-
Using Natural Elements
Incorporate natural twine or jute string. Wrap it around the pot for an earthy touch. It’s inexpensive and looks great!
-
Adding Personal Quotes
Write your favorite quotes using paint or permanent markers. It gives character to your pot and personalizes your space.
-
Seasonal Themes
Change designs with the seasons! Think pastels for spring or warm hues for fall. Your pots will always be in style.
Plant Pot Maintenance After Painting
Keep your painted pots looking great with these simple maintenance tips.
| Maintenance Task | Frequency | Tips |
|---|---|---|
| Wiping with a Damp Cloth | Weekly | Use mild soap to prevent dirt buildup. |
| Inspecting for Chipping | Monthly | Touch up with the same paint as necessary. |
| Reapplying Sealer | Every 6-12 months | Renew with a weather-resistant spray for durability. |
Factors Affecting Your Plant Pot Painting Project
What factors influence your choices when painting your decorative planter?
-
Material type: The pot’s material, like plastic or clay, affects paint adhesion and finish.
-
Paint selection: Choosing the right paint, preferably acrylic for plastic pots, ensures durability.
-
Weather conditions: Wind, humidity, and temperature influence drying time and paint quality outdoors.
-
Surface preparation: Cleaning the pot properly helps the paint adhere better, reducing peeling later.
Common Issues When Painting a Plant Pot
My friend once tackled painting a plant pot and noticed the paint bubbling. This happens due to improper surface preparation.
To fix this, use 120-220 grit sandpaper (0.13-0.15 Mm) for a smoother finish and to ensure proper adhesion. Clean thoroughly before repainting!
Finishing Touches for Your Painted Plant Pot
After you’ve decorated your plant pot, seal it with a weather-resistant spray varnish. Choose one that can withstand temperatures from -18 °C to 38 °C (0 °F to 100 °F) for durability.
Inspect the pot for chipping paint or peeling edges. Use products like Fusion All-In-One or Rust-Oleum spray paint; they provide effective solutions for any touch-ups needed on missed areas.
If you’re experienced, apply an epoxy resin coat for a glassy finish. This durable layer protects against water and UV rays and gives a professional look when done right.
Frequently Asked Questions (FAQs)
What Type Of Paint is Best for Plant Pots?
The best type of paint for plant pots is outdoor acrylic paint. This paint withstands moisture and sunlight well, ensuring it lasts longer. Look for paints that are specifically labeled for exterior use, as they tend to resist fading and peeling better than regular paint.
Can I Paint a Terracotta Pot?
Yes, you can paint a terracotta pot. It’s a great way to personalize your garden decor! Just make sure to clean the pot and choose non-toxic paint to maintain plant safety. Outdoor acrylic paint works effectively here too! If you want to ensure a smooth painting process, properly prepare your painting surface.
How Long Does It Take for Paint to Dry on a Plant Pot?
Paint typically takes about 1-2 hours to dry on a plant pot. However, you should wait at least 24 hours for full curing before using it. Humidity and temperature can affect drying time, so keep those in mind for best results. If you’re curious about professional painting techniques, check out the paint brands used by experts.
Can I Use Spray Paint on Plant Pots?
Yes, you can use spray paint on plant pots. It offers a smooth finish and is quick to apply. Make sure to choose a spray paint designed for outdoor use, so it can endure the elements and stay vibrant over time. If you’re curious about alternative painting techniques, chalk paint works well on metal surfaces.
Is It Safe to Paint Indoor Plant Pots?
Yes, it is safe to paint indoor plant pots, but care is essential. Use water-based paints that are non-toxic and ensure proper ventilation while painting. This keeps your air clean while making your pots look fabulous! If you’re considering expanding your painting skills to larger surfaces, you might want to explore painting techniques for outdoor projects.
How Should I Prepare a Pot Before Painting?
You should clean the pot thoroughly before painting. Removing dust, dirt, and old paint ensures better adhesion. Rinse with water and use a suitable cleaner, then let it dry completely.
Can I Use Regular Paint on Plastic Pots?
No, you shouldn’t use regular paint on plastic pots. Instead, opt for paints made specifically for plastic surfaces. They adhere better and usually include instructions to get the best results. If you want professional tips on painting plastic surfaces, check out our comprehensive plastic painting techniques.
Also See: What Kinda Paint to Use on Glass? Get Creative!
Conclusion
Congratulations on reaching the end! We have explored the essentials of painting a plant pot, covering everything from the definition and preparation to step-by-step instructions, color choices, pot types like plastic and ceramic, project considerations, common challenges, final details, and DIY ideas.
I hope my insights on painting both plastic and ceramic pots have inspired you. Gather your supplies, pick your palette, and enjoy the process—it’s as simple as that.
For further tips and inspiration, visit Paint Answers.
Additional Resources
- Edwards, B. (2012). Drawing on the Right Side of the Brain. New York, NY: TarcherPerigee.
- How to Paint a Terracotta Flower Pot
- How to paint terra cotta pots – At Home With The Barkers
- How to Paint Terra-Cotta Pots – YouTube
Experienced interior designer with 15+ years in transforming spaces, blending artistry with expertise in color and design. Rhode Island School of Design graduate, specializing in restorations and modern makeovers.
Ceramic, Material


