
How to Paint A Rose Easy?
Published on: December 16, 2025 | Last Updated: October 1, 2025
Written By: paint_answered
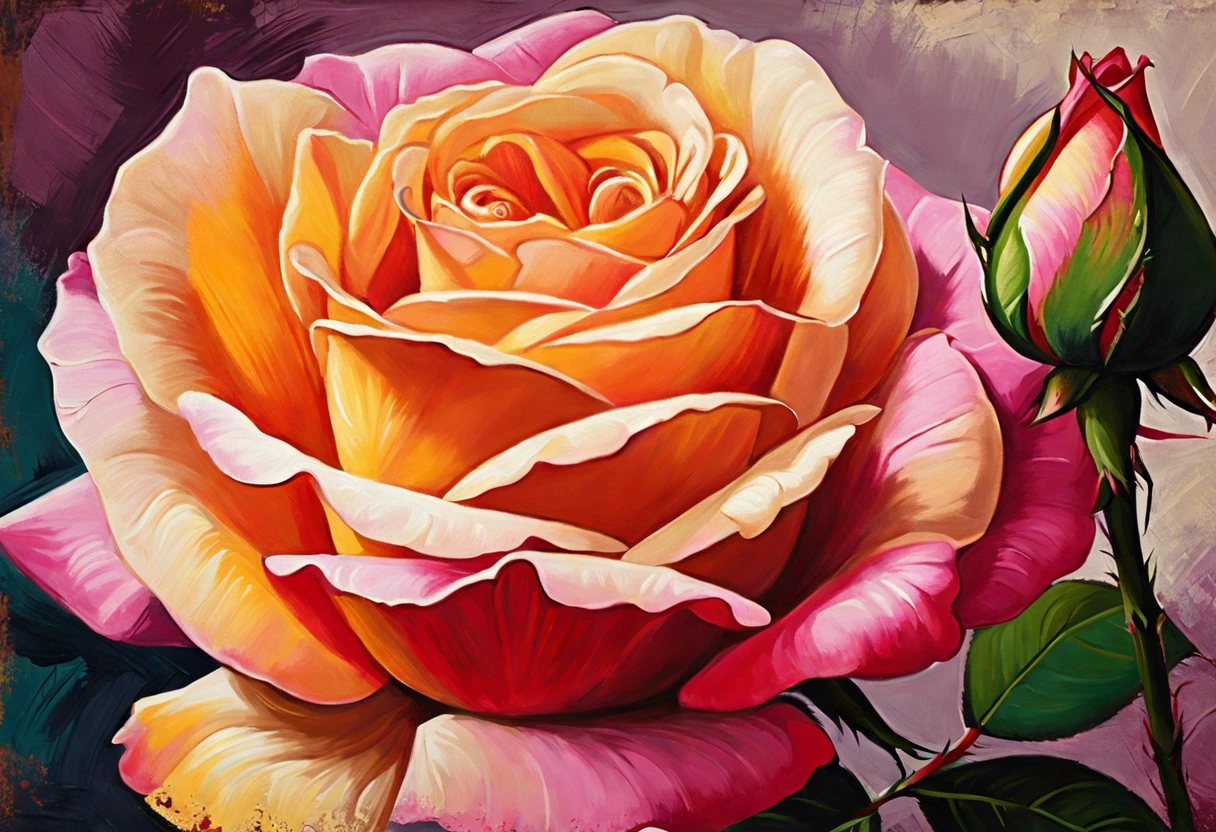
A rose is a pretty flower with soft petals and a sweet smell. It’s like nature’s way of giving you a hug!
Learning how to paint a rose easy is super important. I remember my first rose painting; I struggled at first, but with practice, I got better each time!
In this guide, you’ll find essential supplies, simple steps to paint, a recommended color palette, and different rose types to inspire your creativity. We’ll also cover common challenges and some fun DIY project ideas featuring how to paint a rose watercolor.
Contents
- 1 How to Paint a Rose Easily?
- 2 What is a Rose Plant Species?
- 3 Essential Supplies You Need Before You Start Painting
- 4 Simple Steps to Create a Stunning Rose Painting
- 5 Recommended Color Palette for Painting a Rose Easily
- 6 Different Types Of Roses to Inspire Your Painting
- 7 Factors Affecting Your Rose Painting Technique
- 8 Exploring Different Painting Techniques for Roses
- 9 How to Choose the Right Technique for Your Rose Painting
- 10 Common Challenges When Learning How to Paint a Rose Easily
- 11 Finishing Touches to Enhance Your Rose Painting
- 12 Creative DIY Project Ideas Featuring Rose Paintings
- 13 Frequently Asked Questions Related to Painting Roses Easily
- 14 Conclusion: Mastering the Art Of Painting Roses Easily
- 15 Additional Resources
How to Paint a Rose Easily?
To paint a rose easily, start with a simple outline. Use soft brush strokes in red or pink for petals. Blend in some green for leaves. Add highlights with white for depth, and you’re done!
What is a Rose Plant Species?
A rose is a flowering plant of the genus Rosa, known for its fragrant blossoms. There are over 150 species of roses, varying in color, size, and shape, with hybrids being the most popular.
Many people wonder how to paint a rose easily. I find that using watercolor highlights the delicate layers beautifully, allowing the colors to blend effortlessly.
For work, I used it to create stunning rose watercolors that captured soft petals. If you’re curious about how to paint a rose easily, you’ll see how each stroke reveals depth and dimension, making even beginners feel like pros! When exploring outdoor acrylic painting techniques, I discovered some excellent tips for applying paint that bring landscapes to life.
Essential Supplies You Need Before You Start Painting
What do you need to easily paint a rose?
- Acrylic Paints: Use a quality set, like Winsor & Newton Galeria Acrylics. These vibrant colors make your rose stand out.
- Brush Set: Get a variety, such as the Prang watercolor brush set with sizes 2, 4, and 8. Different sizes help you capture fine details.
- Watercolor Paper: Use at least 300 gsm (Grams Per Square Meter) paper, like Strathmore 400 Series. It holds water without warping!
- Palette: A mixing palette, such as the Masterson Stay-Wet Palette, keeps paints moist. This is crucial for achieving smooth blends.
- Eraser & Pencil: Have a mechanical pencil and a kneaded eraser to outline the rose before painting. This helps plan your composition.
So far we covered the necessary supplies for painting. Let’s look at the easy steps to create a beautiful rose painting next.
Also See: What Alkyd Paint? Learn Its Benefits and Uses!
Simple Steps to Create a Stunning Rose Painting
Follow these steps to easily paint a rose and watch your flower spring to life!
-
Sketch the Outline Of the Rose
Lightly draw the rose’s shape and petals on your canvas. Use a fine-tipped pencil, keeping lines light so they won’t show through the paint.
Start with an oval for the bloom’s center, then outline about five symmetrical petals for a fuller appearance.
-
Apply the Base Colors
Grab your brush and choose rich colors like vibrant reds or soft pinks. Mix your watercolors with a ratio of 1 part water to 2 parts paint for the right thickness.
Fill in your petals using long, smooth strokes to create depth. For a light transition, blend in some whites or lighter shades on the edges.
-
Add Layers and Depth
Layer additional colors to give your rose more character! Use dark red or purple, approximately 15-20% darker, in shadow areas for contrast.
Apply these darker shades strategically at the bottom of each petal to enhance volume. Don’t rush; patience yields beautiful results!
-
Include Details and Highlights
Focus on adding touches that make the rose come alive. Use a fine brush with white or a very light shade to add highlights on the top of each petal.
Create swirls or tiny streaks to imitate light reflection, enriching the dimensional feel. Apply white gently to avoid overpowering the base colors.
-
Finish With Background Elements
Add a background to frame your beautiful rose! Choose soft greens or light blues to represent leaves or the sky, keeping it simple to let your rose stand out.
If you’re painting a garden scene, use warmer colors like earthy browns or yellows for softness and flow, complementing the blooms harmoniously.
We have now covered easy methods for painting a rose. The next section will discuss the best color palette to use.
Recommended Color Palette for Painting a Rose Easily
I recommend a “Romantic Bloom” palette. It blends warm reds and soft greens, perfect for capturing the delicate beauty of a rose. This color scheme helps the flower pop while harmonizing beautifully with its surroundings.
| Color Box | Hex Code | Color Name |
|---|---|---|
| #E84855 | Crimson Red | |
| #F9AFAF | Pale Pink | |
| #61C0BF | Soft Mint | |
| #4B8B3B | Leafy Green |
We’ve wrapped up the suggested color schemes for painting roses here. Let us turn our attention to various rose types for inspiration.
Different Types Of Roses to Inspire Your Painting
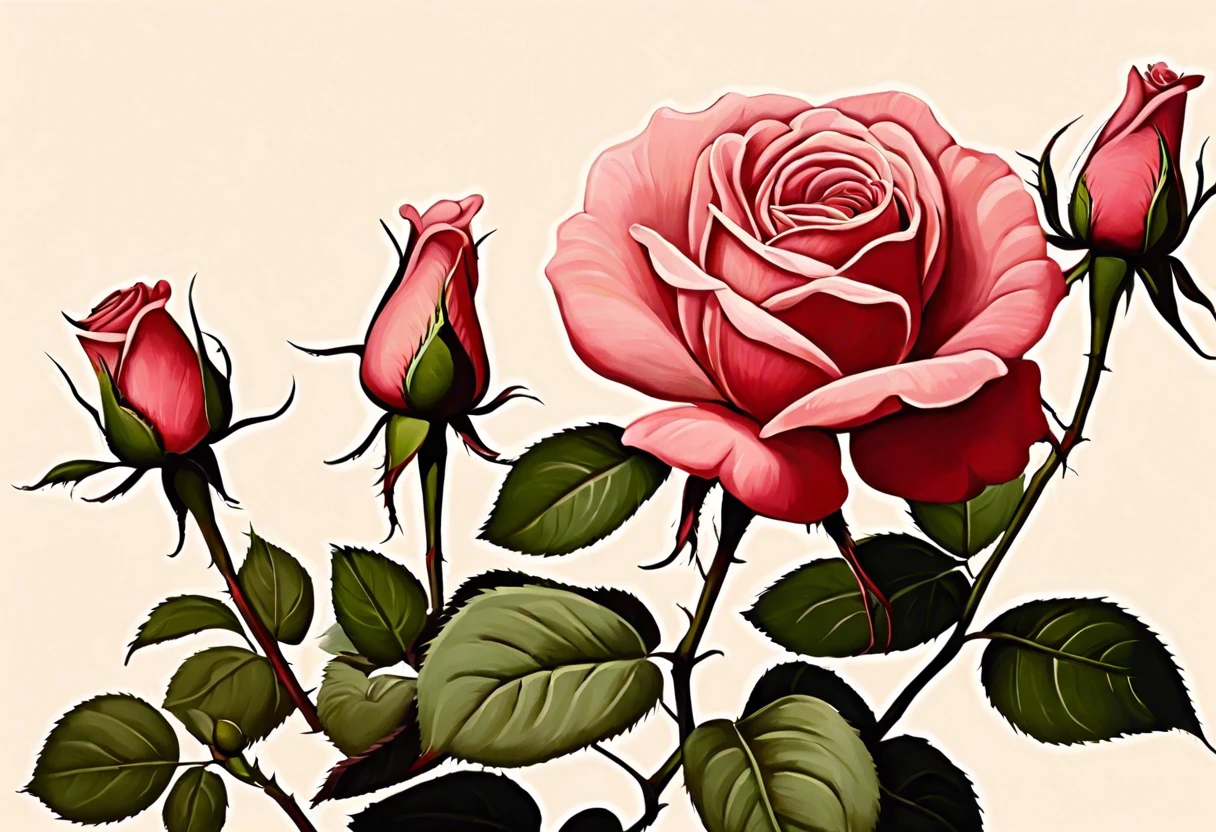
Let’s explore different types of roses: Hybrid Tea, Grandiflora, Floribunda, and Miniature roses.
-
Hybrid Tea Roses
Hybrid Tea roses are known for their large blooms and strong fragrance. They typically grow to about 3-6 feet (0.9-1.8 Meters) tall, providing abundant inspiration for your paintings.
-
Grandiflora Roses
Grandiflora roses combine the beauty of hybrid tea and floribunda types. They can reach heights of 4-6 feet (1.2-1.8 Meters) and thrive in clusters of large blooms, making them a great choice for learning to paint roses easily. If you’re looking to transform your artistic skills and explore new painting techniques, painting ceramic tiles with floral designs can offer an exciting creative challenge.
-
Floribunda Roses
Floribunda roses feature multiple blooms per stem, enhancing their visual appeal. They generally mature to about 2-4 feet (0.6-1.2 Meters), and their vibrant colors offer a fun challenge in watercolor techniques.
-
Miniature Roses
Miniature roses, as the name suggests, are smaller, measuring around 1-2 feet (0.3-0.6 Meters). They’re perfect for novice painters! Their compact size and variety let you easily experiment with colors in a small space.
I’d like to share what has consistently worked for me with Hybrid Tea roses. Their large blooms make it easier to capture details, and focusing on their petals enhances depth and contrast in my paintings. If you’re considering painting outdoor surfaces like aluminum siding, similar artistic techniques can help you prepare surfaces with precision.
So far we covered various rose types to inspire your artwork. Let’s look at factors influencing your rose painting technique next.
Factors Affecting Your Rose Painting Technique
What factors impact your approach to painting roses beautifully and effortlessly?
-
Skill Level: Your brush experience affects your technique, especially with watercolors.
-
Colors Used: Choosing the right shades enhances depth and realism in your rose painting.
-
Brush Type: The brush you use determines the detail and strokes you can achieve.
-
Lighting: Proper lighting while painting helps you see better tones and shadows in your rose.
Exploring Different Painting Techniques for Roses
Different painting techniques can enhance your rose artwork. Let’s dive into a few methods that’ll make your roses shine!
Watercolor Technique
This method uses water to spread color softly on the paper, perfect for delicate rose petals. Here’s a simple way:
- Wet the area where you’ll paint.
- Apply your color lightly, allowing it to blend.
- Layer colors gradually for depth, as watercolors dry lighter than they appear.
Acrylic Pour Technique
If you’re feeling adventurous, try acrylic pouring! This method creates stunning abstract backgrounds:
- Mix acrylics with a pouring medium (like 70% paint and 30% medium).
- Pour the mixture onto the canvas, tilting the surface to let colors flow together.
- Add your rose elements after the base dries. It’ll create a vibrant setting!
Impasto Technique
For those who want texture, go with impasto! This thick application creates striking visual interest:
- Mix acrylic paint with a thickening agent for texture.
- Use a palette knife to apply paint directly onto the canvas.
- Add highlights and shadows with the same technique for depth.
How to Choose the Right Technique for Your Rose Painting
Feeling unsure about which technique to pick? Here’s a handy table to guide you!
| Technique | Best For | Time Required |
|---|---|---|
| Watercolor | Delicate, soft petals | 1-2 hours |
| Acrylic Pour | Vibrant backgrounds | 2-3 hours (plus drying) |
| Impasto | Textured effects | 2 hours or more |
Choosing the right technique can drastically change the look of your rose painting. Try mixing them for even more creativity!
Common Challenges When Learning How to Paint a Rose Easily
Recently, my friend struggled with blending colors on her rose. She used too much water, which washed out the petals.
To fix it, I suggested using less water—around 20% should help. Adding layers after the first dries improves depth and vibrancy. Try this approach!
Finishing Touches to Enhance Your Rose Painting
After mastering the art of rose painting, let your masterpiece dry for 24 to 48 hours. This ensures better adhesion for protective finishes.
Check your rose for vibrant color integrity. Look for 2 to 3 noticeable brush strokes. Use a palette knife to gently smooth any rough edges.
From one expert to another, consider adding a glazing medium like Golden Mixed Media Glazing Liquid. This thin coat, about 5-10% thicker than your base layer, enhances luminosity.
Creative DIY Project Ideas Featuring Rose Paintings
Wanna add some floral flair to your space? Try making a rose canvas wall hanging or a decorative rose-painted planter!
For the canvas, grab a basic 16×20 inch (40.6×50.8 Cm) canvas, acrylic paints, and brushes. Total costs might hit around $30, and you can easily knock it out in just a couple of hours!
If you want to change things up, consider using watercolor for a softer look. Just wet your paper, and let the colors blend, creating an ethereal rose garden right on your page!
Frequently Asked Questions Related to Painting Roses Easily
How Do You Mix Colors for a Realistic Rose Painting?
Yes, mixing colors for a realistic rose painting involves layers of hues. Start with a base red or pink, then add white for highlights and a touch of yellow or blue for shadows. The usual ratio is 70% base color and 30% for adjustments to achieve depth.
What Type Of Paint is Best for Beginners Painting Roses?
Acrylic paint is best for beginners painting roses due to its versatility and fast drying time. You can get quality acrylics for about $20 (USD) for a set of basic colors. Watercolor can be tricky but is also an option with practice. Artists often explore unique painting techniques that challenge traditional perspectives, such as creating gravity-defying visual illusions.
Can I Use Watercolors to Paint a Rose Easily?
Yes, you can use watercolors to paint a rose easily. Watercolors allow for soft blends and vibrant colors, perfect for floral art. A beginner set can range from $10-$30 (USD), making it an affordable choice. If you’re interested in exploring digital art techniques, you might want to discover animation possibilities in MediBang.
What Brushes Are Ideal for Painting Roses?
Round brushes and filbert brushes ⚡ Best Pick: Filbert Artist Paint → are ideal for painting roses. A size 4-6 round brush works well for detailing, while a size 8-10 filbert can cover larger areas. Quality brushes, starting at around $10 (USD), can significantly impact your painting. If paint accidentally stains your clothing during your artistic process, you can remove acrylic paint effectively.
How to Fix Mistakes When Painting a Rose?
You can fix mistakes while painting a rose with easy techniques. If using acrylics, they can be painted over once dry. For watercolors, use techniques like lifting with a damp brush. Practice saves time and especially frustration. When working with delicate surfaces, it’s crucial to know how to prevent accidental damage during your painting process protecting your artistic materials carefully.
How Should I Arrange My Palette When Painting a Rose?
Great question! You should arrange your palette with the lightest colors on one side and the darkest on the other. This setup allows for easy mixing and helps you visualize the gradients needed for depth in a rose’s petals. When you’re ready to expand your color techniques, create stunning blue paint variations that can enhance your artistic palette.
Conclusion: Mastering the Art Of Painting Roses Easily
I hope this was worth your while. We covered the definition of a rose, essential supplies like brushes, paints, and canvases, simple steps for painting, a recommended color palette, various inspirational rose types, factors affecting your technique, common challenges, and finishing touches to enhance your creation.
In summary, painting roses is all about using the right tools, following straightforward instructions, and selecting popular colors. If you’re eager to unleash your creativity or seek further assistance on painting roses or other projects, feel free to reach out!
For additional insights and resources, visit Paint Answers.
Additional Resources
- Betti, C., & Sale, T. (2012). Drawing: A Contemporary Approach (6th ed.). Belmont, CA: Cengage Learning.


