
How to Paint a Stencil Without Bleeding?
Published on: March 9, 2025 | Last Updated: January 7, 2025
Written By: Alisha Winters
A stencil is a cool tool that lets you paint awesome shapes and designs. It works like a cookie cutter for paint, creating neat patterns wherever you want!
Knowing how to paint a stencil without bleeding is super important! I’ve messed up plenty of stencils, and trust me, a little bleed can ruin your masterpiece.
In this guide, you’ll discover essential prep steps, a step-by-step painting method, color palette choices, types of stencils, common issues, and creative DIY ideas for using stencils. Get ready to transform your space with how to paint stencils without bleeding!

- ✓
- ✓
- ✓

- ✓
- ✓
- ✓

Contents
- 1 How to Paint a Stencil Without Bleeding?
- 2 What is a Stencil Design Technique?
- 3 Essential Preparations Before You Start Stenciling
- 4 Step-by-step Guide to Achieving Perfect Stencil Painting
- 5 Types Of Stencils for Different Painting Techniques
- 6 Factors Affecting Stencil Painting Success
- 7 Common Issues While Painting Stencils and How to Fix Them
- 8 Tips for Preventing Stencil Bleeding
- 9 Best Practices for Securing Stencils
- 10 How Surface Texture Impacts Bleeding
- 11 Understanding Paint Viscosity and Its Role in Bleeding
- 12 Optimal Drying Times for Different Paints
- 13 Finishing Touches to Elevate Your Stenciled Artwork
- 14 Frequently Asked Questions About Painting Stencils Without Bleeding
- 15 Conclusion: Mastering the Art Of Stencil Painting Without Bleeding
- 16 Useful Resources
How to Paint a Stencil Without Bleeding?
To paint a stencil without bleeding, secure it tightly to the surface. Use a brush or spray paint at a 90-degree angle, applying light coats. Avoid over-saturating, and dab excess paint on a paper towel first. This way, you’ll get clear lines! If you’re working on unique surfaces like brick or masonry, you might want to explore painting techniques for challenging surfaces.

What is a Stencil Design Technique?
A stencil is a sheet, usually made of plastic or cardboard, with a specific design cut out. It allows you to apply paint or ink precisely, creating a repeatable pattern while minimizing waste.
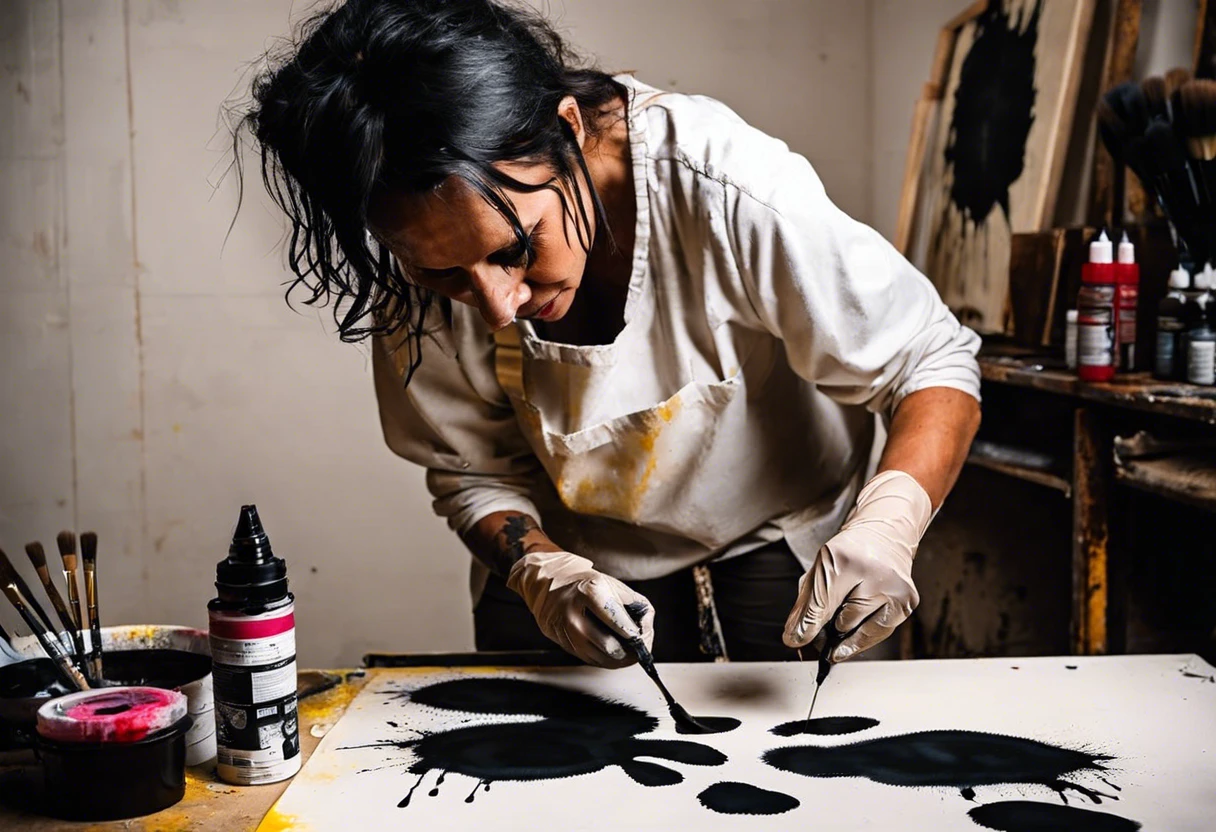
Many artists face the problem of paint bleeding under stencils, which ruins clean lines. I’ve developed an effective technique to address this issue through trial and error.
I used stencils extensively while decorating the community center last summer. By learning how to paint a stencil without bleeding, I created crisp designs and bold colors, enhancing the overall project. Striking patterns emerged as I skillfully used stencils with spray paint. Proper surface preparation is crucial for achieving clean stencil work, so I always recommend painting materials and techniques. In the end, the right approach leads to project success, wouldn’t you agree?
Essential Preparations Before You Start Stenciling
What do you need to get started?
- Stencil Material: Use durable stencil material like Mylar (0.25 Mm or 10 Mil). It ensures precise edges and easy cleaning.
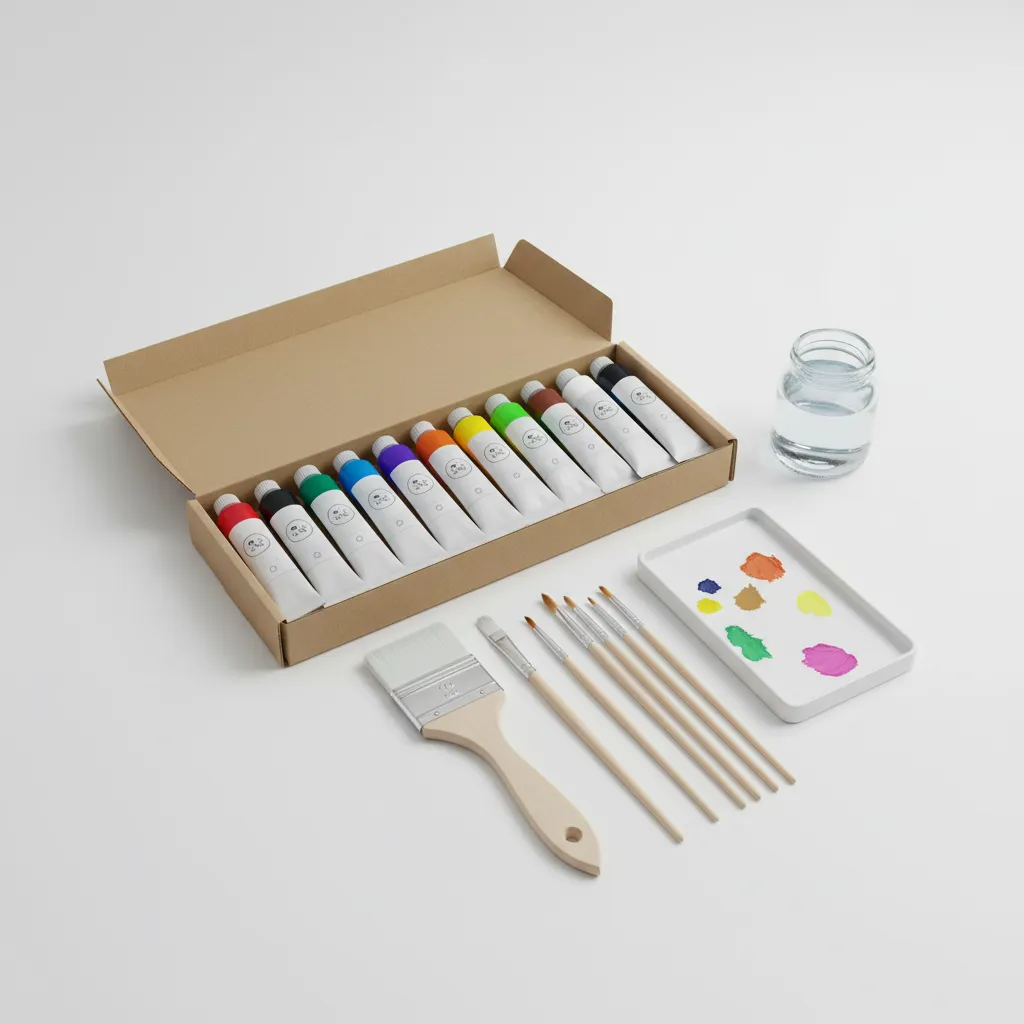
- Quality Paint: Choose acrylic paint, like FolkArt Acrylic Paint. It adheres better and helps prevent bleeding.
- Stenciling Tape: Have painter’s tape, such as 3M Scotch Blue (24 Mm or 1 in), to secure your stencil and create sharp lines.
- Sponge Dauber: Get a sponge dauber, like the Delolin Round Sponge Dauber. It allows for controlled application and prevents runs.
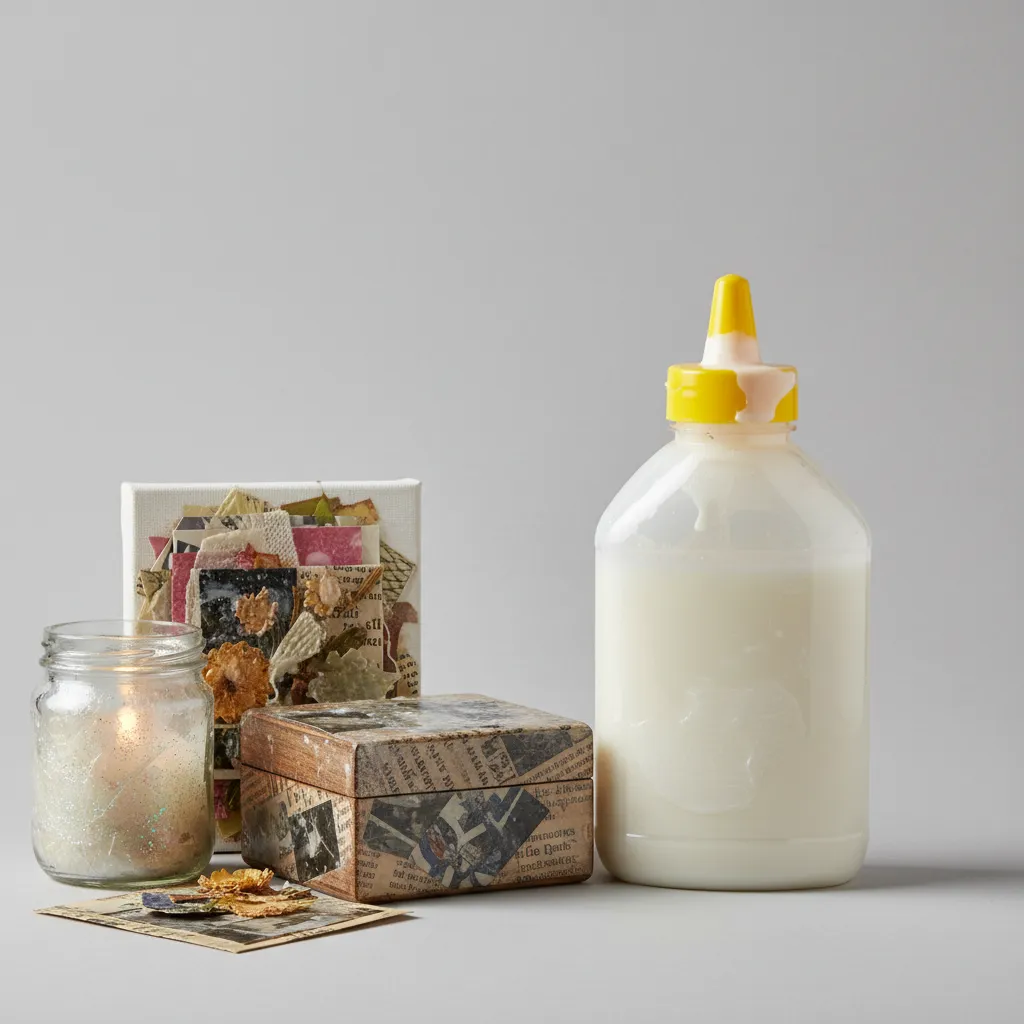
- Sealant (Optional): Use Mod Podge Clear, a water-based sealant. Sealing protects the stencil edges if you’re layering colors.
You should now have a good understanding of necessary preparations for stenciling. In the next part, we’ll discuss a step-by-step stencil painting guide.


Also See: What Can You Paint Your Glass Bong With? Fun Ideas!
Step-by-step Guide to Achieving Perfect Stencil Painting
Here are the steps to stencil without bleeding. Follow them closely for sharp lines!
-
Select the Right Materials
Choose quality stencils made from flexible plastic or mylar. These materials create sharp edges and won’t warp when paint is applied.
For paint, opt for acrylic or spray paint designed for stenciling. Acrylic paint dries quickly, reducing bleed chances.
-
Preparing Your Surface
Clean your surface thoroughly; oily or dusty spots can affect adhesion. Use soap and water or a simple solvent for smooth surfaces like walls or wood.
For painted wood, lightly sand with 220-grit paper for better stencil grip. This prevents seepage and improves adhesion during paint application.
-
Securing the Stencil
Lay your stencil flat on the surface, ensuring perfect alignment. Use painter’s tape to hold it securely in place to avoid shifting.
I’ve been down this road—don’t skip this step! A stable stencil is key for crisp lines, so double-check your placement!
-
Choosing the Right Paint and Tools
Use spray paint for better control and fewer drips. Brands like Rust-Oleum and Krylon offer specific stencil spray paints in various finishes.
Keep your brush or spray nozzle at a steady angle during application. Avoid over-saturating the brush; use a smaller brush for detailed stencil areas (Size 9.5mm Or Smaller).
-
Application Technique
Apply paint lightly in multiple thin coats. Start with a light dusting over the stencil for the best adhesion, ensuring not to flood any area.
Let each layer dry before adding more to avoid bleed. Ideal drying time is around 5–10 minutes, depending on paint type and humidity.
-
Removing the Stencil
Carefully peel back the stencil while the paint is still a little tacky. This helps prevent the paint from adhering to the stencil edges, resulting in sharper lines.
Use an exacto knife to trace edges if needed, but don’t rush! Allow the painted design to dry completely for at least an hour before making final touches.
We’ve wrapped up the step-by-step approach for perfect stencil painting here. Let us turn our attention to types of stencils for various painting techniques.
Types Of Stencils for Different Painting Techniques
Let’s explore the types of stencils: adhesive, reusable, vinyl, and spray stencils.
-
Adhesive Stencils
Adhesive stencils stick directly to surfaces, preventing paint from bleeding. They’re perfect for sharp, clean edges.
-
Reusable Stencils
These durable stencils often use mylar or plastic. You can clean them for multiple uses, making them economical for large projects.
-
Vinyl Stencils
Vinyl stencils provide precision. They conform nicely to painted surfaces, reducing the chance of paint bleeding under the edges.
-
Spray Stencils
These allow easy use of spray paint, ensuring uniform application. They’re great for walls, especially for larger designs.
Having faced similar challenges before, I enjoy using reusable stencils. They save money in the long run and allow me to experiment with different colors.
We’ve wrapped up the various stencil types for painting techniques here. Let us turn our attention to the factors influencing stencil painting success.
Factors Affecting Stencil Painting Success
What factors influence your stencil painting results without unwanted bleeding?
-
Paint Type: Choosing the right paint, such as acrylic or spray paint, prevents drips.
-
Stencil Material: Thicker stencils provide better support, reducing paint flow underneath the edges.
-
Painting Technique: Using a dabbing technique minimizes excess paint that bleeds.
-
Surface Preparation: Properly preparing the surface ensures better adhesion of the stencil and less bleeding.
You should now have a good understanding of the elements influencing stencil painting success. In the next part, we’ll discuss common stencil painting problems and solutions.
Common Issues While Painting Stencils and How to Fix Them
Once, my friend struggled with stencil bleeding during a project. He used the wrong brush and applied too much pressure, which smeared the edges!
To fix this, use a fine stencil brush (1 Inch or 25.4 Mm). Just dab paint and don’t oversaturate. You’ll keep the lines crisp and clean. Simple, right?
Tips for Preventing Stencil Bleeding
Want to avoid those frustrating paint bleeds? Here are some tailored tips that can help you achieve crisp, clean results.
- Use Low-Pressure Air: If you’re using spray paint, try using a low-pressure setting. This reduces the paint misting under the stencil edges.
- Prioritize Thin Coats: Apply several thin layers rather than one thick coat. Thin layers dry quicker and minimize bleed chances.
- Wait Between Coats: Allow at least 10-15 minutes between coats to let the previous layer set before moving on.
- Test First: Always do a test run on scrap material. It’s a great way to check if your method prevents bleeding before tackling the main project.
Best Practices for Securing Stencils
How you secure your stencil can make or break your painting project. Here are best practices for keeping everything in place.
- Painter’s Tape 💰 Save on Blue Painter’s Tape → : Use high-quality painter’s tape around the edges of your stencil. This creates a super tight seal to keep paint from sneaking underneath.
- Stencil Weights: If you’re working on a breeze or an uneven surface, consider using weights to hold the stencil down firmly.
- Magnetic Stencils: On metal surfaces, magnetic stencils can be excellent. They stay put, eliminating shifting or lifting.
How Surface Texture Impacts Bleeding
The texture of your painting surface plays a significant role in bleeding. Let’s dig deeper into how it affects results.
| Surface Type | Texture | Bleeding Risk | Best Paint Type |
|---|---|---|---|
| Wood | Rough | High | Acrylic |
| Canvas | Medium | Medium | Fabric Paint |
| Metal | Smooth | Low | Spray Paint |
| Wall | Textured | High | Acrylic (with primer) |
Understanding these details empowers you to choose appropriately and minimize bleeding during your stencil painting adventures!


Understanding Paint Viscosity and Its Role in Bleeding
Did you know that the thickness of your paint directly affects how well it stays put? Let’s explore viscosity and its impact on your stencil projects.
- Low Viscosity: If your paint is too thin, it can easily seep under the stencil edges. This leads to unwanted bleeding. You want to avoid paints that are watery, such as low-quality spray paints.
- Moderate Viscosity: Ideal for stenciling! This consistency helps paint cover well without running. Look for acrylic or craft paints with medium thickness.
- High Viscosity: Thick paints can be useful, but be careful! They may create texture, which can affect blending. Best for 3D effects but not for detail work.
Optimal Drying Times for Different Paints
Do you know how drying times vary with different paint types? Timing can help enhance your results!
| Paint Type | Typical Drying Time (minutes) | Notes |
|---|---|---|
| Acrylic Paint | 10–30 | Quick-drying; works great between thin coats. |
| Latex Paint | 30–60 | Ideal for walls; may need longer for thicker application. |
| Spray Paint | 5–15 | Fast-drying; often dries to touch quickly but ensure full curing. |
| Fabric Paint | 15–60 | Allow extra time for fabric to absorb and cure. |
Finishing Touches to Elevate Your Stenciled Artwork
After mastering clean stenciling techniques, seal your artwork. Use a clear acrylic spray, like Krylon® Crystal Clear, from a distance of about 12 inches (30 Cm) for protection.
Inspect your stencil for any excess paint pooling at the edges. Ensure there are no gaps or runs; if you find any, smooth them out with a soft brush.
Personally, I’d use an artist-grade sealer, like Golden Polymer Varnish, to enhance depth. Apply a thin layer for a professional finish, aiming for 4-6 mils (0.1-0.15 Mm).
Frequently Asked Questions About Painting Stencils Without Bleeding
What Types Of Paint Prevent Bleeding When Stenciling?
Yes, specific types of paint prevent bleeding when stenciling. You’ll want to use acrylic or latex paint for best results. Both types have a thicker consistency, which helps keep the paint from spreading under the stencil edges, ensuring clean lines.
How Do I Clean My Stencil for Reuse?
To clean your stencil for reuse, gently wash it in warm, soapy water. This method removes paint without damaging the stencil material. Dry it with a soft cloth to keep it in top condition for your next project. When selecting paint for your next home improvement task, you might want to explore choosing the right foundation color.
Can I Use Stencils on Any Surface?
Yes, you can use stencils on various surfaces, like wood, fabric, and walls. However, some surfaces require specific preparations, like priming or smoothing to achieve the best final look and prevent paint from bleeding. When working on exterior surfaces, temperature plays a crucial role in paint application, so knowing how to paint effectively in cold weather becomes essential for successful stenciling projects.
What to Do if Paint Bleeds Under My Stencil?
If paint bleeds under your stencil, you can correct it by using a fine paintbrush to fix the edges. Quick touch-ups can save your design if done carefully while the paint is still wet.
How Long Does Stencil Paint Take to Dry?
Stencil paint typically takes about 1 to 2 hours to dry, depending on your environment. Factors like humidity and airflow can speed up or slow down the drying process, so always check before applying a second coat. If you’re curious about professional painting techniques, you might want to explore the paint brands used by experts.
What Size Stencil is Best for My Project?
A stencil’s size greatly affects your project’s outcome. A smaller stencil is ideal for detailed work, while larger stencils suit bigger surfaces, like walls. Choose according to your design needs, maintaining proportions to avoid distortion.
Can I Use Stencils for Outdoor Projects?
Yes, you can use stencils for outdoor projects, but ensure to use weather-resistant paint. Acrylic or spray paint marked for outdoor use will withstand elements. This helps your stencil work last longer and maintain vibrancy. If you’re curious about painting techniques beyond stencils, you might want to explore painting creative surfaces with acrylics.
Also See: Can You Iron Canvas After Painting? Find Out Here!
Conclusion: Mastering the Art Of Stencil Painting Without Bleeding
That’s everything I wanted to share with you. We covered what a stencil is, essential preparations before stenciling, a step-by-step guide for perfecting your technique, recommended color palettes, types of stencils for different techniques, factors impacting your success, common issues while painting, and even some creative DIY project ideas.
To paint a stencil without bleeding, remember to use the right technique: prepare your surface well, choose the correct stencil type, and control your paint application. Wishing you success in your welding projects as you create crisp, clean designs, finding the stenciling style that suits you best.
If you’re looking to enhance your skills further, visit Paint Answers for more insights and tips.
Useful Resources
- Betti, C., & Sale, T. (2012). Drawing: A Contemporary Approach (6th ed.). Belmont, CA: Cengage Learning.
- How to Stencil on Wood without Bleeding
- HOW TO STENCIL ON WOOD WITHOUT BLEEDING – A Fresh-Squeezed Life
Experienced interior designer with 15+ years in transforming spaces, blending artistry with expertise in color and design. Rhode Island School of Design graduate, specializing in restorations and modern makeovers.
Aluminium, Material


