
How to Paint Metal Cans?
Published on: April 8, 2025 | Last Updated: January 7, 2025
Written By: Alisha Winters
Metal cans are containers made from metal, usually for food or drinks. They come in different shapes and sizes, like the ones holding soup or soda!
Learning how to paint metal cans is quite essential. It adds a splash of creativity to your home, plus, I’ve had some fantastic experiences turning plain cans into stunning décor.
In this guide, you’ll discover what metal cans are, essential painting tips, a step-by-step process, color palettes, suitable paints, common challenges, and creative DIY project ideas. You’ll find everything you need about how to paint metal cans!
Contents
- 1 How to Paint Metal Cans?
- 2 What Are Metal Cans?
- 3 What You Need to Know Before You Start Painting Metal Cans
- 4 Surface Preparation Techniques for Optimal Paint Adhesion
- 5 Step-by-step Guide to Painting Metal Cans
- 6 Recommended Color Palette for Painting Metal Cans
- 7 Different Types Of Paint Suitable for Metal Cans
- 8 Factors Affecting Your Metal Can Painting Project’s Outcome
- 9 Common Issues to Watch for When Painting Metal Cans
- 10 Finishing Touches: Enhancing Your Painted Metal Cans
- 11 Understanding the Best Practices for Storing Painted Metal Cans
- 12 Creative DIY Project Ideas Using Painted Metal Cans
- 13 Frequently Asked Questions About How to Paint Metal Cans
- 14 Conclusion
- 15 Additional Resources
How to Paint Metal Cans?
To paint metal cans, first clean them with soap and water. Then, apply a primer designed for metal. Once dry, use acrylic paint for vibrant colors. Sealing with a clear coat protects your art!
What Are Metal Cans?
Metal cans are cylindrical containers typically made of aluminum or steel. These materials provide strength and can withstand internal pressures of up to 5 to 7 times atmospheric pressure.
When you learn how to paint metal cans, you’ll discover a new world of creativity. I remember fumbling through a project, adding vivid colors that turned my dull cans into eye-catching art.
A friend of mine used them to organize her art supplies. She painted tin cans with bright patterns, keeping her space tidy while making her studio pop with color. It’s all about how to paint metal cans to unleash your personal flair, and the beauty lies in your creativity! When your paintbrush starts losing its softness during these creative projects, you can restore your brush’s delicate touch.
What You Need to Know Before You Start Painting Metal Cans
What do you need to get started?
- Quality Spray Paint: Use a paint like Rust-Oleum Gloss Protective Enamel. It adheres well to metal and offers durability.
- Primer: Apply a metal primer such as Krylon Rust Protector. This prevents rust and helps the paint adhere better.
- Fine Sandpaper: Get 400-grit sandpaper. This prepares the surface for improved paint adhesion.
- Drop Cloth 🔥 Deal: Heavy-Duty Canvas Drop → : Obtain a thick plastic drop cloth to protect your workspace from paint overspray.
- Masking Tape: Use a quality tape like ScotchBlue to create clean lines and protect areas you don’t want to paint.
That covers essential tips for painting metal cans. Let’s now take a look at surface preparation techniques for optimal paint adhesion.
Also See: Can Painted Dogs Be Domesticated? The Unlikely Truth
Surface Preparation Techniques for Optimal Paint Adhesion
Preparing the surface of your metal can is crucial for a successful paint job. Here are some key techniques you should follow:
-
Cleaning the Metal Can
Use soap and warm water to wash away dirt and grease. Dry thoroughly. A clean surface is your paint’s best friend!
-
Sanding for Smoothness
Sand the can lightly with 400-grit sandpaper ⭐ Top Rated: Assorted Grit Sandpaper → . This removes rust and creates a texture for better adhesion.
-
Applying Primer
A metal primer prevents rust and helps paint adhere well. It makes your colors pop and last longer!
-
Testing the Surface
Use a minimal paint test spot to check adhesion. If it sticks well after a few minutes, you’re good to go!
So far we covered surface preparation methods to enhance paint adhesion. Let’s look at a step-by-step guide for painting metal cans next.
Step-by-step Guide to Painting Metal Cans
Now, we’ll cover the essential steps for transforming metal cans into stunning artwork.
-
Prepare the Surface Of the Metal Can
Start by cleaning the metal can with soap and water. Remove any oil or residue to help the paint stick better.
Dry the can thoroughly with a cloth or let it air dry. A clean surface is critical—don’t skip this step!
-
Apply Primer to the Metal Can
Use a good-quality spray primer specifically designed for metal. A quick, even coat of primer keeps your paint vibrant and prevents peeling.
Let it dry according to the manufacturer’s instructions—typically around 30 minutes. Primer fills small imperfections for a smooth finish and reduces bumps!
-
Choosing the Right Paint for Metal Cans
Use acrylic or enamel paint for the best results. Trust me, opting for spray paint makes it easier with smooth coverage and fewer brush strokes.
Pick a color that stands out or matches your decor. Metallic or neon colors can really make your can pop!
-
Painting the Metal Can
Begin applying the first coat of paint with even strokes, holding the spray can about 6-12 inches (15-30 Cm) away. Avoid over-saturation; a light, even layer is ideal.
After 30 minutes, check if the first coat is dry. Add a second coat if needed for richer color and coverage.
-
Sealing Your Painted Metal Can
Once the paint is thoroughly dry, seal it with a clear acrylic spray sealer. This protects your design from chips and fading.
Apply the sealer similarly to the paint, keeping a distance of about 6-12 inches (15-30 Cm). A little goes a long way—don’t saturate it.
So far we covered a detailed approach to painting metal cans. Let’s look at the suggested color palette next.
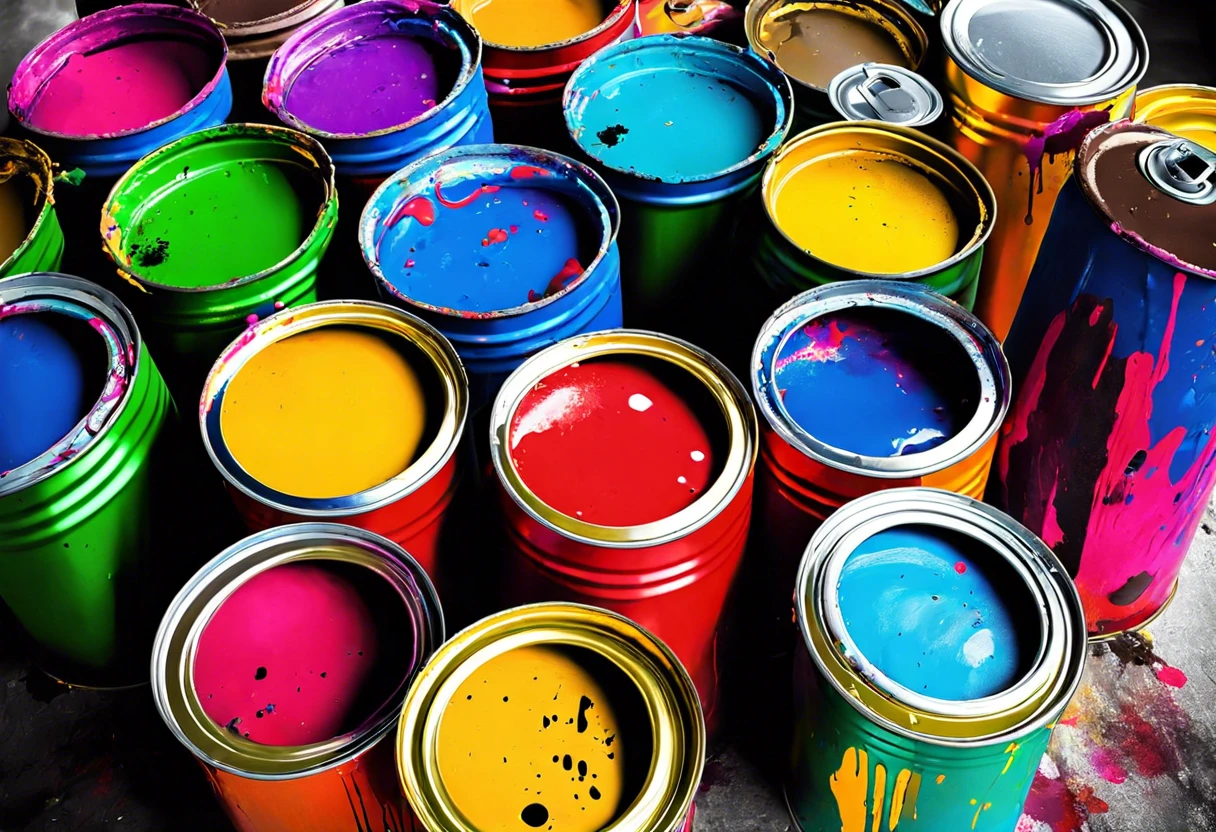
Recommended Color Palette for Painting Metal Cans
I recommend a vibrant Retro Pop palette, perfect for making your metal cans stand out. It combines bold and cheerful colors that evoke a playful, nostalgic vibe.
| Color Box | Hex Code | Color Name |
|---|---|---|
| #FF6F61 | Coral | |
| #6B5B9A | Amethyst | |
| #88CBF1 | Sky Blue | |
| #FFCC5C | Sunny Yellow |
We have now covered a suggested color palette for painting metal cans. Next, we will explore various types of paint suitable for them.
Different Types Of Paint Suitable for Metal Cans
Let’s explore the types of paint suitable for metal cans: acrylic, spray paint, oil-based paint, and enamel paint.
-
Acrylic Paint
Acrylic paint is water-based and dries quickly. It’s flexible and works well on metal cans, providing a bright finish that resists fading.
-
Spray Paint
Spray paint creates a smooth, even coat on metal cans and comes in various finishes. With an application distance of about 6 to 12 inches (15 to 30 Cm), it easily covers large areas quickly.
-
Oil-based Paint
This type forms a hard, durable finish ideal for metal. It takes about 12 to 24 hours to dry but offers deep, rich colors that shine.
-
Enamel Paint
Enamel paint provides a hard, glossy finish that’s excellent for indoor and outdoor projects. It adheres well to metal cans and offers good weather resistance.
As someone who’s experienced in this field, I appreciate acrylic paint. It’s versatile and fun, providing a range of color choices while remaining user-friendly.
Factors Affecting Your Metal Can Painting Project’s Outcome
What factors influence your approach to decorating metal containers?
-
Surface Preparation: Clean and sand the can for proper paint adhesion.
-
Type of Paint: Spray paint versus acrylic affects finish and durability.
-
Environmental Conditions: Temperature and humidity impact drying time and finish quality.
-
Design Complexity: Intricate designs require more skill and careful planning.
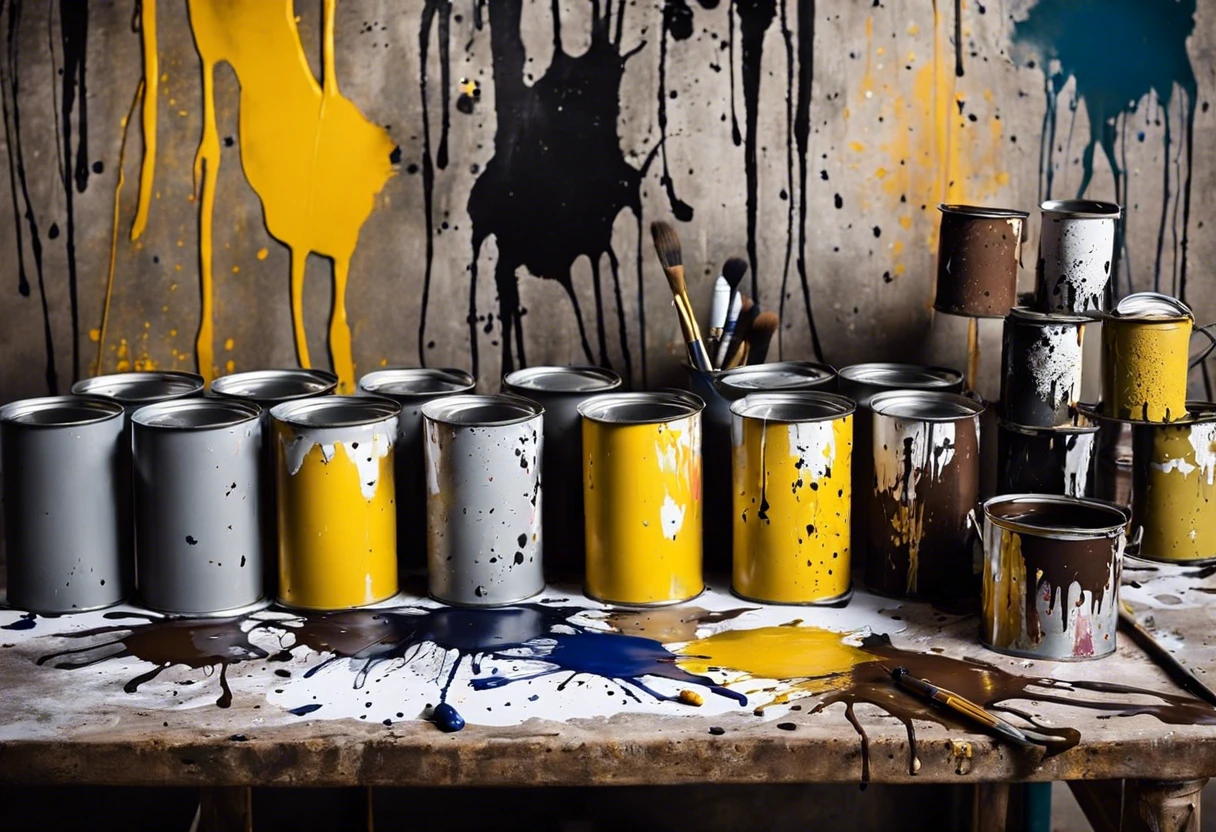
Common Issues to Watch for When Painting Metal Cans
Once, my friend spilled paint all over his table while decorating metal cans. It was a huge mess!
To avoid spills, use painter’s tape and a drop cloth. Choose a primer like Rust-Oleum, which requires about 1 hour of drying time. This protects your work surface and ensures smooth coverage.
Finishing Touches: Enhancing Your Painted Metal Cans
After painting, let the cans cure for 24-48 hours at room temperature (Around 70°F to 80°F). Use a clear acrylic sealer spray for a smooth shine and added durability.
Check for areas where the paint may have dripped or scratched off—especially at the seam folds. Fine-grit sandpaper (Around 400-grit) works wonders for smoothing minor imperfections.
I recommend using Krylon Fusion for a durable finish. For experts, consider applying a light coat of epoxy resin; it provides an ultra-glossy surface and adds value!
Understanding the Best Practices for Storing Painted Metal Cans
Storing your beautifully painted metal cans properly is key to keeping them vibrant and intact.
-
Choose the Right Location
Keep cans in a cool, dry spot. A temperature range of 50°F to 75°F (10°C to 24°C) is ideal.
-
Avoid Direct Sunlight
Storage in a dark corner helps prevent fading. UV rays can dull those bright colors over time.
-
Stacking or Storing
If stacked, use a soft cloth between cans to avoid scratches. Store upright if possible to keep the paint intact.
-
Protection from Dust and Grime
Consider covering your painted cans with a breathable cloth to protect them from dust.
Creative DIY Project Ideas Using Painted Metal Cans
Have you ever thought about turning those boring metal cans into quirky pocket planters or vibrant candle holders? Imagine your kitchen filled with herb pots painted in bold patterns or colorful lanterns flickering on your patio. If you’re looking to elevate your DIY project, painting techniques can transform ordinary objects into extraordinary decorative pieces.
For these projects, grab some acrylic paint, brushes, and protective sealant. You can create a few stunning pieces for around $15 to $25, plus an hour or two of your time – so worth it!
If you want to switch things up, try using scrapbook paper to decoupage the cans. You can also explore painting with spray paint or adding stencils for cleaner designs—endless possibilities await! If you’re feeling adventurous, you might even want to experiment with painting directly on your skin.
Frequently Asked Questions About How to Paint Metal Cans
What is the Best Type Of Paint for Metal Cans?
For painting metal cans, the best type of paint is spray paint designed for metal surfaces. This paint adheres well to metal and is resistant to chipping and fading, ensuring a lasting finish.
Do I Need to Sand Metal Cans Before Painting?
Yes, it’s a good idea to sand metal cans before painting. Sanding roughs up the surface, helping the paint bond better and providing a smoother finish.
How Do I Remove Paint From Metal Cans?
You can remove paint from metal cans by using a paint stripper or a solvent like acetone. These products break down paint, making it easier to wipe off, and are effective at a 50% dilution.
Can I Use Regular Spray Paint on Metal Cans?
While you can use regular spray paint on metal cans, it’s better to choose spray paint specifically for metal. Metal-rated spray paint is engineered to adhere to metals and resist corrosion.
How Do I Store My Painted Metal Cans?
To store painted metal cans, keep them in a cool, dry place away from direct sunlight. This helps maintain the color and durability for an extended period, usually up to five years.
Can I Use Acrylic Paint on Metal Cans?
Yes, you can use acrylic paint on metal cans. Just remember to apply a clear acrylic sealer afterwards, which enhances durability and prevents chipping.
How Long Does It Take for Paint to Dry on Metal Cans?
Paint on metal cans typically dries to the touch within 30 minutes. However, for complete curing, it may take up to 24 hours.
Is It Safe to Paint Metal Cans for Food Use?
No, it’s not safe to paint metal cans intended for food use. Most paints might contain harmful chemicals that can leach into food, unless labeled food-safe.
Conclusion
We’ve covered a lot together, and we appreciate your engagement. From painting metal cans to understanding essential techniques and troubleshooting common issues, you’ve gained valuable insights into enhancing your DIY projects.
In summary, mastering the art of painting metal cans requires choosing the right materials, applying effective techniques, and being aware of potential challenges. With this knowledge, you’re ready to turn simple tin cans into stunning, functional creations.
For more comprehensive articles and resources, explore our homepage: Paint Answers to discover everything you need for your projects!
Additional Resources
- Betti, C., & Sale, T. (2012). Drawing: A Contemporary Approach (6th ed.). Belmont, CA: Cengage Learning.
- How to Paint Tin Cans | ehow.com
- Empty Metal Paint Cans
Experienced interior designer with 15+ years in transforming spaces, blending artistry with expertise in color and design. Rhode Island School of Design graduate, specializing in restorations and modern makeovers.
Material, Metal


