
What Kind Of Paint Do You Use to Paint Rocks?
Rocks are solid pieces of Earth that come in all shapes and sizes. They can be rough or smooth, and you can find them everywhere, from your backyard to the beach!
When you think about what kind of paint do you use to paint rocks, it actually matters a lot. I learned this when my ladybug rock didn’t last long after a rain, leaving me disappointed.
In this guide, you’ll discover what you need to know before painting rocks, the best types of paint for use, simple steps to follow, color palette ideas, and common mistakes. Plus, I’ll share how to paint a ladybug on a rock and creative DIY projects. Let’s make your rock art pop!
Contents
- 1 What Kind Of Paint Do You Use to Paint Rocks?
- 2 What is ‘Rocks’?
- 3 What You Need to Know Before You Start Painting Rocks
- 4 Steps to Effectively Paint Rocks
- 5 Types Of Paint for Rock Painting
- 6 Factors Affecting Your Choice Of Paint for Rocks
- 7 Common Issues When Deciding What Kind Of Paint to Use for Rocks
- 8 Finishing Touches to Enhance Your Rock Art
- 9 Choosing the Right Finish for Your Painted Rocks
- 10 Rock Painting Techniques to Try
- 11 Creative DIY Project Ideas for Painted Rocks
- 12 Frequently Asked Questions About Painting Rocks
- 13 Conclusion
- 14 Additional Resources
What Kind Of Paint Do You Use to Paint Rocks?
For painting rocks, use acrylic paint. It’s durable and dries quickly. You can also seal your art with a clear acrylic spray for protection. Remember, water-based options are best for outdoor projects! Consider safety precautions if you handle solvents and explore whether paint thinner absorbs through skin.
What is ‘Rocks’?
Rocks are solid aggregates of one or more minerals. They consist mainly of oxygen (Around 47%) and silicon (About 28%). Rocks form the Earth’s crust and vary widely in size and color.
When you paint rocks, choosing the right paint is crucial. I’ve found that acrylic paint works well; it’s vibrant, adheres properly, and withstands the elements.
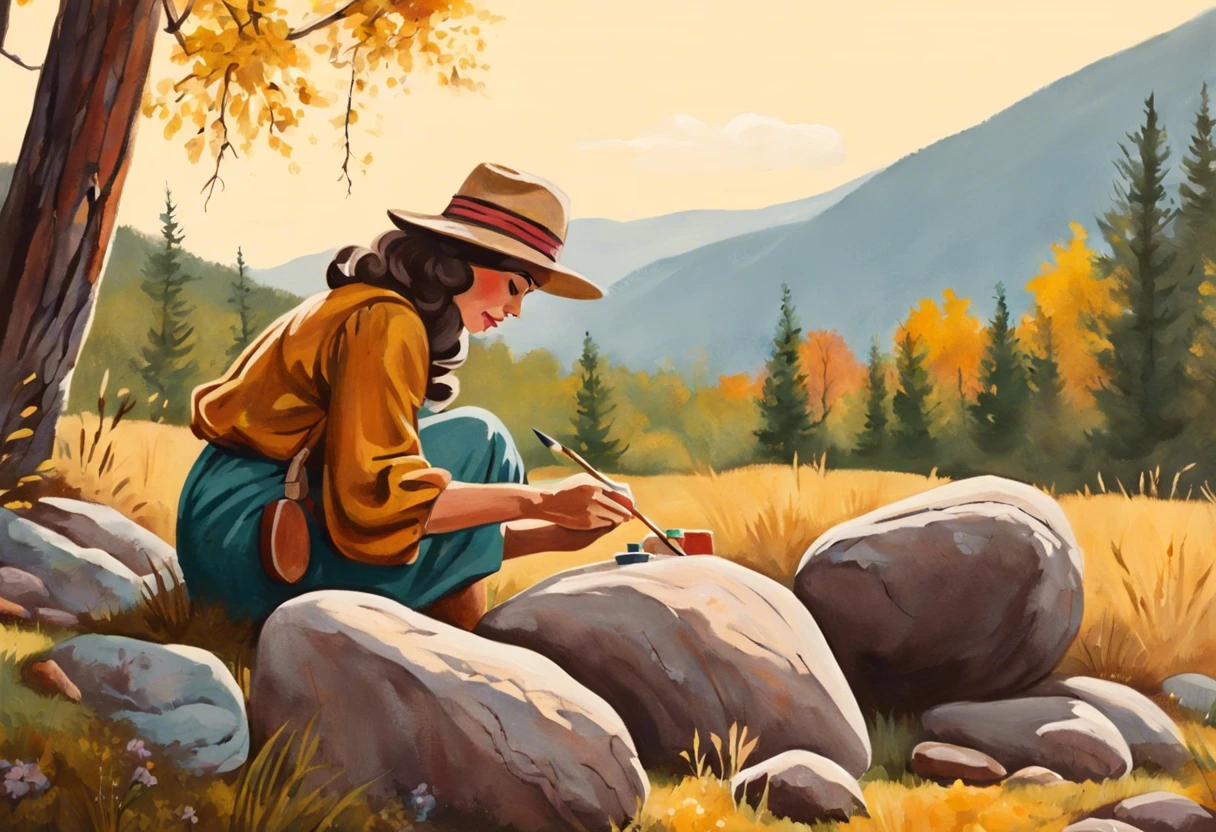
My favorite experience was painting ladybug rocks for my garden. Using acrylics, I created bright red ladybugs that stand out against the greenery. Learning to paint a ladybug on a rock improved my skills, highlighting the beauty of color blending and bringing life to simple stones. Additionally, you might find it rewarding to explore painting techniques on bathroom tiles to breathe new life into your space.
What You Need to Know Before You Start Painting Rocks
What do you need to get started?
- Acrylic Paints: Use brands like FolkArt or Americana. They provide vivid colors and good adhesion on rocks.
- Sealer: A clear glossy sealant, like Mod Podge or Acrylic Sealer, is essential for protecting your artwork from the elements.
- Paintbrushes: Flat and fine-tipped brushes from a set like Artify help you achieve detail, which is crucial for designs like ladybugs or waves.
- Primer: An acrylic primer such as DecoArt ensures even paint application and prevents colors from fading into the rock surface.
We have now covered essential information for rock painting. Next, we will discuss effective steps to paint rocks.

Also See: What is the Easiest Way to Remove Paint From Metal?

Steps to Effectively Paint Rocks
Here are the steps to choose paint for your rock art and make your designs shine!
-
Gather Your Supplies
Check what you need before starting: acrylic paints, paintbrushes, and sealants. Set up a clean workspace with water and paper towels for easy cleaning.
Choose a consistent spot where you can work without being disturbed. Use two or three brush sizes for different details.
-
Prepare Your Rocks
Clean your rocks thoroughly with soap and a scrub brush to remove dust and dirt. Rinse well and let dry for at least 30 minutes.
For a smoother surface, lightly sand rough edges with sandpaper 💰 Save on Assorted Grit Sandpaper → (Around 80 to 120 Grit). This improves paint adhesion.
-
Select the Right Paint
Use high-quality acrylic paint that’s non-toxic and weather-resistant. It’s crucial to choose paints that can withstand rain and UV rays!
Bright colors like yellow or red stand out on rocks. Darker colors, such as blue and green, may need several coats for full coverage, so plan accordingly!
-
Design Your Artwork
Sketch your design on paper before painting the rocks. This clarifies your ideas and saves time during the actual painting.
Start with lighter colors as a base and layer darker tones on top. Mixing and matching will give your rock unique character!
-
Apply Base Coats
Begin with a base coat of your primary colors, using thick strokes. This ensures full opacity and a vibrant background for details.
Be patient: let each layer dry before applying more! Thin coats work best; typically, two layers yield great results. Allow about 15-30 minutes drying time between applications.
-
Finish With Protective Coats
Once your design is complete, apply a sealant. A clear acrylic spray or paint sealant prevents your artwork from fading.
Apply the sealant in a well-ventilated area, using even, sweeping motions. Aim for at least two coats for maximum durability against the elements!
We’ve wrapped up the steps for effectively painting rocks here. Let us turn our attention to the different types of paint for rock painting.
Types Of Paint for Rock Painting
Let’s explore the different types of paint you can use on rocks: Acrylics, Spray Paints, Enamels, and Chalk Paint.
-
Acrylics
Acrylic paint is a water-based option that’s perfect for beginners. It dries quickly, usually within 30 minutes, and offers bright colors that stand out on rocks.
-
Spray Paints
Spray paints cover large areas swiftly and evenly. Recommended for larger rocks, they dry in about 10-20 minutes, saving time.
-
Enamels
Enamel paints provide a hard, glossy finish that’s very durable. They’re ideal for outdoor projects and can last 5-10 years against the elements.
-
Chalk Paint
Chalk paint is known for its matte finish and excellent adhesion. It’s easy to distress, adding character—perfect for details like painting a ladybug on a rock.
I’ve found that Acrylics are my favorite choice. They allow for vibrant colors and easy blending, making each stone unique and fun to work with.
We have now covered various types of paint suitable for rock painting. Next, we will look at factors influencing your paint choice.
Factors Affecting Your Choice Of Paint for Rocks
What factors influence the type of paint suited for your rock projects?
-
Surface texture of the rock: A rough surface grips paint better than a smooth one.
-
Desired finish: Glossy finishes may require different paint than matte, affecting your choice.
-
Weather conditions: If you paint outdoors, weather-resistant paints withstand the elements better.
-
Color intensity: Some paints offer vibrant color; others may need layers to achieve the same saturation.
We covered factors influencing your paint selection for rocks. We will now cover typical challenges when choosing paint for rocks.
Common Issues When Deciding What Kind Of Paint to Use for Rocks
Last weekend, my friend painted rocks but used regular acrylic paint. Unfortunately, it washed off quickly in the rain. Choose outdoor acrylic paints, like water-resistant brands with 25-30% acrylic polymer for durability. You can also explore techniques to paint specific subjects, like learning how to paint a cardinal bird, to enhance your artistic skills.
Fix this by sealing your rock with clear outdoor varnish. A spray varnish with UV protection keeps your art vibrant longer. Remember, rocks need proper prep—clean them well before painting!
Finishing Touches to Enhance Your Rock Art
After selecting your paint type, seal your artwork with a matte or gloss varnish, like Mod Podge or a clear enamel spray. This adds a protective layer against moisture and UV rays.
Inspect for potential wear from exposure or handling. Examine the edges and surfaces closely; touch up faded colors with acrylic paint, using brands like FolkArt or Apple Barrel.
If you’re experienced, apply a weather-resistant sealant, like Rust-Oleum clear spray, from a distance of 30 cm (12 in) for a smoother finish that withstands tough outdoor elements.
Choosing the Right Finish for Your Painted Rocks
After painting, your project can really shine with the right finish!
-
Gloss Finish
A glossy finish enhances colors and adds vibrancy. It’s ideal for outdoor rocks as it offers some protection against moisture. Use clear gloss spray or varnish for best results.
-
Matte Finish
Matte finishes provide a soft, smooth appearance. They are less reflective, giving your rocks a natural look. However, matte finishes might not protect as well against elements.
-
Satin Finish
A satin finish strikes a balance between matte and gloss. It offers subtle sheen, which can enhance the design while being more durable than matte. Consider using a satin varnish for a perfect blend!
Rock Painting Techniques to Try
Here are some fun techniques to enhance your rock painting game!
| Technique | Description | Best For |
|---|---|---|
| Sponging | Dab a sponge with paint for a textured effect. It adds depth and dimension to your rocks. | Backgrounds and abstract designs |
| Peg Painting | Use a peg or dotting tool to create intricate patterns and details with dots of paint. | Mandala designs and floral patterns |
| Layering | Apply multiple thin layers for a vibrant finish. Each layer adds richness to your colors. | All designs, especially gradients and blends |
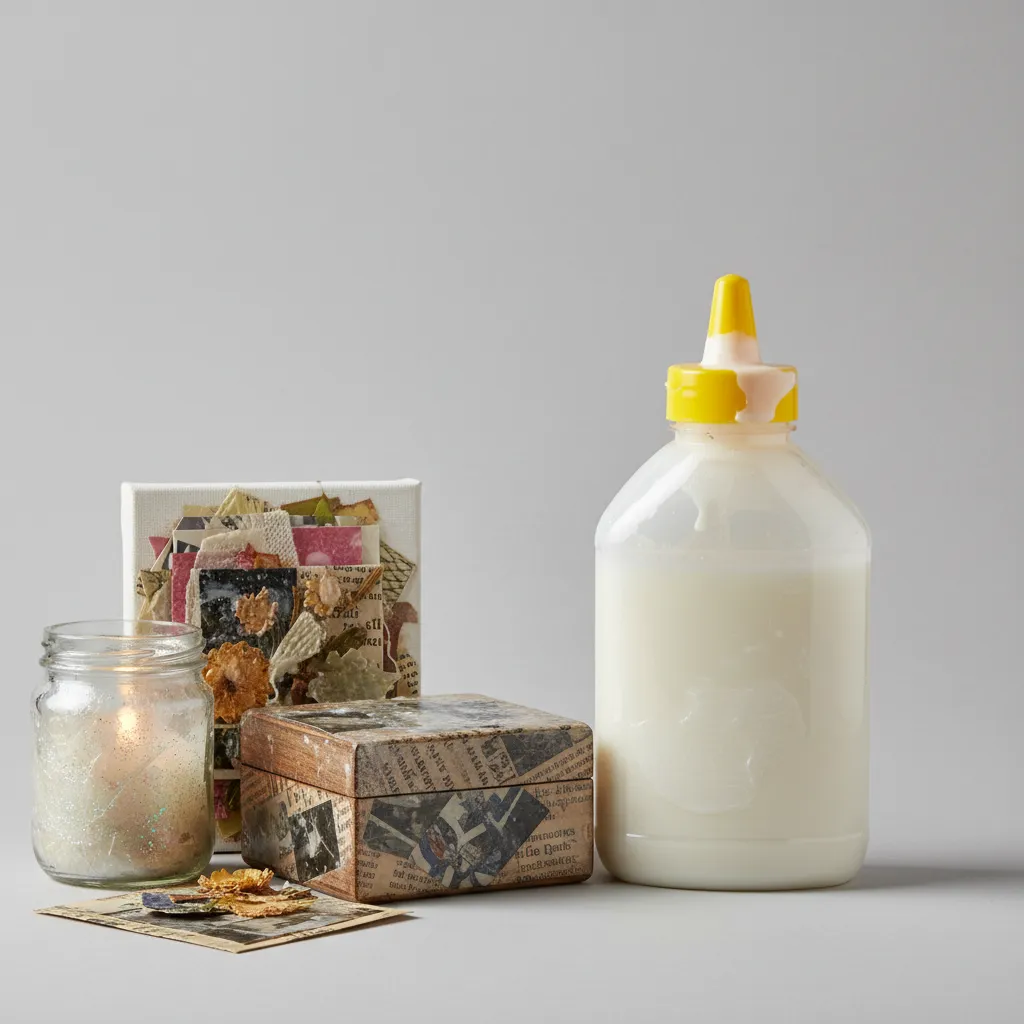
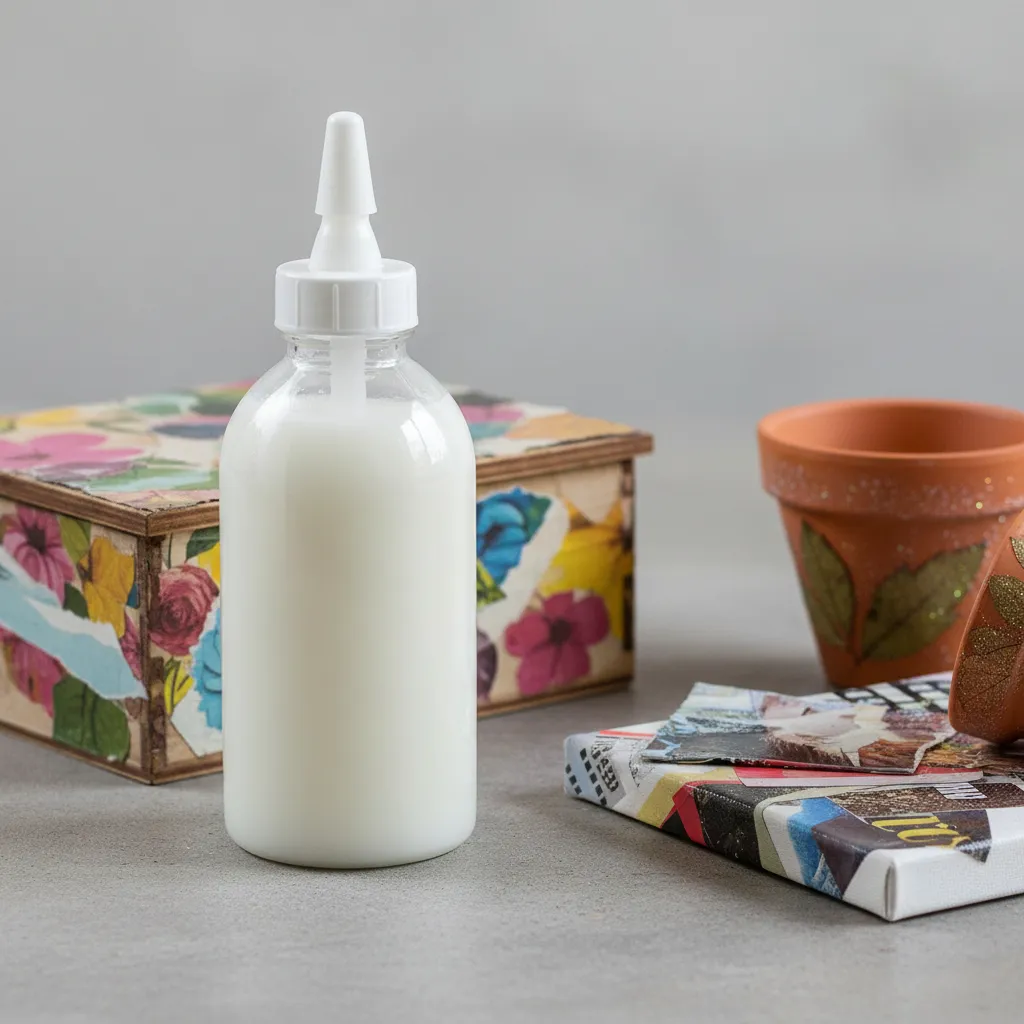
| Decoupage | Cut and glue decorative paper or fabric to rocks. Seal for a unique texture and design. | Personalized gifts and home decor |
Creative DIY Project Ideas for Painted Rocks
Ever thought about not just painting rocks, but turning them into whimsical little gardens or rock pets? Imagine a cute rock snail or a rainbow garden stone that lights up your porch!


To create these gems, grab some smooth stones, acrylic paint (Around $10 for a Basic Set), and small LED fairy lights (About $20). You’ll spend a couple of hours getting your creative juices flowing and a bit longer if you want complex designs!
Instead of the usual outdoor acrylics, I’ve enjoyed using heat-resistant wood paint for a shiny finish. It’s durable and makes those beach waves pop like nothing else—way more vibrant and eye-catching than traditional paint!
For artwork on clothing, you might wonder about using acrylic paint effectively.
Frequently Asked Questions About Painting Rocks
What is the Best Paint for Outdoor Rock Projects?
The best paint for outdoor rock projects is acrylic weatherproof paint. This type of paint is highly durable and can withstand various weather conditions, making it ideal for pieces left outside. High-quality acrylics last up to 5 years, ensuring your artwork stays vibrant and intact.
Can You Use Regular Paint on Rocks?
You can use regular paint on rocks, but it may not hold up well outdoors. Standard paints lack the UV protection and durability needed for outdoor conditions, leading to fading and peeling. If you prefer DIY, look for exterior-grade options to boost longevity. Proper finishing techniques can extend the life of your painted surfaces, especially in environments exposed to moisture. Learn how you can enhance durability by exploring painting techniques for boat bottoms.
How Do You Seal Painted Rocks?
To seal painted rocks, use a clear acrylic sealer spray. This protects your artwork from moisture and sun damage. Aim for at least two coats for the best protection; one can will cover around 2-3 square meters (Around 20-30 Square Feet).
If you are experimenting with other surfaces, you might wonder about painting on ceramics. Learn how you can paint ceramic flower pots to expand your creative projects.
Will Paint Wash Off Rocks When It Rains?
Paint can wash off rocks when it rains if you haven’t sealed it properly. Unsealed paints are not waterproof and will fade with exposure to water. Ensure you apply a sealer to keep your artwork safe and lasting, even in bad weather. You might wonder whether using different chemicals affects paint durability, and if you’re considering alternatives for thinning paint, explore whether you can use acetone as a paint thinner.
Can Kids Participate in Rock Painting Projects?
Yes, kids can absolutely participate in rock painting projects! It’s a great creative outlet for children and helps improve fine motor skills. Ensure you use non-toxic paints and supervise to keep the activity safe and fun.
Can You Paint Used Rocks?
You can definitely paint used rocks! Just make sure to clean them properly first. Remove any dirt and oils to create a smooth surface. Cleaning will help your new paint adhere better, leading to a cleaner, more vibrant finish.
For those ready to broaden their painting skills, you might wonder how to paint aluminum doors effectively. Discover practical ideas and learn the nuances of surface preparation and suitable paints by exploring the painting aluminium process.
Conclusion
We explored various topics, including types of paint, essential materials, creative project ideas, and common painting challenges.
So, what type of paint is best for your rock projects? Acrylics and enamels are great choices, so gather your supplies and start creating. If you need further assistance, I’m here to guide you on your painting adventure.
For comprehensive articles and resources, check out our homepage: Paint Answers—your go-to source for all things painting!
Additional Resources
- Gurney, J. (2009). Color and Light: A Guide for the Realist Painter. Kansas City, MO: Andrews McMeel Publishing.
- 5 best rock painting supplies you need to get started
- What kind of paint do you use to paint rocks? – Quora
Isabella is a Filipino-American art writer and critic specializing in contemporary painting, blending her Filipino heritage with global art trends. She holds a BFA from California State University, Long Beach, and a Minor in Art History from the University of the Philippines. Isa has experience as a Gallery Assistant, Art Appraisal Specialist, and Social Media Creative for Art & Design.
Material, Wood
Also See: Can You Polyurethane Over Chalk Paint? Here’s What to Do


