
Can You Paint Damp Wood?
Damp wood is wood that’s wet. Think of it like a sponge that soaked up water and hasn’t dried out yet.
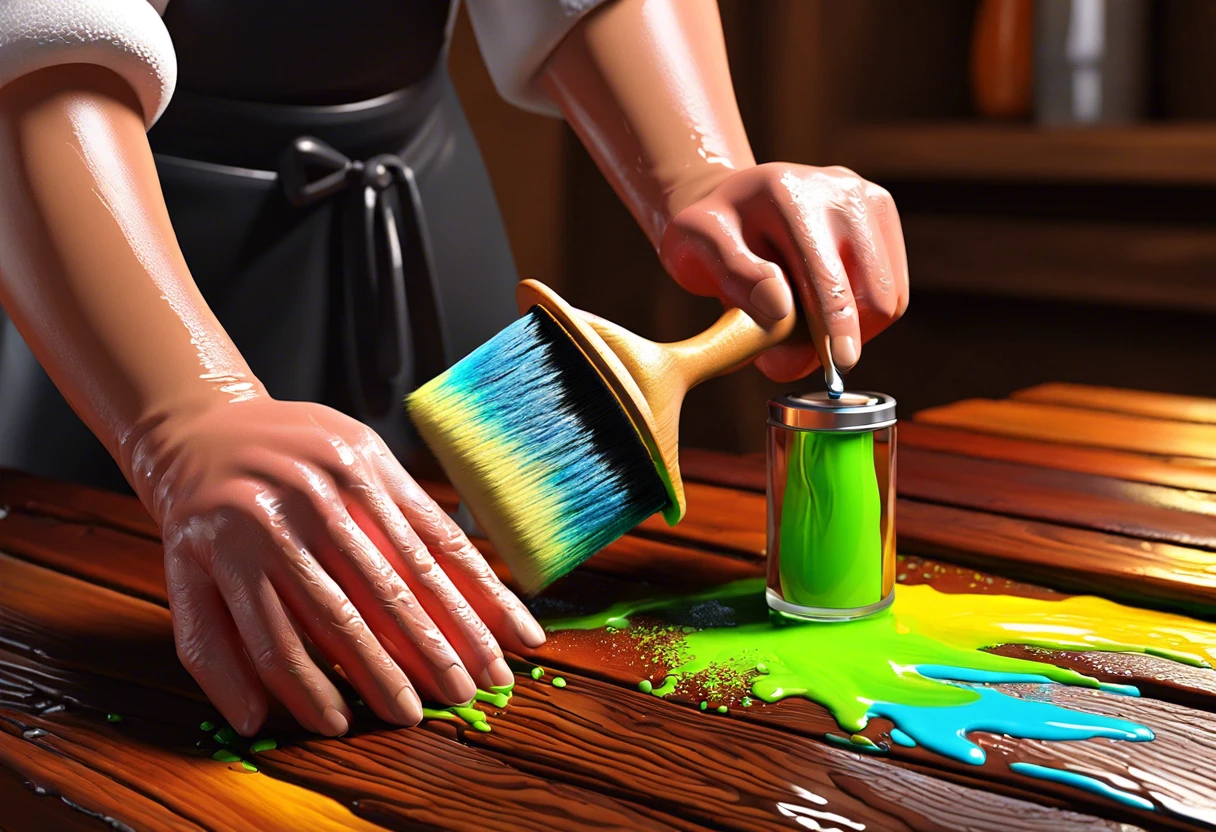
Now, can you paint damp wood? It’s super important to know this because painting wet wood can lead to peeling and damage later. I learned this the hard way, and I wish I’d known before starting my last project!
In this guide, we’ll explore important considerations before starting, steps to successfully paint damp wood, the best types of paint to use, and some common issues you might run into. You’ll also find inspiring DIY project ideas using damp wood and answers to frequently asked questions about can you paint damp wood.

- ✓
- ✓
- ✓

Contents
- 1 Can You Paint Damp Wood?
- 2 What is Damp Wood?
- 3 Important Considerations Before You Start Painting Damp Wood
- 4 Benefits of Waiting for Damp Wood to Dry
- 5 Common Misconceptions About Painting Damp Wood
- 6 Best Practices for Painting Wood Post-Dry
- 7 Prepping Damp Wood for Painting: Alternatives and Techniques
- 8 Understanding Moisture Content: Essential for Success
- 9 When Is It Too Late to Paint Damp Wood?
- 10 Steps to Successfully Paint Damp Wood
- 11 Types Of Paint Suitable for Damp Wood
- 12 Factors Affecting the Painting Of Damp Wood
- 13 Common Issues When Painting Damp Wood
- 14 Finishing Touches for Your Damp Wood Painting Project
- 15 Inspiring DIY Project Ideas Using Damp Wood
- 16 Frequently Asked Questions About Painting Damp Wood
- 17 Conclusion
- 18 Additional Resources
Can You Paint Damp Wood?
No, you shouldn’t paint damp wood. The moisture can cause the paint to bubble or peel. Wait until it’s completely dry for the best results. Always check the wood with your hand; it should feel dry and cool. If you want professional tips on painting surfaces like Christmas trees, painting techniques can help.
What is Damp Wood?
Damp wood refers to timber with a moisture content exceeding 19% (0.19 G/cm³). When moisture seeps into wood, it becomes vulnerable to decay and pests, compromising its structural integrity.
Now, let’s address the question: can you paint damp wood? I’ve faced this dilemma often while restoring my porch. My last project involved layers of moisture-laden wood that needed a fresh coat of paint. When traveling with large art pieces, I’ve learned that similar moisture challenges can arise during transportation, especially transporting delicate paintings on planes.
While working on my old wooden cabin during a rainy summer, I wanted to match the rustic look while figuring out how to paint damp wood properly—something tricky without good airflow. The color needed to shine through, but moisture in the wood caused uneven touch-ups I’ve dealt with over time. When painting challenging surfaces, I discovered specific techniques that help prevent paint adhesion problems.
Important Considerations Before You Start Painting Damp Wood
What do you need to get started?
- Moisture Meter: A moisture meter, like the Etekcity Digital Moisture Meter, measures moisture levels (In %) to ensure the wood is under 15%, preventing peeling.
- Wood Sealant: A quality sealant, such as Zinsser Seal Grip Water-Base Primer, is essential. It protects against future moisture issues and ensures longevity.
- High-Quality Exterior Paint: Use Behr Premium Plus Exterior Paint. It withstands dampness and provides a durable finish.
- Painter’s Tape: Get FrogTape Multi-Surface Tape for clean edges. It’s critical for preventing paint bleed and keeping your project neat.
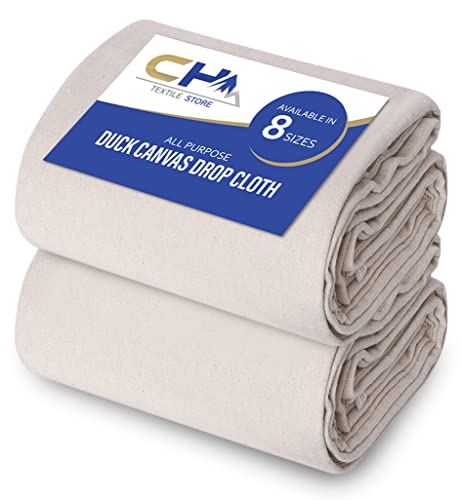
- Drop Cloths: Use disposable drop cloths or a reusable plastic tarp. They protect your space from drips and spills, saving time on cleanup.
We’ve wrapped up crucial factors before painting damp wood. Let us turn our attention to the advantages of allowing damp wood to dry.
Also See: Can Galvanised Steel Be Painted? How to Do It Easily!

Benefits of Waiting for Damp Wood to Dry
Before you rush into painting damp wood, consider the benefits of waiting for it to dry.
- Better Adhesion: Paint sticks better to dry wood. This means fewer chances of bubbling or peeling later.
- Longer Durability: A well-prepped surface lasts longer, saving you money and time on future repairs.
- Vibrant Color: Dry wood allows the color to pop, providing a more beautiful finish than wet wood can offer.
You should now have a good understanding of the advantages of allowing damp wood to dry. In the next part, we’ll discuss popular myths about painting damp wood.
Common Misconceptions About Painting Damp Wood
It’s easy to get confused about damp wood and painting. Let’s clear up a few misconceptions.
- “Damp wood is fine to paint if it seems dry on the surface.” – Not really! Moisture hides deep inside and can ruin your project.
- “Using special paint makes damp wood painting okay.” – Nope! No paint can fully protect against moisture if the wood is too wet.
- “You can speed up drying with heat guns.” – That’s a big risk! Heat can crack the wood and worsen your project.
So far we covered common myths about painting damp wood. Let’s look at best practices for painting wood after it dries.
Best Practices for Painting Wood Post-Dry
Once your wood is finally dry, here’s how to make the most of your paint job.
| Step | Description | Recommended Timeframe |
|---|---|---|
| Sand the Surface | Lightly sand the wood to create texture for better paint adherence. | 10-15 minutes |
| Clean the Wood | Wipe away dust and debris, ensuring a clean surface for painting. | 5 minutes |
| Prime if Necessary | If you previously painted or there are stains, prime the surface for best results. | 1 hour (drying time included) |
| Apply Paint | Use multiple light coats rather than one heavy coat to prevent runs. | 2-4 hours per coat |
We’ve wrapped up best practices for painting wood post-dry here. Let us turn our attention to prepping damp wood for painting.
Prepping Damp Wood for Painting: Alternatives and Techniques
Sometimes, you might want to paint damp wood. Let’s explore prepping it for painting with some clever techniques that can save your project.
Techniques to Prepare Damp Wood
- Use of Dehumidifiers: Place a dehumidifier nearby to lower the moisture level faster. This can help achieve ideal conditions (below 15% (0.15 g/cm³)). It’s especially handy in humid environments.
- Heat Lamps: Carefully positioned heat lamps can aid in evaporation. Keep them several feet away to avoid cracks. Monitor the situation closely!
- Air Circulation: Use fans to improve air circulation, speeding up the drying process. Make sure the wind isn’t blowing directly at the wood to avoid sudden changes in moisture levels.
Understanding Moisture Content: Essential for Success
Moisture content is critical in determining whether you can paint damp wood. It affects adhesion and longevity.
| Moisture Level | Effect on Paint | Recommended Actions |
|---|---|---|
| Above 19% (0.19 g/cm³) | Peeling and bubbling likely | Wait to dry, use fans/dehumidifiers |
| 15% – 19% (0.15-0.19 g/cm³) | Adhesion issues possible | Consider using moisture-resistant primer |
| Below 15% (0.15 g/cm³) | Great for painting | Proceed to paint! |
When Is It Too Late to Paint Damp Wood?
Sometimes you might think, “Is it too late?” Here’s what to watch out for.
Signs You’ve Missed the Window
- Visible Mold: If you see mold starting to develop, it’s a sign to step back.
- Cracking Paint: Check if existing paint has cracks. That’s a warning that moisture got trapped.
- Persistent Stickiness: If the surface feels tacky days after application, it’s likely too wet inside.
Seeing these signs? It’s time to reassess your painting approach! Wait it out for better results.
Steps to Successfully Paint Damp Wood
Now, let’s explore the steps you need to follow for painting damp wood.
-
Assess the Moisture Level
Check the moisture in the wood with a moisture meter; aim for less than 15% moisture content. If you don’t have a meter, use a simple method: place a drop of water on the wood. If it soaks in quickly, it’s too damp to paint. When preparing surfaces like stair railings for painting, selecting the right technique ensures a professional finish that will transform your home’s interior aesthetic.
Determining the right moisture level is crucial. Painting with high moisture can cause your paint to peel or bubble within weeks.
-
Dry the Wood Properly
If the wood’s moisture level is high, let it dry in a well-ventilated area for at least 24 hours. A fan can speed up drying, but don’t direct a heat source at the wood, as this may crack it.
Getting the wood as dry as possible is essential. Rushing this step often leads to disastrous flaking paint.
-
Select the Right Primer and Paint
Choose a breathable primer designed for damp surfaces. For the best results, use a paint with mildew resistance—these can be invaluable in moist environments.
The right primer seals in moisture better and controls the wood’s tendency to expand and contract. From experience, I always prefer an oil-based primer; it adheres well to difficult surfaces.
-
Apply Paint Correctly
Start with an even application of primer using a brush or roller, ensuring every nook and cranny is coated. After the primer dries, usually after 4–8 hours, apply your paint in light layers, waiting two hours between applications. If you’re looking to transform your brick fireplace with a fresh coat of paint, painting brick surfaces requires careful preparation.
Patience is key here. Achieving a smooth finish takes time, but it pays off in longevity.
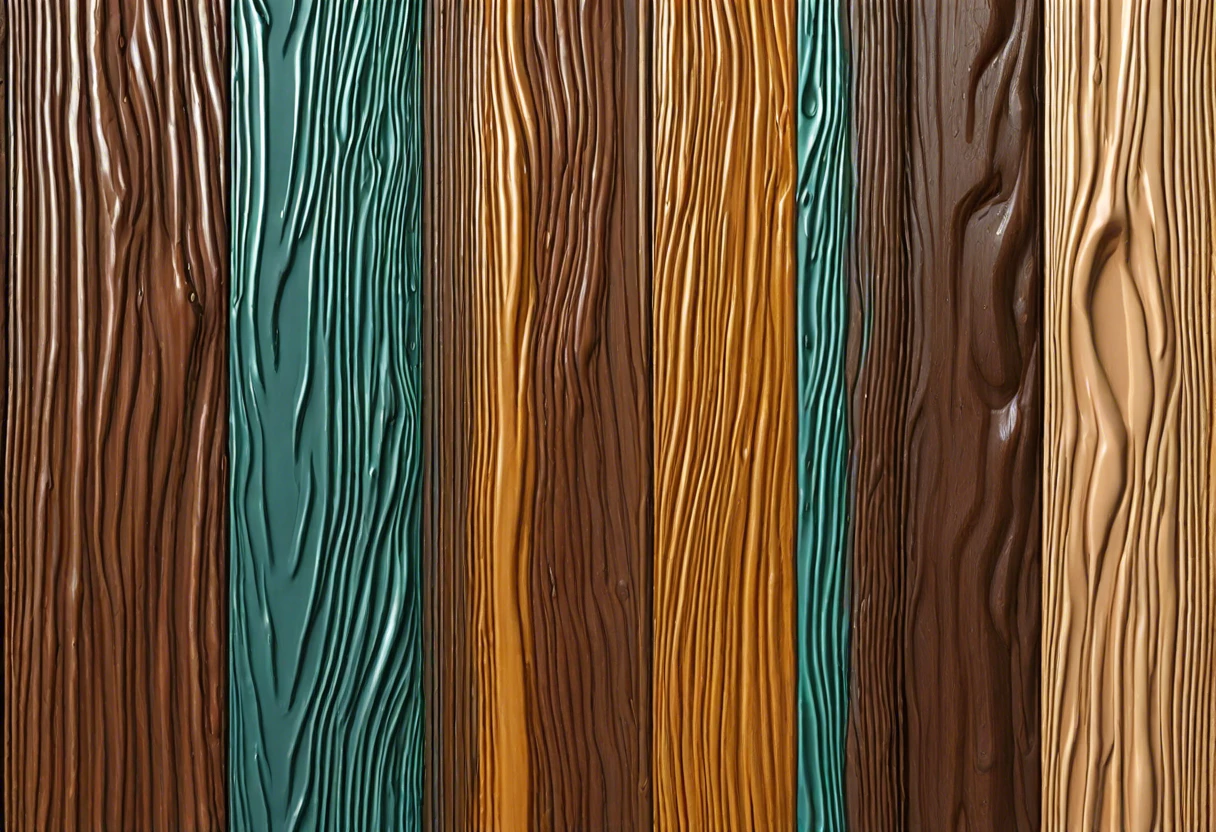
Types Of Paint Suitable for Damp Wood
Let’s cover types of paint: latex paint, oil-based paint, moisture-resistant paints, and epoxy paints.
-
Latex Paint
Latex paint is water-based and easy to clean. It adheres to slightly damp wood, but the moisture content should ideally be less than 16%.
-
Oil-based Paint
Oil-based paint seals and protects damp wood, often locking moisture in. It works best when wood moisture is under 12%.
-
Moisture-resistant Paints
These specially formulated paints repel water. They’re ideal for wet areas, but be cautious; they don’t perform well on overly wet wood.
-
Epoxy Paints
Epoxy paint creates a durable, waterproof layer. It can be applied to damp wood but works best when moisture levels are under 10%.
I’ve found moisture-resistant paints outstanding for outdoor projects. They protect wood from the elements and provide excellent coverage on damp surfaces.
Factors Affecting the Painting Of Damp Wood
What factors affect painting wood that’s still wet?
-
Moisture content. High moisture levels prevent paint adhesion, causing peeling and chipping.
-
Type of paint. Not all paints perform well in damp conditions; oil-based paints usually do better.
-
Temperature. Low temperatures can slow drying time, allowing moisture to interfere before curing.
-
Wood treatment. Existing sealants or treatments can trap moisture and lead to paint failure.
Common Issues When Painting Damp Wood
My friend once tried to paint damp wood beams in her shed. The paint peeled off within days, creating a frustrating mess.
To fix it, I recommended using a dehumidifier to reduce moisture below 15%. Then, she could apply a moisture-resistant primer for a smoother finish and better adhesion.
Finishing Touches for Your Damp Wood Painting Project
After painting damp wood, wait 48 hours for the initial cure before moving furniture back. Keep humidity below 60% to prevent moisture issues.
Inspect all painted areas thoroughly every three months. Look specifically for bubbles or peeling, especially around edges, where water typically collects.
I’d apply a high-moisture barrier, like Benjamin Moore’s Aura Exterior paint, known for its durability and mold resistance, to ensure longevity for my damp wood surfaces.
For advanced care, consider using a moisture meter—look for levels under 12% (12% Moisture Content). This device ensures all wood remains unaffected long-term and maintains its structural integrity. If you’re planning to refinish wooden surfaces like cabinets, you might want to explore painting techniques for cabinets.
Also See: How to Do Puff Painted Logos on TASM 2 Suit?
Inspiring DIY Project Ideas Using Damp Wood
Have you ever thought about creating unique rustic furniture with damp wood? Imagine making a charming coffee table or even decorative wooden shelves that stand out!
I would gather my damp wood, some quality nails, and glue. Typically, I’d spend around $50-$75 on materials, and it might take a weekend to finish my projects—totally worth it for that crafty vibe! When selecting the right materials, I always ensure I choose colors and finishes that complement my project’s aesthetic, which is why I rely on expert interior painting color recommendations.
Now, if you’re wondering, “can you paint damp wood?”, I’ve tried sealing it first with a primer, which works like magic. Or, why not make it pop with a technique like dry brushing, giving you a gorgeous distressed look that’s all the rage? If you’re specifically considering painting cedar white, painting cedar requires special preparation.
Frequently Asked Questions About Painting Damp Wood
Can I Use Any Type Of Paint on Damp Wood?
Using any type of paint on damp wood isn’t advisable. Most paints need a dry surface to adhere properly; using interior paint on a damp surface may trap moisture, causing mold, blistering, or peeling later.
How Can I Tell if My Wood is Too Damp to Paint?
You can tell if your wood is too damp to paint by performing a moisture test. If the moisture content exceeds 15% (0.15% By Mass), it’s generally too damp for effective painting.
What Preparation is Needed Before Painting Damp Wood?
Preparation before painting damp wood includes sanding, cleaning, and waiting for the moisture level to drop. Use a moisture meter; 12% (0.12% By Mass) or less is ideal for painting.
Will Painting Damp Wood Cause Peeling Later?
Yes, painting damp wood can cause peeling later. When moisture trapped under the paint evaporates, it creates bubbles, leading to the paint peeling off.
What Are the Best Conditions for Painting Damp Wood?
The best conditions for painting damp wood are temperatures between 10°C to 32°C (50°F to 90°F) and humidity below 70%. Lower humidity helps paints dry quickly and adhere better.
Can I Seal Damp Wood?
You shouldn’t seal damp wood. Sealers trap moisture, potentially leading to rot or mold. Ensure wood moisture is below 15% (0.15% By Mass) before application.
How Long Should I Wait to Paint After Rain?
You should wait at least 48 hours after rain before painting damp wood. This time allows the wood to dry properly, preventing adhesion issues and water damage.
What Type Of Primer Works Best on Damp Wood?
An oil-based primer works best on damp wood. It helps seal moisture against the surface for better paint adhesion, minimizing chances of peeling or bubbling in humid conditions.
Conclusion
I’m glad we could cover this together. We explored what damp wood is, essential considerations before painting, effective steps for painting damp wood, recommended color palettes, appropriate paint types, factors that impact painting, common challenges, finishing touches, and inspiring DIY project ideas.
So, can you paint damp wood? In short, it’s tricky but possible if you wait for moisture levels below 15% (Less Than That Means Dry Enough to paint wood surfaces). With the right preparation and paint, you can achieve a durable finish.
For more insights and expert advice on painting, be sure to check out Paint Answers, where you’ll find valuable techniques, tips, and best practices.
Additional Resources
- Betti, C., & Sale, T. (2012). Drawing: A Contemporary Approach (6th ed.). Belmont, CA: Cengage Learning.
- How to Paint Wet Wood | Hunker
- Can You Paint Wet Wood? (Explained!) – DIY Geeks
Isabella is a Filipino-American art writer and critic specializing in contemporary painting, blending her Filipino heritage with global art trends. She holds a BFA from California State University, Long Beach, and a Minor in Art History from the University of the Philippines. Isa has experience as a Gallery Assistant, Art Appraisal Specialist, and Social Media Creative for Art & Design.
Material, Wood


