
How Do You Paint a Christmas Tree?
Published on: February 9, 2025 | Last Updated: January 7, 2025
Written By: Alisha Winters
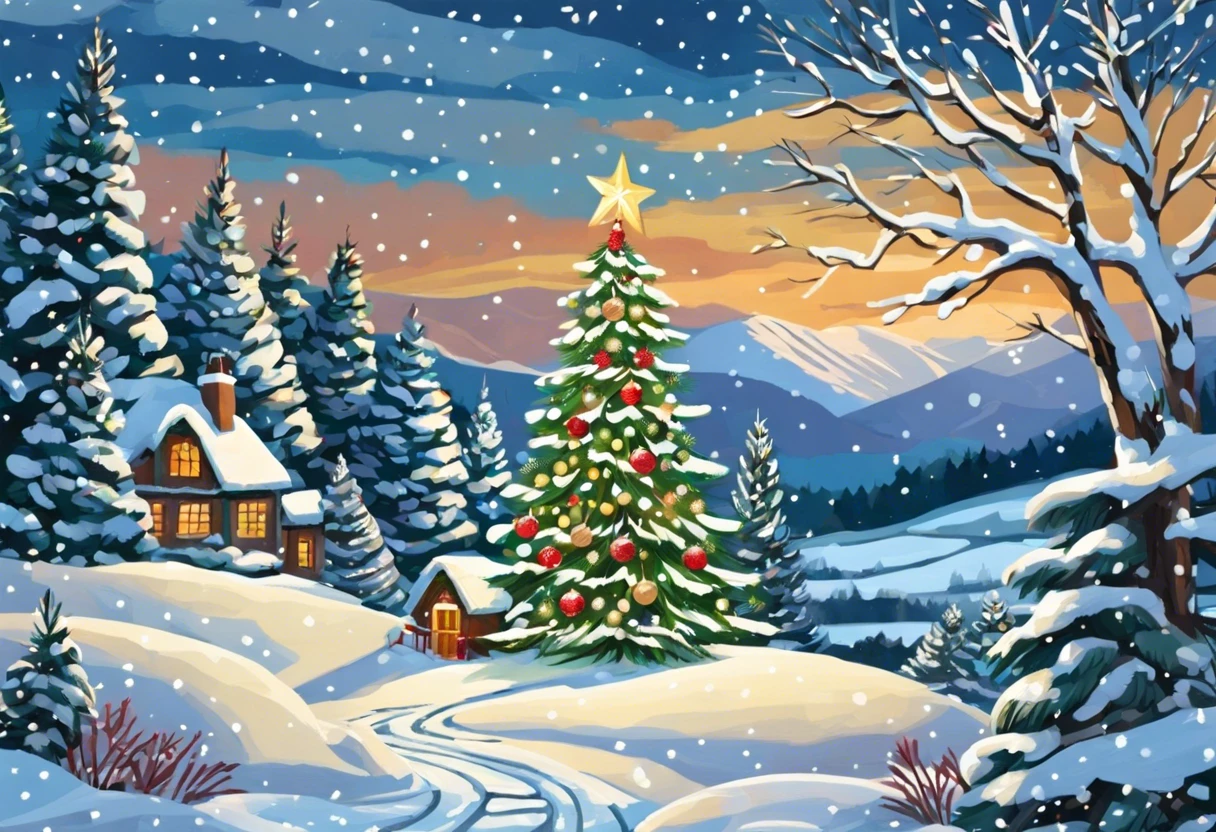
A Christmas tree is a special tree decorated for the holiday season! It’s usually green, and we hang shiny ornaments and pretty lights on it to make it magical.
So, how do you paint a Christmas tree? It’s super important to follow steps for a beautiful outcome, like I did when I painted my first tree. Trust me, taking it step by step makes it easier and more fun!
In this guide, you’ll discover what a Christmas tree is, steps to paint one, color palette suggestions, different types to choose from, as well as common issues to avoid. You’ll also find creative DIY project ideas and tips on how to paint to make a room look larger.
How Do You Paint a Christmas Tree?
To paint a Christmas tree, start with a green base. Use a smaller brush for ornaments and details like baubles and stars. Layering adds depth. Finish with a glossy varnish for a festive shine!
What is a Christmas Tree?
A Christmas tree is a decorated evergreen conifer that celebrates the holiday season. Common species include Norway Spruce and Douglas Fir, popular for their height, often reaching 1.5 to 5 meters (5 to 16 Feet).
When painting a Christmas tree, colors can really change the vibe. Bright greens, bold reds, or glittery golds make all the difference.
I used this approach for work when I painted our set for a Christmas play. Choosing radiant hues truly brought the idea of Christmas to life, sparking joy and warm memories. It’s amazing how the right colors can make you feel at home. If you’re considering painting other surfaces like aluminum siding, you might want to explore some professional painting techniques and tips.
Before You Start Painting Your Christmas Tree
What do you need to get started?
- Acrylic Paint Set: You’ll need a set like the FolkArt Acrylic Craft Paint, 12-Pack. This paint works well on various surfaces to make your design pop!
- Paintbrushes: Have a quality set, such as the 10-Piece Paint Brush Set by ZenArt. Different sizes help achieve detail on branches and decorations.
- Painter’s Tape: You’ll need a roll like the Scotch Blue Multi-Surface Painter’s Tape 🔥 Deal: Blue Painter’s Tape → . It prevents paint bleeding, keeping lines crisp and clean.
- Drop Cloth: A 9 ft x 12 ft (2.74 M X 3.66 M) drop cloth, like the Heavy-Duty Canvas by EFFFFE, protects your floor from paint spills and stains.
We have now covered preparations and considerations before painting your Christmas tree. Next, we will provide a detailed painting guide.
Also See: Can You Drylok Over Paint? Learn the Best Practices!
Step-by-step Guide to Painting a Christmas Tree
Now, let’s dive into the steps to transform a canvas into a beautiful Christmas tree.
-
Select Your Tree Design
Choose a unique design for your Christmas tree. Whether it’s a classic shape or a more abstract form, define the silhouette first. Varying sizes—like a 60 cm (2 Ft) versus a 120 cm (4 Ft) tree—will influence your painting approach. If you’re curious about using acrylic paint for your festive project, painting techniques can help.
Select a color scheme too! Consider greens, blues, or metallics like gold and silver for a glamorous look. This choice will shape your entire design as you think about what elements will accompany your tree. If you’re struggling with paint selection or removal during your decorating process, alcohol can help remove paint effectively.
-
Prepare the Surface
Ensure your surface is clean and smooth. If you’re using canvas or wood, lightly sand rough spots with fine-grit sandpaper 🔥 Deal: Assorted Grit Sandpaper → . A smooth surface is essential for an even base coat.
Add a light primer to prevent paint absorption. Apply it evenly and let it dry completely before moving on.
-
Apply the Base Coat
Spread your chosen base color across your tree’s surface. For a typical tree, use bright green—like vivid emerald— to start lively. A flat brush makes applying an even coat easy.
Let it dry for at least 20 minutes or until completely dry; this enhances color vibrancy in your final product. If you need a richer shade, apply a second coat after drying, but be careful to cover unintended areas! When painting specialized surfaces like boats, you might want to explore specific painting techniques.
-
Detailing Your Christmas Tree
Add dimension with darker shades. Use deeper greens and browns for shadows; this creates a 3D effect. Blend these colors with a smaller brush around the edges.
A stencil or template can help if you’re unsure about details. Add ornaments with tiny fruit or lights using brushes or even your fingers for fun textures.
-
Sealing the Paint
Once your design is refined, protect it with a quality sealant. Opt for a spray varnish or clear acrylic seal for durability. This prevents smudging or damage while making the colors pop.
Let the sealant dry for about 30 minutes in a well-ventilated space. Remember, a little goes a long way; too thick a coat can ruin your art!
You should now have a good understanding of how to paint a Christmas tree step-by-step. In the next part, we’ll discuss the recommended color palette for painting a Christmas tree.
Recommended Color Palette for Painting a Christmas Tree
For a festive yet modern look, I recommend the “Silver and Evergreen” palette because the muted greens paired with silver accents bring a fresh take to traditional decorations.
| Color Box | Hex Code | Color Name |
|---|---|---|
| #2E5B3F | Evergreen | |
| #C0C0C0 | Silver | |
| #FFF | White | |
| #B30000 | Crimson |
We covered a suggested color palette for painting a Christmas tree. We will now cover various types of Christmas trees to paint.
Different Types Of Christmas Trees You Can Paint
Let’s explore the different types of Christmas trees: Traditional, Modern, Whimsical, and Minimalist.
-
Traditional Christmas Tree
This classic style features dense green branches, typically painted in rich emerald. Use high-quality acrylic paint that lasts well over time.
-
Modern Christmas Tree
Modern trees often have geometric shapes and a variety of colors. For painting, consider trendy hues like teal or silver—these add a contemporary flair.
-
Whimsical Christmas Tree
Whimsical trees spark joy with vibrant colors and playful designs. When painting, don’t shy away from bright pinks, blues, and creative patterns; they truly pop!
-
Minimalist Christmas Tree
Minimalist trees focus on simplicity with clean lines and fewer decorations. Paint them in soft shades like white or light gray to evoke tranquility and lighten your space.
Reflecting on my experiences, I lean towards whimsical Christmas trees. The energetic colors and imaginative designs fill me with holiday joy!
We covered various Christmas tree types to paint. We will now cover factors influencing your Christmas tree painting experience.

Factors Affecting Your Christmas Tree Painting Experience
What factors shape your approach to decorating a Christmas tree with paint?
-
Surface Material – The tree’s material, whether wood or metal, impacts paint adherence.
-
Type of Paint – Acrylic is often the best choice; it dries quickly and offers a vibrant finish.
-
Method of Application – Using a brush or spray paint creates different textures and effects.
-
Environmental Conditions – Temperature and humidity affect drying time and paint durability.
Common Issues When Painting a Christmas Tree
Once, my friend mixed blue and green paint while wondering how to paint a Christmas tree. The result? A muddy color, not the vibrant tree spirit she intended!
To fix this, use acrylic paints in a starter set costing less than $30. Apply thin layers—five thin coats provide better saturation than one thick coat. Stick to colors like emerald or forest green. If you’re working with aluminum storm doors, you’ll want to prepare the surface for proper painting.
Adding Finishing Touches to Your Painted Christmas Tree
After finishing your painted Christmas tree, seal your artwork with a matte varnish for lasting protection. Use a thickness of 100-150 microns to guard against fading and scratches.
Check for uneven gloss or peeling edges. Inspect under bright lights to spot flaws; avoid using cheap gloss like CraftSmart for a smooth finish.
If you’ve painted for a few years, try airbrush techniques for blending. Thin your acrylics to 30% flow with water; detail makes a difference in depth.
Materials to Enhance Your Christmas Tree Painting
Using special materials can lead to eye-catching results! Here’s a quick overview:
| Material | Purpose | Example Product |
|---|---|---|
| Glitter & Sequins | Add sparkle and whimsy to your painted tree. | Recollections Glitter Shaker |
| Stencils | Create uniform shapes and patterns effortlessly. | Twice as Nice Stencil Set |
| Transfer Paper | Transfer designs to your tree before painting. | Pink Pearl Transfer Paper |
| Acrylic Pour Medium | Incorporate a pouring technique for unique, flowing designs. | Liquitex Pouring Medium |
Incorporating Seasonal Themes
Consider seasonal elements for your Christmas tree painting. Think about:
- Winter Wonderland: Use whites, blues, and silvers for a snowy effect.
- Rustic Holiday: Go for earthy tones like browns and greens.
- Bright Festivity: Bold reds, greens, and golds create a traditional festive spirit.
These suggestions can inspire creativity and help personalize your Christmas tree art! Are you excited to try something new?
Frequently Asked Questions About Painting a Christmas Tree
What Type Of Paint Should Be Used for Painting a Christmas Tree?
For painting a Christmas tree, use acrylic paint. Acrylic is water-based, dries quickly, and is vibrant, making it ideal for festive decorations.
Can I Paint a Real Christmas Tree?
Yes, you can paint a real Christmas tree, but it’s tricky. Traditional paints can damage the tree, so use non-toxic, water-soluble paints instead.
How Long Does It Take to Paint a Christmas Tree?
It usually takes about 1 to 3 hours to paint a Christmas tree. Time varies based on tree size and detail level.
What Tools Are Essential for Painting a Christmas Tree?
Essential tools for painting a Christmas tree include paintbrushes, sponges, and palettes. These easily create different effects and textures.
Can Kids Help With Painting a Christmas Tree?
Yes, kids can easily help with painting a Christmas tree! It’s a fun, creative activity that builds motor skills and sparks imagination.
What Should I Consider When Choosing Colors for My Christmas Tree?
Consider the colors of your room and how different hues interact. Warm colors like red and gold create a cozy vibe, while cool colors like blue and silver offer a modern twist.
Can I Use Glitter on My Painted Christmas Tree?
Absolutely, you can use glitter on your painted Christmas tree! Glitter adds sparkle and dimension and can be mixed directly into the paint for shiny effects.
How Can I Protect the Paint on My Christmas Tree?
To protect the paint on your Christmas tree, use a sealant spray. A clear acrylic sealer helps lock in the design and guards against scratches or wear.
Conclusion
I’m glad we could cover this together. We discussed the essentials of Christmas trees, pre-painting preparations, a step-by-step guide, color palettes, painting various types of trees, factors influencing your painting experience, common challenges, finishing touches, and creative DIY project ideas.
Happy painting! To paint a Christmas tree, remember to gather your materials, select a fitting color palette, and unleash your creativity. By following the steps we explored, you’ll create a beautiful Christmas tree for your home.
For more detailed articles and resources, check out our homepage: Paint Answers for everything you need to know!
Additional Resources
- Loomis, A. (2011). Figure Drawing for All It’s Worth. New York, NY: Titan Books.
- 10 Favorite Christmas Tree Painting Tutorials 🎄/ How to Draw & Paint Christmas Trees – YouTube
- How to Paint and EASY Christmas Tree! @ellencrimitrent – YouTube
- How to Spray Paint a Pre Lit Christmas Tree (The Easy Way) ♥ Fleece Fun
Experienced interior designer with 15+ years in transforming spaces, blending artistry with expertise in color and design. Rhode Island School of Design graduate, specializing in restorations and modern makeovers.
Texuring, Topics
Also See: Can Guys Paint Their Nails? Embrace Self-expression!


