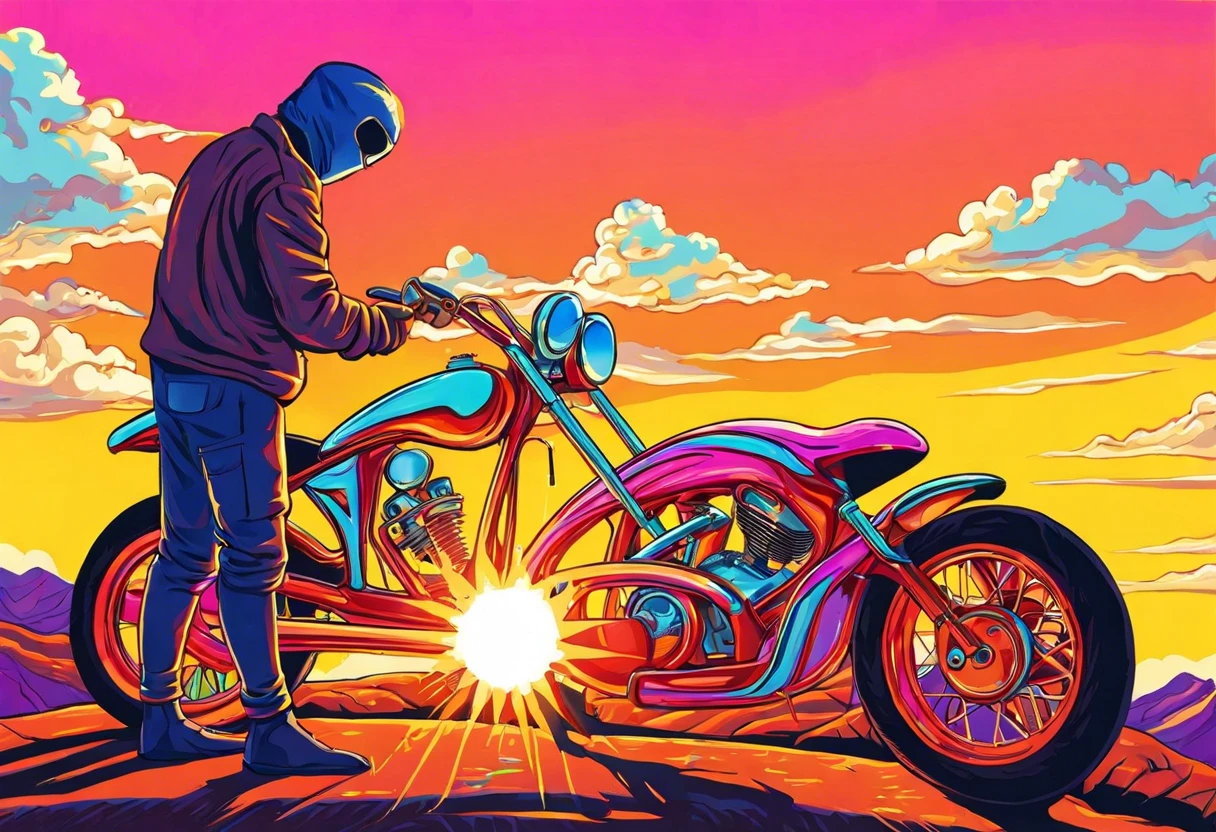
How to Paint A Motorbike Frame?
A motorbike frame is the sturdy backbone of your ride. It holds everything together and gives your bike its cool shape!
Knowing how to paint a motorbike frame is crucial for giving your bike a fresh look. I’ve done it myself, and trust me, a good paint job can make your motorbike stand out!
In this guide on how to paint a motorbike frame, you’ll learn about essential preparations, step-by-step painting techniques, recommended colors, different types of paint, factors affecting results, common issues, finishing touches, and cool DIY ideas for customizing your motorcycle.
Contents
- 1 How to Paint a Motorbike Frame?
- 2 What is a Motorbike Frame?
- 3 Essential Preparations Before You Start Painting
- 4 Choosing the Right Environment for Painting Your Motorbike Frame
- 5 Essential Techniques for Your Painting Process
- 6 Understanding Paint Drying Times for Your Motorbike Frame
- 7 Steps to Successfully Paint a Motorbike Frame
- 8 Different Types Of Paint Suitable for Motorbike Frames
- 9 Factors Affecting the Final Result Of Your Paint Job
- 10 Choosing the Right Paint Finish for Your Motorbike Frame
- 11 Maintaining Your Painted Motorbike Frame
- 12 Common Issues When Painting a Motorbike Frame and How to Resolve Them
- 13 Finishing Touches to Enhance the Look Of Your Motorbike Frame
- 14 Frequently Asked Questions About Painting a Motorbike Frame
- 15 Conclusion
- 16 Useful Resources
How to Paint a Motorbike Frame?
To paint a motorbike frame, start by cleaning it thoroughly to remove dirt and grease. Then, apply a metal primer for better paint adhesion. Use high-quality spray paint in even coats. Let it dry completely for a durable finish.
What is a Motorbike Frame?
A motorbike frame is the core structure that holds everything together. Typically made from steel or aluminum, a motorbike frame weighs between 15 kg (33 Lbs) and 25 kg (55 Lbs) depending on the design and materials used.
When you’re ready to paint a motorbike frame, prep it properly. I’ve painted a few frames—those smooth curves look stunning with a fresh coat!
While working on an old cafe racer, the motorbike frame helped me organize parts and keep everything aligned. That experience taught me the importance of prepping the frame well before painting. The right base truly elevates the final look!
Essential Preparations Before You Start Painting
What do you need to prepare?
- Protective Gear: Get items like a 3M Respirator Mask P100 and chemical-resistant gloves. They’re necessary for safety against fumes and paint splashes.
- Degreaser: Use a product like Simple Green Industrial Cleaner. This ensures your motorcycle frame is free from grease for better paint adhesion.
- Sandpaper 💰 Save on Assorted Grit Sandpaper → : You’ll need 400-grit and 800-grit, such as Gatorfinishing sandpaper. These help smooth the area before applying paint, ensuring an excellent finish.
- Primer: Use a specific primer like KBS Coatings Klear Coat. It’s essential for creating a strong base for the paint, improving durability and adhesion.
- Spray Gun: A Devilbiss FinishLine 4 is highly recommended. It provides a continuous flow, making it easier to paint large areas evenly.
So far we covered essential steps to prepare for painting. Let’s look at selecting the best environment for painting your motorbike frame next.
Also See: Can You Leave Paint in Your Car? Understand the Risks
Choosing the Right Environment for Painting Your Motorbike Frame
The environment around you plays a key role in how well your motorbike frame paint job turns out.
-
Indoor vs. Outdoor Painting
Painting indoors gives you control over dust, temperature, and humidity. An ideal indoor space should be well-ventilated and free of contaminants. Outdoor painting allows for fresh air but can expose the frame to pests or changing weather. If you’re considering painting apartment walls effectively, proper preparation is key to achieving professional results.
-
Temperature Considerations
What’s the best temperature? Aim for between 10°C and 30°C (50°F – 86°F). This allows paint to adhere well and dry evenly.
-
Humidity Levels
Low humidity is best-under 50% is ideal. High humidity can lead to slower drying times and worse finishes. Always check the forecast!
You should now have a good understanding of selecting the ideal painting environment and the benefits it offers. In the next part, we’ll discuss crucial techniques for your painting process.
Essential Techniques for Your Painting Process
Techniques can make or break your paint job!
| Technique | Description | Benefits |
|---|---|---|
| Cross-Hatching | Apply paint in a crisscross pattern. | Prevents runs, ensures even coverage. |
| Wet-On-Wet | Add new paint while previous layers are still wet. | Creates a smooth transition between colors. |
| Dust Coat | A very thin layer of paint applied as a base before your main coat. | Helps subsequent layers adhere better. |
These techniques elevate your painting skills. I’ve personally enjoyed using cross-hatching to avoid drips—it creates a fantastic finish!
We’ve wrapped up key techniques for your painting process here. Let us turn our attention to understanding paint drying times.
Understanding Paint Drying Times for Your Motorbike Frame
Drying times can confuse many. Knowing them helps you schedule tasks effectively.
- Tack Free Time: About 15-30 minutes for a light touch without smearing.
- Handling Time: Typically 24 hours before you can safely handle the frame.
- Cure Time: Full cure can take up to 1-2 weeks—this ensures durability and hardness.
Check your paint’s label for specific times. It can save you from accidentally damaging your fresh paint!
We’ve wrapped up the drying times, techniques, and factors affecting paint on your motorbike frame here. Let us turn our attention to steps for successful painting.
Steps to Successfully Paint a Motorbike Frame
Here are the steps to paint your motorbike frame like a pro! Follow them carefully.
-
Properly Disassembling the Motorcycle Frame
Start by removing any components attached to the frame, including the wheels, suspension, and brackets. This lets you access every angle.
I keep screws and small parts in labeled bags to avoid confusion later. An organized workspace greatly improves efficiency!
-
Cleaning and Prepping the Frame Surface
Wash the frame with soap and water, scrubbing off grease and dirt. Use 220 grit (0.2 Mm) sandpaper on rough sections to help the paint adhere better.
Check for rust spots and treat them with rust remover. A clean, shiny surface leads to a smoother finish.
-
Applying Primer to the Frame
Use an aerosol can or spray gun to apply a coat of primer. A good primer helps the paint bond; select one made for metal surfaces. Aim for even, light coats to prevent drips.
Wait at least 24 hours for the primer to dry completely. Properly primed frames make applying color paint much easier!
-
Selecting and Applying Paint
Choose your color! I recommend a polyurethane-based paint for durability; it’s available in gloss or matte finishes. Use painter’s tape to cover areas you don’t want painted.
Apply paint with light, even coats, allowing 30 minutes between layers. After the final coat, let it cure according to the manufacturer’s instructions—usually 48-72 hours—before handling.
-
Reassembling the Motorbike Frame
Once the frame is fully cured, it’s time to reassemble everything. Carefully refit each component in reverse order from disassembly, ensuring everything aligns properly.
I recommend using a torque wrench when tightening bolts to avoid damaging the frame. A solid reassembly ensures a smooth-running bike!
Different Types Of Paint Suitable for Motorbike Frames
Let’s explore the various types of paints you can use: Acrylic, Enamel, Urethane, and Powder Coating.
-
Acrylic Paint
Acrylic paint dries quickly, making it popular for DIY projects. It’s water-based and offers a smooth finish, perfect for giving your motorbike frame a fresh look.
-
Enamel Paint
Enamel paint delivers a durable, glossy finish that’s resistant to scratches and wear. Ideal for your motorbike frame, it requires longer drying times but provides excellent protection.
-
Urethane Paint
Urethane paint is known for its hard finish and resistance to chemicals. It adheres well to metal surfaces, making it a strong choice for repainting motorcycle frames.
-
Powder Coating
Powder coating is a process where paint is applied in dry powder form and cured under heat. It results in a hard, chip-resistant finish that looks professional on any motorbike frame.
In my professional journey, I’ve found that Urethane paint offers the best protection against wear and tear. Its durability stands out after rides in various weather conditions.
Factors Affecting the Final Result Of Your Paint Job
What factors influence your approach to painting a bike frame?
-
Surface Preparation: Cleaning and sanding the frame ensures paint adheres well and lasts longer.
-
Paint Type: Using high-quality paint designed for metal provides better durability and finish.
-
Weather Conditions: Painting in hot or humid conditions can lead to uneven application.
-
Technique: How you spray or brush the paint affects the smoothness and evenness of the finish.
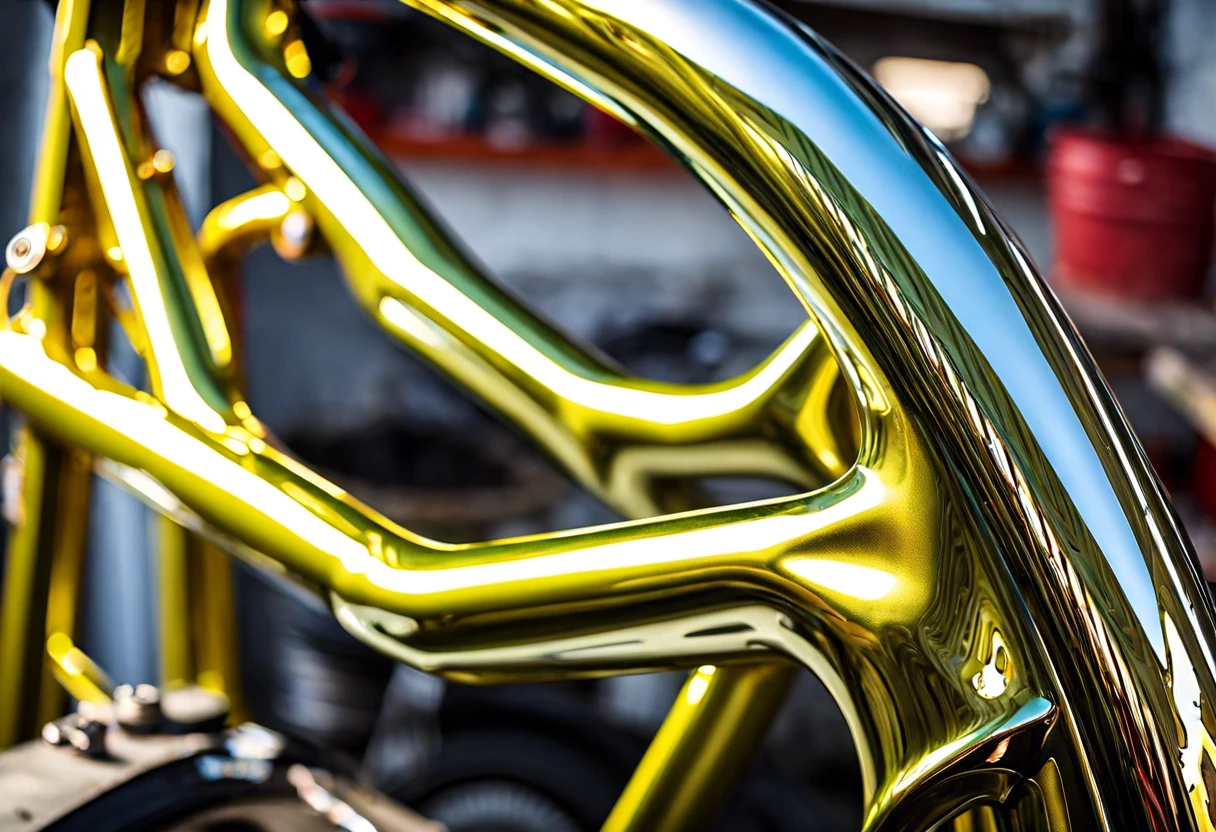
Choosing the Right Paint Finish for Your Motorbike Frame
The finish you choose impacts the overall look of your motorbike frame.
-
Gloss Finish
A glossy finish catches the eye and emphasizes colors, but it can show imperfections. Perfect for those looking for a sleek, modern vibe!
-
Matte Finish
Matte finishes hide blemishes well and offer a unique, stealthy look. They’re great if you want a smooth, understated style.
-
Satin Finish
Satin falls in between glossy and matte. It provides a soft sheen without being too shiny—ideal for a refined appearance.
Maintaining Your Painted Motorbike Frame
Proper maintenance extends the life of your paint job.
- Regular Cleaning: Use mild soap and water to keep it dirt-free.
- Waxing: Apply a wax sealant every few months to protect the surface.
- Inspection: Always check for scratches or chips that need touch-ups.
Common Issues When Painting a Motorbike Frame and How to Resolve Them
When my friend painted a motorbike frame, he missed some areas, leaving bare spots. Realizing this, he used 3M Masking Tape to protect untouched areas and applied Gtechniq Primer to fill in those spots. It saved him time! If you’re looking to explore professional automotive painting techniques.
To fix rust on the frame, he sanded it down to clean metal with 220-grit sandpaper. Then, he applied a base primer coat, followed by VHT Engine Enamel for durability. Quick tip: Keep the spray can 12 inches (30 Cm) away for an even coat!
Finishing Touches to Enhance the Look Of Your Motorbike Frame
After you’ve applied the final layer, wait 24-48 hours before touching the frame. Use a ceramic wax sealant, like P21S 12080, to protect the paint and keep it shiny.
Inspect for any uneven spots or air bubbles, especially around creases and hard-to-reach areas. Use a magnifying glass, like the Klein Tools 93320, if needed.
I recommend using a pressure gauge to test paint adhesion. Set it to 2.5 bar (36 Psi) and check each panel for consistency over areas painted twice.
Frequently Asked Questions About Painting a Motorbike Frame
What Type Of Paint Should I Use for a Motorbike Frame?
Use high-quality epoxy paint for a motorbike frame. Epoxy paint bonds well with metal and resists scratches, weather, and chemicals, providing durability. It typically costs between $15 and $30 per liter (0.26 To 0.79 Gallons).
How Long Does It Take for Paint to Dry on a Motorbike Frame?
Paint typically takes 24 hours to dry on a motorbike frame. However, depending on environmental humidity and temperature, it may extend to 48 hours. Warmer, drier conditions enable faster drying, while cold and damp environments slow down the process. When working with specific materials like aluminum, choosing the right paint for aluminum surfaces becomes crucial for optimal adhesion and durability.
Do I Need to Seal the Paint on My Motorbike Frame?
Yes, you need to seal the paint on your motorbike frame. A clear coat sealant enhances durability and protects against UV rays and scratches. It can prolong your paint’s life by up to 50% or more, which could save you money in the long run. If you’re looking to elevate your painting technique, advanced painting methods can help.
Can I Paint a Motorbike Frame Without Removing It?
You can paint a motorbike frame without removing it, but it’s not ideal. Proper access improves the finish quality and helps avoid runs or drips. If you must paint while attached, ensure thorough masking to protect surrounding components. When working with different materials like clay, painters often encounter unique preparation challenges that require specific techniques for painting before complete drying.
What Safety Measures Should I Take When Painting a Motorbike Frame?
Always wear protective gear when painting a motorbike frame, including safety glasses and a respirator mask. Exposure to paint fumes can be harmful. Follow local regulations for ventilation and disposal, as improper handling can lead to health hazards. If you need specific guidance on protecting yourself during painting.
Can I Use Rust-oleum Spray Paint on a Motorbike Frame?
Yes, you can use Rust-Oleum spray paint on a motorbike frame. It’s suitable for metal and provides decent durability, but isn’t as robust as dedicated motorcycle paints. Typically priced around $10 per can (12 Oz), it’s a budget-friendly option for quick touch-ups. If you’re curious about additional painting techniques, baking painted surfaces can enhance your DIY skills.
How Can I Prepare the Metal Surface Before Painting?
Prepare the metal surface of your motorbike frame by cleaning and sanding it. Remove rust, dirt, and grease with solvent or sandpaper. A clean surface dramatically improves paint adhesion, reducing the likelihood of peeling or chipping over time.
What Temperature is Ideal for Painting a Motorbike Frame?
The ideal temperature for painting a motorbike frame is between 10°C and 30°C (50°F – 86°F). These conditions help with even drying and a smoother finish. Avoid painting outside these ranges to prevent issues like drips or poor adhesion. If you’re working in a space with heating challenges, you might want to optimize your painting environment carefully.
Also See: How Can You Test for Lead Paint? Find Safe Methods
Conclusion
We covered a lot about how to paint a motorbike frame, including what a motorbike frame is, essential preparations, steps for painting, recommended color palettes, different types of paint, factors affecting the final result, common issues, and smart finishing touches.
To paint a motorbike frame, gather your tools, choose suitable paint, prep the surface, and carefully apply your color; following these steps ensures that your motorbike frame gets a professional, beautiful finish.
For additional insights and techniques, visit Paint Answers.
Useful Resources
- Edwards, B. (2012). Drawing on the Right Side of the Brain. New York, NY: TarcherPerigee.
- How To Paint A Motorcycle Frame Without Removing The Engine – Motorcycle Habit
- Here’s The Best Spray Paint For A Motorcycle Frame – Motorcycle Habit
- How to paint the frame of your motorcycle ?