
How to Paint A Bale Of Hay?
Published on: April 8, 2025 | Last Updated: January 7, 2025
Written By: Isabella Cruz
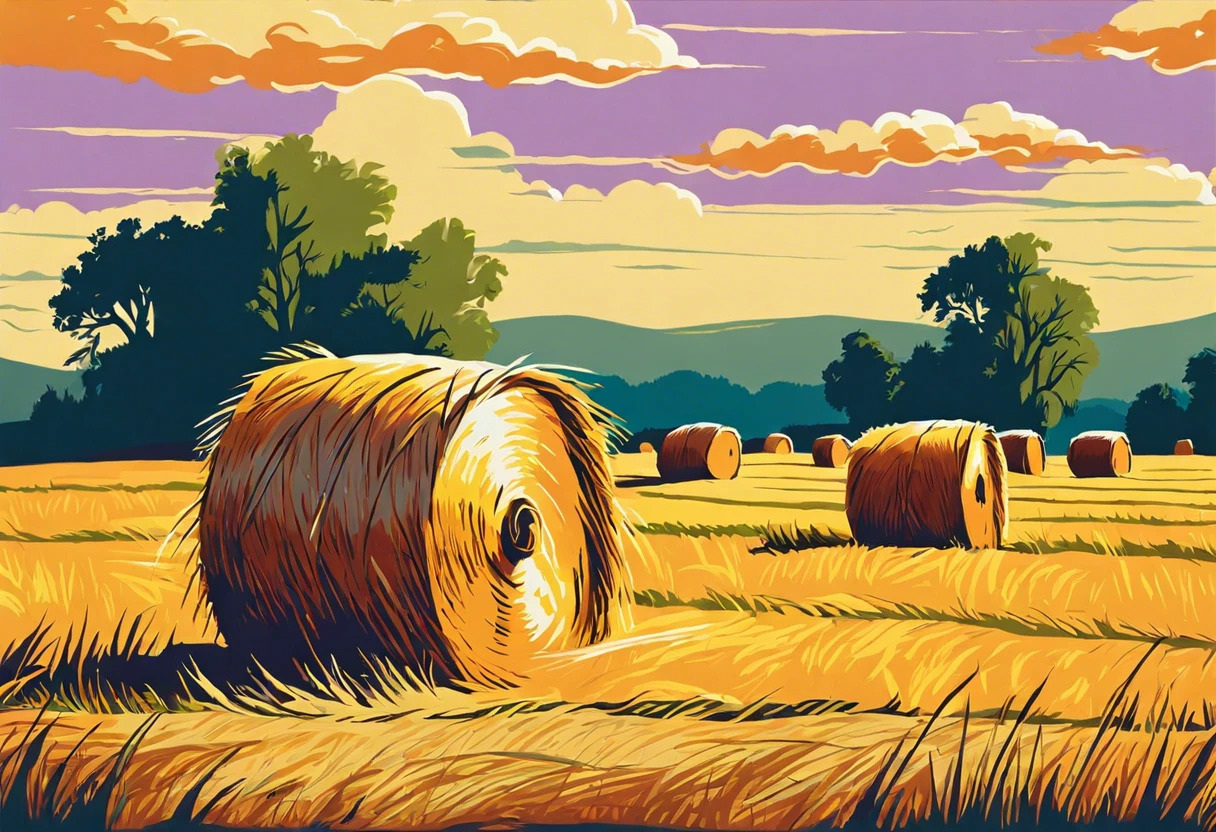
A bale of hay is a bundle of dried grass. It helps animals stay fed and is often seen in fields or farms.
Learning how to paint a bale of hay can be a fun way to express yourself. I remember the first time I painted one; the vibrant colors really brought it to life!
In this guide on how to paint a bale of hay, you’ll discover important tips before starting, the best color palettes, suitable paint types, and steps for a successful project. You’ll also find answers to common issues, finishing touches to enhance your artwork, and some DIY ideas!
Contents
- 1 How to Paint a Bale Of Hay?
- 2 What is a Bale Of Hay?
- 3 Important Considerations Before You Start Painting
- 4 Steps to Paint a Bale Of Hay
- 5 Recommended Color Palette for Painting Hay Bales
- 6 Creative Techniques for Painting a Bale of Hay
- 7 Color Mixing Basics for Painting Hay Bales
- 8 Types Of Paint Suitable for Painting a Bale Of Hay
- 9 Factors Affecting the Painting Process Of a Hay Bale
- 10 Environmental Impact of Painting Hay Bales
- 11 Common Issues When Painting a Bale Of Hay
- 12 Finishing Touches to Enhance Your Hay Bale Artwork
- 13 DIY Project Ideas for Painted Hay Bales
- 14 Frequently Asked Questions About Painting Hay Bales
- 15 Conclusion
- 16 Useful Resources
How to Paint a Bale Of Hay?
To paint a bale of hay, start by choosing weather-resistant paint. Clean the bale’s surface, then use a brush or spray to apply your chosen colors. Let it dry completely. Enjoy your vibrant creation outdoors! If you’re looking to expand your painting skills to larger surfaces like brick exteriors, painting techniques for brick houses can provide additional guidance.
What is a Bale Of Hay?
A bale of hay is a compact bundle of dried grass or legumes. Farmers typically use machinery to compress hay into shapes like rectangular or round bales, weighing between 20 kg (44 Lbs) and 100 kg (220 Lbs).
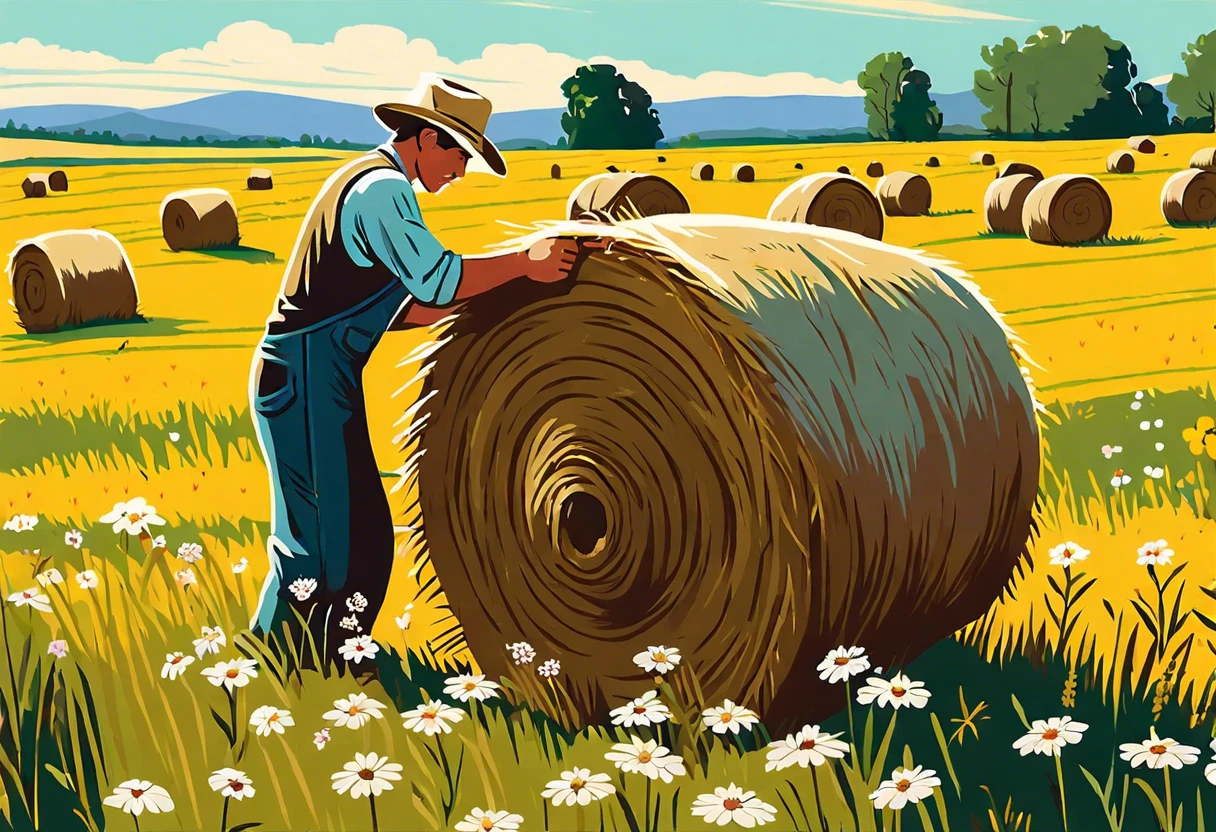
If you’re curious about painting a bale of hay, it’s a fun process! My first attempt revealed how the intricate details pop under a fresh coat of color.
That painting experience became a cherished memory for me. While learning to paint a hay bale, I discovered a lot about texture, light, and depth, enriching my view of art. The way sunlight dances off the painted curves captivates anyone’s eye. You’d be amazed at the feelings a simple hay bale can evoke! When exploring different painting materials, I even experimented with unique painting surfaces.
Important Considerations Before You Start Painting
What do you need for a smooth painting experience?
- Acrylic Paint: Use quality acrylic paint like Golden Heavy Body Acrylics for vibrant, long-lasting colors.
- Paintbrushes: Get a variety, like Princeton Velvetouch brushes. Different sizes help with detail work and broad coverage.
- Drop Cloth ⭐ Top Rated: Heavy-Duty Canvas Drop → : Use a large drop cloth, such as HDX Heavy Duty Poly Sheeting (9.3 M²). This’ll protect your area from spills while you work.
- Protective Gear: Wear Nitrile gloves and a mask for safety to protect your skin from paint.
You should now have a good understanding of key factors to consider before painting. In the next part, we’ll discuss steps to paint a bale of hay.
Also See: Can You Paint a Plastic Plant Pot? Yes, It’s Easy!
Steps to Paint a Bale Of Hay
Now, we’ll explore how to transform a bale of hay into a colorful masterpiece. Follow these steps closely for the best results!
-
Prepare the Hay Bale Surface
Start prepping the hay! Gently brush off dirt, dust, and dried grass to clear the surface. A clean surface helps the paint adhere better.
For easier design changes, fluff the hay a bit. This minor preparation plays a crucial role in making your painting vivid.
-
Select Your Paint Type
Select paint that’s durable and weather-resistant. Acrylic paint works well, especially for outdoor use; it dries quickly and withstands moisture.
It’s a good idea to choose non-toxic paints if you’re painting near livestock. Opt for colors that pop in sunlight for a vibrant look.
-
Apply the Base Coat
This part is fun! Use a large brush or roller to apply your base coat evenly. A thin layer, about 0.5 mm thick, works wonders; it covers well without drowning the hay’s texture.
I’ve made the mistake of applying too thick a layer and losing texture. If you’re using multiple colors, let each base coat dry for at least an hour to keep them distinct.
-
Add Details and Designs
This is where your creativity shines. Use smaller brushes for delicate details, like flowers or designs. Stencils can help maintain clean lines.
For realistic texture, layer colors to add depth. Employ a dry brush technique and blend colors gently for an artistic effect.
-
Seal the Artwork
Once everything’s dry and you admire your work, seal it. Use a clear acrylic sealer for protection from UV rays and water, applying a light coat with a spray or brush over the designs.
I’ve learned that sealing not only adds strength but also enhances color brightness. It can last up to two years, even under harsh weather.
So far we covered the process of painting hay bales. Let’s look at color suggestions for painting hay bales next.
Recommended Color Palette for Painting Hay Bales
I recommend a Rustic Gold palette for painting hay bales. This theme captures the essence of sunlit fields, making your art feel warm and inviting.
| Color Box | Hex Code | Color Name |
|---|---|---|
| #D4B600 | Golden Harvest | |
| #8B5A2B | Field Brown | |
| #FFD700 | Sunshine Yellow | |
| #A0522D | Sienna | |
| #F5DEB3 | Wheat |
You should now have a good understanding of suggested color schemes for hay bale painting. In the next part, we’ll discuss inventive techniques for painting a hay bale.
Creative Techniques for Painting a Bale of Hay
It’s time to explore some artistic techniques that can help make your hay bale stand out!
1. Gradient Techniques
Want a smooth color transition? Try creating a gradient! Blend two colors together, moving from one hue into another. For instance, start with a deep orange and blend into bright yellow.
2. Stippling Effect
For a textured look, use the stippling technique. Grab a stiff brush or sponge and dab paint instead of brushing it on. This creates a unique, lively pattern—perfect for a rustic feel!
3. Nature-Inspired Designs
Incorporate elements from nature. Paint leaves, flowers, or animals that relate to your surroundings. This not only beautifies your hay but also connects it with the environment.
4. Overlay Techniques
Create depth with overlay techniques. First, paint a solid base, then add overlays of lighter or darker shades to simulate shadow. This gives your bale a three-dimensional appearance.
5. Mixed Media Fun
Don’t just stick to paint! Consider adding materials like fabric, twine, or paper cut-outs. This mixed media approach adds layers, complexity, and visual interest to your artwork.


6. Glow-in-the-Dark Paints
Feeling adventurous? Use glow-in-the-dark paints to create a night-time spectacle. Just imagine a bale glowing softly under the stars. It’s extraordinary!
Each of these techniques can transform how your painted hay bale looks and feels—making it a true art piece. Which technique are you excited to try?
We’ve wrapped up creative techniques for painting a bale of hay here. Let us turn our attention to color mixing basics.
Color Mixing Basics for Painting Hay Bales
Understanding color mixing can elevate your painting game! Here’s an overview of basic colors and how to combine them.
| Primary Colors | Secondary Colors | Mixing Result |
|---|---|---|
| Red | Orange | Mixing Red and Yellow |
| Blue | Purple | Mixing Red and Blue |
| Yellow | Green | Mixing Yellow and Blue |
| Red | Brown | Mixing Red and Green |
By experimenting with these basic color combinations, you can create the perfect shades for your bale of hay. It’s all about having fun and letting your creativity shine!
Types Of Paint Suitable for Painting a Bale Of Hay
Let’s explore the types of paint: Acrylic, Latex, Oil-based, and Eco-friendly options.
-
Acrylic Paint
Acrylic paint dries quickly, usually in 10 to 30 minutes. It’s water-based, making brush and spill cleanup easy.
-
Latex Paint
Latex paint is flexible, durable, and low-odor. It dries in about 1 to 2 hours, perfect for outdoor projects.
-
Oil-based Paint
Oil-based paints are known for their high gloss and wear resistance. However, they can take up to 24 hours to dry fully, so patience is necessary!
-
Eco-friendly Paint
Eco-friendly paints use low-volatility organic compounds (Vocs). They’re slightly pricier but safer for you and the environment without compromising quality.
From my experience, I prefer acrylic paint for hay bales. It dries quickly, allowing me to finish the project without fearing unexpected rain!
Factors Affecting the Painting Process Of a Hay Bale
What factors impact your process for painting a hay bale effectively?
-
Weather Conditions: Rain or high humidity can ruin paint adhesion on the bale.
-
Type of Paint: Oil-based paints last longer than water-based options on hay.
-
Surface Texture: Rough surfaces absorb more paint, requiring extra coats for a smooth finish.
-
Color Choice: Darker colors absorb heat and may cause the hay to degrade faster.
Environmental Impact of Painting Hay Bales
Painting hay bales isn’t just fun; it impacts our environment too!
Eco-Friendly Paint Choices
Choosing eco-friendly paints helps reduce pollution. Look for paints labeled:
- Low VOC: Fewer volatile organic compounds mean safer air quality.
- Water-Based: These paints typically generate less waste during cleanup.
- Natural Pigments: Derived from minerals and plants, they’re safe for the ecosystem.
The Role of Painted Hay Bales in Sustainable Practices
Innovative farmers use painted hay bales as marketing tools. Bright, eye-catching designs attract visitors to farms. This can boost farm tourism while promoting sustainable practices!
Common Issues When Painting a Bale Of Hay
Last summer, my friend struggled with moisture in the hay, causing the paint to peel. Ouch! He didn’t check the humidity first. Use a moisture meter to ensure it’s below 15% (43% Relative Humidity) before starting.
The wrong paint can also crack. Choose exterior latex paints for flexibility. Avoid oil-based paints, as they can become brittle. Aim for a single coat for consistent coverage. You’ll want it to pop! If you’re considering painting multiple surfaces, painting walls and ceilings requires strategic color selection.
Finishing Touches to Enhance Your Hay Bale Artwork
After perfecting those brush strokes, let your painted bale cure for at least 48 hours. Use a natural varnish, like Minwax Polycrylic, for a glossy finish that protects and enhances colors.
Inspect your bale for signs of wear, such as fading colors or cracks in the paint. Check areas around the edges for integrity by looking a minimum of 12 inches (30 Cm) from the corners.
From one expert to another, use a spray mixture of water and white vinegar to boost color vibrancy on old paintings. Keep your ratio at 1:3 for the best results, and avoid excess water.
DIY Project Ideas for Painted Hay Bales
How about turning your bales into vibrant animal sculptures or whimsical garden seats? You could paint them as farm animals like cows or create eye-catching seating with colorful patterns!
For sculptures, you’d need great outdoor paint, a few brushes, and maybe around $50–$70 (About €46–€65). Expect to spend a weekend getting messy, but it’ll be worth it when neighbors stop to admire your work! If you’re considering painting ceramic surfaces, you might want to explore specific ceramic painting techniques.
If you’re feeling adventurous, grab an old sheet, soak it in paint, and toss it onto the bale for a unique splatter effect—it’ll create a stunning look! Or, you can use stencils to mimic iconic art styles, like Van Gogh’s starry night—it’s wildly fun! If you want to explore another creative painting technique, you might want to transform chrome surfaces with paint.
Frequently Asked Questions About Painting Hay Bales
Now let us look at some common questions I typically get asked about painting hay bales.
What Type Of Paint is Best for Outdoor Use on Hay Bales?
For outdoor use on hay bales, acrylic paint is the best option. It has waterproof properties and is resistant to fading. Consider using exterior-grade paint in bright colors; they last longer and withstand rough weather conditions, with UV protection to guard against sun damage. If you’re curious about painting other surfaces like painting materials, similar durability principles apply.
How Long Does the Paint Take to Dry on a Hay Bale?
Generally, the paint takes about 1 to 2 hours to dry on a hay bale. However, factors such as temperature and humidity can affect this. In cooler or more humid conditions, you may need to allow extra time for proper drying before allowing contact. If you accidentally spill paint and need quick removal, you might want to explore brake fluid’s paint removal potential.
Can I Paint Hay Bales in Different Seasons?
Yes, you can paint hay bales in different seasons, but spring and early fall are ideal due to temperate weather. A stable temperature—between 10°C and 29°C (50°F and 85°F)—is best for developing optimal paint adhesion and drying efficiency.
What Should I Do if the Paint is Not Adhering Well?
If the paint isn’t adhering well, ensure the surface is clean and dry. Using a deglosser or lightly sanding the hay before painting can help. This step improves paint grip, especially if you see flaking or peeling soon after application. When working with unique surfaces like hay, mastering proper painting techniques becomes crucial for achieving a smooth and lasting finish painting hay effectively requires skill.
How Can I Make My Painted Hay Bale Last Longer?
You can make your painted hay bale last longer by applying a clear sealant after the paint dries. Outdoor sealants protect against moisture and UV rays, extending the lifespan. Expect 1 to 3 years longer with the right protective finish, compared to untreated bales.
What Precautions Should I Take When Painting Hay Bales?
When painting hay bales, use non-toxic, low VOC paints to minimize health risks. Safety goggles 💰 Save on Anti-Fog Safety Goggles → and masks will protect you from paint fumes as you work. Being cautious fosters a healthier environment and ensures safety during your creative session.
Can I Create Designs on My Hay Bales?
Absolutely! You can create designs using stencils or freehand techniques. Bright colors and playful patterns are popular choices, making your bales artistic pieces rather than simple farm materials, perfect for photos or festivities!
Also See: Can You Paint Back Splash Kitchen Tile? Quick Guide
Conclusion
Phew, we covered a lot: understanding what a bale of hay is, important considerations before you start painting, steps to paint a bale, suitable paint types, a recommended color palette, factors impacting the process, common issues, finishing touches, DIY project ideas, and FAQs about painting hay bales.
In short, painting a bale of hay involves picking the right colors, selecting appropriate paint, and applying techniques we’ve discussed. Wishing you success in your welding projects related to how to paint a bale of hay, or even how to paint hay bales in general.
If you want to dive deeper into the topic, Paint Answers can provide you with additional insights.
Useful Resources
- Hay Bale Paintings for Sale – Fine Art America
- 25 Fall Painted Hay Bale Ideas – Southern Made Simple
- How to Paint on Round Hay Bales | ehow.com
Isabella is a Filipino-American art writer and critic specializing in contemporary painting, blending her Filipino heritage with global art trends. She holds a BFA from California State University, Long Beach, and a Minor in Art History from the University of the Philippines. Isa has experience as a Gallery Assistant, Art Appraisal Specialist, and Social Media Creative for Art & Design.
Aluminium, Material


