
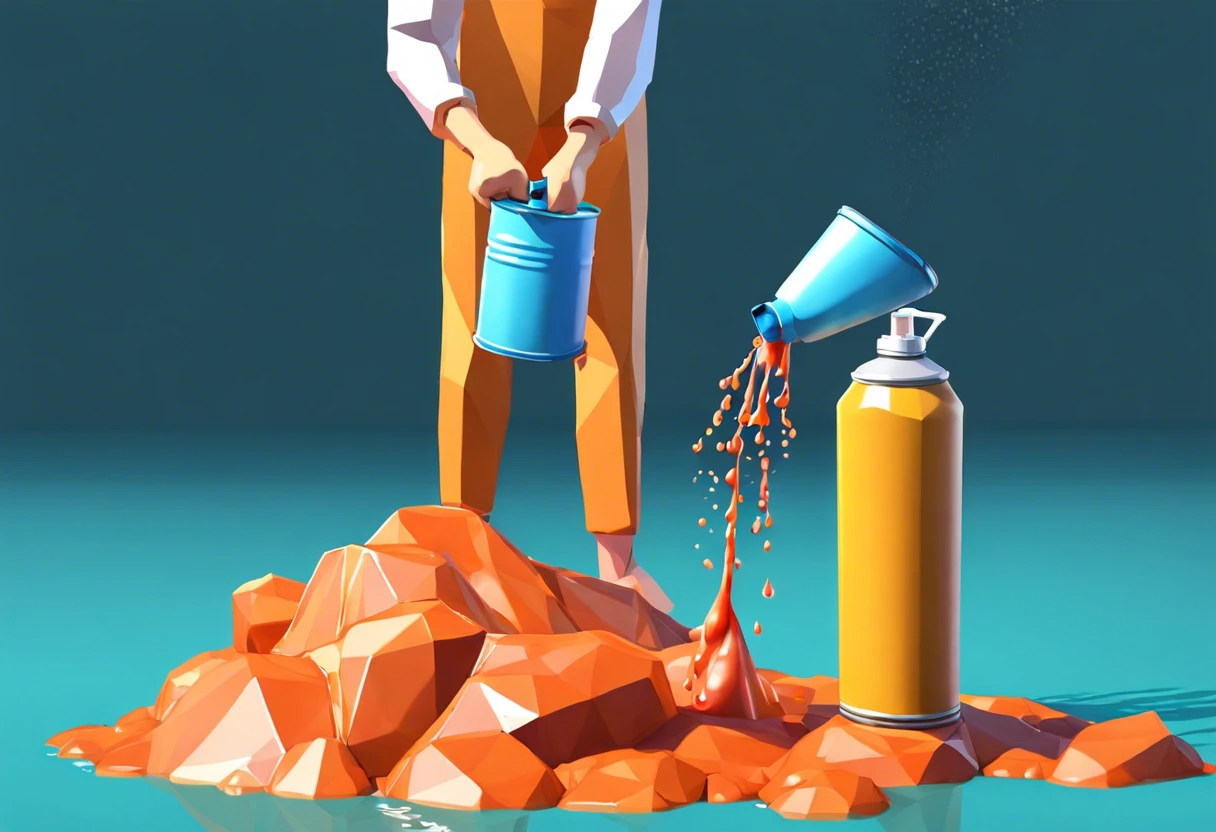
How Do You Unclog a Spray Paint Can?
A spray paint can is like a magic bottle that shoots out colorful paints. When you push the top, it sprays pretty colors to make your art come to life.
So, how do you unclog a spray paint can? It’s super important because a clogged can ruins your painting fun, trust me—I’ve faced that frustration more than I’d like to admit. When that nozzle gets stuck, you can miss out on finishing your project.
In this guide on how do you unclog a spray paint can, I’ll cover the important steps for unclogging, tips to prevent clogs, common problems, and how to keep your spray can working right. By the end, you’ll be ready to get back to your creative flow without missing a beat!
How Do You Unclog a Spray Paint Can?
To unclog a spray paint can, start by shaking it well. Then, use a pin or needle to poke the nozzle and clear any blockage. If it’s still clogged, soak the nozzle in warm soapy water for a few minutes. Rinse and dry before testing it again.
What is a Spray Paint Can?
A spray paint can is a pressurized container that dispenses paint in a fine spray. It typically holds about 400-500 milliliters (Ml) or approximately 13-17 fluid ounces (Fl Oz) of aerosol paint, making it easy to apply even coats. If you’re considering using spray paint for larger artistic projects like murals, you might want to explore painting techniques for murals.
When you push the nozzle, compressed gas forces the paint out. You might wonder how to unclog a spray paint can when it stops working. I remember dealing with a stubborn can that wouldn’t spray no matter what.
In my experience, I used it for my job to quickly cover large areas. I learned that pressure and paint must flow together effortlessly for the best results!
Before You Start Unclogging Your Spray Paint Can
What do you need to get started?
- Paint Thinner: You’ll need a paint thinner, such as acetone or mineral spirits, to break down dried paint inside the nozzle.
- Needle or Pin: Use a #20 gauge needle (0.84 Mm) to clear blockages. It’s essential for accessing small openings.
- Protective Gloves: Wear chemical-resistant gloves, like nitrile gloves, to avoid skin contact with paint or solvents.
- Old Newspaper: Keep an old newspaper handy to catch spills during the unclogging process and keep your workspace clean.
We have now covered the preparations needed before unclogging your spray paint can. Next, we will discuss the effective unclogging steps.
Also See: How to Use a Magnum X7 Paint Sprayer? A Quick Guide
Steps to Effectively Unclog a Spray Paint Can
Follow these essential steps to unclog a spray paint can and get the paint flowing again.
-
Assess the Situation
Check if the can is clogged due to paint buildup or a nozzle issue. This helps you focus on the right problem.
Look for signs like an irregular spray pattern or no paint coming out. Taking a minute to inspect the can saves time later.
-
Shake the Can Thoroughly
Shake the can vigorously for about 30 seconds to 1 minute. This can mix particles and possibly free the nozzle.
A good shake makes a difference; often, that’s all it needs. Many overlook this simple step!
-
Clear the Nozzle and Valve
Wipe around the nozzle and valve with a cloth to remove paint residue. A dirty nozzle can ruin a smooth finish.
This step is vital; without cleaning these areas, you’re just delaying the inevitable. Use warm water to soften any hardened paint, if needed.
-
Use a Needle or Pin
Take a fine needle or pin and gently insert it into the nozzle’s opening. This helps dislodge dry paint, allowing fluid to flow.
Be careful; pushing too hard can damage the nozzle. Apply enough force to clear the blockage, but not too much.
-
Apply Heat (if Necessary)
If you’re still having trouble, light heat can help. Hold the can under hot water (Not Boiling, Around 50°C or 120°F Max) for 5-10 minutes.
The heat can thin the paint, breaking up stubborn clogs. Just remember to keep the nozzle facing down!
-
Test the Spray
After completing the previous steps, test the spray on a piece of cardboard. This shows how well your efforts worked.
If it sprays unevenly, repeat the cleaning steps. Don’t hesitate—start fresh with your paint!
We have now covered effective methods to unclog a spray paint can. Next, we will explore the factors causing clogs.
Factors Affecting the Clogging Of Spray Paint Cans
What factors impact your ability to clear a clogged spray paint nozzle quickly?
-
Viscosity of Paint: Thicker paint is more likely to clog.
-
Humidity Levels: High humidity can make spray paint too wet, leading to blockages.
-
Nozzle Design: Some nozzles, such as those with fine points, can easily clog with dried paint.
-
Improper Storage: Storing cans in cold temperatures can cause paint to thicken and block the nozzle.
We’ve wrapped up the factors influencing spray paint can clogs. Let us turn our attention to common issues faced during unclogging.
Common Issues Encountered When Unclogging Spray Paint Cans
My friend struggled with a clogged spray paint can. Shaking it didn’t help—it just spat paint everywhere! The nozzle was blocked with dried paint.
Use a pin (Less Than 1 Mm) to poke the nozzle and clear it, or soak the entire nozzle in acetone for 10 minutes. It’ll clean right up!
We covered common issues faced while unclogging spray paint cans. We will now explore the structure of a spray paint can.

Understanding the Anatomy of a Spray Paint Can
Knowing how each part of a spray paint can works can help you understand why it clogs.
| Component | Function | Common Issues |
|---|---|---|
| Tip/Nozzle | Dispenses the paint in a fine spray when pressed. | Can clog if paint dries or thickens. |
| Actuator | Controls the flow of paint when pressed down. | May become stuck or damaged. |
| Container | Holds the paint and propellant under pressure. | Excessive heat or cold can affect pressure. |
| Propellant | Drives the paint out of the can. | Can dissipate, leading to weak spray. |
Quick Fixes for Common Nozzle Problems
Sometimes, quick fixes are all you need for common nozzle issues.
-
Dry Paint Buildup
Use warm soapy water to soak the nozzle for 5 minutes. Rinse thoroughly afterward.
-
Stiff Actuator
Apply a small drop of vegetable oil around the actuator; it can loosen it up.
-
Weak Spray
Try shaking the can more vigorously or repositioning the nozzle. Sometimes, it just needs a vibe check!
When to Replace Your Spray Paint Can
Not everything can be fixed. Here’s when to consider replacing your spray paint can.
-
Expiration Date
Check the can for an expiration date. If it’s been over 10 years, it’s time for a new one.
-
Severe Rust
If you see rust on the can, it could compromise the integrity. Get rid of it!
-
Major Leakage
If paint leaks from anywhere other than the nozzle, dispose of it safely.
Finishing Touches: Ensuring the Can Remains Functional
After you’ve fixed the nozzle issues, always shake your spray paint can for about a minute before use. Store it upright at room temperature (20-25°C, 68-77°F) to prevent clogs.
Inspect the can’s nozzle and actuator for cracks or wear. Use products like Rust-Oleum to check for blockages and ensure peak performance for at least 30 days.
If this isn’t your first time fixing the can, clean the valve with compressed air to ensure it’s blowing clear at 90 psi (Pounds Per Square Inch). This maintains pressure and flow for precise spraying.
Advanced Techniques for Stubborn Clogs
Sometimes, clogs can be extra stubborn. Here’s how to handle tricky spray paint can issues that need a bit more attention.
Using a Compressor
If you’re into DIY, consider using an air compressor. With a nozzle attachment, you can apply short bursts of air into the can’s spray head. Set the compressor to about 60 psi (Pounds per Square Inch) for best results.
Cleaning with Paint Thinner
If warm water doesn’t do the trick, try soaking the nozzle in a small container of paint thinner for 10-15 minutes. This helps dissolve dried paint buildup better than water.
Rotating the Nozzle
Wanna try a quick fix? Remove the nozzle and rotate it 180 degrees before putting it back. Sometimes, repositioning can help clear blocked paths.
Temperature Trick
Another option is to place the can in warm (not boiling) water for about 5 minutes, face down. This can soften thickened paint, making it easier to spray.
Tips for Long-Term Use
Maintaining your spray paint can goes beyond unclogging it. Let’s talk about smart steps you can take.
- Regular Cleaning: After each use, spray a little into a cardboard piece to keep the nozzle clear.
- Store Upright: Always keep your cans upright and at normal room temperature to avoid pressure issues.
- Avoid Overuse: Limit continuous spraying; taking breaks helps maintain consistent pressure and paint flow.
Identifying Paint Consistency
Ever wondered about the right paint thickness? Here’s how to determine that.
| Paint Type | Ideal Viscosity (mPas) | Common Issues |
|---|---|---|
| Acrylic Spray Paint | 100-200 | Clogs easily if too thick; thin it with commercial thinners. |
| Enamel Spray Paint | 200-400 | Thicker than acrylic and may require prolonged shaking. |
| Latex Spray Paint | 150-250 | High humidity can thicken latex and cause clogs. |
| Chalk Spray Paint | 120-180 | Can dry quickly, so use it within a few minutes of opening. |
FAQ
Now let us look at some common questions about spray paint cans. I typically get asked the following:
What Should You Do if Your Spray Paint Can is Completely Empty?
If your spray paint can is completely empty, you should dispose of it in accordance with local hazardous waste guidelines. Many areas have specific rules for disposing of aerosol cans due to their potential environmental impact, so check your local regulations. When working with different paint types like alkyd paints require special handling.
How Can You Prevent Your Spray Paint Can From Clogging?
You can prevent your spray paint can from clogging by ensuring you shake it well before use. Shaking mixes the paint thoroughly, which helps prevent thick paint from settling and blocking the nozzle. Aim to shake the can for at least 2 minutes for optimal results. If paint damage occurs during your project, you might want to explore potential risks to painted surfaces.
Can You Save a Clogged Spray Paint Can?
Yes, you can often save a clogged spray paint can. A simple method is to soak the nozzle in warm water for a few minutes. This can help soften the paint, making it easier for the nozzle to function again. Some artists have faced more dramatic challenges with art materials, such as the infamous incident involving Newman’s painting vandalism.
What Causes Spray Paint Cans to Clog?
Spray paint cans clog mainly due to dried-up paint in the nozzle. In fact, reports suggest that about 80% of nozzle problems originate from paint solidifying in the exit area. Proper maintenance and one-time use can prevent this issue. If you’re dealing with stubborn paint residue, you might want to explore alternative painting techniques and solutions.
Is It Safe to Use Heat on a Spray Paint Can?
No, it’s not safe to use heat on a spray paint can. Applying heat can increase the pressure inside the can and risk explosion. Always keep spray cans away from heat sources, as they’re designed for storage at ambient temperatures, typically around 15-30°C (60-86°F). If you’re looking to refresh your painting projects, you might want to explore professional bathtub painting techniques that ensure safety and quality.
What Should You Do if Your Spray Paint Can Sprays Unevenly?
If your spray paint can sprays unevenly, first ensure you’ve shaken it adequately. Uneven spraying may happen if the paint is separated or if the nozzle is partially clogged. Move as much as 15 cm (6 Inches) from the target for more uniform spray paint coverage. Artists like Andy Warhol have long explored the fascinating world of artistic representation of everyday objects.
How Long Do Spray Paint Cans Last?
Generally, unopened spray paint cans last 2-10 years, depending on the brand and paint type. After opening, aim to use them within 1 year for best results. Always check the label for specific shelf life information, as it can vary.
Can You Use Water to Thin Spray Paint?
No, you shouldn’t use water to thin spray paint. Doing so changes the chemical composition, risking subpar results. Instead, use paint thinners specifically recommended by the manufacturer to maintain quality and application consistency. If you’re working with an airbrush, I recommend checking out the best paint thinning techniques for optimal performance.
Also See: How to Paint a Gingerbread Man? Get Creative Today!
Conclusion
You made it to the end. We covered various aspects like what a spray paint can is, steps to unclog it, common clogging issues, factors contributing to clogs, and recommended color palettes for your projects.
I trust these insights have been helpful in showing you how to unclog a spray paint can by using simple methods such as shaking it, cleaning the nozzle, or using a fine needle to clear the spray path.
For further exploration and additional tips, feel free to return to Paint Answers.
Useful Resources
- Betti, C., & Sale, T. (2012). Drawing: A Contemporary Approach (6th ed.). Belmont, CA: Cengage Learning.
- How do you clear a clogged spray paint can?
Isabella is a Filipino-American art writer and critic specializing in contemporary painting, blending her Filipino heritage with global art trends. She holds a BFA from California State University, Long Beach, and a Minor in Art History from the University of the Philippines. Isa has experience as a Gallery Assistant, Art Appraisal Specialist, and Social Media Creative for Art & Design.
Medium, Spray


