
Can You Paint on a Guitar?
Published on: May 1, 2025 | Last Updated: January 7, 2025
Written By: Alisha Winters
A guitar is a musical instrument with strings. You strum it to make beautiful sounds, like magic in the air!
Can you paint on a guitar? Well, it’s super important to know if it can be done right. I once painted my old guitar bright orange, and it sparked joy every time I played!
In this guide, we’ll explore what a guitar is, what to think about before painting, step-by-step painting tips, color suggestions, paint types, and common issues. You’ll discover creative DIY project ideas and answers to your questions about can you paint on a guitar.
Contents
- 1 Can You Paint on a Guitar?
- 2 What is a Guitar?
- 3 What to Consider Before You Start Painting Your Guitar
- 4 Steps to Successfully Paint Your Guitar
- 5 Different Types Of Paint Suitable for Guitars
- 6 Factors Affecting the Outcome Of Painting a Guitar
- 7 Common Issues When Painting a Guitar
- 8 Finishing Touches for Your Painted Guitar
- 9 Creative DIY Project Ideas for Custom Guitar Art
- 10 Unique Painting Techniques for Guitars
- 11 Tools for Advanced Painting Techniques
- 12 Maintenance Tips After Painting Your Guitar
- 13 How Painting Affects Guitar Value
- 14 Exploring Customization Techniques Beyond Painting
- 15 Frequently Asked Questions About Painting on a Guitar
- 16 Conclusion on Painting a Guitar and Customizing Your Instrument
- 17 Additional Resources
Can You Paint on a Guitar?
Absolutely, you can paint on a guitar! Just make sure to use the right paint and prep the surface first. Acrylic paint works well, but seal it afterward to protect your artwork. If you’re curious about using acrylic paint on fabric or other surfaces, check out some painting techniques. Have fun making your guitar unique!


What is a Guitar?
A guitar is a stringed instrument usually made of wood. It has six strings, though some models have twelve.
Imagine gripping its neck and strumming the strings. When I custom-painted a guitar, it felt like transforming a simple plank into art. Painting brought it to life!
I’ve tried creative projects before, but painting a guitar was a standout moment. Methods like this let you express your personality, just like painting a bear can reveal depth and emotion.
What to Consider Before You Start Painting Your Guitar
What do you need to start?
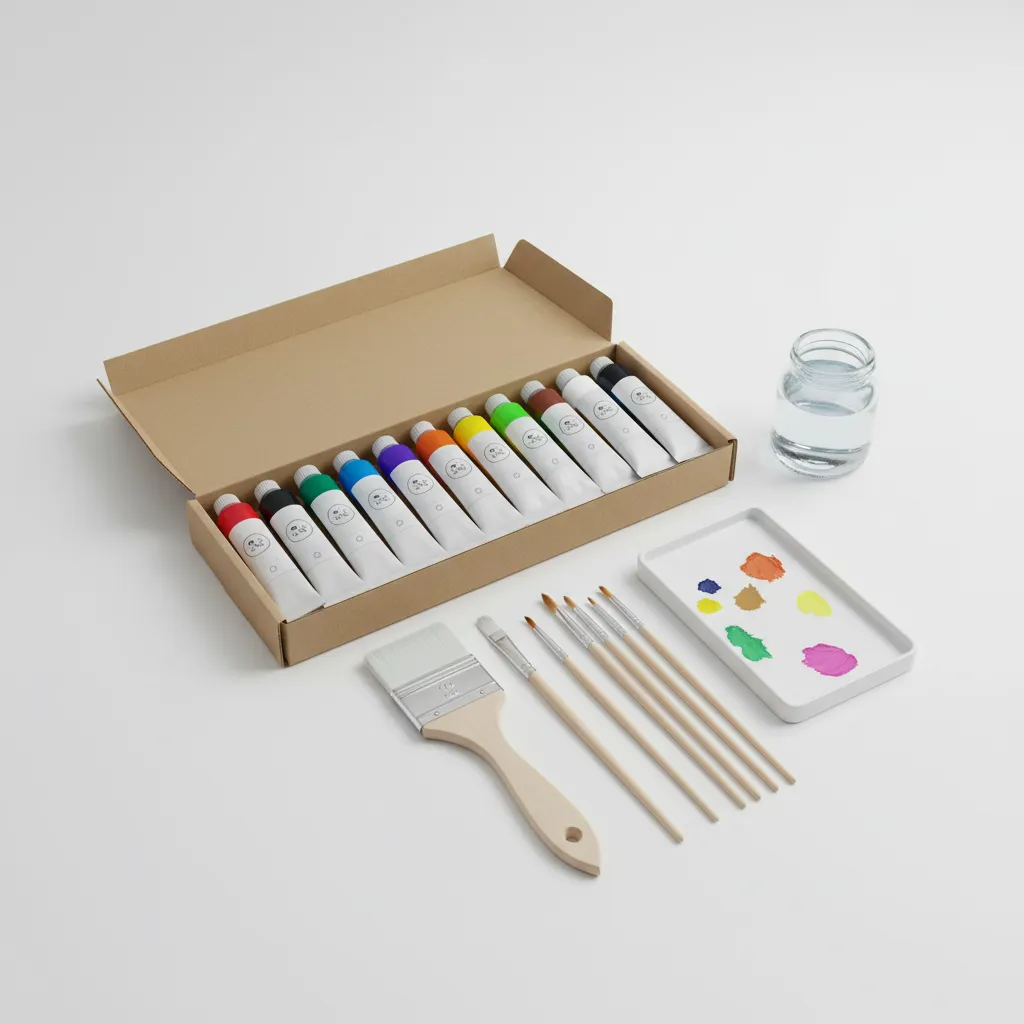
- Acoustic or Electric Guitar: Ensure you have a specific type, like a Fender Stratocaster or a Yamaha FG800. This affects paint adhesion and technique.
- Sandpaper 💰 Save on Assorted Grit Sandpaper → (220-grit): Get good quality sandpaper, such as 3M Pro-Paper. It lightly scuffs the surface, helping paint grip.
- Masking Tape: Use painter’s tape, like FrogTape. It’s essential for clean lines and preventing paint bleed.
- Paint (Acrylic or Spray): Choose a high-quality acrylic, such as DecoArt Americana. It’ll withstand wear and is easy to apply.
You should now have a good understanding of important factors before painting your guitar. In the next part, we’ll discuss the steps to successfully paint your guitar.
Also See: Can You Paint Concrete Pavers? Key Considerations

Steps to Successfully Paint Your Guitar
Here are the steps to transform your guitar with paint. Let’s dive in!
-
Prepare the Guitar Surface
First, remove all hardware from your guitar, including the strings and pickups. This ensures a clean area for painting and prevents damage to components.
If possible, lightly sand the surface with 320-grit sandpaper for better paint adhesion. Wipe it down with a cloth to remove any debris and grease.
-
Choose Your Paint Type
Select paint suitable for wood or plastic surfaces—acrylic or spray paint works well. For vibrant colors, I recommend acrylics for their rich pigment and flexibility.
Consider your environment: if you’re painting indoors, use low-VOC spray paint to minimize odor. Check the labels for dilution and drying time to avoid mistakes!
-
Apply the Base Coat
Start with a thin layer of your chosen base coat paint. Use even strokes to prevent drips and bubbles—two thin coats are better than one thick coat. Allow 6–8 hours for drying between layers.
Patience leads to satisfaction; this step establishes the foundation. If you want patterns or different colors, feel free to get creative after the base coat has dried!
-
Add Details in Layers
Once the base coat is dry, start adding designs or details. Use a brush or a fine-tipped spray can for intricate work—layer them to prevent colors from blending too much.
Let each layer dry completely before adding another; you typically have 1 to 2 hours of working time before the paint sets. Experiment confidently and trust your creative instincts!
-
Apply a Protective Finish
Finish with a clear topcoat to seal the paint and protect it from wear. You can use polyurethane or clear acrylic spray; both protect against scratches.
I suggest applying the finish in 3–4 thin coats, allowing each to dry for about 12 hours. This way, your artwork will endure, just like the best tunes!
We’ve wrapped up steps for successfully painting your guitar. Let us turn our attention to the various paint options for guitars.
Different Types Of Paint Suitable for Guitars
Let’s look at the types of paint you can use on guitars: acrylic, nitrocellulose, polyurethane, and enamel.
-
Acrylic Paint
Acrylic paint dries quickly, usually within 30 minutes. It’s water-based and easy to clean, making it simple to apply on a guitar.
-
Nitrocellulose Lacquer
Nitrocellulose is a classic choice for guitar finishes, offering a warm tone. It takes about 24 hours to dry, ensuring a durable and glossy surface.
-
Polyurethane
Polyurethane is tough and resistant to scratches, making it ideal for painted guitars. It takes longer to cure—expect around one week for full hardness.
-
Enamel Paint
Enamel paint provides a hard finish, perfect for glossy and vibrant colors. It takes longer to dry, around 2-8 hours, but offers excellent durability.
In my experience, nitrocellulose lacquer provides the best sound and aesthetic appeal. Though it takes time to dry, the vibrant finish it offers is worth it.
So far we covered various paint types ideal for guitars. Let’s look at the factors that influence guitar painting results next.
Factors Affecting the Outcome Of Painting a Guitar
What factors influence the success of painting your favorite guitar?
-
Type of Paint: Acrylic paints adhere well and dry quickly, making them ideal for guitars.
-
Surface Material: Smooth wood surfaces allow for even paint application.
-
Prep Work: Sanding and priming improve adhesion and create a polished finish.
-
Curing Time: Allowing sufficient drying time prevents smudging and peeling.
We’ve wrapped up the factors influencing guitar painting outcomes here. Let us turn our attention to common painting issues.
Common Issues When Painting a Guitar
My friend once tried to paint his guitar, but the paint bubbled because he didn’t prep the surface properly. You should sand it first and use a primer.
To fix it, remove the bubbles with 400-grit sandpaper. Then, clean the surface and repaint with nitrocellulose lacquer at 15-20°C (59-68°F). Patience is essential!
Finishing Touches for Your Painted Guitar
Once you’ve decided on your guitar’s design, apply a clear coat. Use polyurethane spray with a satin finish to protect the paint from a distance of 30 cm (12 Inches).
Inspect the neck and bridge for paint bleed. Check for imperfections at 25 cm (10 Inches) and touch up with a fine brush, like those from Windsor & Newton.
From one expert to another, consider using a heat gun 💰 Save on Dual-Temperature Heat Gun → set at 93°C (200°F) to cure the paint faster. This creates a strong bond between the layers.
Creative DIY Project Ideas for Custom Guitar Art
How about transforming an old guitar into a vibrant piece of art? You could create a galaxy-themed guitar body or paint an intricate wildlife scene—imagine a soaring eagle or a curious fox!
To start, grab some acrylic paints, painter’s tape, and a sealant spray. You can spend around $30 to $50 for everything, and you might need a weekend for the painting and drying process.
If you’re wondering, “Can you paint on a guitar?” Absolutely! You can also try using temporary tattoo transfers for a quick design tweak—just peel, stick, and seal with spray. I’ve done it, and the results were stunning without the commitment! If you’re curious about painting other unique surfaces, painting unconventional objects can be an exciting creative adventure.
Unique Painting Techniques for Guitars
Let’s dive into some creative techniques to paint your guitar. Each method can give your guitar a distinct look!
-
Sponging
Use a sponge to dab paint on your guitar for a textured effect. This technique creates a soft, mottled look that’s unique. It’s great for blending colors!
-
Stippling
Stippling involves using a brush to dot on paint, creating intricate designs. It’s fantastic for adding depth and detail to your artwork.
-
Splatter Painting
Feeling adventurous? Splatter paint for a wild, abstract design! Just flick your brush while holding it above the guitar. It’s messy but fun!
-
Gradation or Ombre
For an ombre effect, blend colors from light to dark. Start with the lighter shade at the bottom and gradually transition to darker tones. The result is a smooth gradient!
Tools for Advanced Painting Techniques
Here’s a quick list of handy tools for more advanced painting techniques.
| Tool | Purpose | Example |
|---|---|---|
| Airbrush Kit | Creates smooth gradients and fine details. | Iwata Airbrush Kit |
| Detail Brushes | For intricate designs and patterns. | Winsor & Newton Series 7 |
| Painter’s Tape ⭐ Top Rated: Blue Painter’s Tape → | Helps create clean edges and designs. | FrogTape Multi-Surface |
| Spray Gun | For even coats and larger areas. | Critter Sprayer |
Maintenance Tips After Painting Your Guitar
Once you’ve painted your guitar, keeping it in top shape is key. Here are some easy tips to maintain that fresh look!
- Regular Cleaning: Use a soft, dry cloth to wipe off dust. A microfiber cloth ⚡ Best Pick: Microfiber Cleaning Cloth → works great, and it’s gentle on the finish.
- Avoid Harsh Chemicals: Don’t use ammonia-based cleaners; they can damage the paint. Stick to mild soap and water.
- Transport Carefully: When moving your guitar, use a padded case. This helps prevent dings and scratches from bumps.
- Store Properly: Keep your guitar in a climate-controlled area, away from heat and moisture. Ideal humidity is 40-50% (around 21-24°C or 70-75°F).
How Painting Affects Guitar Value
Are you worried about your guitar’s resale value after painting? Let’s break it down!
| Paint Type | Impact on Value | Reasons |
|---|---|---|
| Acrylic Paint | Minimal Impact | Commonly accepted; can be stripped if necessary. |
| Nitrocellulose Lacquer | Positive Impact | Enhances tone and is valued by musicians. |
| Custom Artwork | Variable Impact | Can increase or decrease value based on buyer preference. |
| Rushed DIY Paint | Negative Impact | Poorly done paint jobs can deter buyers. |
Exploring Customization Techniques Beyond Painting
Want to spice up your guitar without paint? Here are some cool alternatives!
- Decals and Stickers: Use high-quality, durable decals. They can give your guitar a new look and are easy to remove.
- Wood Burning: Try pyrography for intricate designs. It involves burning designs into the wood and can be stunning!
- Inlays: Consider adding custom inlays on the fretboard for a unique flair. You can use materials like abalone or mother-of-pearl.
- Wraps: Guitar wraps offer a fresh look without the permanence of paint. They’re removable, too!
Also See: Can You Use Tempera Paint on Wood? Get Creative!
Frequently Asked Questions About Painting on a Guitar
What Type Of Paint is Best for a Guitar?
The best type of paint for a guitar is acrylic painting materials. Acrylics bond well to the guitar’s surface, making them durable and vibrant. They’re quick-drying, typically drying within 1-2 hours, and you can use a clear coat on top for extra protection.
Can I Paint on an Electric Guitar and an Acoustic Guitar?
Yes, you can paint on both electric guitars and acoustic guitars. However, keep in mind that different materials and finishes might need special preparation. For instance, electric guitars often have a gloss finish, requiring sanding to ensure the paint sticks properly. If you’re curious about mixing custom paint colors for your guitar, creating the perfect brown shade can add a unique touch to your instrument’s aesthetic.
How Long Does It Take for Guitar Paint to Dry?
The drying time for guitar paint can vary; generally, it takes 1 to 2 hours for the first layer to dry. Full curing might take several days, depending on humidity and type of paint used. This process ensures your paint won’t smudge when reapplying layers. If you encounter unexpected paint issues during your project, you might want to explore how brake fluid affects paint removal.
Can I Remove the Paint if I Don’t Like It?
Yes, you can remove paint from a guitar if you don’t like it. Using a paint stripper or sanding the surface can effectively revert it back. Just be cautious; aggressive methods can scratch the wood or damage the finish beneath. If you’re wondering about the complexities and potential costs of this process, check out paint restoration techniques.
Will Painting My Guitar Affect Its Sound Quality?
Painting your guitar can affect its sound quality. Extra layers of paint may dampen vibrations, impacting overall acoustics, especially in acoustic guitars. Ideally, keep paint layers thin to minimize any potential changes in sound.
What Preparation Do I Need Before Painting My Guitar?
You need to clean and prep the guitar’s surface before starting any painting. Use a mild soap solution and a soft cloth to remove oils, dust, and grime. Guitars with gloss finish may require sanding for better paint adhesion. Prep is crucial! Some musicians accidentally damage their instrument’s finish during painting and discover unexpected paint challenges that can ruin delicate instrument surfaces.
Can I Use Spray Paint on My Guitar?
Yes, you can use spray paint on your guitar, but it’s essential to choose a paint specifically designed for wood and guitars. Spray paint can provide an even finish and is often faster to apply; just remember to spray in thin coats for the best results. If you’re planning to transport your newly painted guitar, you might want to check airline regulations for musical instruments.
What Sealer Should I Use After Painting a Guitar?
Using a clear acrylic sealer after painting a guitar is highly recommended. It adds an extra layer of protection against scratches and wear. Opt for a product specifically designed for musical instruments to ensure compatibility with your paint. If you’re looking to expand your painting skills to other surfaces, painting aluminum surfaces can be an exciting DIY project.
Conclusion on Painting a Guitar and Customizing Your Instrument
We covered what a guitar is, what to consider before painting, steps for a successful paint job, recommended color palettes, types of paint suitable, factors affecting the outcome, common issues, finishing touches, and creative DIY project ideas.
Hopefully, I was able to impart some of my experience on the topic of can you paint on a guitar; yes, you can. Just remember to prep it well, choose the right paint, and enjoy the process.
To explore more tips and insights, feel free to return to our homepage at Paint Answers.
Additional Resources
- Loomis, A. (2011). Figure Drawing for All It’s Worth. New York, NY: Titan Books.
- Will Painting An Acoustic Guitar Affect The Sound? – Guitar Top Review
- How To Paint a Guitar With Acrylic | InstrumentGuys
Experienced interior designer with 15+ years in transforming spaces, blending artistry with expertise in color and design. Rhode Island School of Design graduate, specializing in restorations and modern makeovers.
Aluminium, Material


