
How Do You Get a Paint Sample Off the Wall?
Published on: January 24, 2026 | Last Updated: October 1, 2025
Written By: paint_answered
A paint sample is a small piece of paint taken from a wall to check its color and texture. It’s like dipping your finger in a pot of candy to taste before eating the whole thing!
So, how do you get a paint sample off the wall? It’s important because knowing the exact paint color helps you match it perfectly during touch-ups. I once struggled to find the right shade for my living room, and trust me, it took way too long!
In this guide, you’ll learn about essential preparations before starting, effective steps to extract a paint sample safely, common issues you might face, and creative DIY ideas after you get that paint sample off the wall.
Contents
- 1 How Do You Get a Paint Sample Off the Wall?
- 2 What is a Paint Sample?
- 3 Before You Start: Essential Preparations for Extracting a Paint Sample
- 4 Steps for Successfully Removing a Paint Sample From the Wall
- 5 Alternative Methods for Paint Sample Extraction
- 6 Comparing Different Removal Techniques
- 7 Types Of Paint Samples and Their Importance
- 8 Factors Affecting Paint Sample Removal From Walls
- 9 Understanding Paint Adhesion and Its Impact on Sample Removal
- 10 Best Practices for Seamless Sample Removal
- 11 Tools for Optimal Paint Sample Extraction
- 12 Common Issues Encountered When Removing a Paint Sample From the Wall
- 13 Finishing Touches Post-paint Sample Extraction
- 14 Frequently Asked Questions Regarding Paint Sample Removal
- 15 Conclusion: Successfully Extracting a Paint Sample From Your Wall
- 16 Additional Resources
How Do You Get a Paint Sample Off the Wall?
To get a paint sample off the wall, carefully use a utility knife 💰 Save on Retractable Utility Knife → around the edge of the sample area. Gently lift the edges and peel it away. If stubborn, dampen it with water or a solvent. When dealing with tricky surfaces like ceramic tiles, you might want to explore painting ceramic tile techniques. Voila, you’re done!
What is a Paint Sample?
A paint sample is a small quantity of paint for color evaluation. Typically, these samples come in 3.5 oz (100 Ml) containers and let you test colors on your walls before committing to a larger purchase, ensuring you love the color. If you’re considering painting specific surfaces like bathroom fixtures, you might want to explore painting techniques for bathroom sinks.
Now that you know what a paint sample is, removing one from the wall is simple. I’ve had my share of experience—once, I used painter’s tape to catch a few chips from a wall paint project.
I’ve used it to choose color schemes for various rooms. One big takeaway? Always visualize it against existing elements in your space, whether it’s trends or shades you plan to use. Understanding how to remove a paint sample from the wall helps with blending in features like a cheerful checkerboard wall.
Before You Start: Essential Preparations for Extracting a Paint Sample
What do you need to prepare?
- Safety Goggles: Use a reliable pair, like 3M Safety Goggles 33661, to protect your eyes from dust and paint splatter.
- Utility Knife: A good utility knife, such as the Stanley 10-099, helps you cut through paint layers for accurate sampling.
- Plastic Scraper ⚡ Best Pick: Plastic Razor Scraper → : Get a plastic scraper, like the Hyde Tools 09970. It removes paint gently without damaging the wall underneath.
- Paint Container: Use a small sample jar, like Houseables Clear Plastic Jars (8 Oz), to store your paint sample securely.
We have now covered essential preparations for extracting a paint sample. The next section will detail the steps to remove the sample.
Also See: How Do You Remove Bottom Paint From a Boat? Easy Tips

Steps for Successfully Removing a Paint Sample From the Wall
Here’s how to take a paint sample from your wall without damaging it.
-
Choose the Right Location for the Sample
Pick a discreet spot for your paint sample. Look for areas behind furniture or near light switches where colors blend well.
This way, the wall maintains its overall look while you identify the paint’s true shade for touch-ups later. Sometimes, a random corner yields the best sample without leaving a trace.
-
Carefully Cut the Paint Sample
Use a sharp utility knife to cut around the desired section. Use a cutting mat ⚡ Best Pick: Large Self-Healing Cutting → or cardboard underneath to prevent wall damage.
Stay steady and apply light pressure. A clean cut makes extraction easier; aim for a sample size of about 5-10 cm (2-4 Inches) square.
-
Extract the Paint Sample
Use a putty knife to gently pry the sample away from the wall. Go slowly to avoid tearing the paint or damaging the drywall underneath.
A bit of wiggling often works better than yanking it out. Patience pays off—swooshing the knife can help your sample pop right off.
-
Store the Paint Sample Properly
Place your extracted sample flat in a plastic bag. Seal it tightly to keep moisture away—details matter for color matching later!
Recommended SuppliesAs an Amazon Associate, I earn from qualifying purchases. Images are representative.Label the bag with details like its source and the room it’s for. This way, you can easily refer to it when buying paint or testing future projects.
So far we covered how to effectively remove a paint sample from the wall. Let’s look at alternative extraction methods next.
Alternative Methods for Paint Sample Extraction
Looking for creative ways to get that paint sample off the wall? Here are some alternative methods that might surprise you!
Using Adhesive Putty
Adhesive putty is a handy trick! Just press a ball of putty firmly onto the paint area you need. Hold it for a few seconds, then pull it off gently. This method works wonders for delicate surfaces, and there’s little risk of damage! If you’re looking to expand your painting techniques, painting with a sprayer can offer additional versatility for your home improvement projects.
Heat Gun 🔥 Deal: Dual-Temperature Heat Gun → Technique
Consider using a heat gun. Set it to low and hover it over the sample for a short time (5-10 seconds). The heat softens the paint, which makes it easier to lift with a plastic scraper. Just be cautious—not too close or you can scorch the wall. When you’re done, you might want to know how to properly dispose of your leftover paint recycling paint containers safely.
Use of Painter’s Tape
Painter’s tape can work miracles! Place it around the sample area to mask any edges. Then, use a small utility knife to score through the tape and paint layer. This method minimizes surface damage by keeping the torn edges neat!
You should now have a good understanding of various paint extraction methods. In the next part, we’ll discuss different removal techniques.
Comparing Different Removal Techniques
Here’s a quick comparison of various paint sample extraction techniques, highlighting their effectiveness and potential for wall damage.
| Technique | Effectiveness | Wall Damage Potential |
|---|---|---|
| Utility Knife Method | High | Medium |
| Adhesive Putty | Medium | Low |
| Heat Gun | High | Medium |
| Painter’s Tape | High | Low |
Choosing the right method depends on your wall’s condition and the type of paint. Experiment a little, and you might just find your perfect technique!
You should now have a good understanding of various removal techniques. In the next part, we’ll discuss paint sample types and their significance.
Types Of Paint Samples and Their Importance
Let’s explore different types of paint samples: chip samples, peel-and-stick samples, spray-out panels, and swatches.
-
Chip Samples
Chip samples are small squares of paint. You can easily peel these off the wall without disturbing the original color.
-
Peel-and-stick Samples
These samples let you test paint on your wall quickly. Just peel, stick, and you’re set!
-
Spray-out Panels
For a larger area, spray-out panels are ideal. Apply paint to a large panel to see if it matches your space.
-
Swatches
Swatches display multiple colors in one location. They’re perfect for directly comparing shades on your wall.
After many attempts and adjustments, I’ve found that peel-and-stick samples work wonders for me. They’re easy to remove and change, making them perfect for my frequent style updates.
Factors Affecting Paint Sample Removal From Walls
What factors influence the effective removal of paint samples from walls?
-
Type of Paint: Different paints react differently to solvents; some come off easily, while others resist.
-
Surface Texture: Smooth surfaces make removal easier; rough textures can trap paint particles.
-
Duration of Application: Older paint typically adheres better and may require more effort to remove.
-
Removal Technique: Using the right method—scraping, solvent, or sanding—can significantly impact success.
Understanding Paint Adhesion and Its Impact on Sample Removal
Knowing how paint sticks to walls can save you a lot of trouble when removing samples.
- Type of Paint: Latex paint typically peels off easier than oil-based paint, which can bond tightly.
- Primer Use: Walls primed and painted properly allow for cleaner sample extractions since the base coat is designed to adhere well but not permanently.
- Age of Paint: Older paint may be more brittle and can crack when you attempt to remove a sample, so handle it carefully.
Best Practices for Seamless Sample Removal
Check out these methods to improve your sample extraction experience.
-
Warm Up the Paint
Using a hairdryer, gently warm the area around the sample for about 10 seconds. This loosens the adhesion, making it easier to peel off.
-
Cut at an Angle
When using a utility knife, cut at a slight angle towards the center of your sample. This minimizes damage to the surrounding wall.
-
Use a Heat-Resistant Scraper
A heat-resistant plastic scraper helps prevent scratches. It’s particularly useful after applying heat to the paint.
Tools for Optimal Paint Sample Extraction
Here’s a quick rundown of tools that make removing paint samples easier.
| Tool | Purpose | Recommended Brands |
|---|---|---|
| Utility Knife | For precise cuts around the sample | Stanley, X-Acto |
| Plastic Scraper | To gently lift the sample | Hyde, 3M |
| Adhesive Putty | Alternative method for removal | Gorilla, Blu-Tack |
| Hair Dryer | Warms the paint for easier removal | Conair, Revlon |
Common Issues Encountered When Removing a Paint Sample From the Wall
Once, my friend struggled to remove a paint sample from the wall without damaging the surrounding area. It peeled the paint around it, ruining her nice finish!
Use a plastic scraper to gently lift the sample. For protection, apply 3M contractor’s tape (0.94 In (24 Mm) wide) to ensure a clean edge. This technique keeps your walls intact while taking your sample.
Finishing Touches Post-paint Sample Extraction
After removing the paint sample, clean the area with a soap-and-water mix. Use a microfiber cloth to prevent damage and maintain a 3 mm (1/8 Inch) margin around the spot.
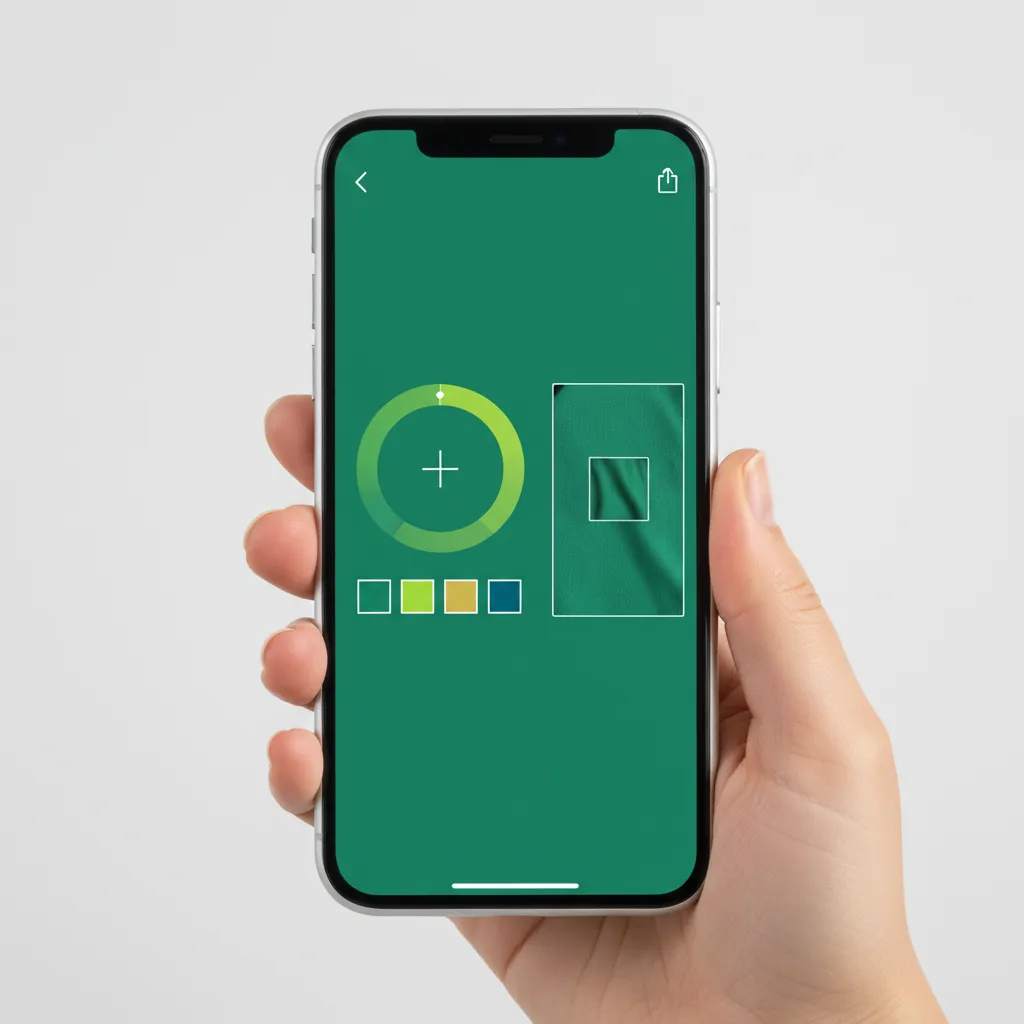
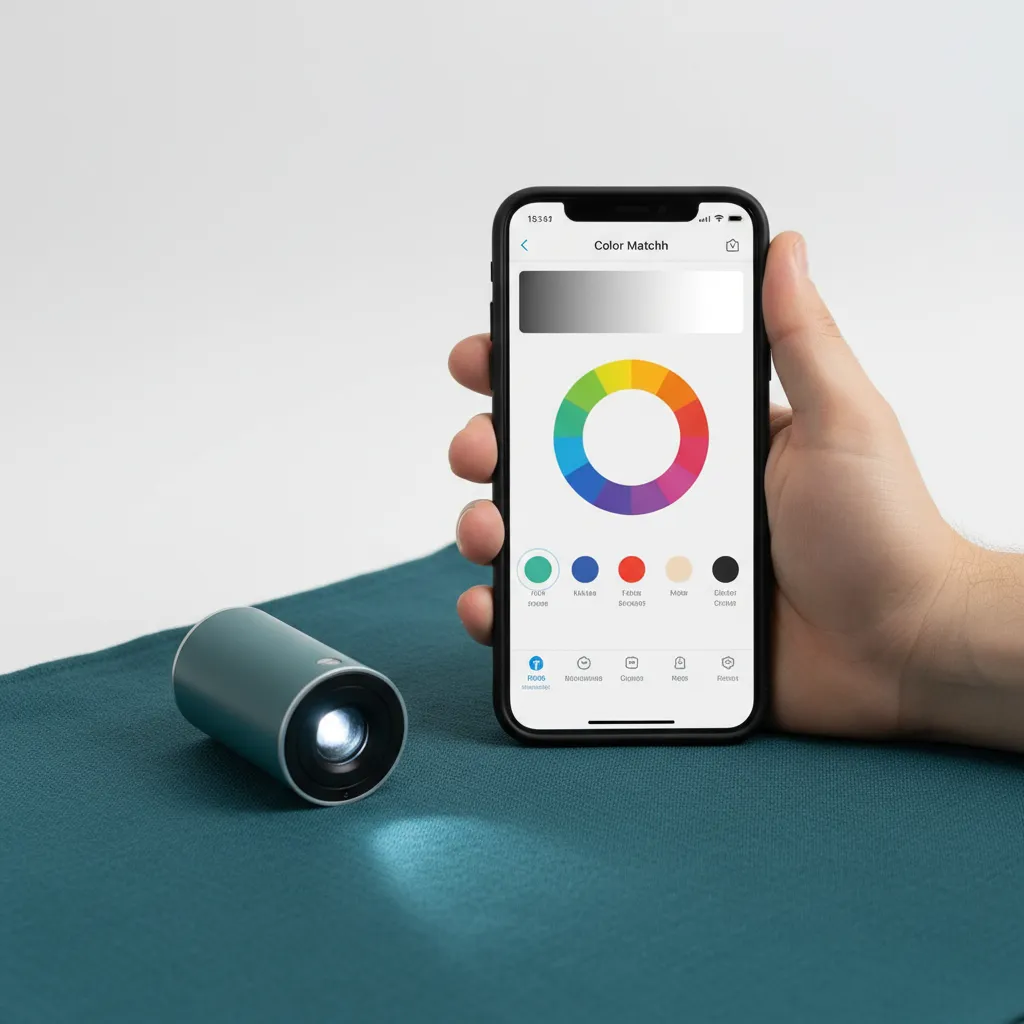
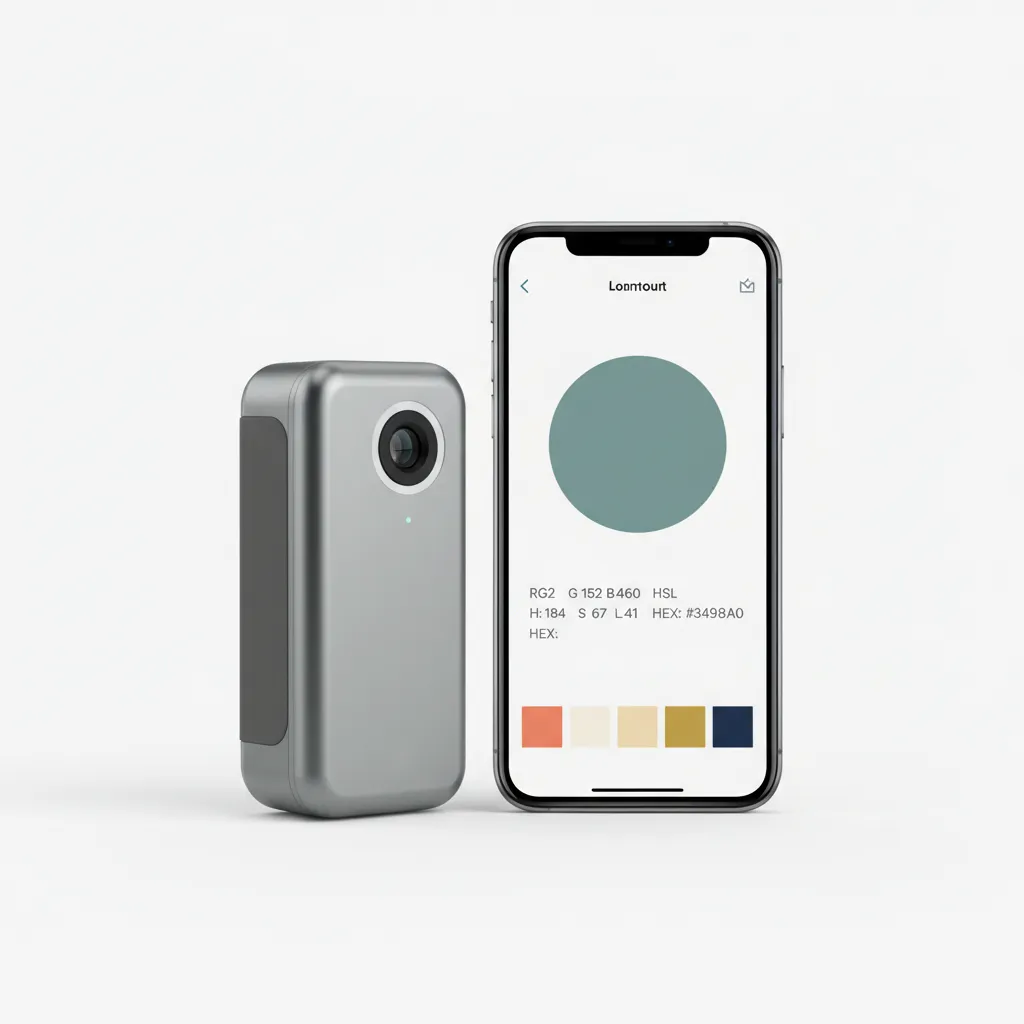
Inspect the surrounding wall for texture differences and close color matches. Use a color-matching tool like the Nix Mini 2 for precise future paint selections.
Here’s a pro tip from my past projects: always mix your touch-up paint with a sealant like Zinsser B-I-N for better adhesion and lasting results.
Frequently Asked Questions Regarding Paint Sample Removal
Now let us look at some unique questions I typically get asked about paint sample removal.
What Tools Do I Need to Remove a Paint Sample From the Wall?
The tools you need to remove a paint sample include a utility knife, painter’s tape, and a sample container. A utility knife helps cut the paint without damaging the surrounding area, while painter’s tape ensures clean edges, reducing wall damage. If you encounter unexpected paint peeling during your project, you might want to paint removal techniques.
Can I Take a Paint Sample From a Textured Wall?
Yes, you can take a paint sample from a textured wall, but it can be challenging. For textured surfaces, a utility knife will work best; however, be careful as the texture may complicate the clean removal of the sample. If you’re looking to explore painting techniques beyond walls, painting clay pots offers another creative option.
How Much Wall Damage Can I Expect From Removing a Paint Sample?
You can expect minimal wall damage when removing a paint sample if you do it carefully. Most individuals report only small areas of damage, such as tiny chips or scratches, making touch-ups easy. If you’re wondering about broader painting techniques, painting different surfaces requires specific approaches.
Is It Better to Hire a Professional to Take a Paint Sample?
Hiring a professional can be beneficial for paint sample removal, especially on large or delicate areas. Professionals are skilled, so they reduce the chance of damage and quickly ensure you get the right match for your needs.
What Should I Do if the Paint Sample Tears During Removal?
If the paint sample tears during removal, don’t panic! You can carefully tape the tear with painter’s tape or transfer it to a container immediately. This helps preserve any essential parts of the sample for analysis. When dealing with paint-related challenges, you might want to explore alternative painting techniques for your project.
How Many Paint Samples Can I Take From One Wall?
You can usually take multiple paint samples from one wall, depending on the wall’s size. However, aim for only 2-3 samples to avoid excessive damage.
Will the Removed Sample Leave a Mark on the Wall?
Yes, removing a paint sample often leaves a mark on the wall. However, touch-up paint can easily cover this mark. It’s advisable to get wall paint that matches your original shade.
Also See: What Colors Make Gold Paint? Mix Yellow and Brown!
Conclusion: Successfully Extracting a Paint Sample From Your Wall
We’re almost done. We covered paint sample removal techniques, essential preparations, the steps to remove it, recommended color palettes, types of paint samples, factors affecting removal, common issues you might face, finishing touches post-extraction, and creative DIY ideas for after you’ve snagged that sample.
To recap, obtaining a paint sample requires careful preparation, following the outlined steps, and ensuring a polished finish. If you need further assistance, I’m here to help.
For more insights and tips on all things paint-related, visit Paint Answers.
Additional Resources
- Smith, R. (2003). The Artist’s Handbook of Materials and Techniques (5th ed.). New York, NY: Knopf.
- r/HomeImprovement on Reddit: What’s the best way to get a match for paint sample?


