
What is A Dry Brush Painting?
Published on: December 18, 2025 | Last Updated: October 1, 2025
Written By: paint_answered
Dry brush painting is a way to paint with minimal paint on your brush, just like making a light mark. It feels like painting with your fingertips but with the brush, making those cool textures!
So, what is a dry brush painting, and why is it so important? It’s a unique technique that creates amazing textures, and I remember when I first tried it – the surprise of seeing my brush strokes come to life was thrilling!
In this guide, we’ll explore understanding dry brush painting, essential preparations before you start, steps to create stunning pieces, and a recommended color palette. You’ll also see different styles, factors affecting your art, common issues you might face, plus some creative DIY project ideas that involve this technique.
Contents
- 1 What is a Dry Brush Painting?
- 2 Understanding Dry Brush Painting: A Comprehensive Overview
- 3 Essential Preparations Before You Start Your Dry Brush Painting
- 4 Steps to Create Stunning Dry Brush Paintings
- 5 Recommended Color Palette for Dry Brush Techniques
- 6 Various Types Of Dry Brush Painting Styles to Explore
- 7 Exploring the History of Dry Brush Painting
- 8 Comparing Dry Brush Painting with Other Techniques
- 9 Techniques to Master Your Dry Brush Painting Skills
- 10 Tips and Tricks for Dry Brush Painting
- 11 Adding Finishing Touches to Your Dry Brush Masterpiece
- 12 Creative DIY Project Ideas Featuring Dry Brush Techniques
- 13 Frequently Asked Questions About Dry Brush Painting
- 14 Conclusion: Embrace the Art Of Dry Brush Painting
- 15 Useful Resources
What is a Dry Brush Painting?
So, what is a dry brush painting? It’s a technique where you use a dry brush with little paint and apply it lightly to create texture. This gives your artwork a rustic, scratchy look with visible brush strokes. People use it to add depth and interest to their pieces. If you’re looking to explore unique painting methods, you might even want to experiment with painting artificial flowers with texture.
Understanding Dry Brush Painting: A Comprehensive Overview
Dry brush painting is a technique that involves dipping a dry brush into thick paint. It uses minimal paint on the bristles, creating texture and emphasizing surface detail. Apply it lightly on the canvas to build layers of color. If you’re looking to refine your technique for spray gun touch-up painting, exploring different application methods can enhance your artistic precision.
This method enhances highlights and shadows. I’ve used dry brush painting in my projects, and it’s amazing how this simple technique can transform a piece!
I applied it for a rustic effect in a landscape. The layers contrasted beautifully with thicker areas, helping me avoid brush strokes. I realized how effective dry brushing is for achieving specific textures!
Essential Preparations Before You Start Your Dry Brush Painting
What do you need to get started?
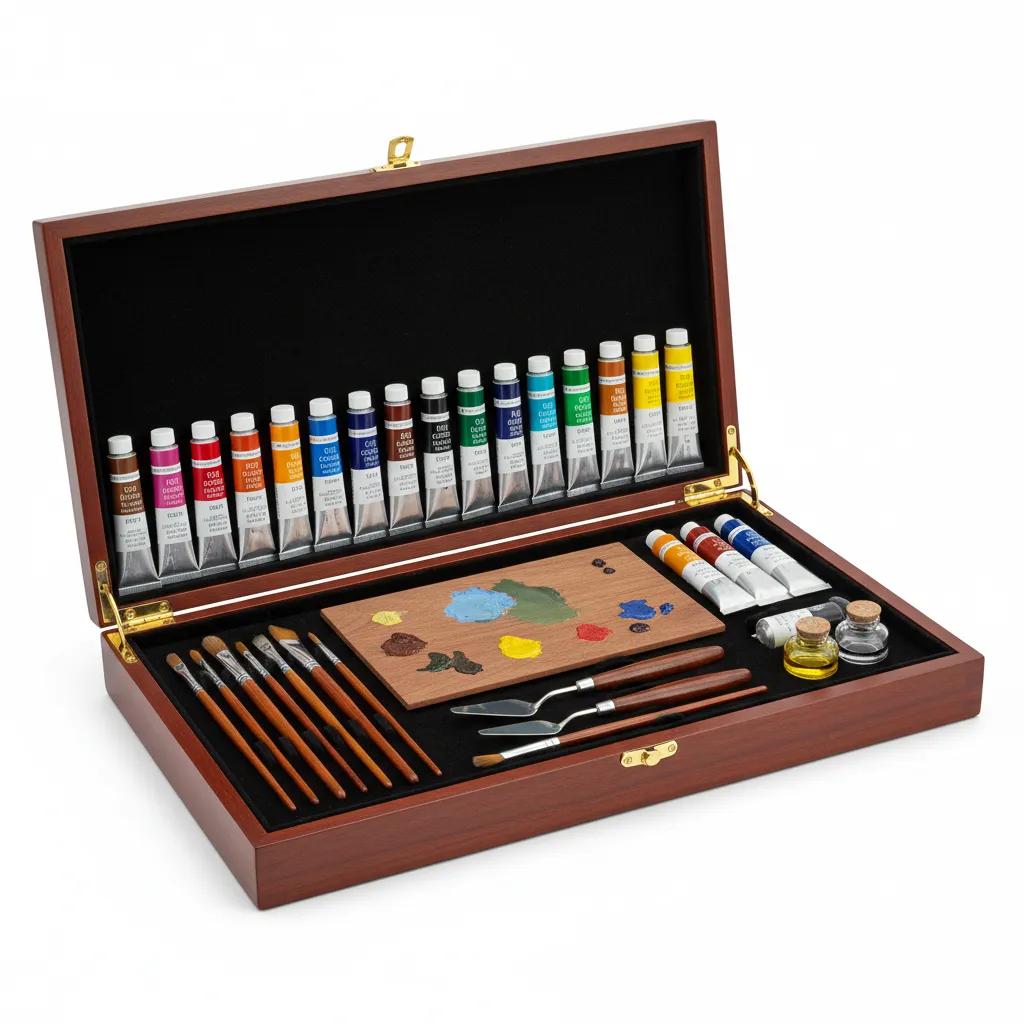
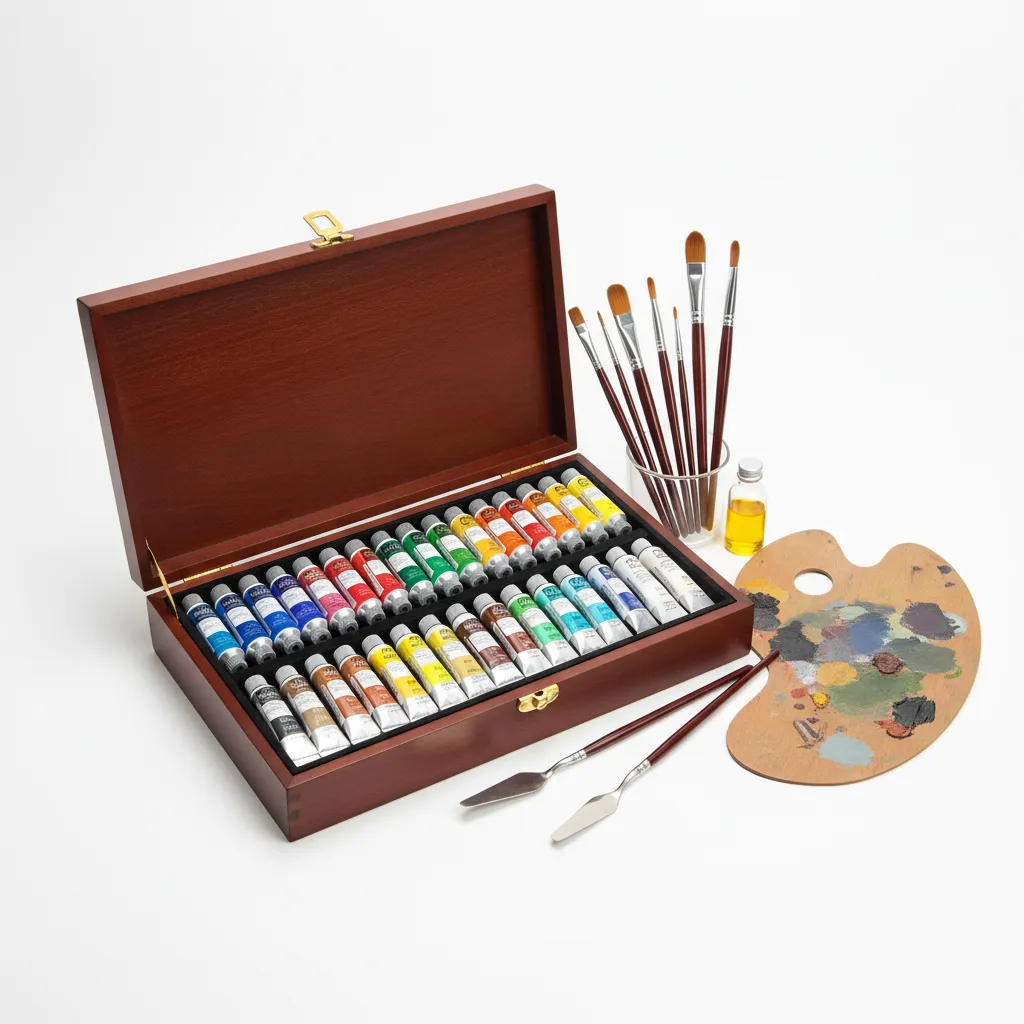
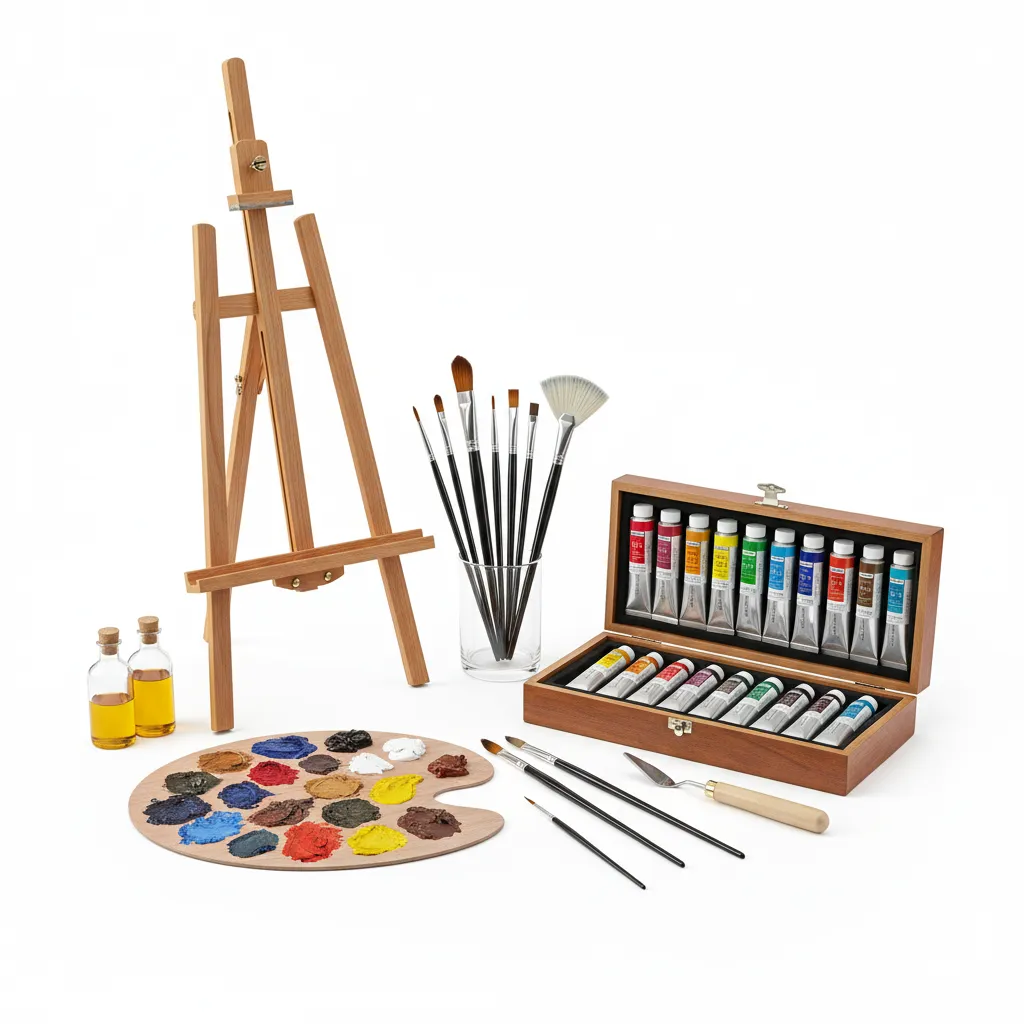
- High-Quality Paint: Use paint like Golden Heavy Body Acrylics. It’s thick and provides a rich color layer, perfect for creating texture.
- Dry Brush: Choose a stiff brush, such as Princeton Select Series. This brush holds and distributes paint well for that desired dry look.
- Palette: Get a disposable or reusable palette, like Masterson’s Stay-Wet Palette. It keeps your paint workable longer when layering textures.
- Surface Primer: Use a good primer like Vallejo Surface Primer. It helps your paint adhere better, resulting in smoother strokes from the start.
We covered key preparations for dry brush painting. We will now cover the steps to create stunning dry brush artworks.
Also See: Can You Texture Over Paint? Learn the Simple Steps!
Steps to Create Stunning Dry Brush Paintings
Here are the steps to create mesmerizing dry brush paintings effectively.
-
Prepare Your Surface
Choose a canvas, wood panel, or paper as your surface. Ensure it’s dry and primed if needed; this helps the paint adhere better.
For canvas, use a pre-stretched gesso surface. If you paint on board, sand it lightly for a smoother finish.
-
Select Your Paints
Pick high-quality acrylic or oil paints. Acrylic dries faster, while oils offer rich blending but take longer to dry.
Recommended SuppliesAs an Amazon Associate, I earn from qualifying purchases. Images are representative.For oil paints, consider a traditional palette of titanium white, ultramarine blue, and burnt umber, splitting between warm and cool tones.
-
Load Your Brush
Dip your dry brush into the paint and wipe most of it off. It’s crucial to leave a thin layer for the best effect.
Think delicate and precise. Too much paint makes it hard to achieve the soft texture characteristic of dry brush painting.
-
Begin Painting
Stroke the brush lightly across the surface; keep your movements quick and fluid. This technique creates a soft, textured look.
Start with lighter colors before transitioning to dark. This layering method enhances depth and vibrancy in your painting.
-
Layering and Blending
Add more color to create dimension. Those subtle layers make your dry brush painting pop.
Practice blending with different brush sizes for various effects. Each layer should reveal textures for added depth.
We have now covered the steps for creating stunning dry brush paintings. Next, we will explore the recommended color palette.
Recommended Color Palette for Dry Brush Techniques
I recommend a “Sunset Harmony” palette for dry brush techniques. This theme brings warmth and tranquility, perfect for creating soft textures.
| Color Box | Hex Code | Color Name |
|---|---|---|
| #FF4500 | Orange Red | |
| #FFD700 | Gold | |
| #FFDEB3 | Peach Puff | |
| #8B4513 | Saddle Brown |
We have now covered the suggested color palette for dry brush techniques. Next, we will explore different styles of dry brush painting.
Various Types Of Dry Brush Painting Styles to Explore
Let’s explore the types: Textured Dry Brush, Landscape Dry Brush, Portrait Dry Brush, and Abstract Dry Brush.
-
Textured Dry Brush
This style emphasizes rough surfaces and distinct color variations. Using minimal paint on a stiff brush, artists create a tactile sensation that jumps off the canvas.
-
Landscape Dry Brush
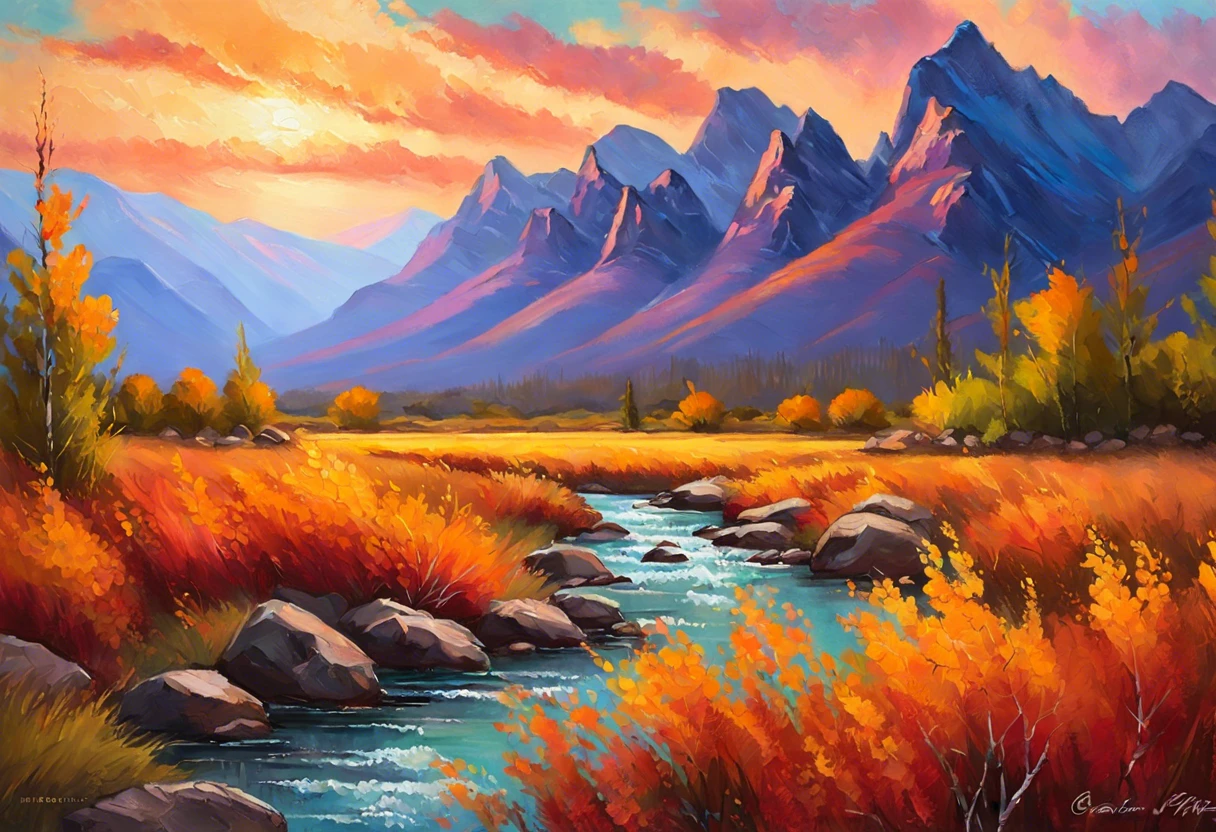
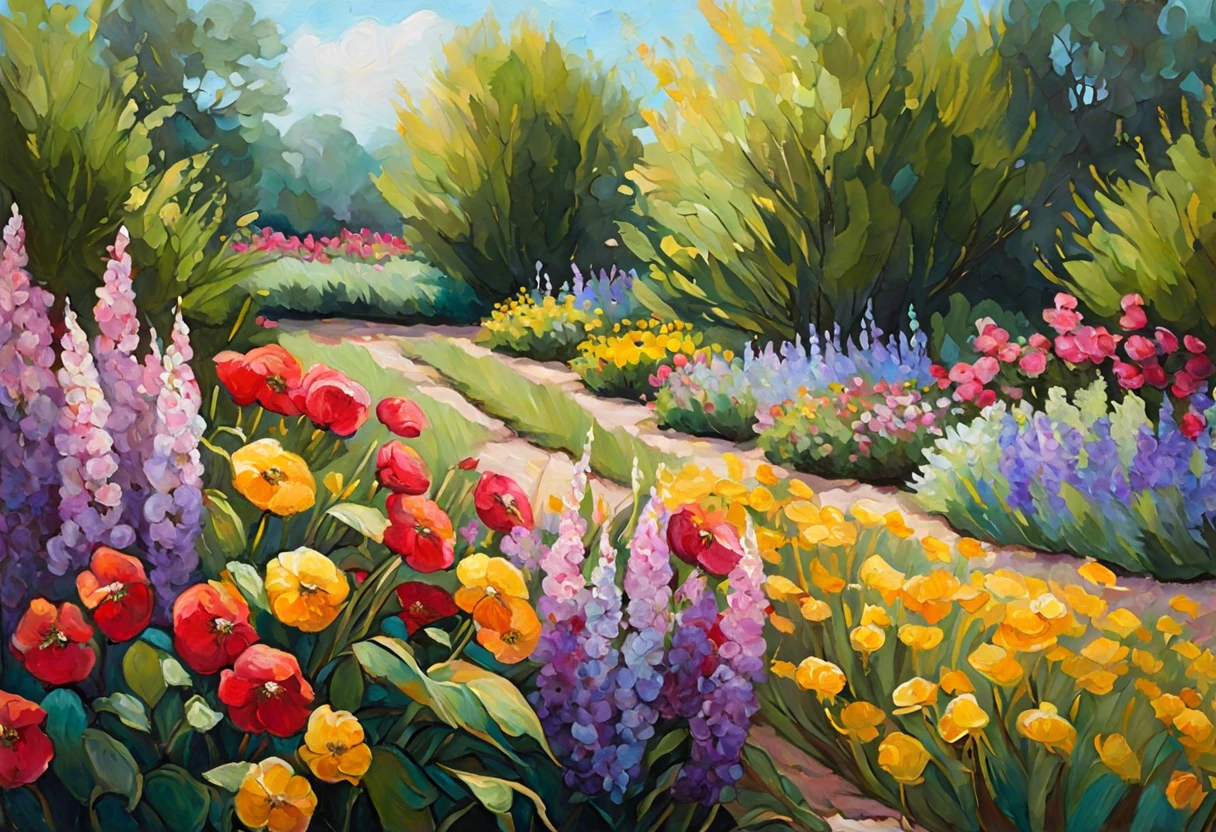
This technique captures the natural world. By dry brushing different greens and blues, an artist mimics the depth of mountains, trees, and skies in just a few strokes.
-
Portrait Dry Brush
In portrait dry brush painting, subtle facial features come alive with delicate strokes. This method uses a dry brush to avoid heavy lines and achieve a softer appearance.
-
Abstract Dry Brush
This approach allows artists to express emotion freely. Sweep broad, spontaneous strokes across the canvas, relying on color contrast rather than defined shapes.
From my perspective, Textured Dry Brush resonates with me. The way it captures light and shadows with just a few strokes fascinates me and adds depth to any painting.
We’ve wrapped up different dry brush painting styles here. Let us turn our attention to the history of dry brush painting.
Exploring the History of Dry Brush Painting
Understanding the roots of dry brush painting adds depth to your artistic journey.
- Ancient Techniques: Artists have used dry brush methods since ancient times, notably in Chinese ink wash painting.
- Influence on Modern Art: The technique evolved and spread through different art movements, influencing Impressionism and Abstract Expressionism.
- Famous Artists: Renowned artists like Vincent van Gogh and Jackson Pollock incorporated elements of dry brushing into their works.
Comparing Dry Brush Painting with Other Techniques
How does dry brush painting stack up against other popular painting methods?
| Technique | Brush Load | Texture Outcome | Best For |
|---|---|---|---|
| Dry Brush | Minimal paint | Rough textures | Highly detailed areas |
| Sponge Painting | Moderate paint | Soft edges | Backgrounds and gradation |
| Oil Painting | Thick paint | Rich textures | Complex landscapes |
Techniques to Master Your Dry Brush Painting Skills
Let’s dive deeper into some key techniques that can elevate your dry brush painting.
-
Cross-Hatching
This technique involves making intersecting lines to create texture. Layer your strokes in different directions. It adds depth and intricacy to your artwork.
-
Feathering
Feathering softens edges. Lightly sweep your dry brush to blur details. It’s perfect for creating gentle transitions, like in skies or water.
-
Scumbling
Scumbling involves using a light, circular motion to apply paint. This creates a dreamy, soft focus effect, ideal for highlights or layered clouds.
-
Glazing
Apply thin, transparent layers over dry paint. Glazing enhances color depth without overwhelming the detail you’ve already created.
Tips and Tricks for Dry Brush Painting
Want to make your dry brush paintings stand out? Here are some expert tips!
| Tip | Description | Result |
|---|---|---|
| Test Paint Consistency | Always test your paint’s thickness before starting. | A smoother application for cleaner strokes. |
| Use a Fan Brush | Try a fan brush for unique textures. | Creates a wider range of strokes, from soft to coarse. |
| Vary Your Brush Pressure | Change pressure as you paint to achieve different effects. | Perfectly places highlights and shadows. |
| Practice on Scrap Paper | Use old paper to practice your strokes. | Improves confidence before tackling a canvas. |
Adding Finishing Touches to Your Dry Brush Masterpiece
After mastering dry brush techniques, keep your brushes clean with a product like Brush Cleaner Wipes. Store them flat to avoid bending the bristles for a longer lifespan.
Inspect your finished piece for uneven textures or color saturation. Look for scuffs or eraser marks; a soft bristle touch-up brush, like a Number 6 sable, can help with simple corrections.
From one expert to another, try varying your pressure for advanced texture effects using a filbert brush. For ultimate control, work in layers, applying paint in 25 μm (0.025 Mm) glazes to build depth. After creating intricate textures, proper brush maintenance is crucial, so clean your brushes thoroughly to preserve their precision and performance.
Creative DIY Project Ideas Featuring Dry Brush Techniques
.Want to jazz up your world? Try creating a set of funky painted coasters or a dramatic wall art piece using the dry brush technique!
.For the coasters, grab some wooden discs, a couple of paint colors, and a brush for about $15 (USD). If you’ve got a Saturday free, you’ll have stylish coasters in just a couple of hours!
.Now, if you’re curious about alternatives to dry brush painting, you can experiment with sponge painting or texture mixers. I love sponging! It adds a unique layer and can create soft edges without pesky brush marks. If you want to explore creative painting techniques like acrylic paint for face art, there are exciting possibilities to discover.
Frequently Asked Questions About Dry Brush Painting
What Materials Are Best for Dry Brush Painting?
For dry brush painting, choose materials that enhance texture. The best brushes are stiffer ones, like bristle brushes or fan brushes. These help create the unique effects of dry brush techniques with minimal moisture.
How Do I Clean My Brushes After Dry Brush Painting?
Cleaning brushes after dry brush painting is simple. You should use mineral spirits or soap and water to remove paint residue effectively. This ensures your brushes last longer, keeping their shape for future projects. If you’re exploring different painting techniques, you might also want to learn how to apply paint on alternative surfaces.
Can Beginners Learn Dry Brush Painting Easily?
Absolutely! Beginners can learn dry brush painting easily. With just a few practice sessions, you’ll be able to grasp the technique and create textured works, making it a fun way to start painting.
What Are Common Mistakes in Dry Brush Painting?
Common mistakes in dry brush painting include using too much paint or moisture. Both can lead to unwanted brush strokes or muddiness. A light touch and minimal paint help achieve the desired effect and preserve texture. If you’re uncertain about handling solvents during touch-ups, acetone safety matters for painters.
How Can I Enhance My Dry Brush Painting Skills?
To enhance your dry brush painting skills, practice regularly and experiment with different brushes and paint types. A variety will help you understand how each material interacts, ultimately refining your technique. If you’re curious about expanding your artistic methods beyond traditional surfaces, you might want to explore painting techniques on alternative materials.
How Do I Avoid Brush Marks When Painting With Dry Brush Techniques?
To avoid brush marks when painting with dry brush techniques, use a light hand while applying paint. Fewer bristles caught in the paint help in achieving the seamless look you want while working on your masterpiece. If you’re concerned about potential paint damage during your artistic process, protecting your paint surface matters.
Conclusion: Embrace the Art Of Dry Brush Painting
We covered what dry brush painting is, understanding painting techniques and styles, essential preparations, steps to create stunning results, a recommended color palette, various styles to explore, factors affecting outcomes, common issues faced, finishing touches, and some creative DIY project ideas.
In essence, a dry brush painting is a unique technique that uses minimal paint for textured strokes. If you want to master it or have any questions, don’t hesitate to reach out for further guidance on this captivating art form.
For more insights and resources, Paint Answers is here to help you on your artistic journey.
Useful Resources
- Smith, R. (2003). The Artist’s Handbook of Materials and Techniques (5th ed.). New York, NY: Knopf.
- How to Dry Brush Paint – Techniques | Annie Sloan
- How To Dry Brush Paint: Easy Paint Technique – Making Manzanita
- How to Dry Brush Miniatures and Models (Tips, Photos) – Tangible Day


