
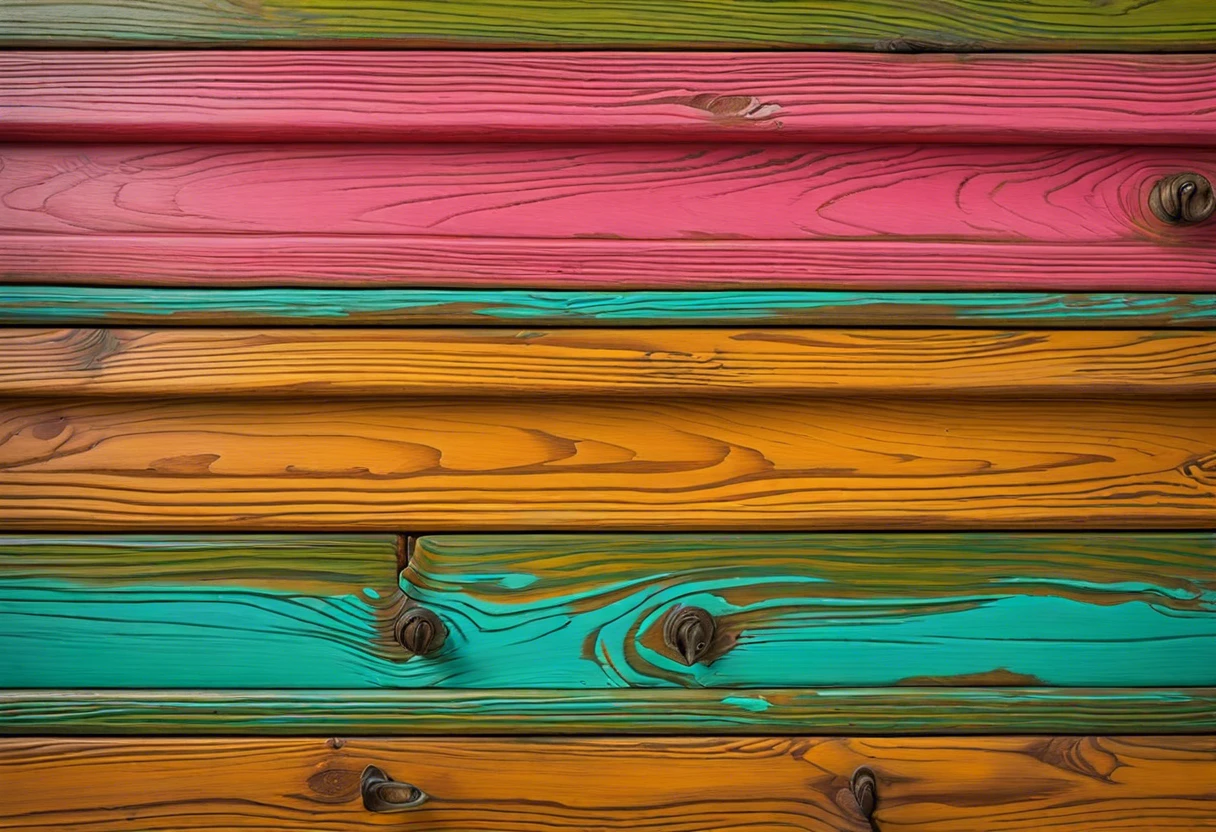
Can You Chalk Paint Over Wax?
Published on: January 12, 2025 | Last Updated: January 7, 2025
Written By: Alisha Winters
Wax is a shiny coating that helps protect and decorate surfaces. Think of it like a shiny raincoat for your furniture!
So, can you chalk paint over wax? It’s important to know this because it affects how your paint sticks and how your project turns out. I once tried painting over wax without checking first, and let me tell you, it was a messy disaster!
In this article, we’ll cover essential preparations before you start, a detailed guide to chalk painting over wax, types of wax that matter, and common issues you might face. You’ll also get recommended colors and some creative DIY project ideas using chalk paint over wax, including can you paint over Annie Sloan wax and how do you use chalk paint and wax.
Contents
- 1 Can You Chalk Paint Over Wax?
- 2 What is Wax?
- 3 Essential Preparations Before You Begin
- 4 Step-by-step Guide to Chalk Painting Over Wax
- 5 Types Of Wax That Influence Chalk Paint Application
- 6 Factors Affecting Chalk Paint Adhesion Over Wax
- 7 Understanding Different Types of Chalk Paint
- 8 How to Remove Wax Before Chalk Painting
- 9 Effects of Temperature on Chalk Paint Over Wax
- 10 Common Issues Encountered When Chalk Painting Over Wax
- 11 Finishing Touches to Enhance Your Chalk Painted Surface
- 12 Creative DIY Project Ideas Using Chalk Paint Over Wax
- 13 Frequently Asked Questions
- 14 Conclusion
- 15 Additional Resources
Can You Chalk Paint Over Wax?
You can’t chalk paint over wax directly. Wax creates a barrier that prevents the paint from sticking. Before painting, it’s best to remove the wax or at least scuff the surface. If you want to successfully transform your waxed furniture, chalk paint techniques require careful preparation. This ensures a smoother application and better adhesion.
What is Wax?
Wax is a versatile organic material, often solid at room temperature, made primarily from long-chain hydrocarbons. It has a melting point that typically ranges from 45 to 100 °C (113 to 212 °F), depending on its source, which can include plants, animals, or petrochemicals.
Are you wondering about painting over wax? Based on my experience, using chalk paint on a waxed surface can be tricky. Many people struggle with this and often question the results.
I’ve used wax for refinishing furniture. One time, I added a touch of chalk paint to a previously waxed table. It didn’t go as planned, contradicting some opinions on painting over chalk paint and wax. The key lesson? Testing small areas first prevents major disappointments.
Essential Preparations Before You Begin
What do you need to start chalk painting over wax?
- Chalk Paint: You’ll need a specific type like Rust-Oleum Chalking Spray Paint. It’s critical for good adhesion on waxed surfaces since regular paint won’t work.
- Wax Remover: Use a product such as Klean Strip Wax-Off. This removes wax residues, ensuring the paint sticks effectively.
- Sandpaper ⭐ Top Rated: Assorted Grit Sandpaper → : Get 220-grit or finer, like 3M Sandpaper. This slightly roughens the surface for better paint grip.
- Clean Cloth: A microfiber cloth is essential. It removes dust and debris from the furniture before painting.
That covers essential preparations necessary for starting your project. Let’s now take a look at the step-by-step guide for chalk painting over wax.
Also See: Can You Paint Regular Polish Over Gel? Find Out Now!
Step-by-step Guide to Chalk Painting Over Wax
Here are the steps to chalk paint over wax successfully. Follow them closely!
-
Prep the Surface
Clean your waxed surface with a gentle cleanser to remove dirt and oils. This ensures dust won’t ruin the finish.
Use a damp cloth or sponge, then let it dry completely. A clean surface is crucial for good paint adhesion.
-
Allow the Wax to Settle
Wait one to two days after waxing to let it settle. Wax typically takes 24-48 hours to fully cure, ensuring a stronger bond for painting.
The smoother the wax, the better your paint application will be. If you’re unsure, wait longer for optimal results.
-
Test a Small Area
Choose a small section to test the chalk paint. Use a corner or the underside of a drawer, apply the paint, and let it dry.
I once skipped this step and ended up with peeling paint! Testing gives you an idea of how the chalk paint adheres to the wax.
-
Apply the Chalk Paint
Use a quality brush or roller to apply the chalk paint in thin, even coats. This prevents heavy buildup that can trap moisture.
Let each coat dry for about one to two hours before applying the next. Typically, two to three coats work best, depending on the desired coverage.
-
Seal the Finish
Once your last coat is dry, seal it with a protective clear wax or topcoat. The sealer helps prevent chipping and enhances durability against wear.
Using at least one layer of sealer will maintain your finish’s integrity for years. A soft brush works best for applying wax, ensuring an even layer!
We covered the process of chalk painting over wax here. We will now cover different types of wax affecting chalk paint application.
Types Of Wax That Influence Chalk Paint Application
Let’s explore the types of wax used in crafting: natural wax, paste wax, liquid wax, and wax sealants.
-
Natural Wax
This type includes beeswax and carnauba wax. Natural wax provides a breathable finish, allowing paint to adhere well; however, it may not hold sharp edges due to its creamy texture. Can you chalk paint over wax? Yes, but it’s crucial to let it cure first. If you’re planning a larger painting project like a mural, you might want to explore specific techniques for acrylic paint mural applications.
-
Paste Wax
Paste wax hardens as it dries, forming a strong layer. For furniture projects, it acts as a barrier. So, can you paint over Annie Sloan wax? Yes, but it requires preparation.
-
Liquid Wax
This type offers more versatility in application, penetrating layers for strong adhesion. Often, the question is: can you chalk paint over wax? Yes, but clean any existing wax thoroughly to prevent peeling. If you’re unsure about proper cleaning techniques, you can learn about paint surface preparation.
-
Wax Sealants
Wax sealants blend with polymers to enhance durability. They allow for chalk paint finishes, often raising the question: can you paint over waxed furniture? The answer is yes, as long as it’s fully cured and clean! If you’re considering painting a surface with bed liner, painting techniques require specific preparation.
From my experience, natural wax truly enhances any piece. The warmth of beeswax adds character while remaining easy to work with.
We covered different wax types that affect chalk paint application. We will now cover the factors influencing chalk paint adhesion over wax.
Factors Affecting Chalk Paint Adhesion Over Wax
What factors affect the ability to paint effectively over wax surfaces?
-
Type of Wax: Different waxes have varying compositions, which significantly affect chalk paint adhesion.
-
Wax Curing Time: If the wax hasn’t fully cured, chalk paint won’t adhere well.
-
Surface Preparation: Proper preparation, such as cleaning and sanding, enhances chalk paint performance on wax.
-
Painting Technique: Your method can impact the paint’s grip—brush strokes matter.
We have now covered the elements influencing chalk paint adhesion over wax. Next, we will explore various kinds of chalk paint.

Understanding Different Types of Chalk Paint
Let’s explore why the type of chalk paint matters when thinking about painting over wax.
-
Traditional Chalk Paint
This paint type has a matte finish and is often thicker, which might struggle bonding to wax. Careful prep is essential.
-
DIY Chalk Paint
Mixing plaster or calcium carbonate with regular paint creates a lighter, easier-to-apply version. Test this on wax first!
-
Chalk Paint with Additives
Adding a bonding agent can help adhesion on wax surfaces. It’s a game changer for getting that perfect finish!
How to Remove Wax Before Chalk Painting
If you choose to remove wax rather than paint over it, here’s how!
-
Use a Wax Remover
Apply a commercial wax remover. Klean Strip is a popular choice; just follow the instructions for best results.
-
Scrub Gently
Use a soft cloth or sponge. Don’t scrub too hard, you could scratch the surface. Light pressure does the trick!
-
Neutralize the Surface
After using remover, clean with warm, soapy water. This helps ensure all wax is gone and preps for paint.
Effects of Temperature on Chalk Paint Over Wax
Temperature plays a huge role in paint application. Here’s what you should know:
| Temperature Range | Effect on Paint Adhesion | Best Practices |
|---|---|---|
| 10-15 °C (50-59 °F) | Poor adhesion; paint may not dry properly. | Warm your workspace before starting. |
| 16-27 °C (60-80 °F) | Ideal temperature for good adhesion. | Paint away! Good to go! |
| 28 °C (82 °F) and above | Fast drying; can cause uneven application. | Work quickly, and consider using a wet palette. |
Common Issues Encountered When Chalk Painting Over Wax
Once, my buddy tried painting an old chair with chalk paint over wax. The paint slid right off! It was a real mess—wax prevents paint from adhering, making the finish uneven.
To fix this, you need to strip the wax first. Use a chemical stripper, like Citristrip, and then clean with mineral spirits. This preps the surface for a perfect chalk paint coat!
Finishing Touches to Enhance Your Chalk Painted Surface
After determining if you can paint over wax, allow the chalk paint to cure. Let it dry for at least 24 hours before applying a sealer for maximum durability.
Inspection is crucial. Check the wax layer closely for imperfections every inch (2.54 Cm) and fix any flaws with fine-grit sandpaper before reapplying paint.
An insider tip: Use a soft wax brush for a more even application. This step can significantly improve finish quality and texture, giving it a polished feel.
For advanced users, consider mixing 10% linseed oil with the final layer of wax for flexibility. This boosts the finish’s durability and yields great results for resilient surfaces.
Creative DIY Project Ideas Using Chalk Paint Over Wax
First up, let’s create an artistic wax-dipped lighting fixture! You could also make a chic chalk-painted ceramic pot that just radiates personality. Both projects add a unique flair to your space!
To tackle the lighting fixture, get a thrifted lamp, some chalk paint, and a clear wax. Expect to spend around $20 for the lamp and paint, and then an hour or two for the whole process, including drying time.
Now, if you’re having doubts and wonder, “can I really chalk paint over wax?” the answer is yes! Another fun idea is to mix in a clear glaze with chalk paint to provide a smooth finish—beautiful and playful at the same time! If you want to explore more techniques for transforming wooden surfaces, painting cedar requires specific strategies.
Frequently Asked Questions
What Kind Of Wax Should I Use Before Chalk Painting?
You should use a clear, non-tinted wax before chalk painting. This helps protect your surface and provides the needed adhesion, enhancing the paint’s longevity and vibrancy. Typically, soft wax costs around $10 (USD) for a small can, making it accessible for most DIY projects.
How Long Should I Wait After Waxing to Chalk Paint?
You should wait at least 24 hours after waxing before chalk painting. This time allows the wax to cure properly, ensuring that the paint adheres well and preventing bubbling or lifting of the finish. If you’re curious about creating the perfect blue chalk paint shade, mixing custom blue paint colors can enhance your furniture restoration project.
Can I Use Chalk Paint Over Clear Wax?
No, you shouldn’t use chalk paint over clear wax. Wax creates a barrier that prevents good adhesion, which can lead to peeling and poor finish. Consider re-waxing or allowing a full cure before applying new chalk paint over unfinished surfaces. If you’re working with different surfaces like metal, you might want to explore alternative painting techniques for metal.
What Happens if I Chalk Paint Over Wax?
If you chalk paint over wax, you risk–the paint not adhering well. This can lead to unsightly peeling and flaking. I recommend always preparing the surface correctly for the best results.
Can You Paint Over Waxed Furniture?
No, you shouldn’t paint over waxed furniture directly. The wax layer prevents paint from bonding properly, which can ruin your project. For better outcomes, clean and lightly sand the waxed surface first.
How Do You Use Chalk Paint and Wax?
To use chalk paint and wax, start by applying a thin coat of chalk paint evenly. After it dries, apply wax with a brush or cloth to seal the paint. This enhances durability and gives a beautiful, smooth finish that feels sophisticated and rich. If you’re curious about alternative paint applications, ceiling paint techniques offer unique possibilities.
Conclusion
We’ve covered a lot of ground—thank you for staying with us! We discussed what wax is, essential preparations, a step-by-step guide for chalk painting, color palettes, various waxes that influence application, adhesion factors, common issues, finishing touches, and creative DIY project ideas.
I’m pleased to confirm that you can chalk paint over wax, but it requires proper preparation and appropriate techniques. Skipping the prep work can lead to adhesion issues, so remember these key points to ensure your projects look their best.
For further information and inspiration, visit Paint Answers.
Additional Resources
- Edwards, B. (2012). Drawing on the Right Side of the Brain. New York, NY: TarcherPerigee.
- Don’t use wax to seal chalk paint – RAWHyde Furnishings
- Chalk Paint™ Wax: five things to know | Annie Sloan
- Can you Paint Over a Waxed Piece of Furniture? | The Purple Painted Lady
Experienced interior designer with 15+ years in transforming spaces, blending artistry with expertise in color and design. Rhode Island School of Design graduate, specializing in restorations and modern makeovers.
Removing, Topics


