Can You Paint A Golf Cart?
A golf cart is a little car that helps people drive around on golf courses. They’re kind of like tiny cars for fun without needing a road!
Now, can you paint a vehicle’s exterior? It’s super important to give your golf cart a fresh coat, not just for looks but to protect it too. I once painted my golf cart bright blue, and it felt like a brand-new ride whenever I hit the course!
In this guide, I’ll cover essential considerations before you start painting, a step-by-step guide, a recommended color palette, various painting techniques, factors affecting results, common issues to watch out for, final touches, and creative DIY ideas. You’ll learn not just how much it costs to paint a golf cart but also how to get that perfect finish.
Contents
- 1 Can You Paint a Golf Cart?
- 2 What is a Golf Cart?
- 3 Essential Considerations Before You Start Painting
- 4 Step-by-step Guide to Painting Your Golf Cart
- 5 Different Painting Techniques for Golf Carts
- 6 Factors Affecting Golf Cart Painting Results
- 7 Common Issues Encountered When Painting a Golf Cart
- 8 Final Touches for a Professional Finish
- 9 Creative DIY Golf Cart Customization Ideas
- 10 Enhancing Your Golf Cart’s Appearance With Graphics and Patterns
- 11 Frequently Asked Questions About Painting Golf Carts
- 12 Golf Cart Paint Maintenance Tips
- 13 Conclusion
- 14 Additional Resources
Can You Paint a Golf Cart?
Absolutely! You can definitely paint a golf cart. Just make sure to use high-quality, weather-resistant paint. It’s a fun project that can refresh your cart’s look for around $200 to $500, depending on the materials! If you’re curious about painting techniques for fabric or other surfaces, acrylic paint offers versatile options.


What is a Golf Cart?
A golf cart is a small, electric or gas-powered vehicle designed to transport golfers and their equipment around a golf course. These carts typically travel at speeds between 15 and 25 km/h (9 and 15.5 Mph) and have a weight capacity of 272 to 453 kg (600 to 1,000 Lbs).
You might be wondering, can you paint a golf cart? While playing on a vibrant course, I noticed several carts in creative colors. It really added to the fun vibe!
A friend of mine used his cart for weekend golf trips. He often mentioned how refreshing it felt to customize it. When it comes to the cost of painting a golf cart, you have options—a professional paint job can range from $300 to $1,500, depending on quality and design. Artists like Andy Warhol have long understood the transformative power of reimagining everyday objects through color.
Essential Considerations Before You Start Painting
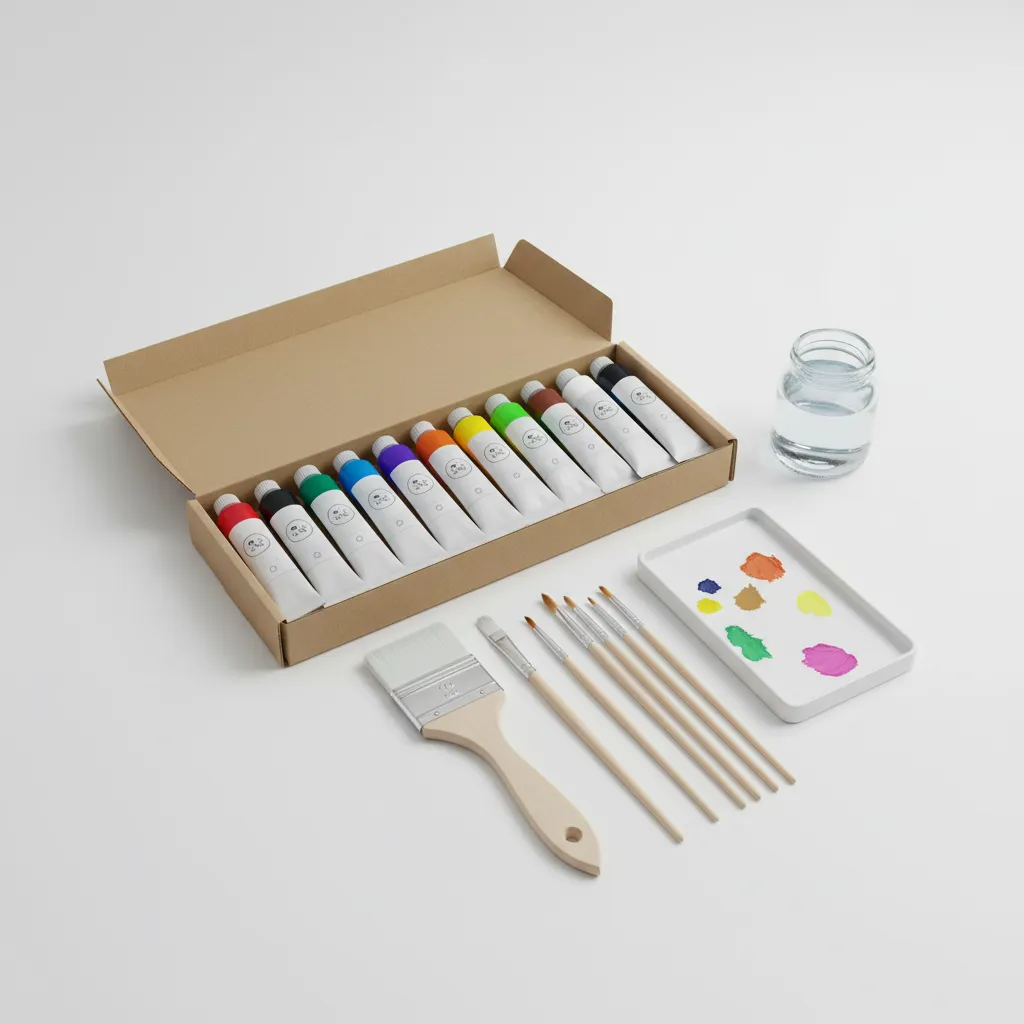
What do you need to paint a golf cart?
- Spray Paint: Use automotive-grade paint like Rust-Oleum Universal Metallics for a shiny finish. It’s essential for adhering to the cart’s fiberglass body.
- Sandpaper ⭐ Top Rated: Assorted Grit Sandpaper → : Get a variety, including 220-grit and 400-grit. You’ll need this to smooth surfaces for better paint adhesion.
- Paint Primer: Choose a primer like Dupli-Color Adhesion Promoter. This helps the paint stick and improves durability.
- Masking Tape: Buy high-quality tape such as 3M Blue Painter’s Tape. This protects areas from overspray during the process.
We covered key factors to consider before painting. We will now cover a step-by-step guide to painting your golf cart.
Also See: How Much Does It Cost to Get a Truck Painted?
Step-by-step Guide to Painting Your Golf Cart
Here are the essential steps to transform your golf cart with paint. Follow these actions for a successful outcome!
-
Prepare the Golf Cart Surface
Sand the existing paint using 220-grit sandpaper to create a smooth base. This step helps the new paint adhere better, minimizing chipping.
Wipe the surface with a damp cloth to remove dust. Ensure it’s completely dry before moving on—moisture can ruin your paint finish.
-
Select the Right Type Of Paint
Choose high-quality automotive or acrylic paint suitable for outdoor use to withstand UV rays. Expect to spend around $30-60 (USD) per quart (Liter) depending on the brand.
If you want a specialty color, note that ‘metallic’ and ‘pearlescent’ types can be more expensive. Stick to brands known for automotive applications for better durability.
-
Apply the Paint Evenly
Start with a thin, even coat. Use a spray gun or a high-quality spray can, working in overlapping strokes for consistent coverage to avoid patchiness.
I’ve found that two to three light coats often yield a richer color without drips. Each coat should dry for at least 30 minutes before applying the next.
-
Finishing Coats and Sealing
Once the paint is completely dry, apply a clear topcoat for added protection and shine. Choose a polyurethane or enamel-based sealer to guard against scratches and fading.
Allow at least 24 hours for the clear coat to fully cure. This layer not only enhances the finish but can last up to 2-5 years based on usage and exposure.
Free ToolOpen Calculator →Car Paint Cost EstimatorBody shops charge thousands. See exactly what it costs to DIY vs Pro. Don't get ripped off on your quote.
We have now covered the step-by-step process for painting your golf cart. The next section explores various painting techniques.
Different Painting Techniques for Golf Carts
Let’s explore different painting techniques for golf carts: spray painting, brush application, vinyl wraps, and decals.
-
Spray Painting
Spray painting is popular for its smooth finish. It typically costs $150-$400 (USD) depending on size and complexity.
-
Brush Application
Brush application offers greater control over details. While it may take longer, it provides a personal touch, costing about $100-$300 (USD) for a complete job.
-
Vinyl Wraps
Vinyl wraps let you create fresh designs without the permanence of paint. They range from $700 to $1,500 (USD) and last several years with proper care.
Free ToolOpen Calculator →Car Wrap Material CalculatorDon't run short on vinyl halfway through! Calculate the exact footage you need and stop wasting money on excess material. -
Decals
Decals are quick and easy to apply. They’re budget-friendly, ranging from $50 to $200 (USD) depending on size and custom designs.
Through trial and error, I’ve found spray painting works best for a vibrant, uniform look. It’s easy and covers surfaces quickly, perfect for giving my golf cart that special flair!
We have now covered various painting techniques for golf carts. The next section will discuss factors influencing painting results.
Factors Affecting Golf Cart Painting Results
What factors impact the ability to effectively refresh a golf cart’s appearance?
-
Condition of the surface: A rough or damaged surface can hinder adhesion and result in a poor finish.
-
Type of paint used: High-quality, weather-resistant paint ensures durability and a better appearance.
-
Preparation time: Proper cleaning and priming before painting can significantly improve results.
-
Environmental conditions: Extreme temperatures and humidity can affect drying times and paint curing.
You should now have a good understanding of elements influencing golf cart painting outcomes. In the next part, we’ll discuss typical challenges faced during the painting process.
Common Issues Encountered When Painting a Golf Cart
My friend wanted to customize his golf cart but ran into chipping paint after using cheap spray paint. Always choose quality finishes, like acrylic urethane, to avoid this. Expect to spend around $300 to $1,000, depending on complexity. If you’re looking to achieve a professional-grade finish, painting aluminum surfaces requires specific techniques.
Another problem? Dust in the finish. A clean workspace makes a big difference. Use 600-grit sandpaper (0.15 Mm) for smoothness before the final coat. Trust me, it’ll shine!
Final Touches for a Professional Finish
After sprucing up your vehicle, wait about 30 days before exposing your golf cart to sunlight. Apply a UV protectant, like Meguiar’s Ultimate, every 3-6 months for durability.
Inspection involves checking the alignment of decals; misaligned graphics can ruin the look. Measure 1 cm (0.4 In) margins around the edges of logos for accuracy.
Here’s an insider tip: Always dry-wipe surfaces with a microfiber cloth ⭐ Top Rated: Microfiber Cleaning Cloth → before applying the final clear coat. This removes dust particles that paint won’t cover properly.
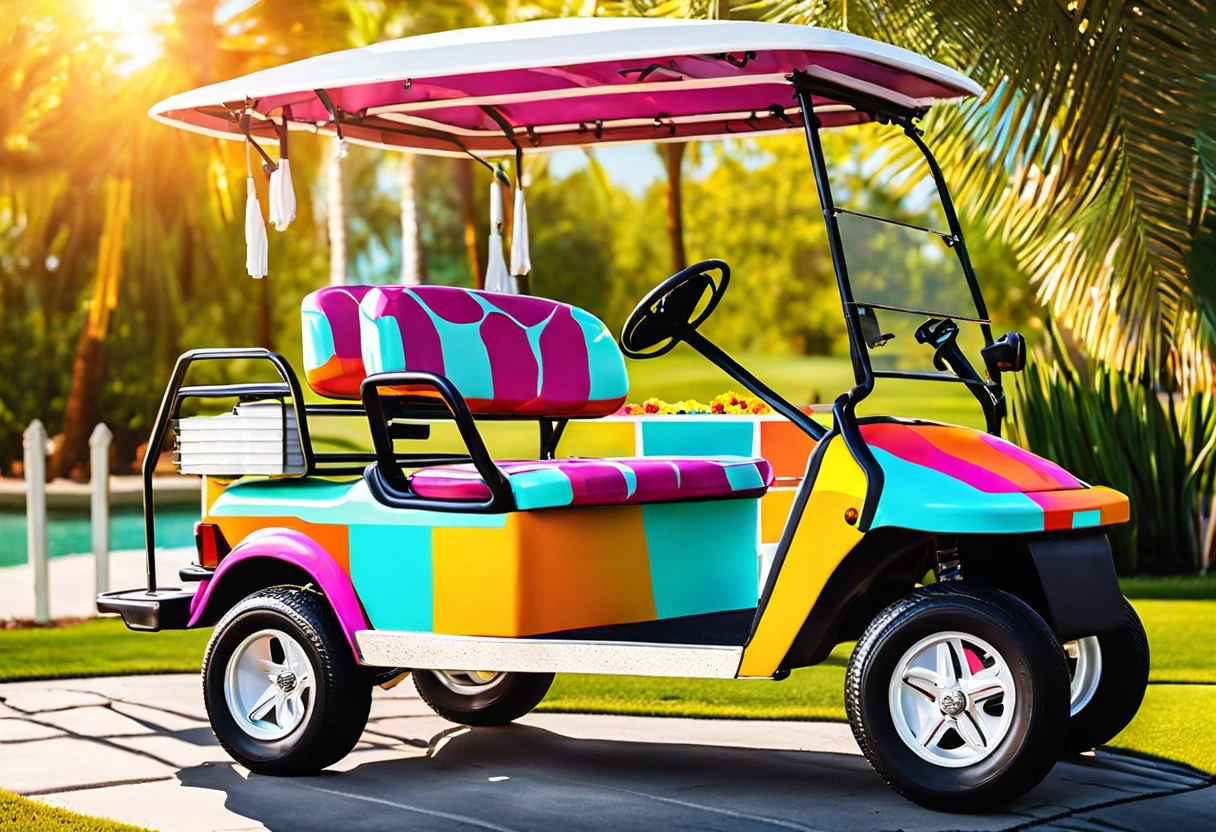
Creative DIY Golf Cart Customization Ideas
How about giving your golf cart a funky vintage vibe? You could even create a one-of-a-kind theme, like a tropical paradise or a rock ‘n’ roll homage!
For these projects, I’d grab some vinyl wrap or spray paint. Expect to spend around $200–$300 (Around 170–250 EUR) for materials, plus 4–6 hours of your weekend for the fun work!
Not into painting? Try a fabric wrap—just as unique! I’ve used outdoor fabric for a stylish finish; it’s like an art project and a weatherproofing gig in one!

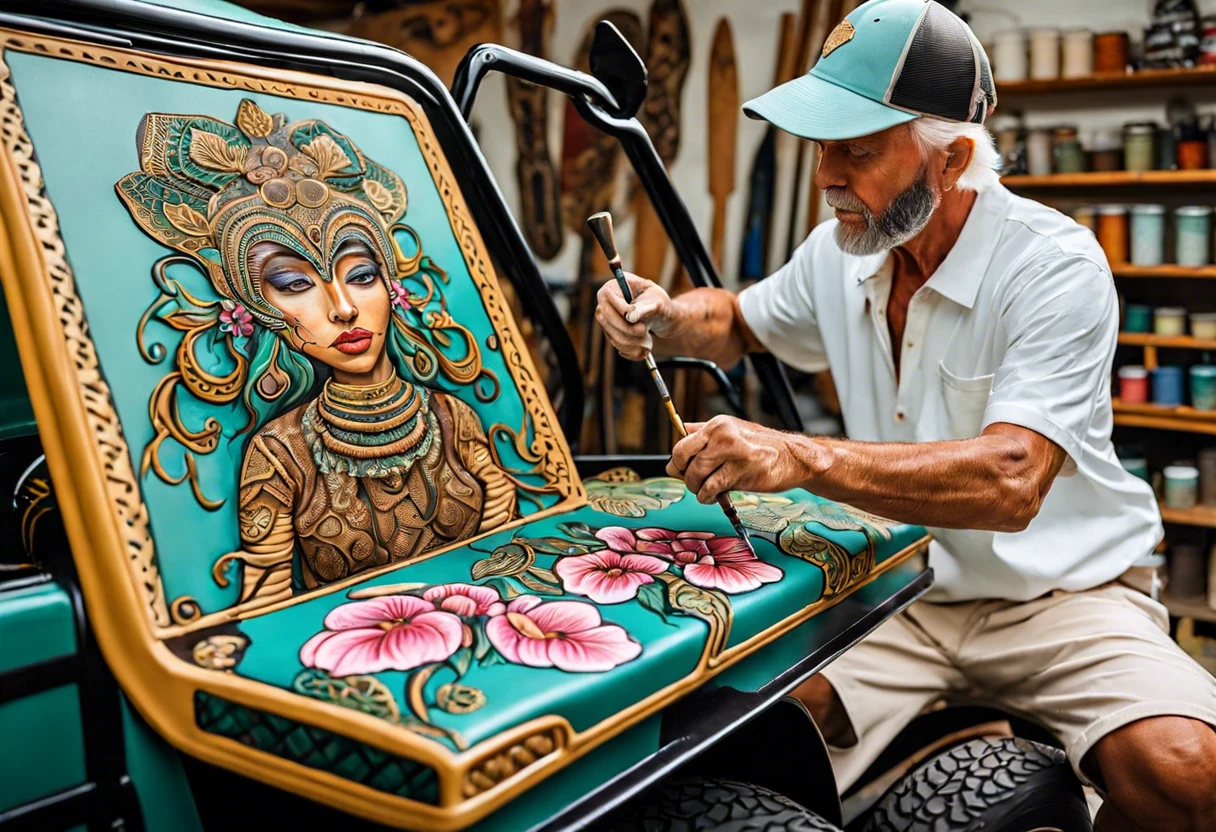
Enhancing Your Golf Cart’s Appearance With Graphics and Patterns
Want to really make your golf cart stand out? Adding graphics or patterns can elevate your cart’s style.
Why Choose Graphics?
Graphics can express your personality, team spirit, or add a custom touch. Think about those cool, eye-catching designs you see! They can be simple or complex.
- Vinyl Decals: Easy to apply and remove. Prices range from $50 to $200 (USD) based on size and design.
- Custom Graphics: Fully customized graphics can start at $300 (USD) and provide a professional finish that stands out.
- Stencils: Create unique patterns with stencils you design yourself. Materials typically cost around $20 to $50 (USD).
- Airbrushing: For the artsy types, consider airbrushing—a more advanced technique that costs between $200 to $600 (USD) for detailed work.
Table: Graphics Options and Costs
| Graphics Type | Cost Range (USD) | Ease of Application |
|---|---|---|
| Vinyl Decals | $50 – $200 | Easy |
| Custom Graphics | $300+ | Moderate |
| Stencils | $20 – $50 | Easy |
| Airbrushing | $200 – $600 | Difficult |
Don’t shy away from creativity! Mixing patterns, colors, and graphics can turn your golf cart into an eye-catching mobile artwork. Trust me; it makes every round of golf that much more fun!
Frequently Asked Questions About Painting Golf Carts
Can I Use Regular Spray Paint on a Golf Cart?
Yes, you can use regular spray paint on a golf cart. However, it’s crucial to choose paint that’s designed for outdoor use to withstand weather conditions and UV exposure.
How Long Does the Paint Take to Dry?
Paint usually takes about 1 to 2 hours to dry on a golf cart. Keep in mind, the full curing process could take up to 24 hours, depending on humidity and temperature.
Is It Necessary to Primer Before Painting?
Yes, it is necessary to primer before painting a golf cart. A primer helps paint adhere better and ensures long-lasting results, especially on metal or plastic surfaces.
What Are the Best Practices for Maintaining Painted Golf Carts?
The best practices for maintaining painted golf carts include regularly washing with soap and water and applying a wax every six months. This prevents fading and keeps paint looking fresh.
Can I Paint Over an Existing Finish?
Yes, you can paint over an existing finish on a golf cart. Just make sure to clean it thoroughly and sand the surface so the new paint will adhere effectively.
How Much Does It Cost to Paint a Golf Cart?
The cost to paint a golf cart typically ranges from $300 to $1,000. Factors like size, complexity, and paint quality influence the overall price.
Golf Cart Paint Maintenance Tips
Taking care of that beautiful paint job is crucial. Let’s dive into some tips to keep your golf cart looking fresh.
Regular Cleaning
Wash your golf cart frequently with mild soap and warm water. This helps remove dirt and prevents build-up that can dull your finish. Aim for at least once a month!
Wax Treatment
Using a quality automotive wax every six months helps protect against UV rays and keeps your paint shiny. You can find good options for around $10 to $30.
Covering Your Cart
If you store your golf cart outside, a protective cover can prevent weather damage. Look for covers specifically designed for golf carts, which usually range from $50 to $150.
Inspect for Damage
Check for chips and scratches. Small damages can turn into bigger problems if not dealt with quickly. Touch up minor flaws promptly with matching paint to maintain that perfect look.
| Maintenance Task | Frequency | Estimated Cost (USD) |
|---|---|---|
| Regular Cleaning | Monthly | Free (if done at home) |
| Wax Treatment | Every 6 months | $10 – $30 |
| Covering Cart | As Needed | $50 – $150 |
| Inspect for Damage | Weekly | Free (if done at home) |
By implementing these maintenance tips, you’ll keep your golf cart looking vibrant and fresh for years to come. Trust me; it’ll be worth the effort!
Conclusion
Congratulations on reaching the end! You’ve gained valuable insights into painting golf carts.
We discussed what a golf cart is, key considerations for your project, a detailed step-by-step guide, color palette options, various painting techniques, factors that influence outcomes, common challenges, and final touches for a polished look, along with fun DIY customization ideas. With proper preparation and a budget of $200 to $800 (USD), plus your creativity, you can successfully paint a golf cart!
For additional tips and resources, check out Paint Answers.
Additional Resources
- Smith, R. (2003). The Artist’s Handbook of Materials and Techniques (5th ed.). New York, NY: Knopf.
- How to EASILY Paint Your Golf Cart (in 4 Steps) – Golf Cart Go
- Can you paint a golf cart using car paint? Yes, primers make it happen – Auto Paint HQ
Experienced interior designer with 15+ years in transforming spaces, blending artistry with expertise in color and design. Rhode Island School of Design graduate, specializing in restorations and modern makeovers.
Car, Misc.
Also See: Can You Hand Paint a Tractor? Transform Your Machine!